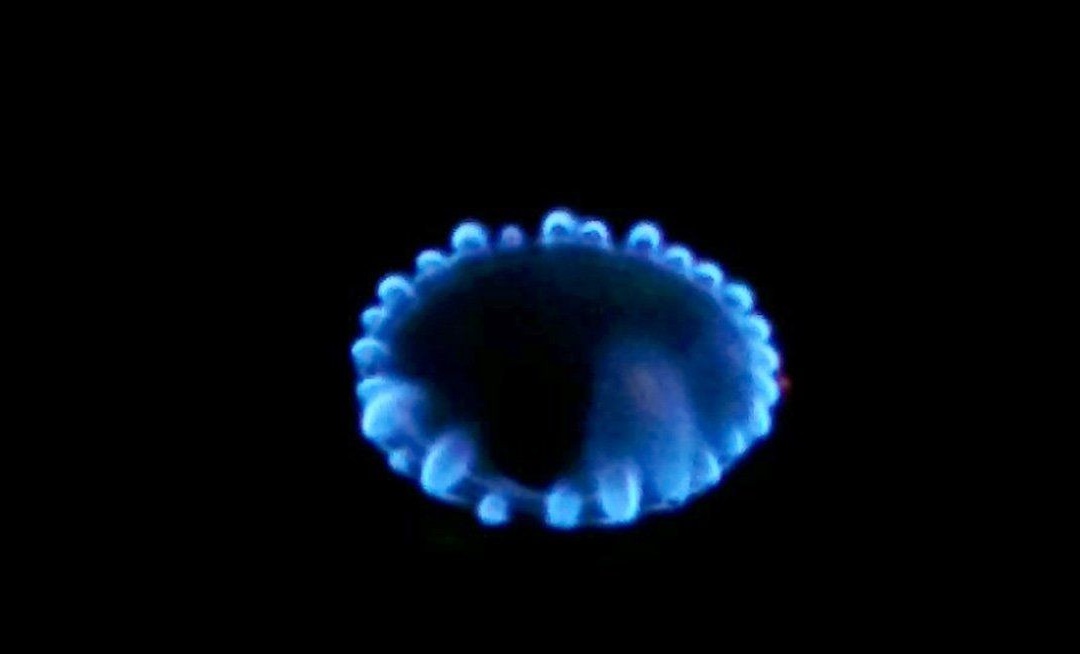
Surely many have already seen an alcohol burner from an aluminum can. One author suggested how it can be modified to make it safer and more convenient. Now the burner will never explode when heated, as it has a special safety valve. In addition, the flame became more beautiful and even, which increased the efficiency of the burner. As a result, the burner now looks like a regular kitchen burner.
Materials and tools for assembly:
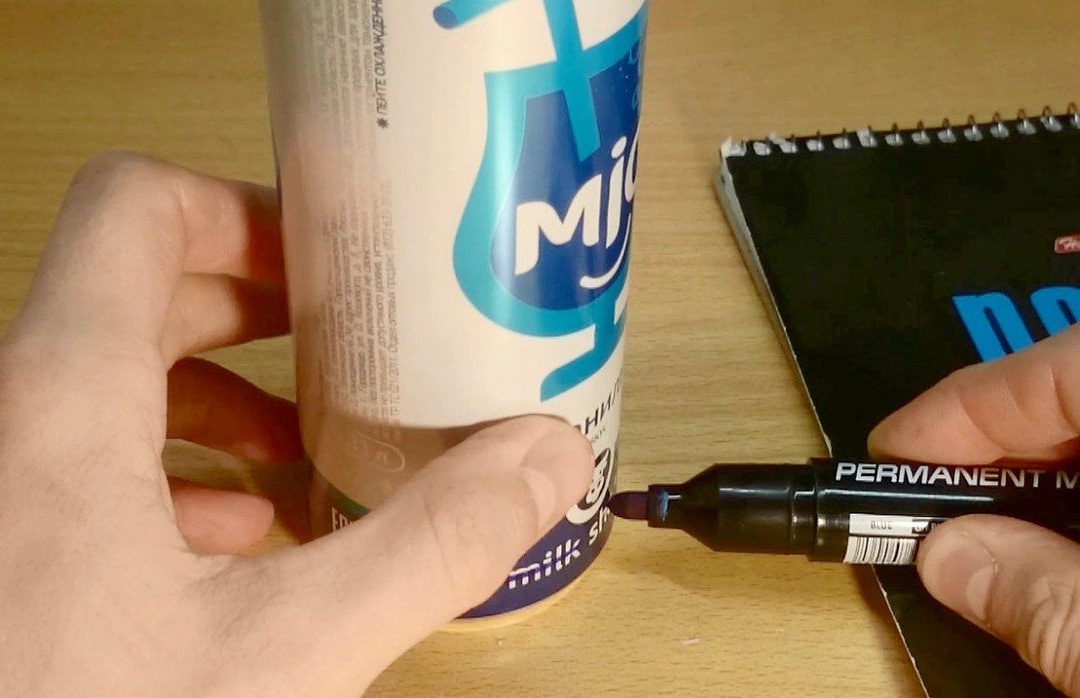
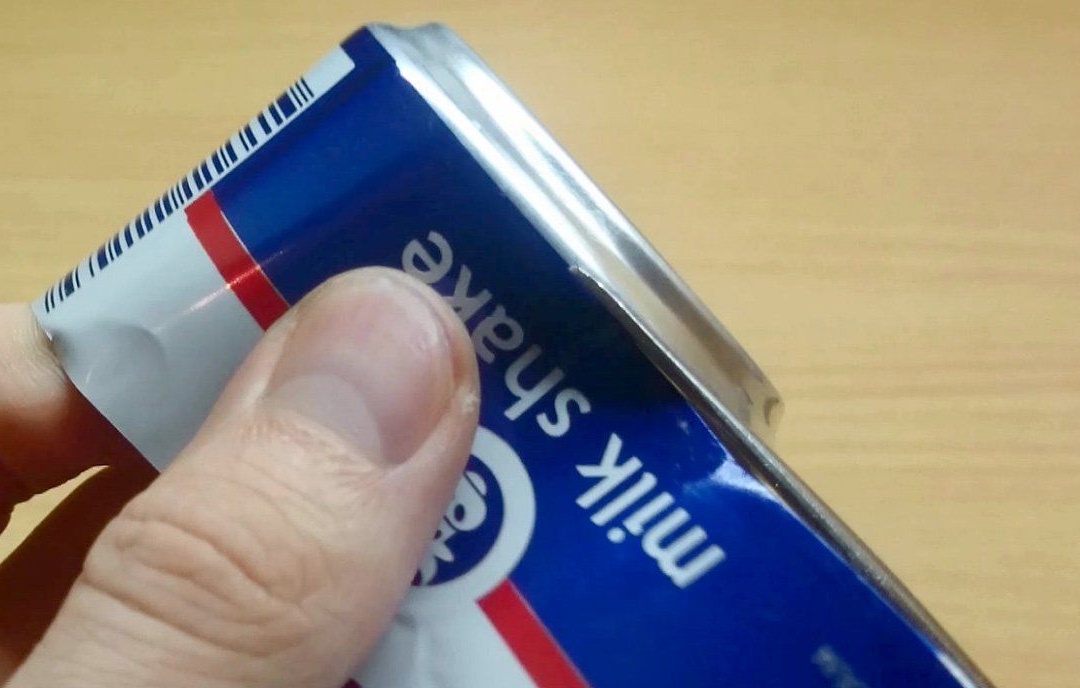
- an aluminum can from beer and other drinks (the author uses narrow cans from Myo, as he makes a small primus);
- cotton pads, cotton cloth or sponge;
- a jar of a larger diameter (used from under olives);
- coin;
- raw food and a frying pan (to check you can fry fried eggs).

For work, such tools will be needed: scissors, a lighter, a needle with an awl (a sharp nail is suitable instead of an awl), pliers, a bolt with nuts or a self-tapping screw.
Getting to the assembly of the alcohol burner:
Step one. Cut the first element of the burner
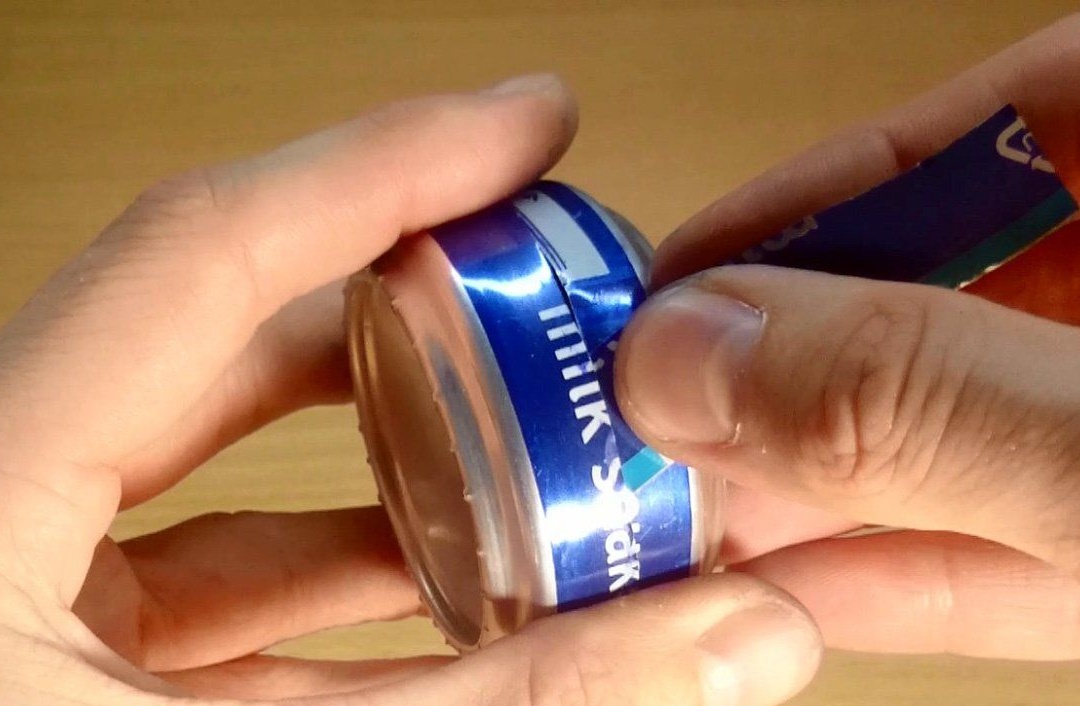
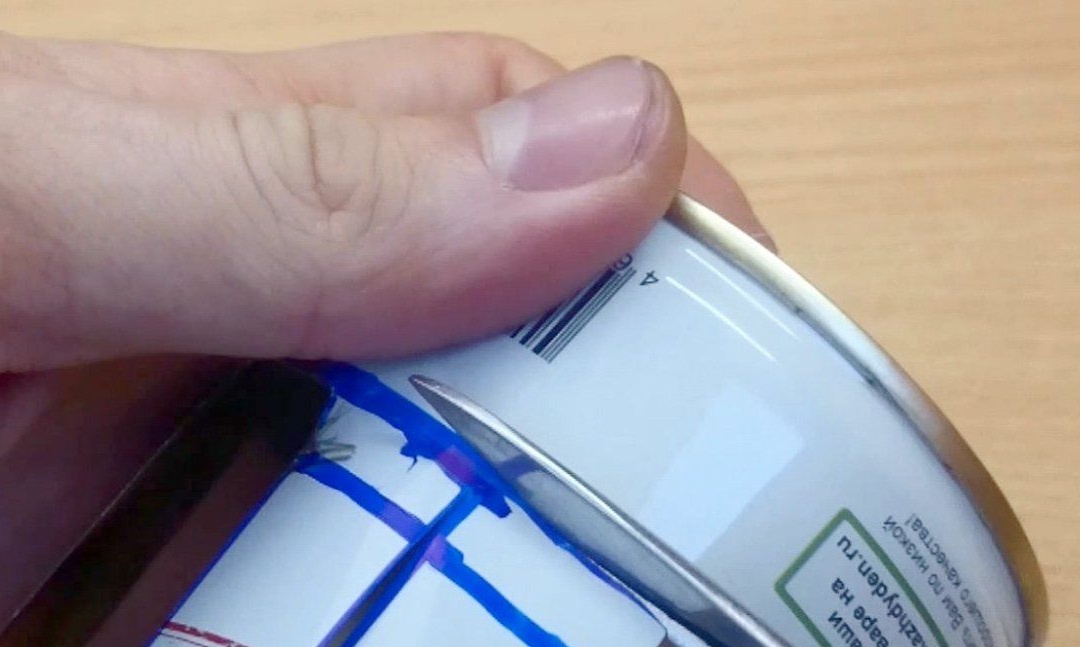
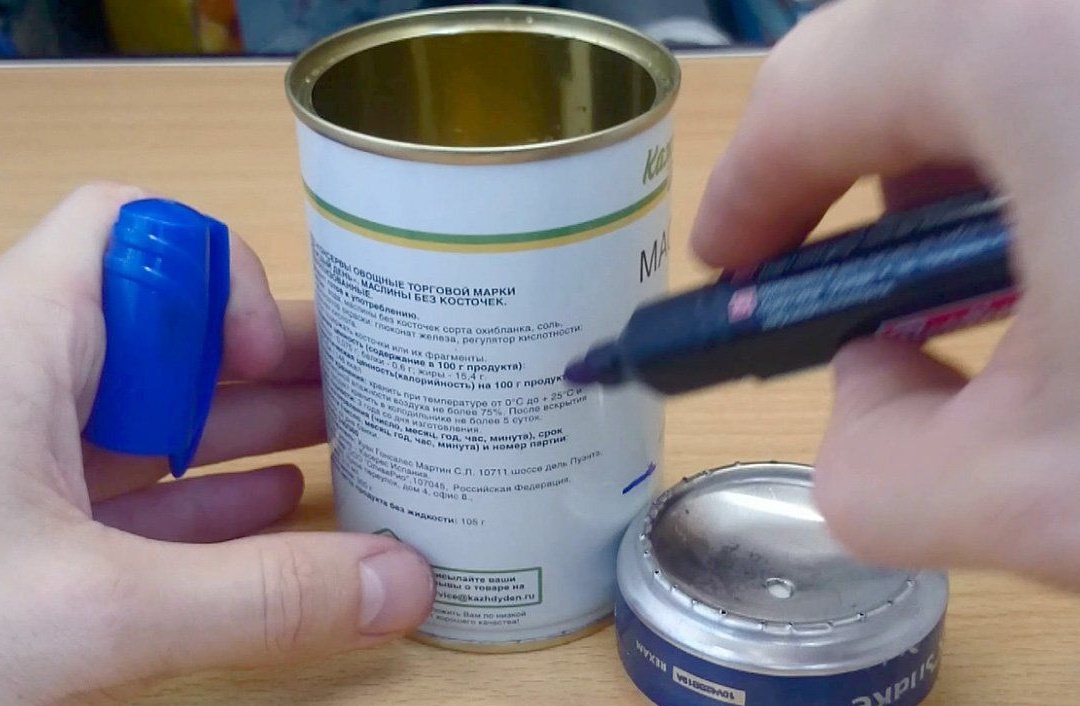
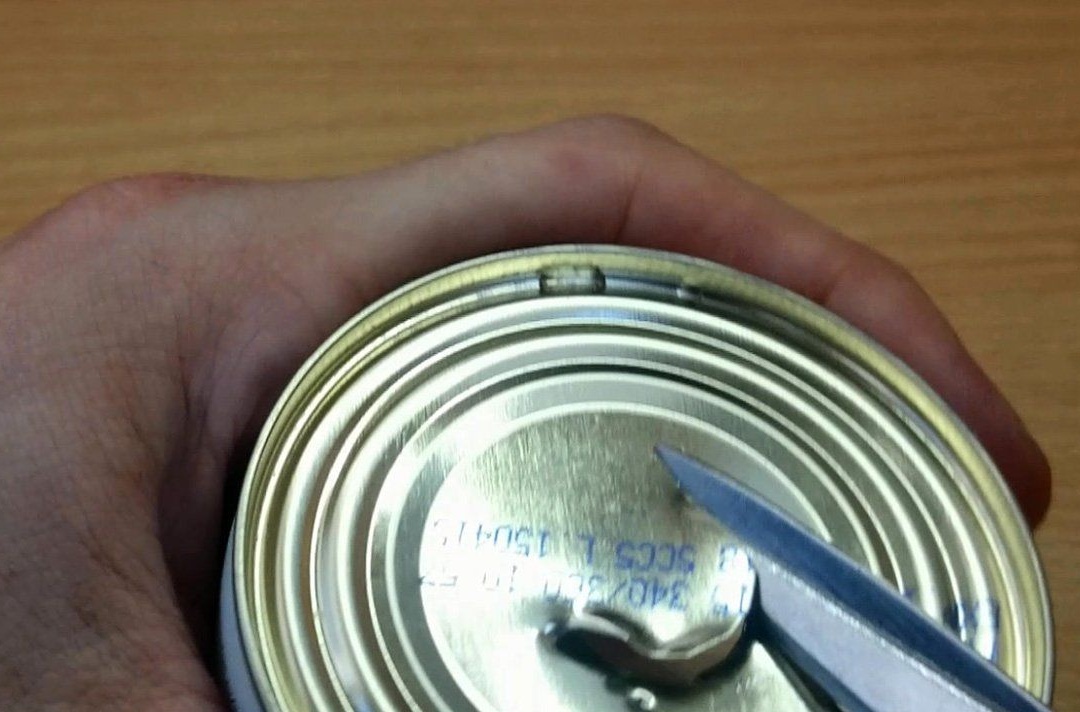
The first element of the burner must be cut out of the can; for this, 17 mm should be retreated from the bottom. After that, a marker draws a ring line. To keep the line straight, the marker can be fixed at the desired height, and then rotate the jar.
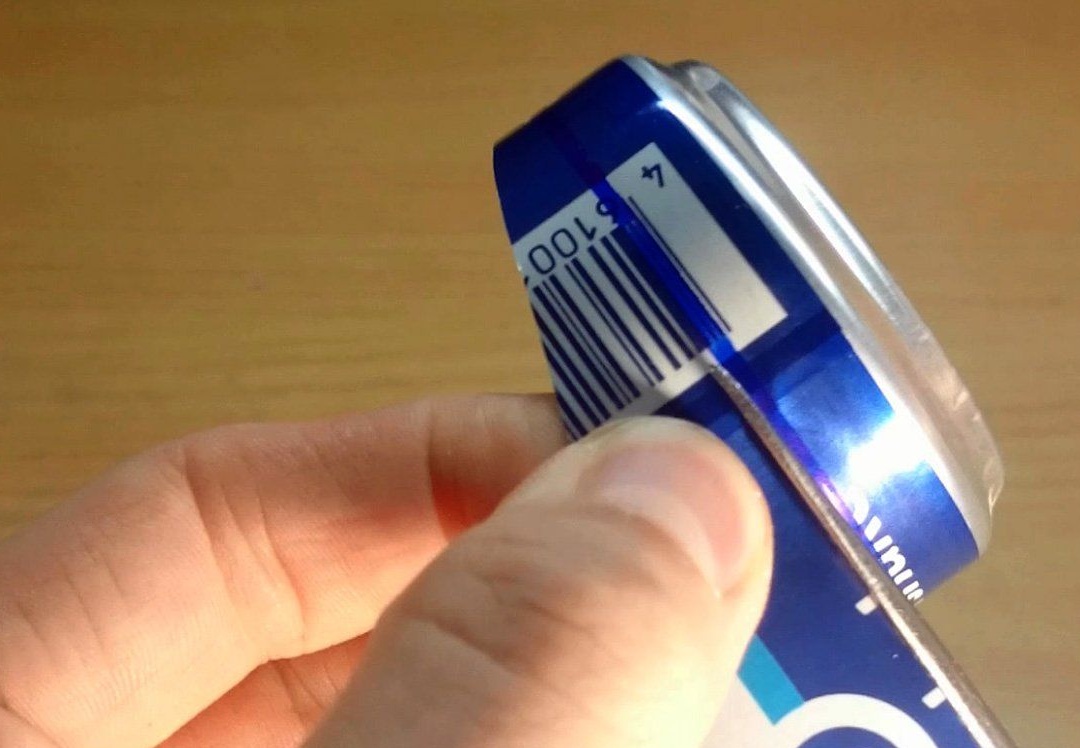
Now this part must be carefully cut along the drawn line. In total, such spare parts need two jokes, one must be 17 mm high, and the second 25 mm.
Next, in the cut bottom, you need to make holes, maintaining a distance of 4-5 mm between them. It is important that the diameters are approximately the same. For these purposes, you can use an awl or a nail. Punching holes is most convenient on the shelf.
In the end, everything should be as shown in the photo. If you make holes of a larger diameter, the flame will be higher.
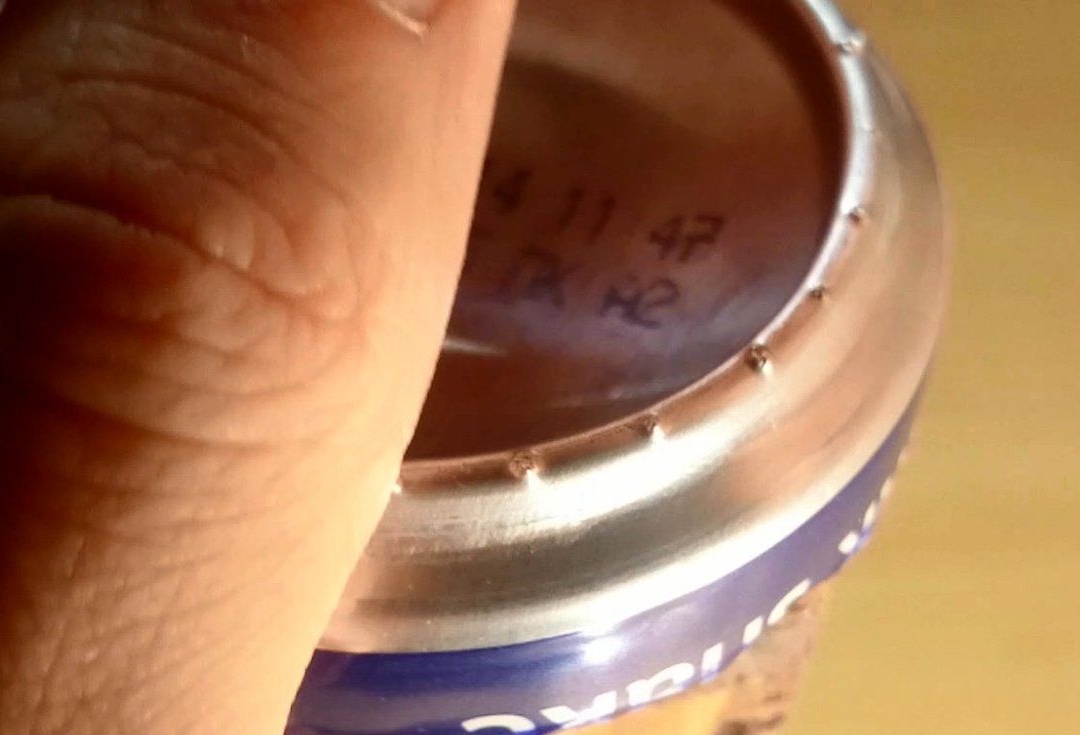
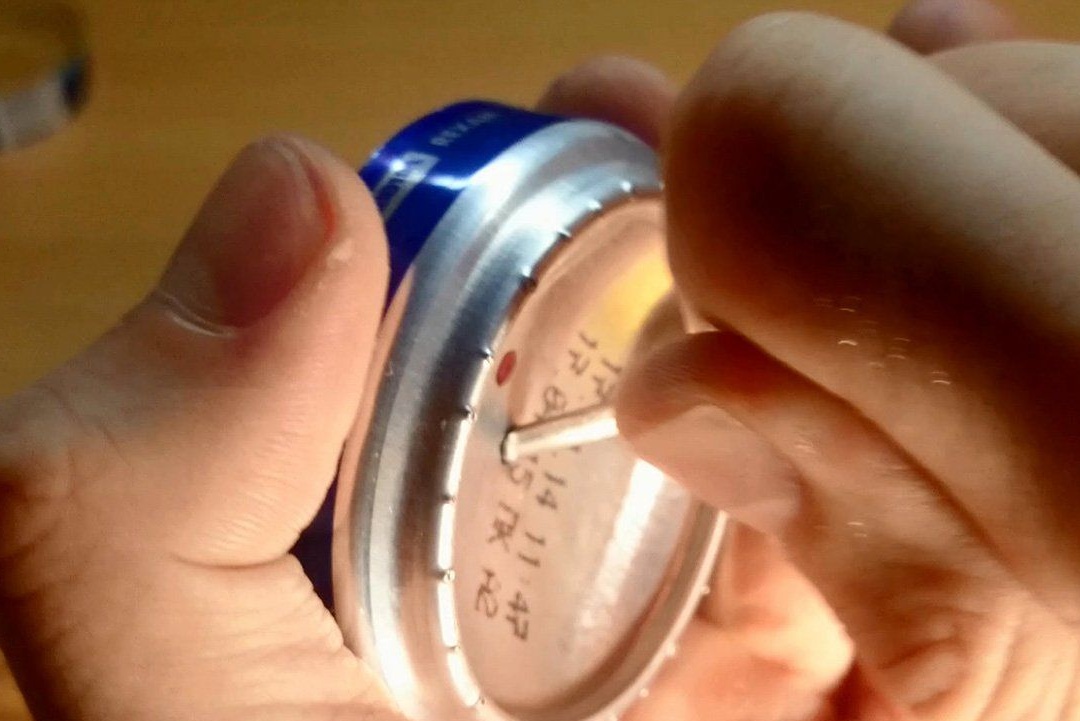
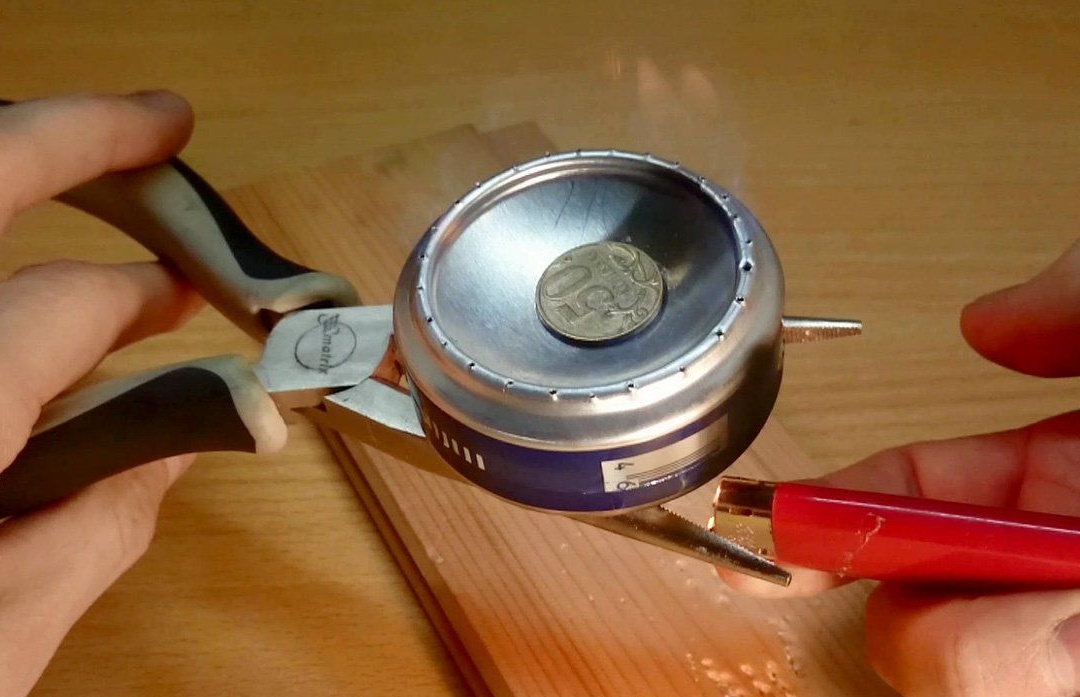
Even in the center of the bottom you need to make one big hole. In size, it should be smaller than a coin.
Step Two We connect two elements together
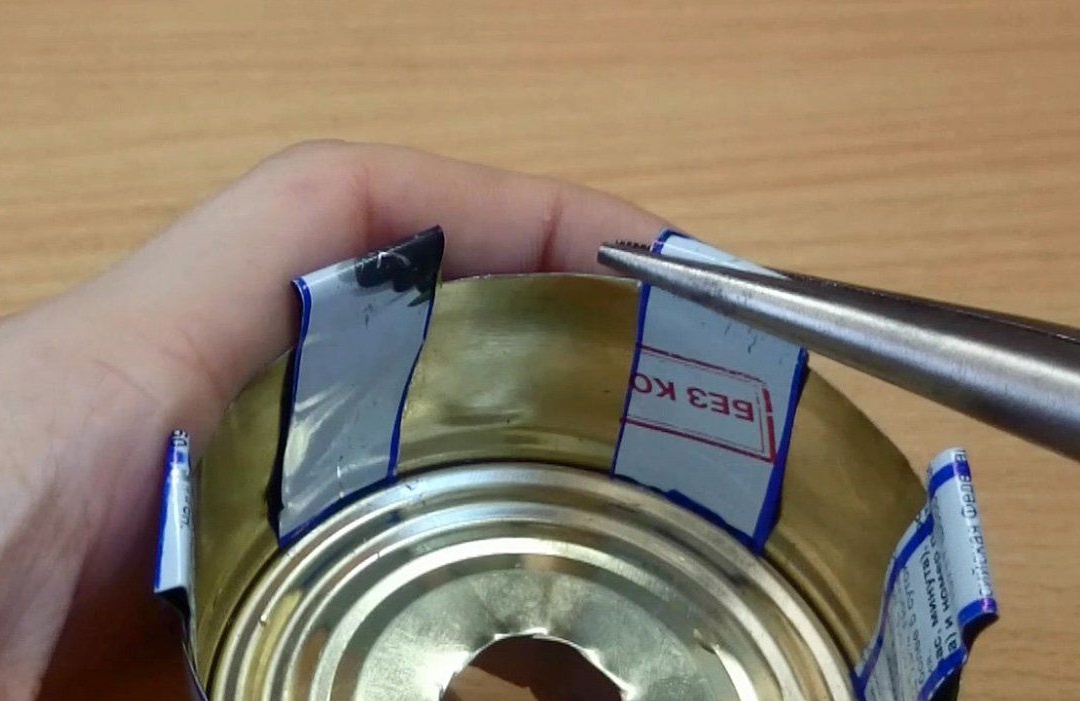
In the bottom, which is 25 mm, you need to put a cotton cloth. It can be cotton wool or cotton pads.Next, the bottom with the holes should be put on top of the bottom with cotton. They need to be connected so that there is no bias. The edges can be seasoned with a piece from the same can.

Step Three Burner testing
Through a large hole, you need to pour alcohol or other liquid fuel into the burner, for example gasoline. Next, the hole is closed on top with a coin. A coin is needed so that the burner does not explode at overpressure. If there is excess pressure in the burner, the coin will simply shift and excess gases will exit the burner, but it will not break.
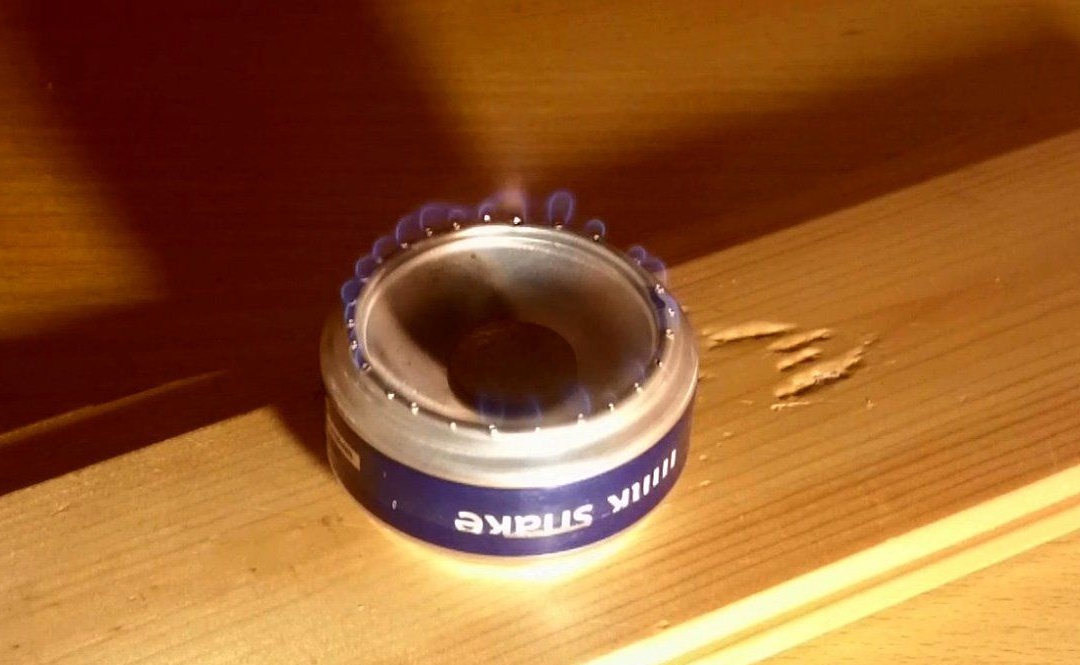
To start the bottom of the burner, you need to heat it with a lighter or matches, and then set fire to the vapors that will come out of it. Well, then the burner will warm itself and burn as long as there is fuel in it.
Step Four Making a cap to extinguish a burner
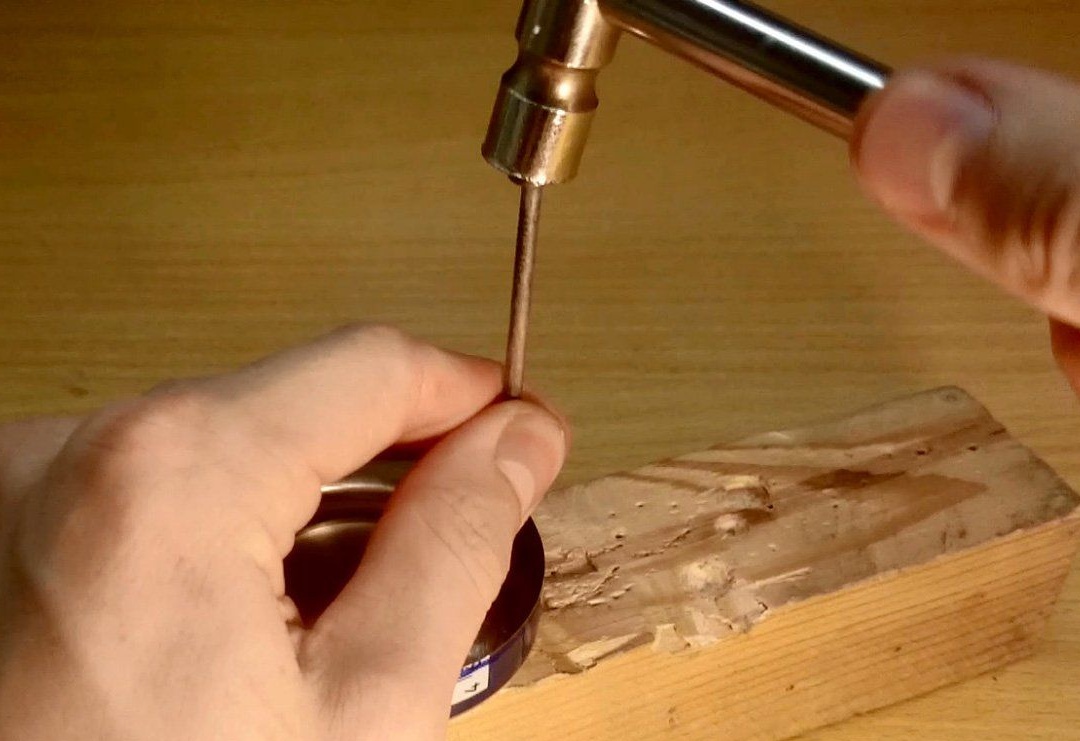
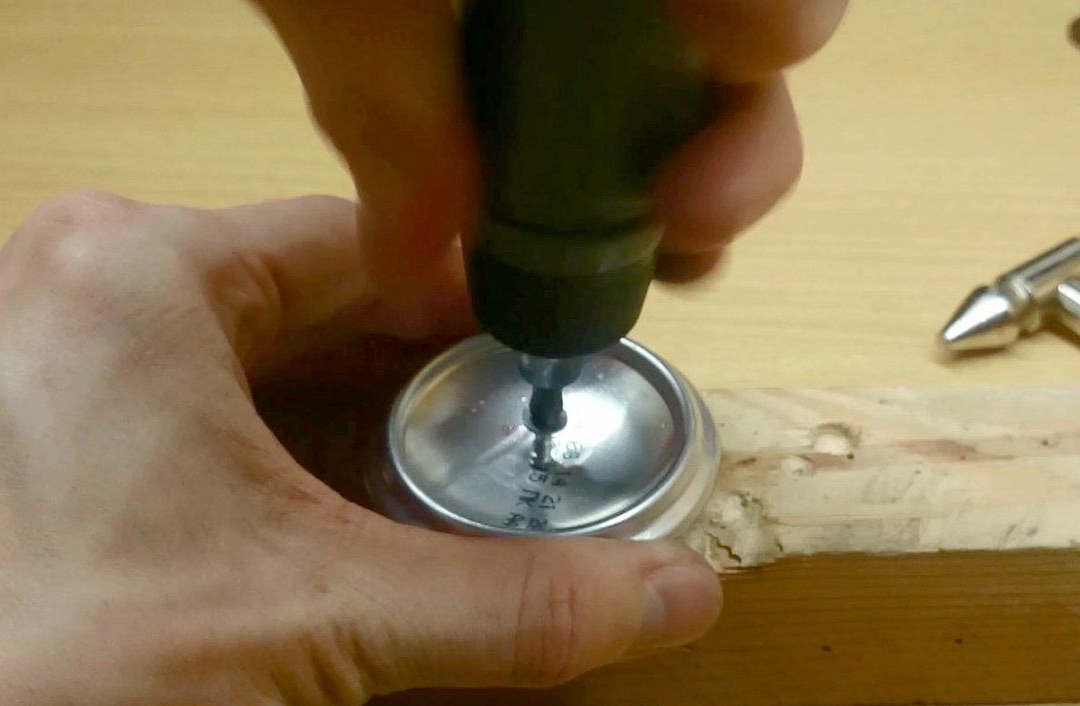
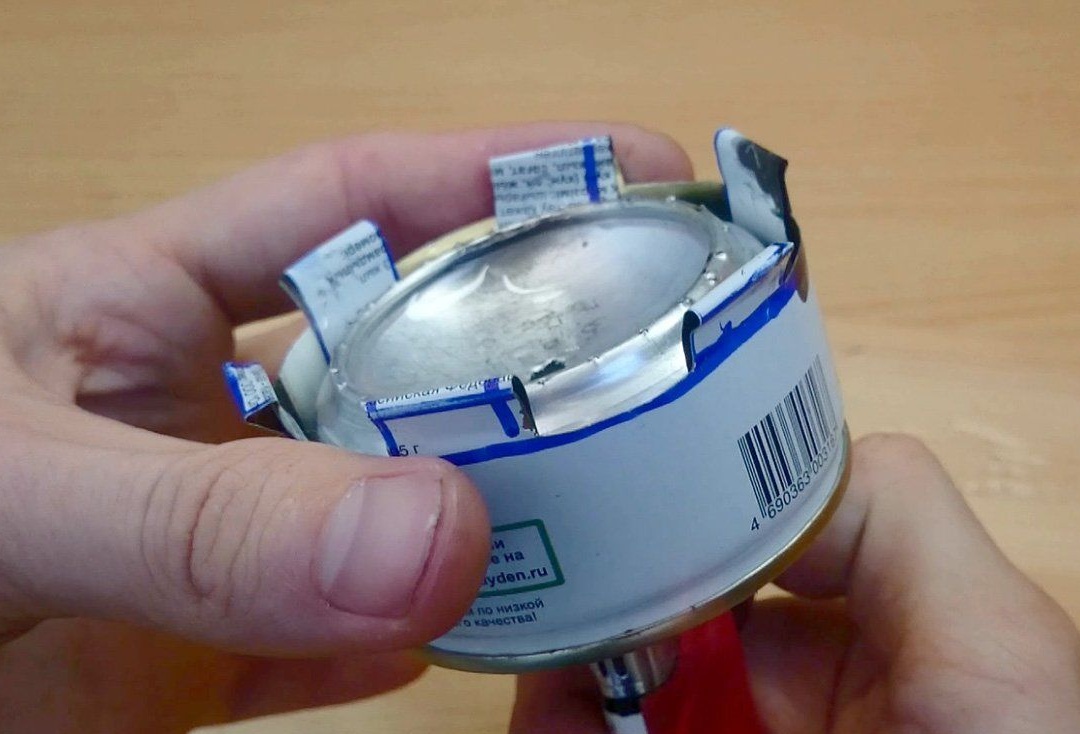
Besides the lighter extinguishing the burner, it also prevents the fuel from evaporating when it is not burning. To make the lid, you will need another jar, from which you need to cut the bottom.
In the center of the bottom, you then need to drill a small hole and screw in the screw.
Step Five How to make a stand for dishes
To turn the burner into a stove, you need to make a stand for dishes. For these purposes, you need a jar of a slightly larger diameter. To determine the height of the stand, on the bank first you need to make a mark at the height of the burner. Next, this length must be doubled and the desired centimeters added, on which the dishes will be from the burner.
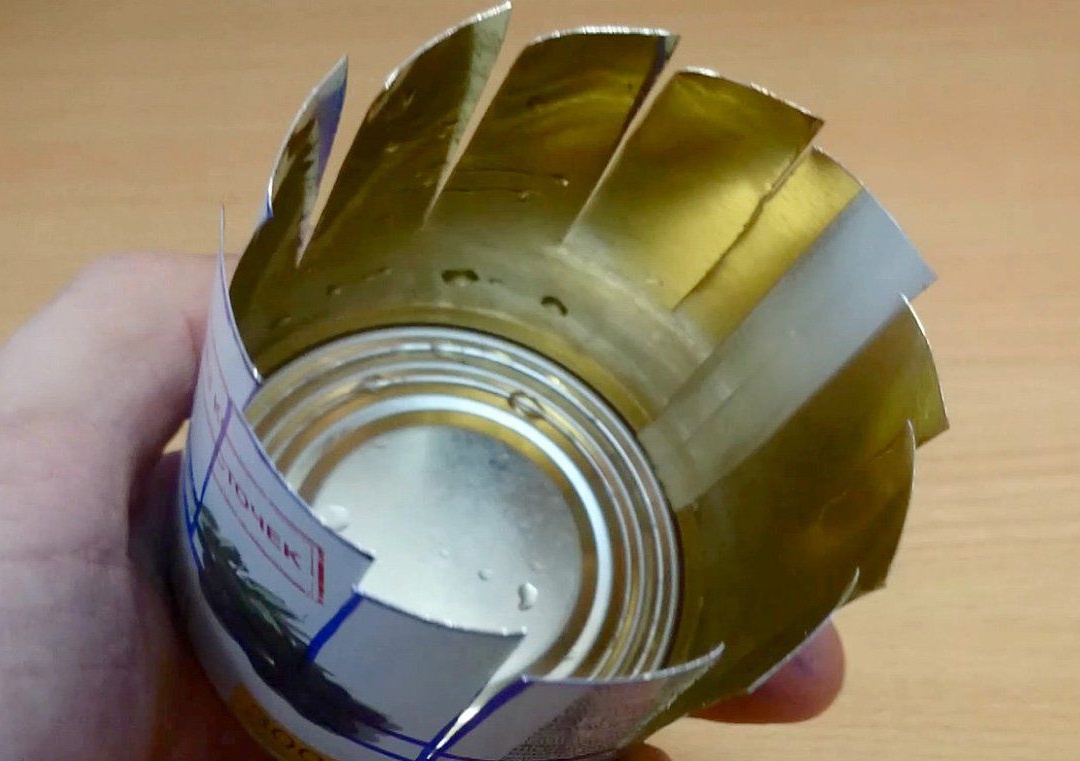
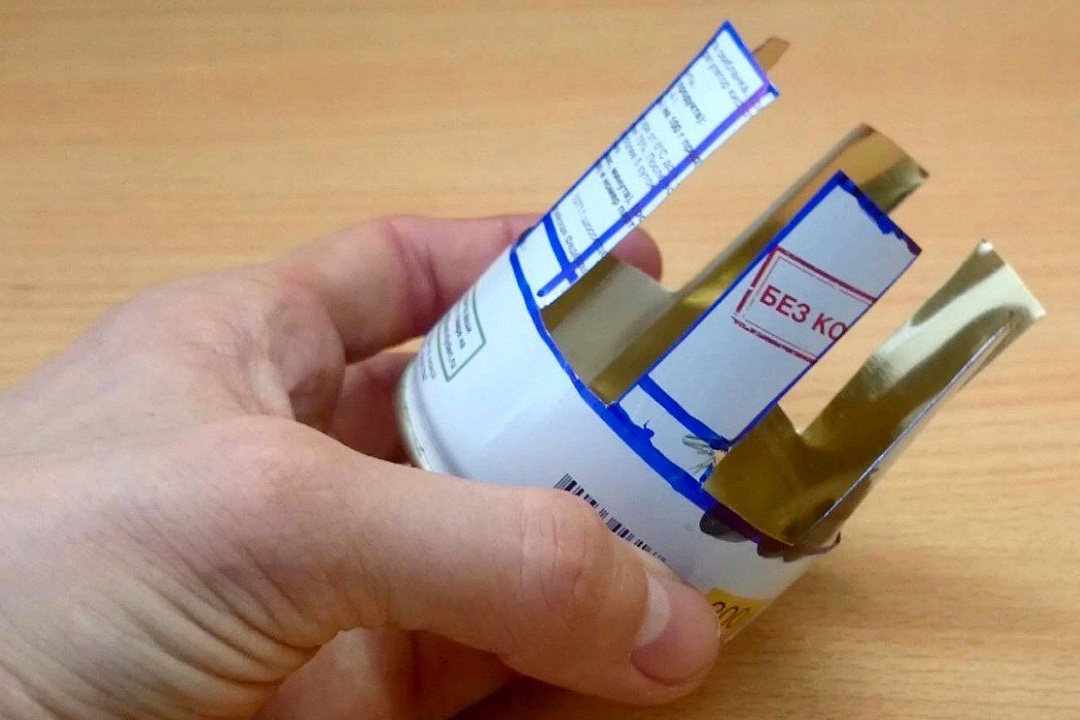
Then the jar needs to be divided with a marker into 12 parts, the excess is cut off along the ring line. Each line must be cut to the bottom ring. Then the resulting strips are cut through one, as a result, such a design is obtained as in the photo.
In the stand you need to cut a hole, it is necessary in order to heat the burner at startup. The strips need to be bent so that they rest against the bottom, thereby increasing the rigidity of the stand. That's all, then the burner is inserted into the stand and you can start cooking.
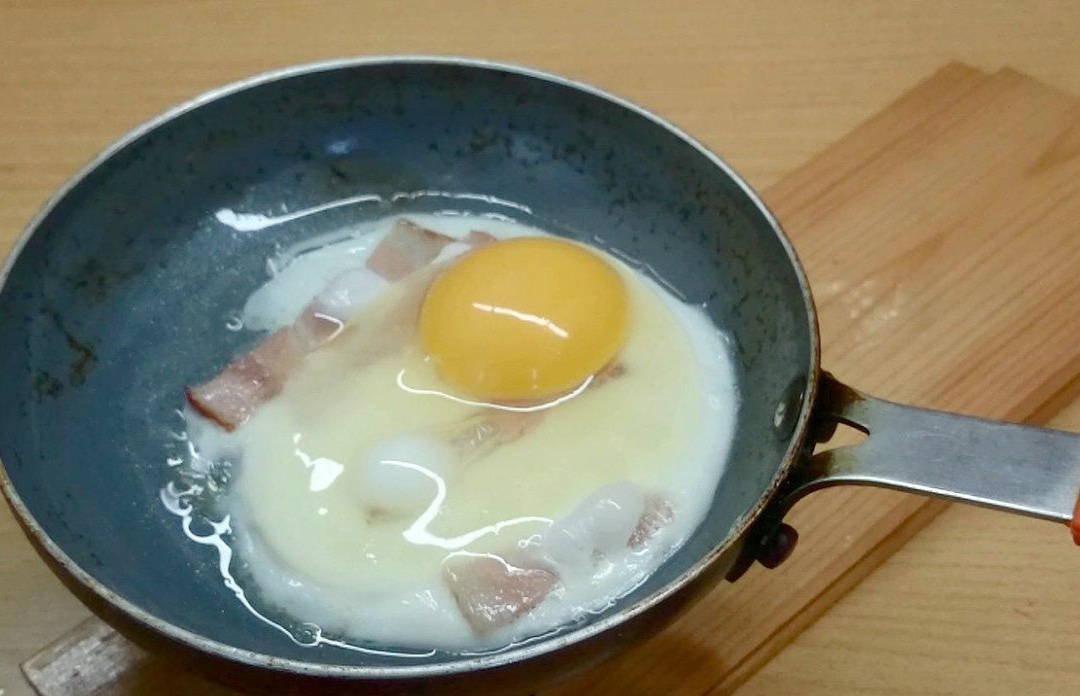
As an experiment on such a burner, an egg with bacon was fried without any problems. Its main advantage can be considered cheapness, it can be collected for free, all the necessary materials are constantly thrown away in large volumes. The burner is also not demanding for fuel, instead of alcohol gasoline or acetone is quite suitable, you can also try with other volatile liquids. In size, such a burner can be assembled by anyone, for this you just need to find banks of a suitable size. You can collect a huge burner from cans of paint.