Often for homemade a glass cylinder is required, which is not so easy to find. After all, it’s quite difficult, without the necessary tools, to cut a glass tank or bottle. Of course, you can use the old-fashioned technology, like a rope dipped in gasoline and cold water. But such an approach does not allow to obtain an absolutely even plane of cleavage of a bottle or can. In this regard, one author decided to collect for himself such a specialized machine.
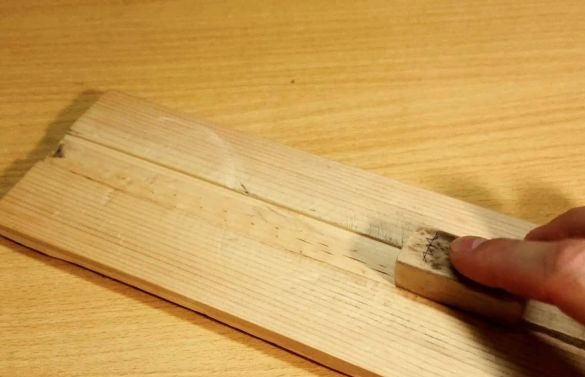
The tailstock of the machine is movable, so you can adjust the length of the cut piece of the can. The dimensions of the bar are 19X19, and the width of the groove of the lining is 20 mm. In this regard, the design moves perfectly in the groove in one line.
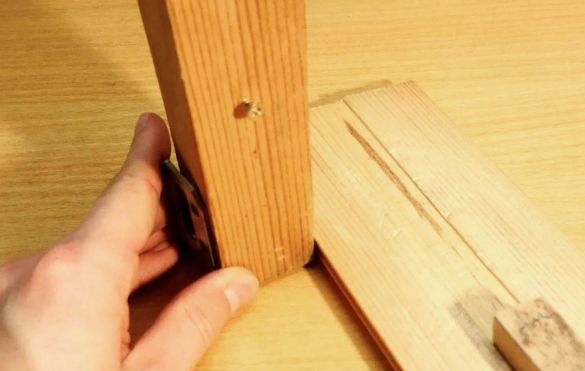
A block with a cross section of 20X20 mm is mounted perpendicular to the lining.
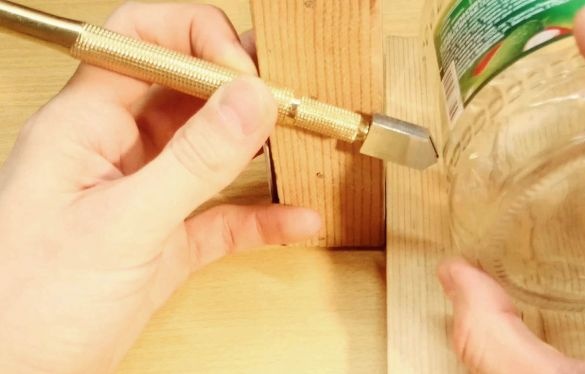
The cutting tool of the machine will be a conventional glass cutter. He is the most important part of this homemade product.
Materials and tools for the machine:
- a piece of plywood;
- glass cutter;
- a bar measuring 19X19 and a couple of centimeters long;
- steel corners (large and small);
- several M6 screws, washers and drum nuts;
- self-tapping screws;
- scrap of can.
Assembly Tools: scissors, drill, jigsaw, glue gun, screwdriver, hammer.
Machine assembly process:
Step one. Making a clamp for a glass cutter
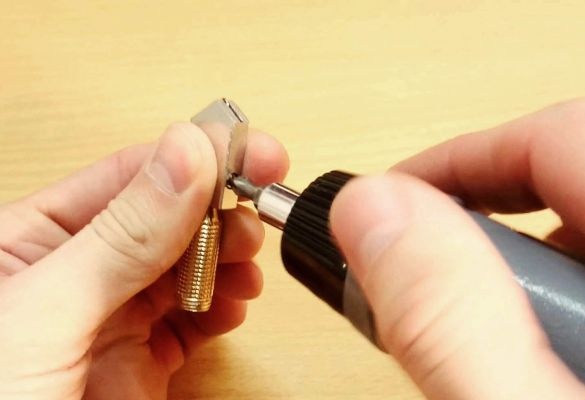
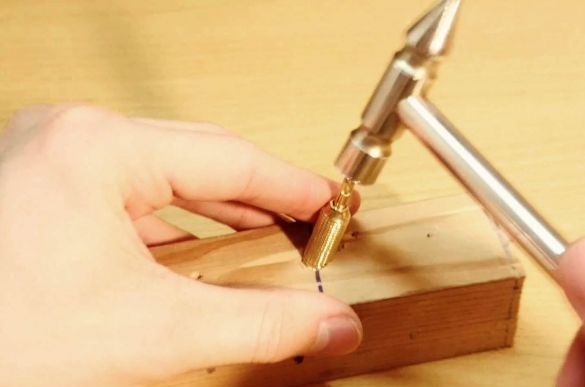
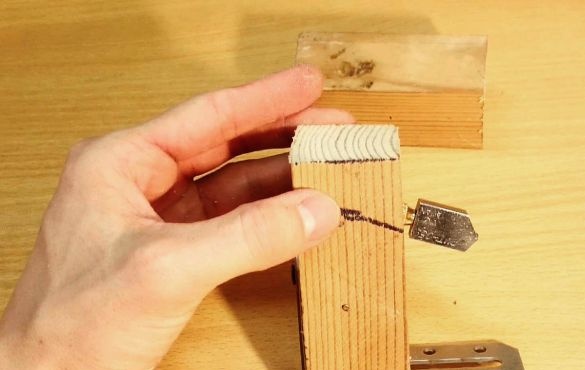
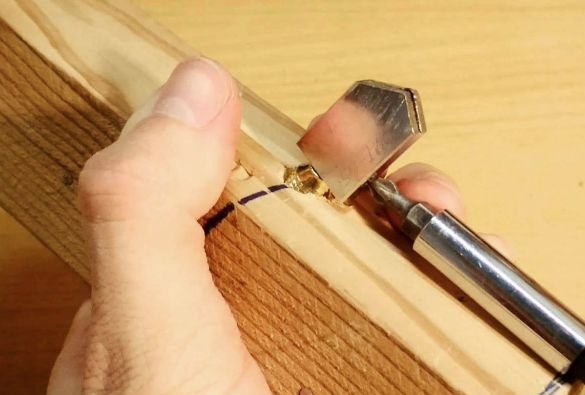
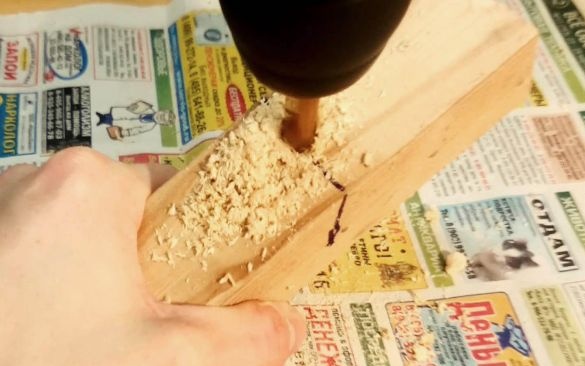
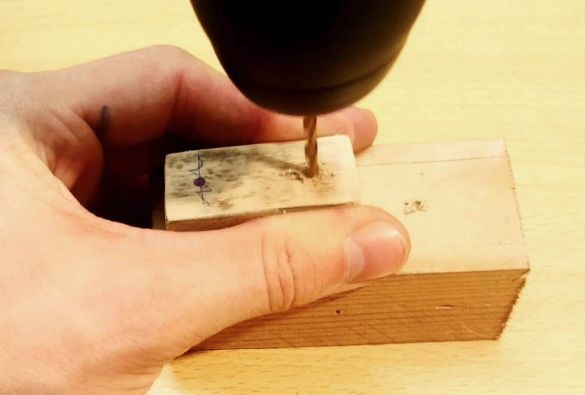
To fix the glass cutter in the machine, you need a piece of the bar, in it you need to drill a hole slightly less than the diameter of the glass cutter. The glass cutter itself needs to be disassembled, the author uses the common oil. Then it must be carefully driven into the hole so as not to bend. Well, then the glass cutter is going back, but already in the bar. The excess piece from the bar can be sawed off.
Step Two Tailstock
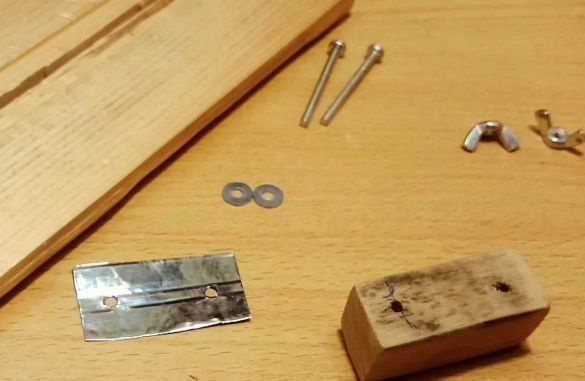
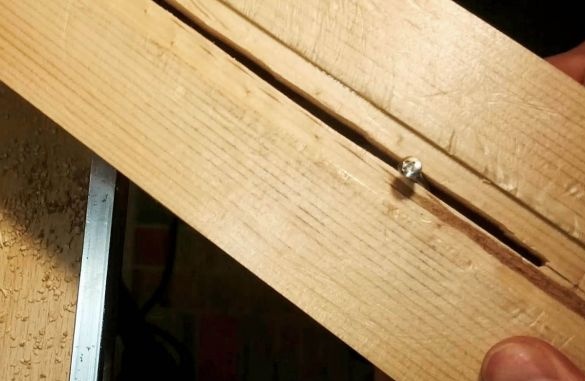
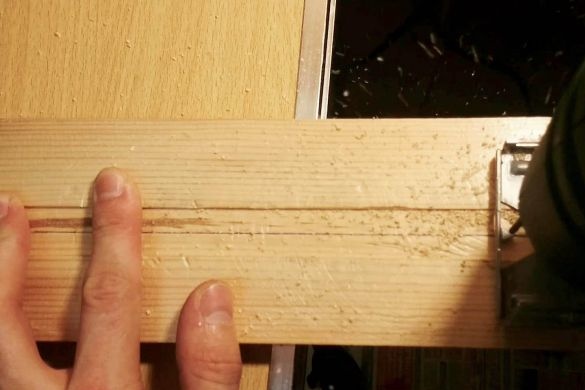
First, in the lining with a jigsaw, it is necessary to make a longitudinal groove. The width of the groove should be about 6 mm, in this regard, it will be necessary to saw in two stages. As a result, the groove should be such that the M6 screw can move freely along it.
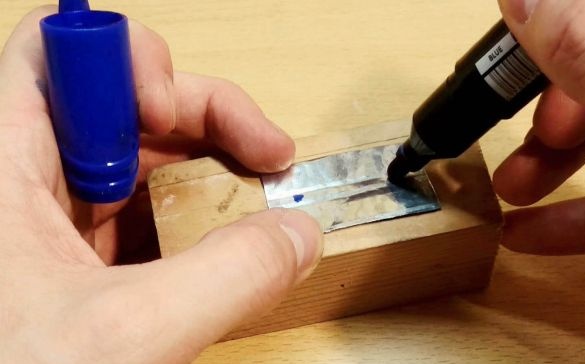
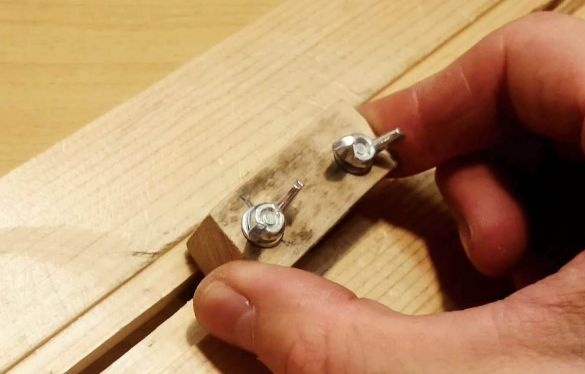
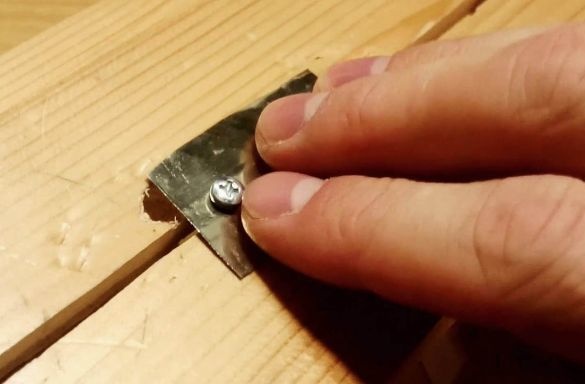
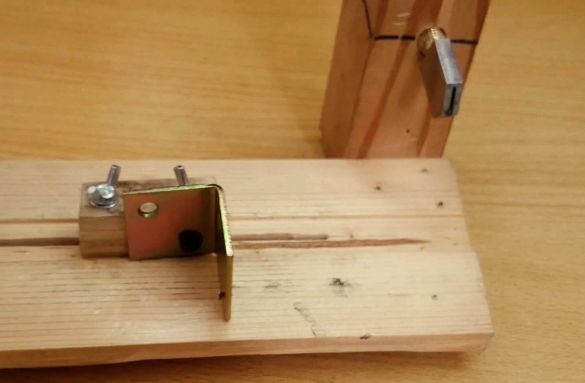
A grandmother will need a piece of a bar 30-40 mm long. For him, from a tin can you need to make a plate exactly the same size as himself. Next, a drill is taken and with it two through holes are made in the plate and the bar. Well, now the headstock can be assembled, from the bottom side two screws are screwed into the block through the lining, they must come out from the other side. Washers are put on the upper side, and the structure is pulled together by nuts with drums.A metal plate made from a can is lined on the underside.
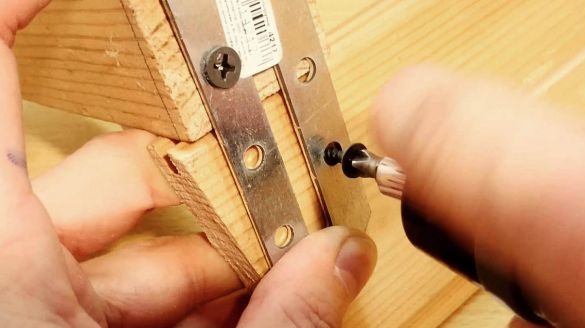
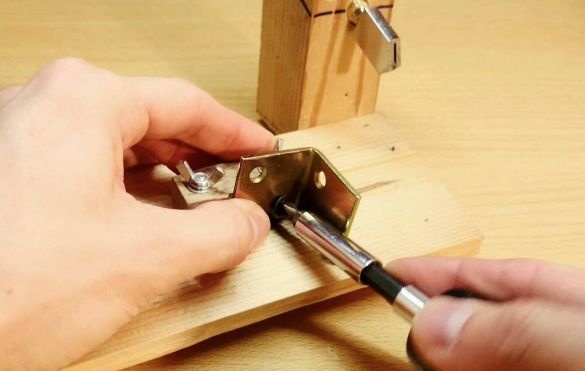
The block to the lining is attached to a large corner.
Step Three Legs for the machine. The final stage of assembly
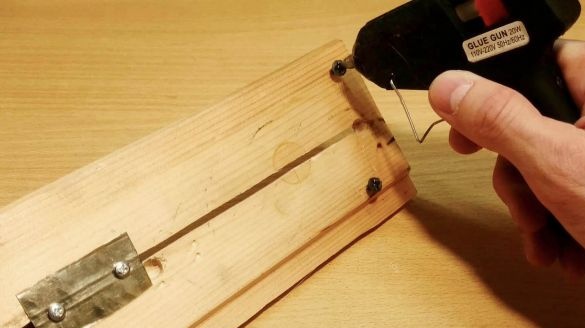
Since the corner sticks out on one side, you need to make at least some legs for the machine, since the whole structure is swinging on a flat plane. As legs, the author used four self-tapping screws that were screwed in the corners of the homemade product. The tips of the screws can be smeared with hot glue, while they will not scratch the table, and the machine will stand more reliably.
After a corner is screwed to a small bar, the machine is ready for battle and you can proceed to the tests.
Step Four How to use the machine
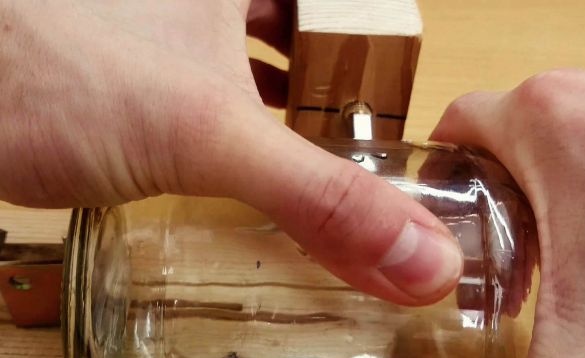
There are several ways you can use the machine. But in any case, you need to start with the following. The can rests on the machine and rests against the back wall. First you need to configure the desired size for cutting, that is, determine the length of the future vessel. Further, the can is pressed against the glass cutter with good effort and it needs to be rotated at the same time. In this case, an unpleasant cracking and scraping sound should be heard, and a light line will form on the bank. In this case, it is necessary to ensure that there are no gaps and the scratch goes exactly in the circle of the can. If you pass several times in one place, it is quite possible that the bank will wag, and tubercles will form.
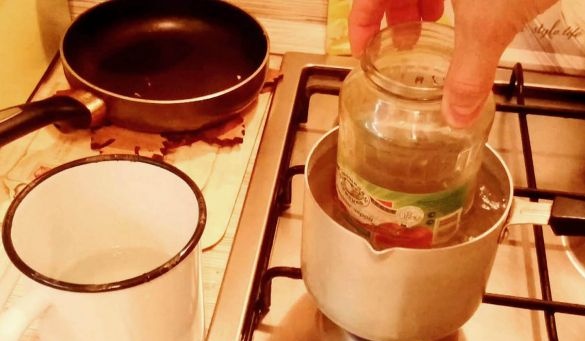
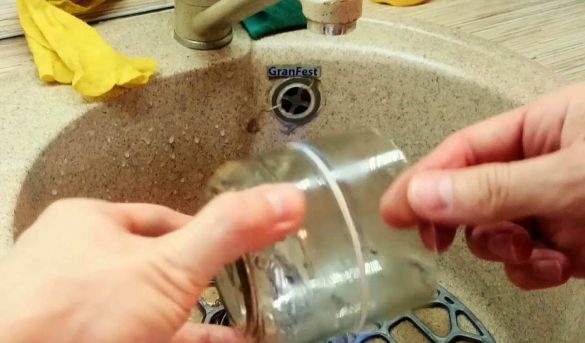
Well, then you can begin to divide the banks into two vessels. In the first case, you will need two bowls of water, in one the water should be hot, and in the other cold. The jar must first be lowered to the scratched line in hot water, and then sharply in cold. As a result, the bank will crack clearly on the right line.
You can still use the classic way, that is, wrap the jar in a line with a rope of flammable liquid and set it on fire. Then the can, as in the first case, is lowered into cold water. Only in this case the bank breaks better than in the classic version, that is, without using a machine.
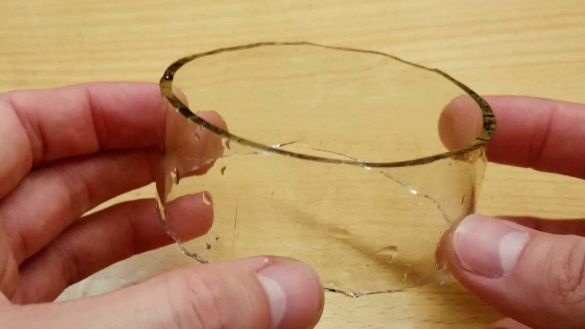
The result is two halves of the jar with smooth edges, which is difficult to achieve when using other classic methods. In the photo you can see how the jar is cut using different methods. On the one hand, it was cut off as in the first method, and on the other as in the second. You can immediately see the differences.

