» Fixtures »Need a whiteboard? Do it yourself

Need a whiteboard? Do it yourself


For those who constantly master something, or just like to think about something, a marker board is simply an irreplaceable thing. On it you can quickly sketch your idea, scheme homemade, and then think about it. Also on such a board it is convenient to work as a team, everyone will finish drawing up their ideas, thoughts, and so a masterpiece will be born. In addition, with the help of such a board it is convenient to show the audience what exactly you want to do, demonstrate your ideas and more. According to the author, it took only one day to assemble the board, taking into account the search and purchase of the necessary materials. Such a board is hung on the wall.

Materials and tools for homemade:
- a sheet of hardboard;
- a sheet of baguette glass 400x600 mm and a thickness of 2 mm;
- boards with a cross section of 30x5 mm;
- self-tapping screws;
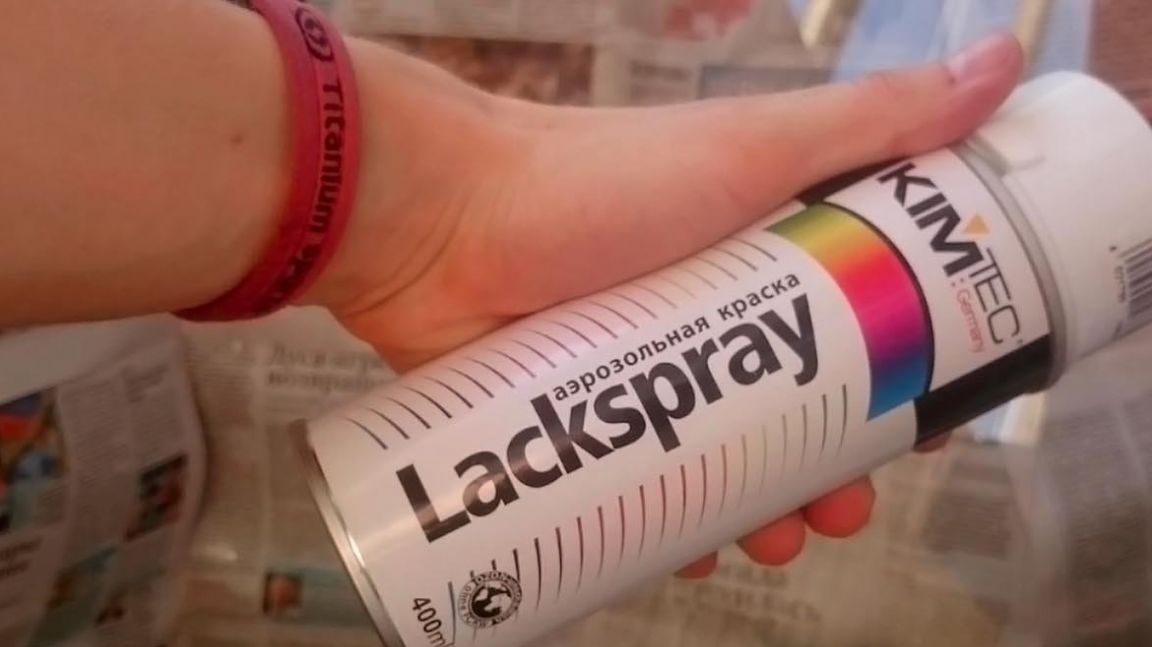
- aerosol paint of white color;
- bamboo skewers;
- white paper.

DIY tools: scotch tape, drill, jigsaw, glue and screwdrivers.

We collect a marker board:

Step one. Marker glass preparation
First you need to unpack the baguette glass, it was purchased by the author in a baguette workshop for only 250 rubles. Before painting, the glass must be degreased, for this you will need alcohol or any solvent. When processing, you must be careful, because the edges of the glass can be quite sharp and can be easily cut.


Step Two Glass painting
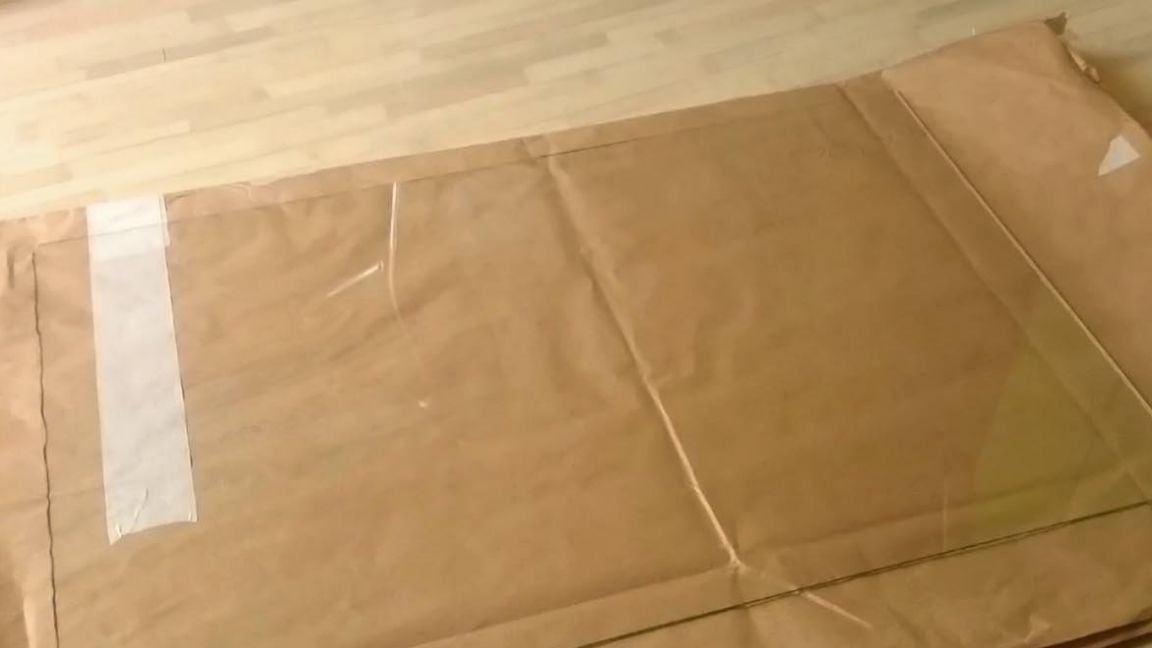
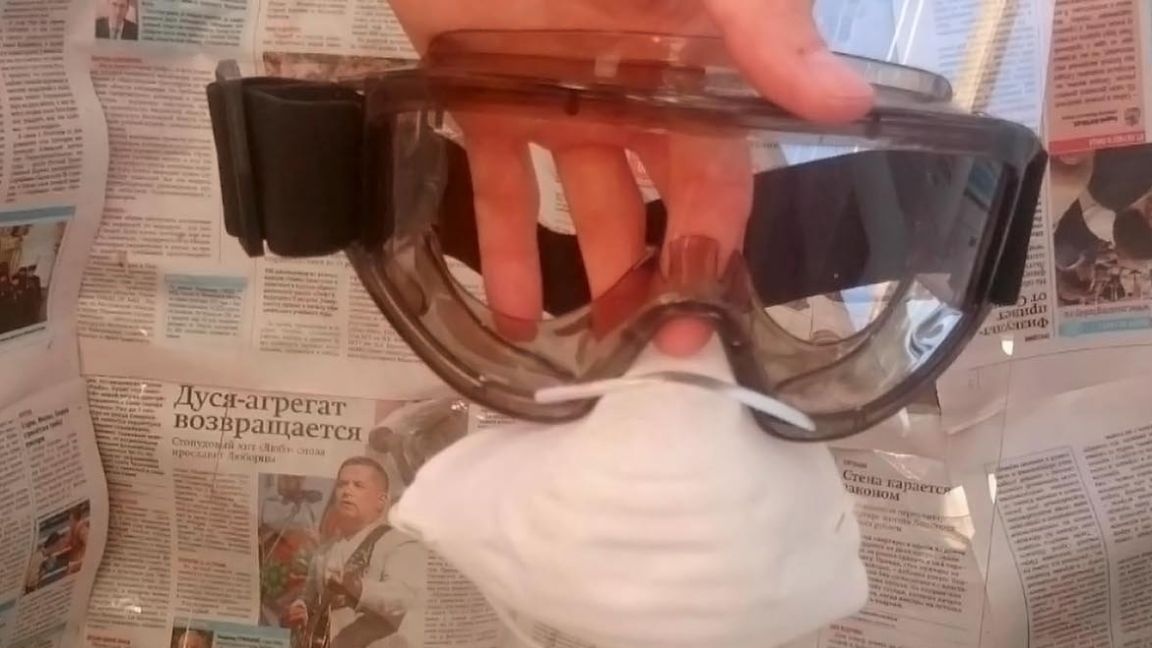
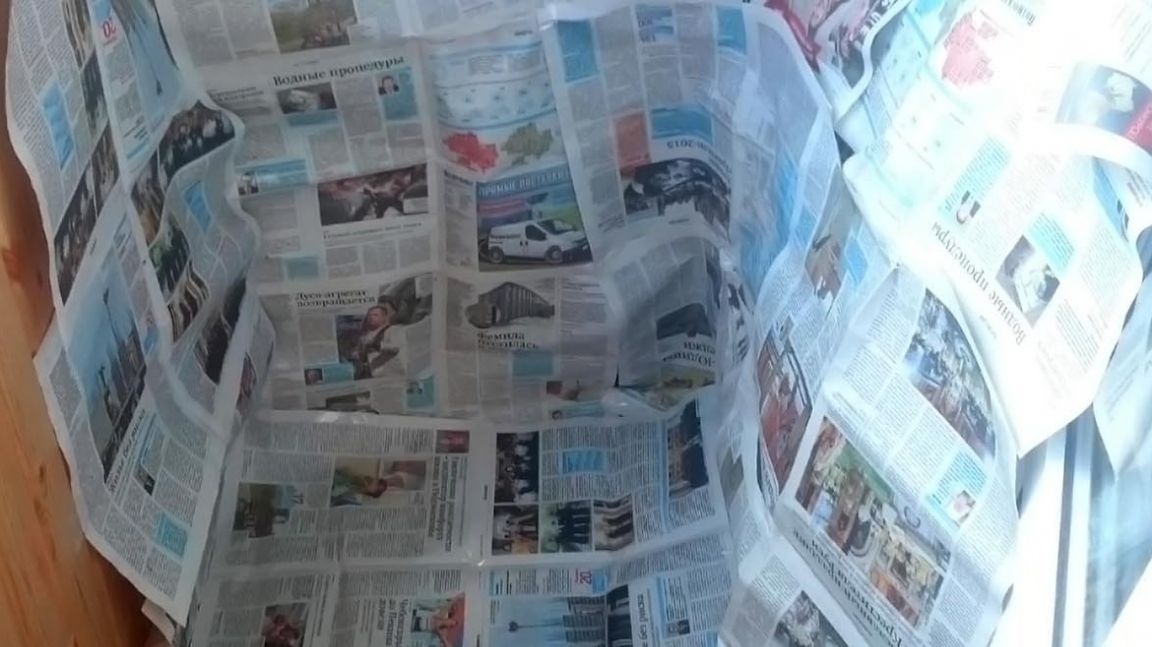
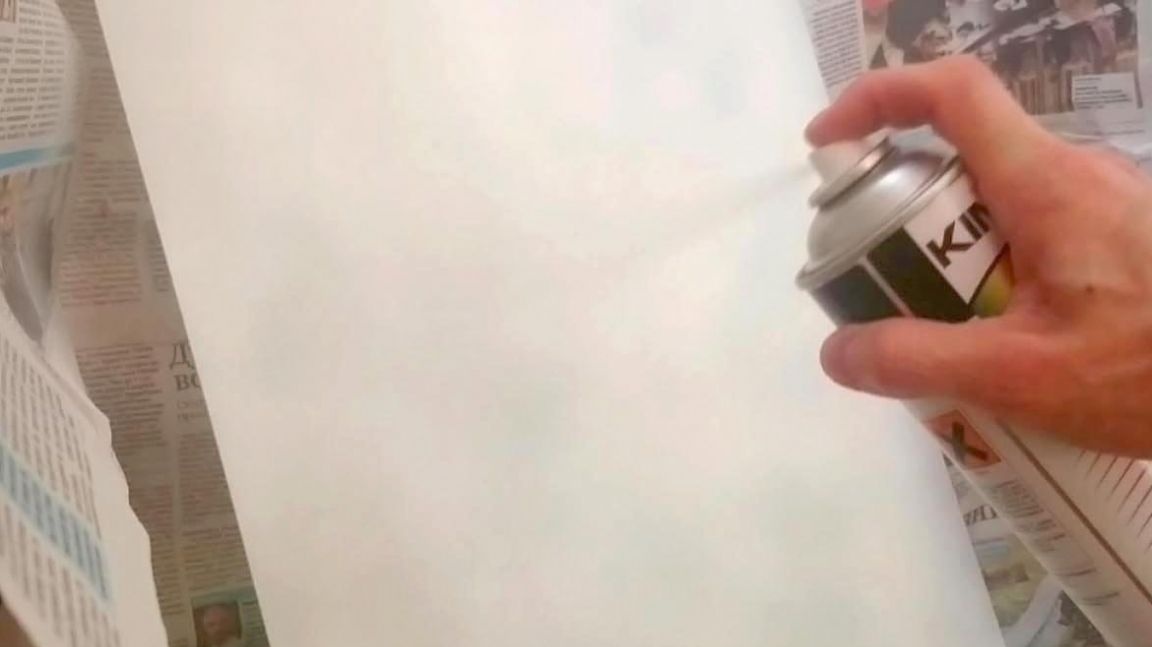
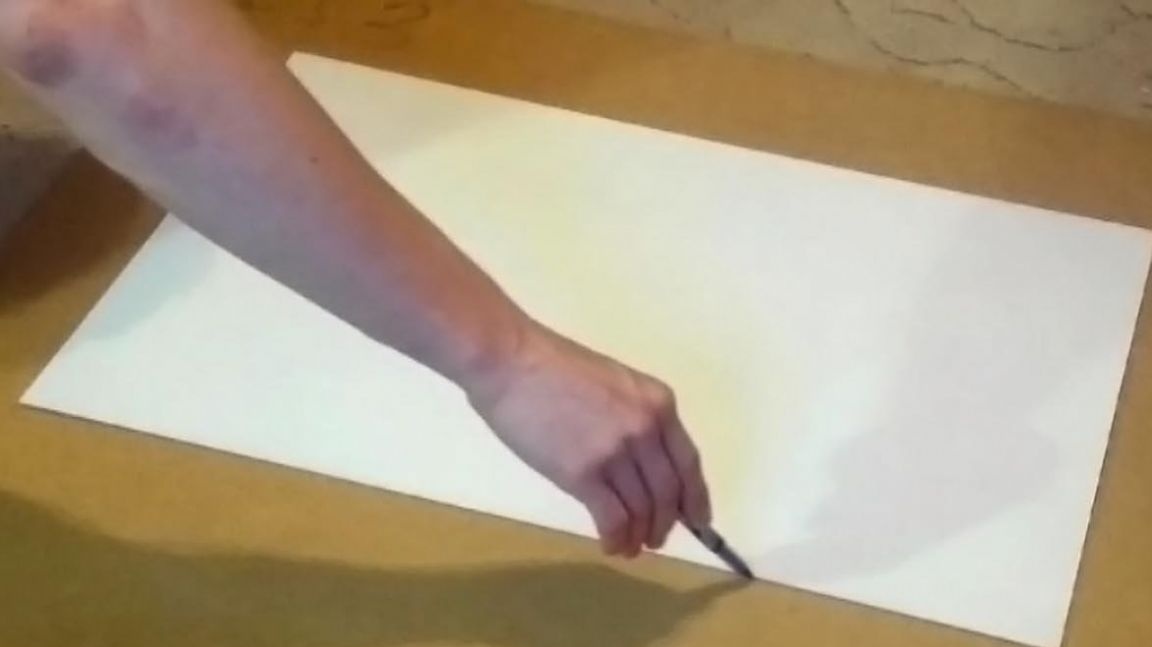
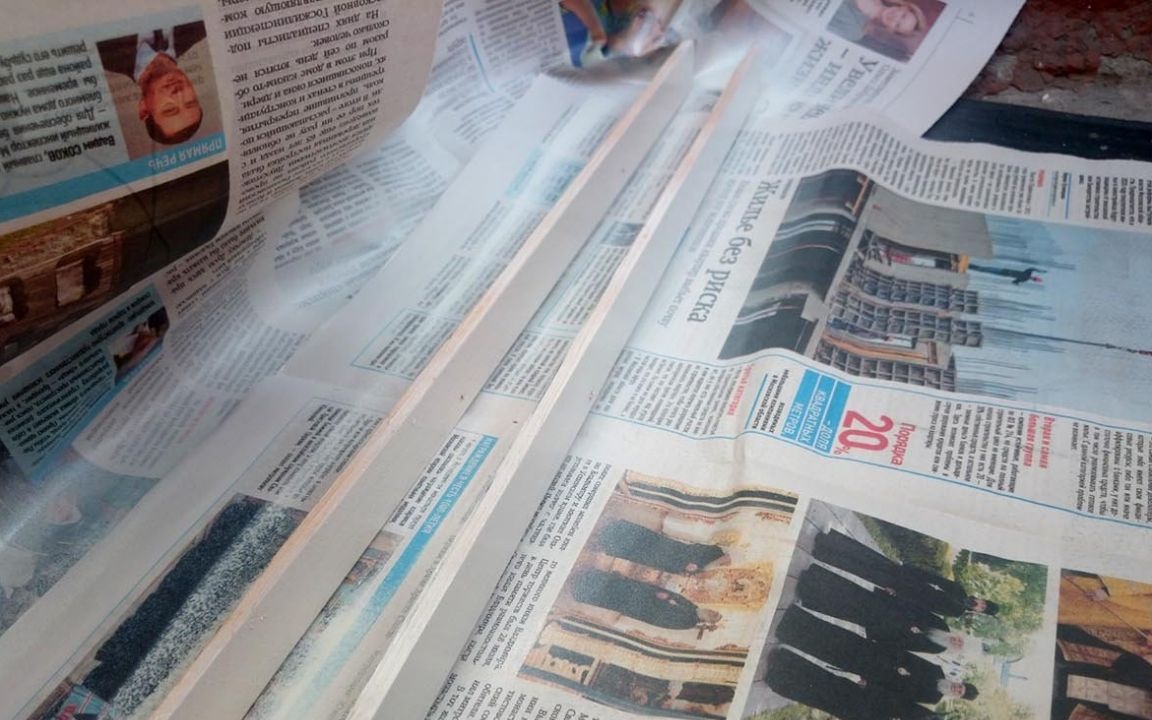
Since the glass was painted directly on the balcony, the author assembled a small paint shop from newspapers for these purposes. In the photo you can see the paint that was used for these purposes. You will also need a respirator, since a regular dressing does not save even in three layers.


In total, you need to apply 5-6 thin layers, between them you need to pause for 20-30 minutes, so that the paint has time to dry. You need to paint carefully, since even a slight smudge will spoil all the work.

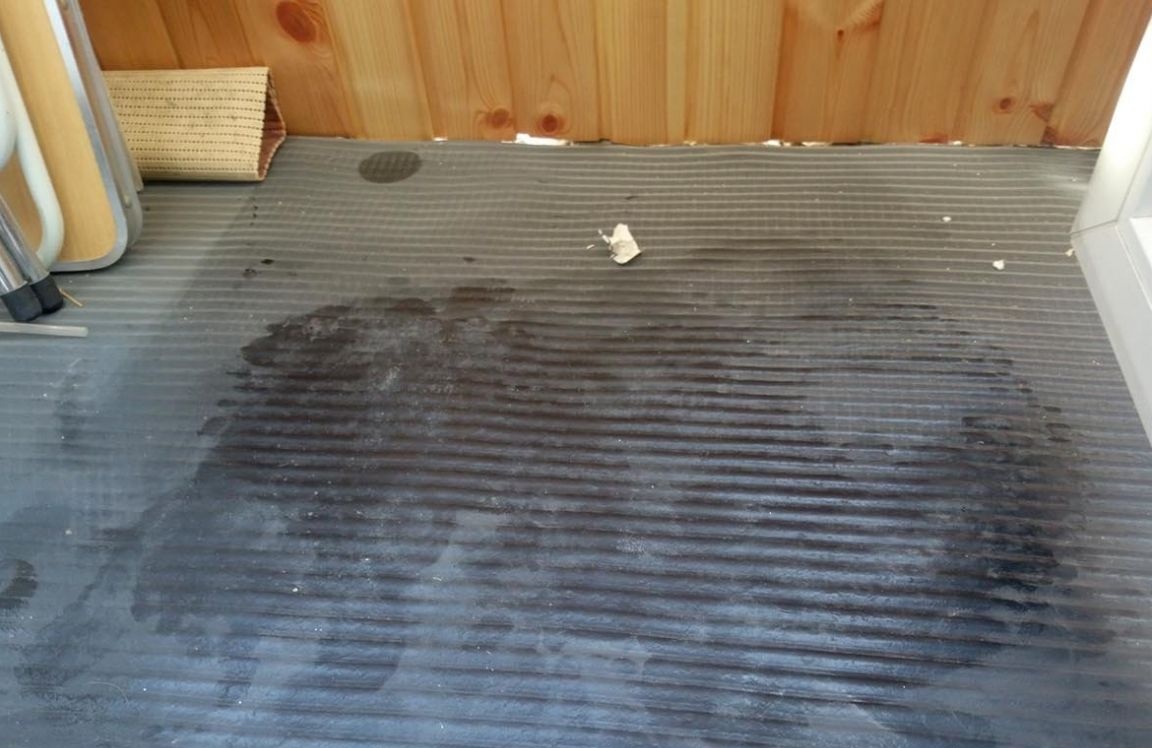
As a result, we had to do wet cleaning on the balcony, as the paint flew in all directions.


Step Three Sharp Edging
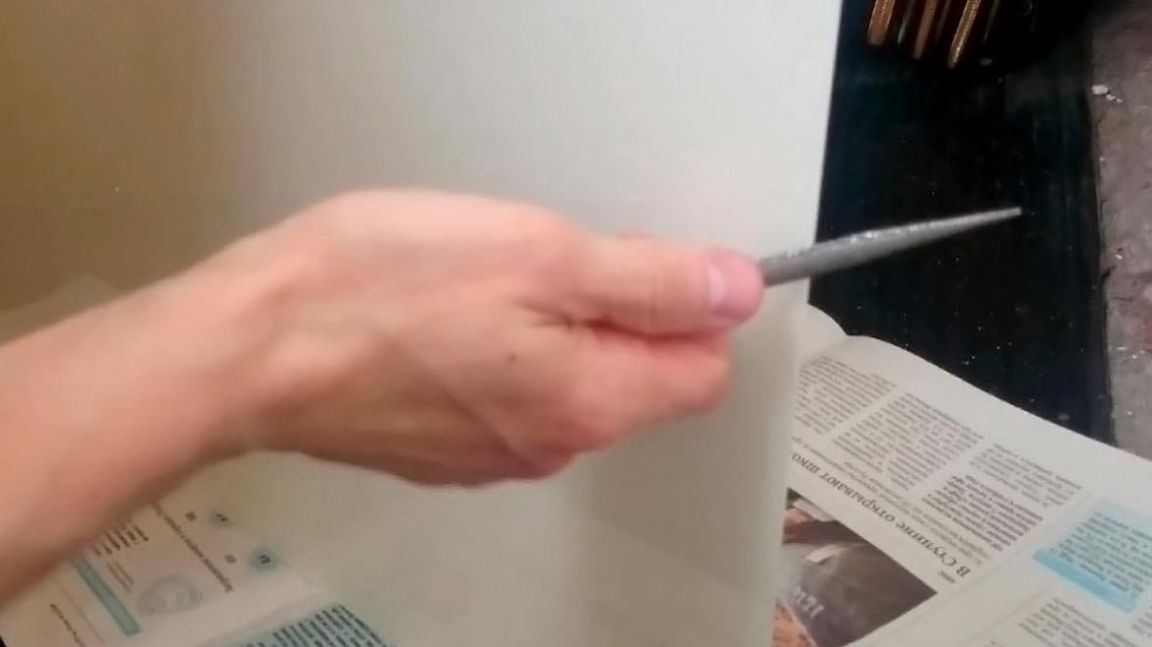
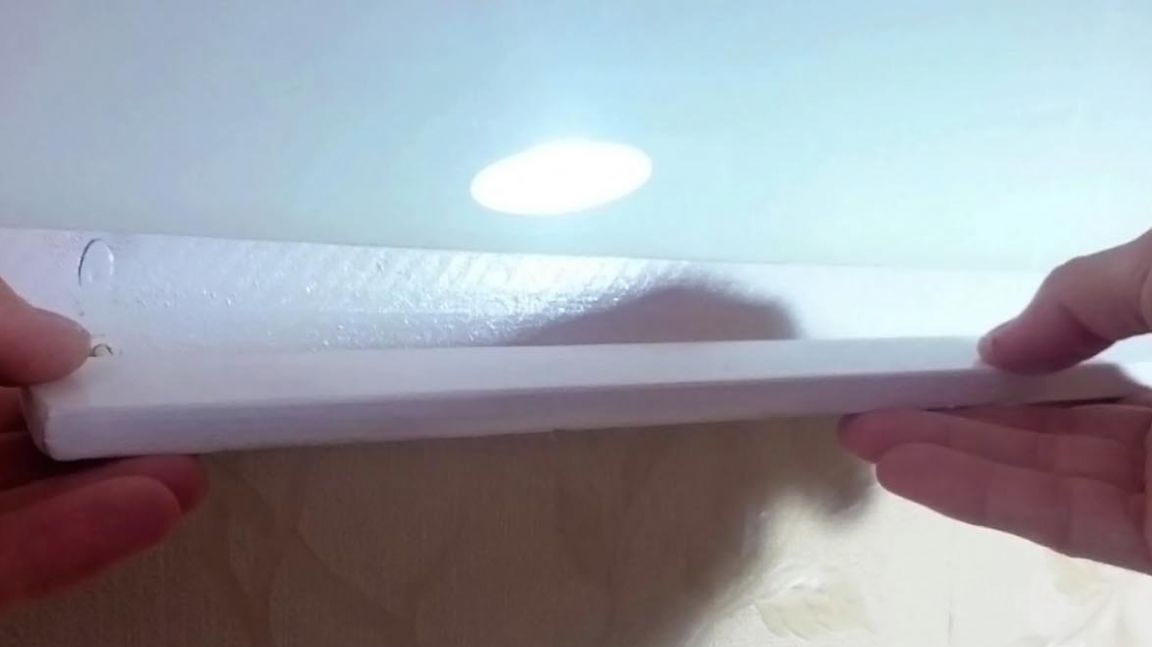
To remove sharp edges, a bevel was removed using a diamond file. When working with painted glass, you do not need to touch the painted surface, since the paint does not hold well and the coating can be damaged.

Step Four Making a frame for a breadboard
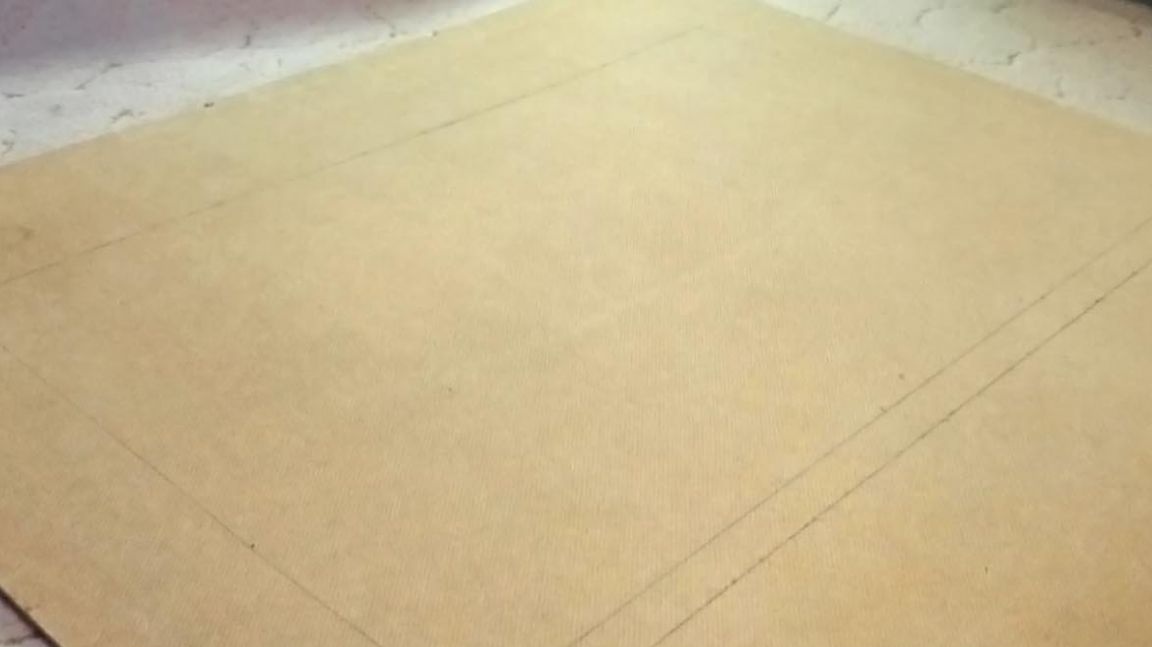
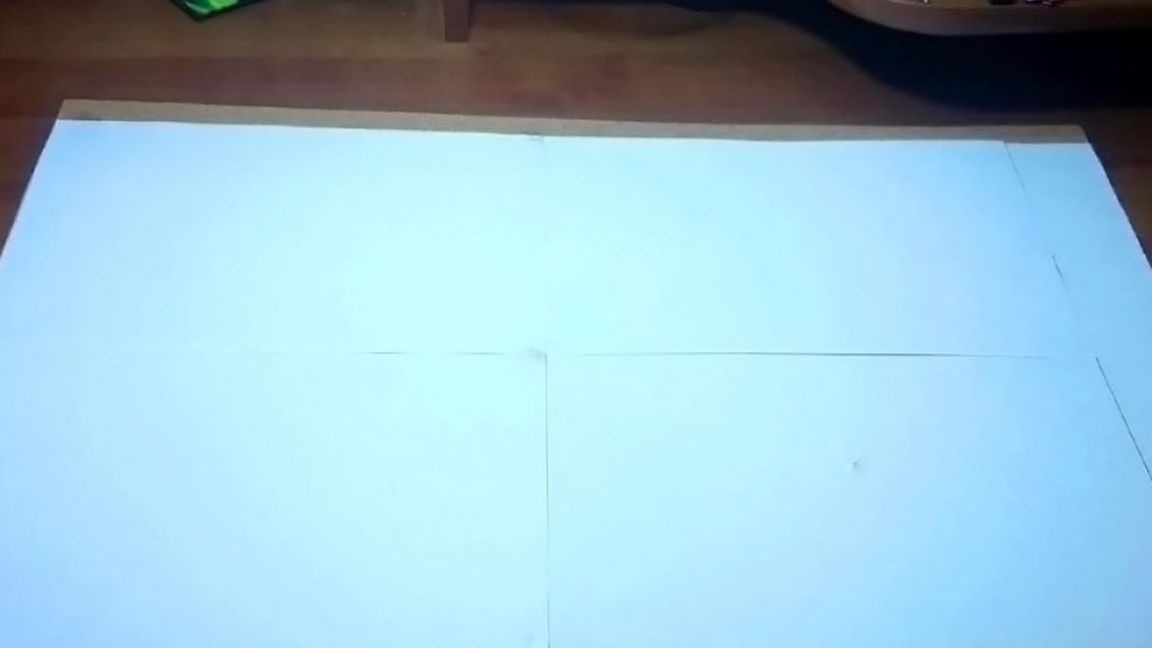
The contour of the glass must be circled on a sheet of hardboard.

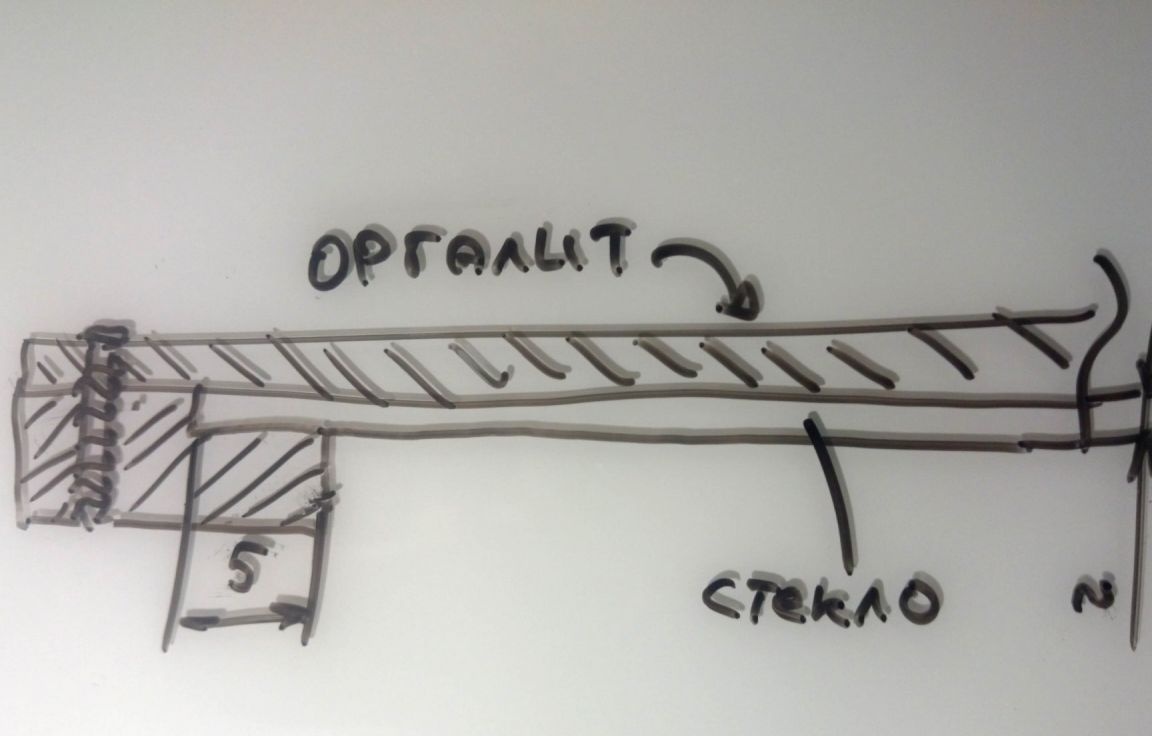
The fastening system is designed in such a way that the glass is pressed against the hardboard from above and below by wooden planks. The bar overlaps the glass by 5 mm.

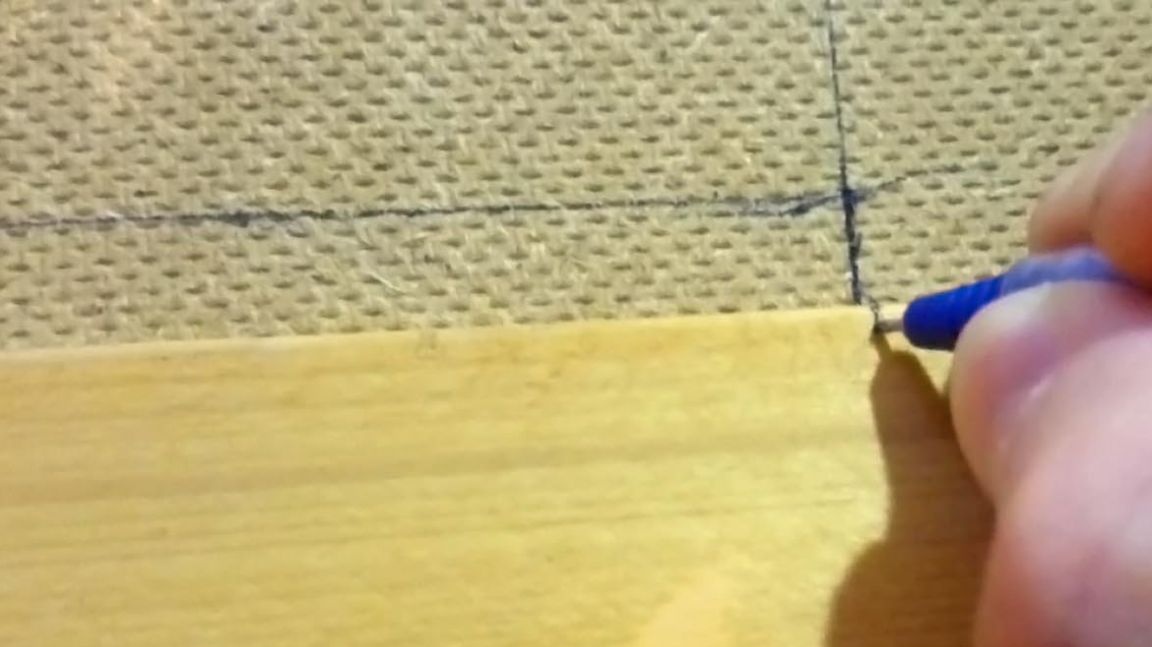
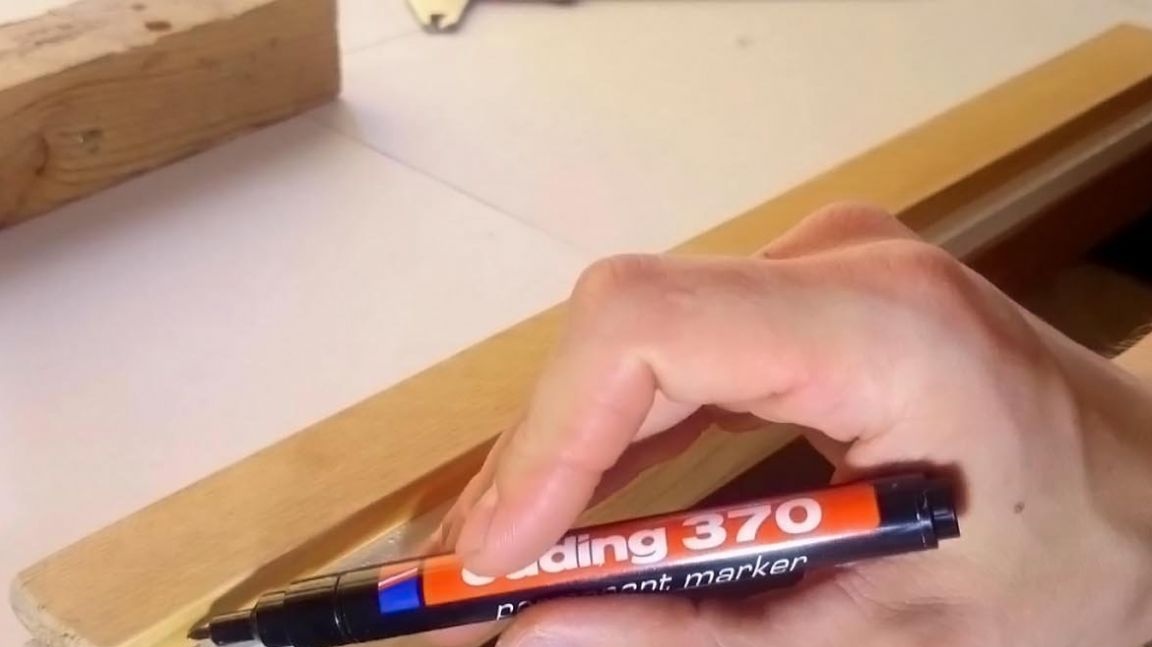
Next, you need to step back from a long line on a hardboard of 25 mm and draw another parallel line. In the photo you can see how it should look.


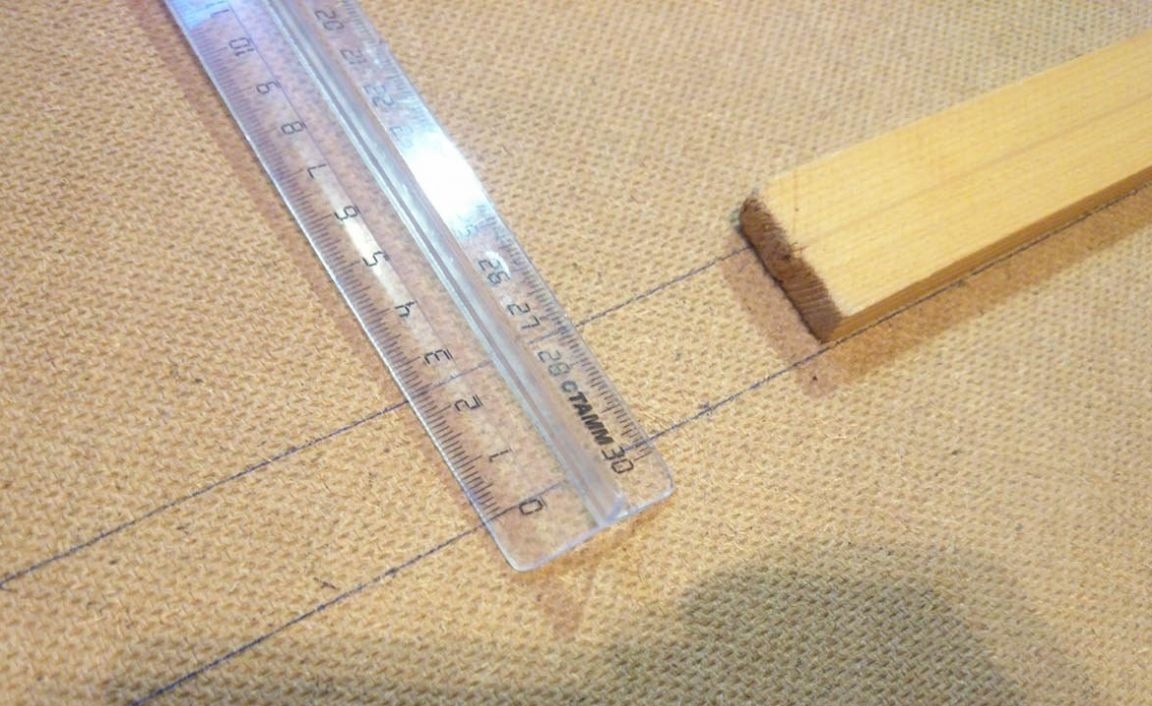
Planks need to be cut, focusing on the long side of the glass, i.e. 600 mm.

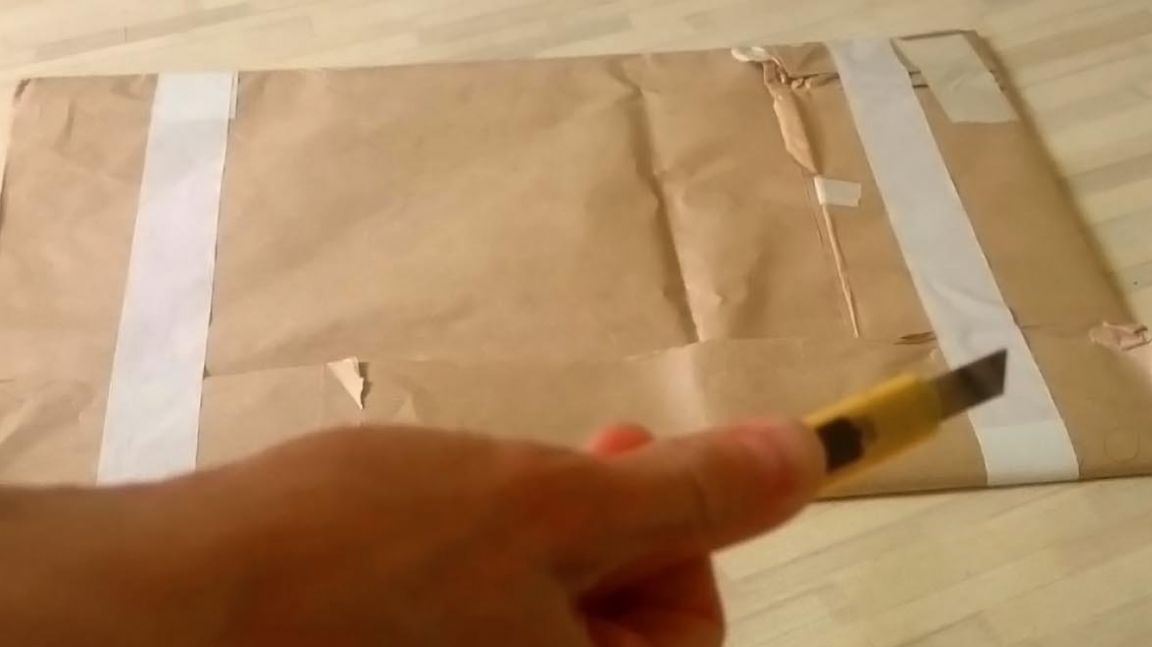
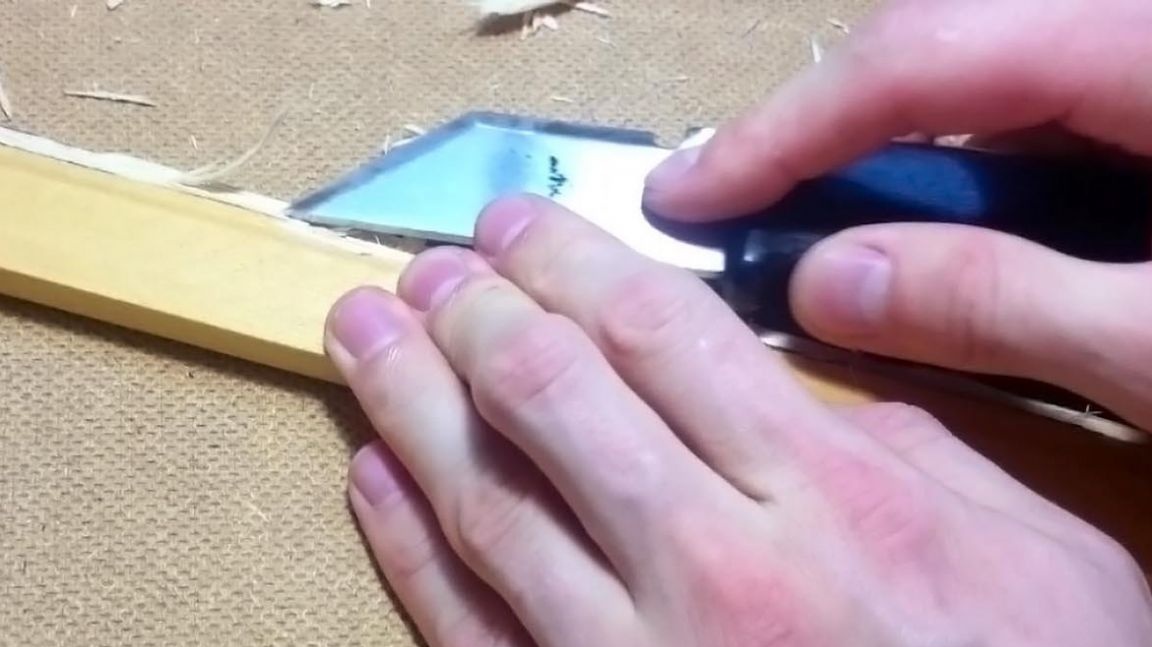
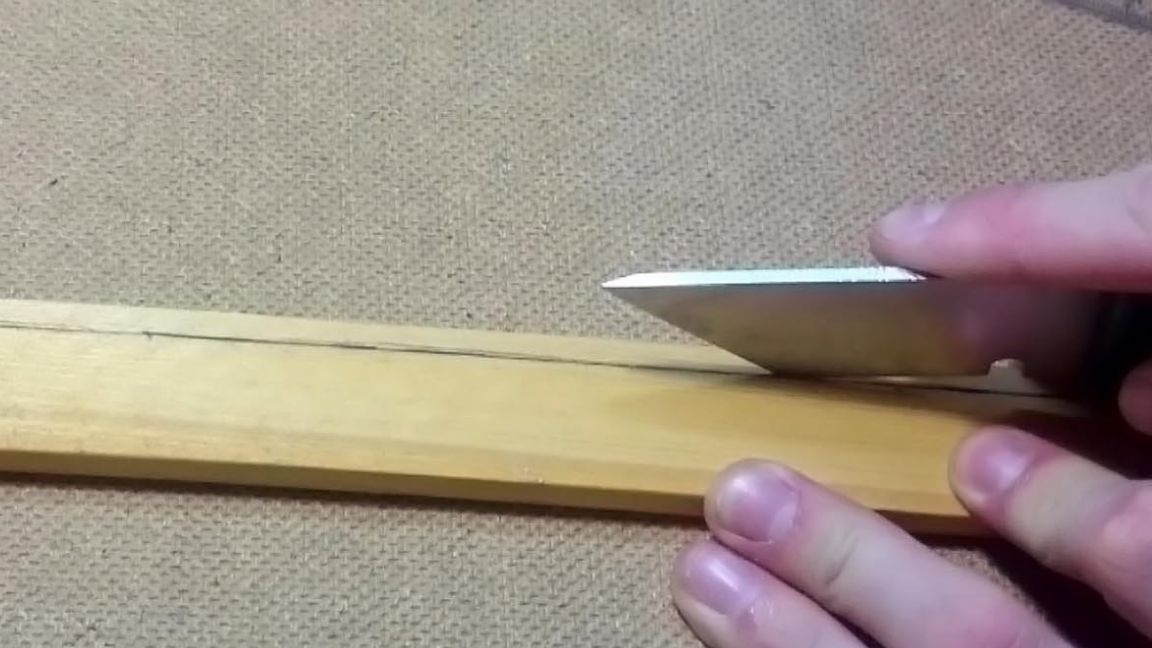
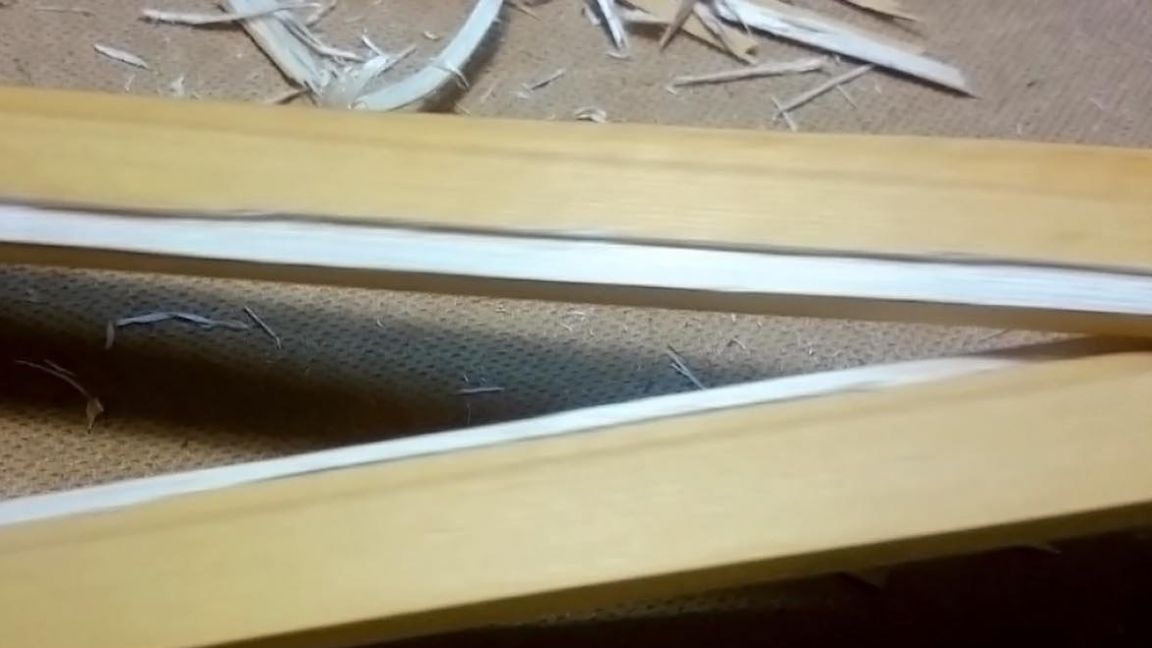
On the plank, you need to make a longitudinal recess 5X2 mm in size so that the plank fits snugly on the hardboard, and thereby presses the glass well. This is done with a knife, you can also use a planer.
All you need to do two of these bars.


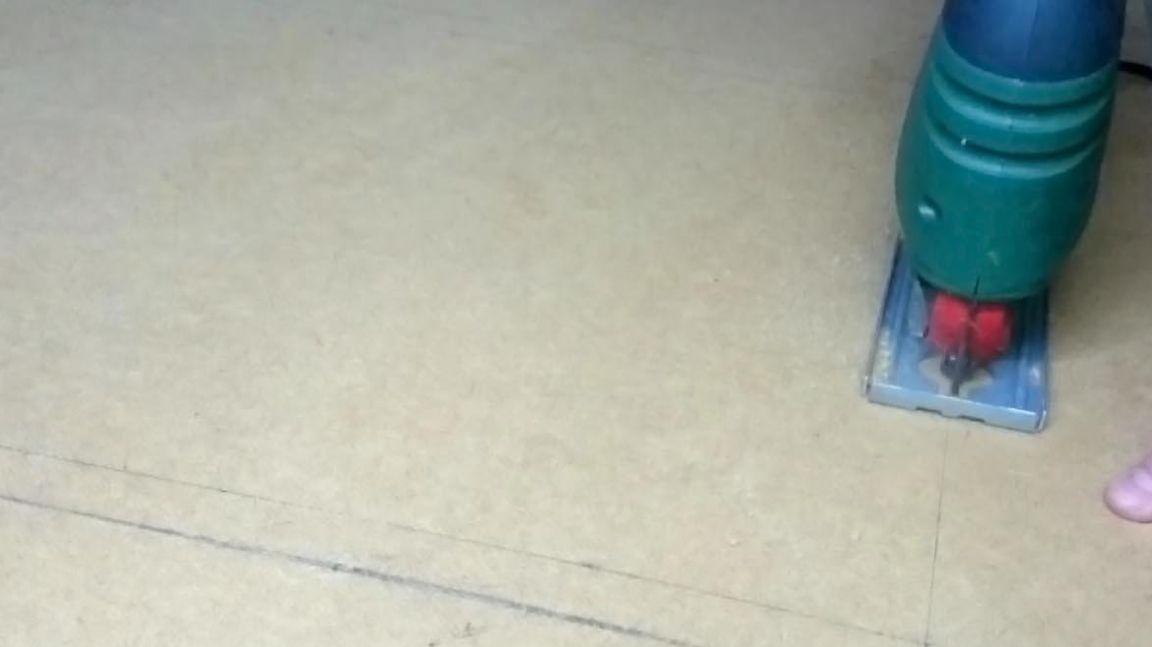
Well, then you need to cut the frame from a piece of hardboard.

Since the paint slightly transmits light, the inside of the frame was glued with white paper, while the marker board became more white. Next, the glass and planks are put into place.


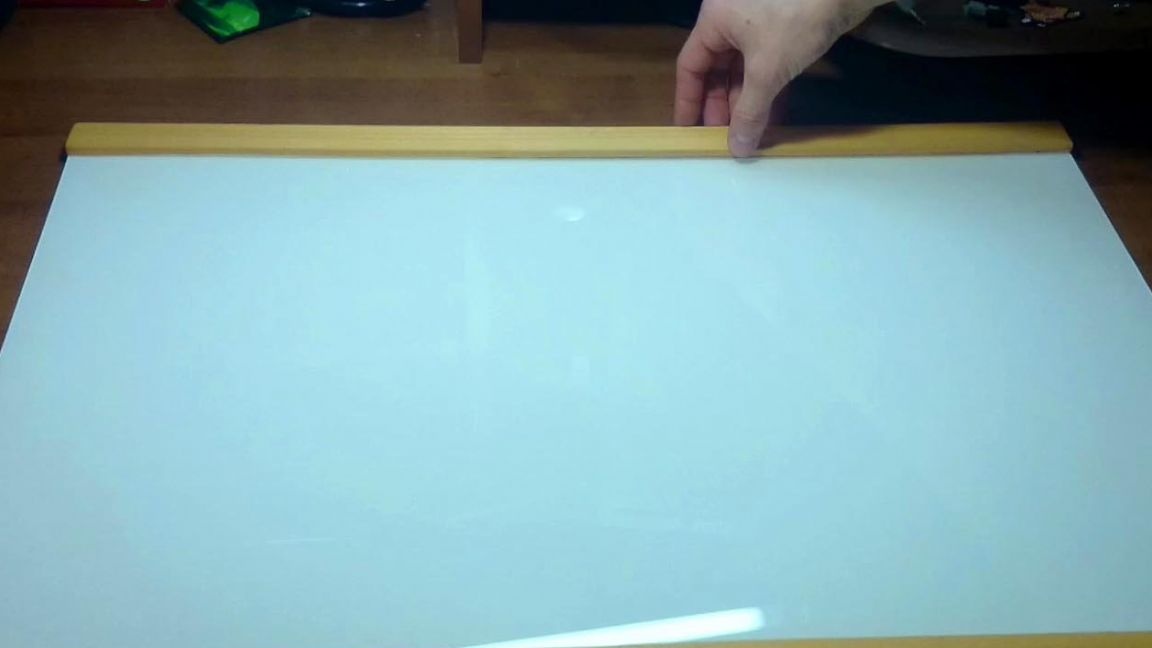
The strips are fixed using self-tapping screws, they are screwed in from the back to press the hardboard with a hat. If it so happened that the screws were long, the excess pieces can be bitten off with pliers. Planks can be painted white for the sake of style.


Making shelves for felt-tip pens
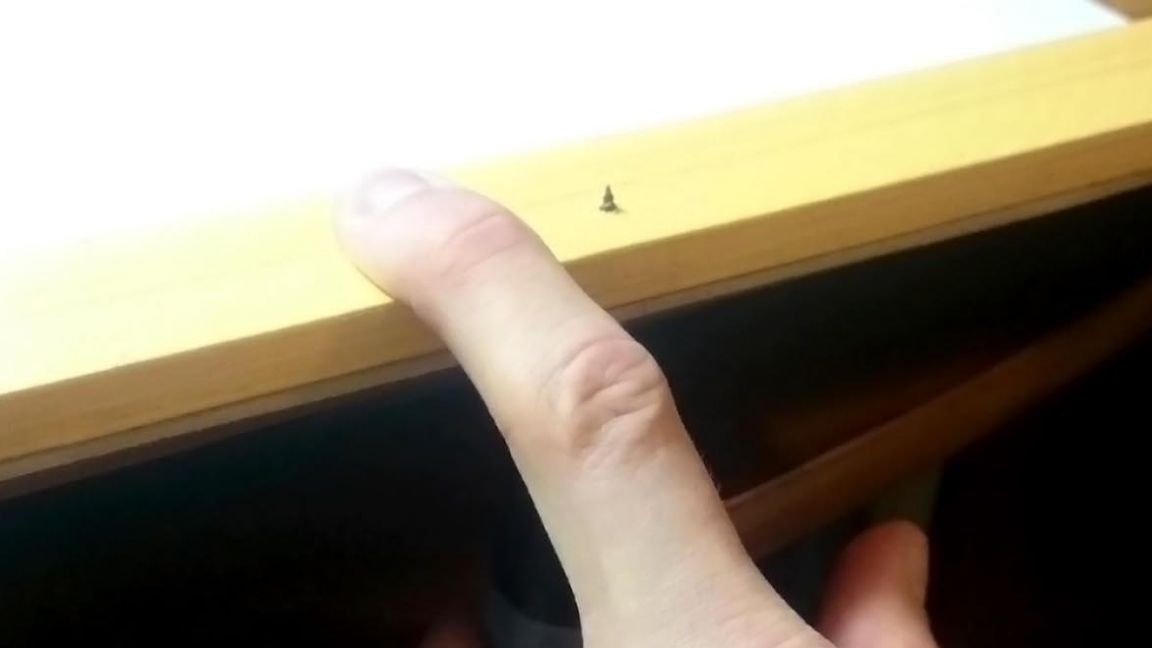
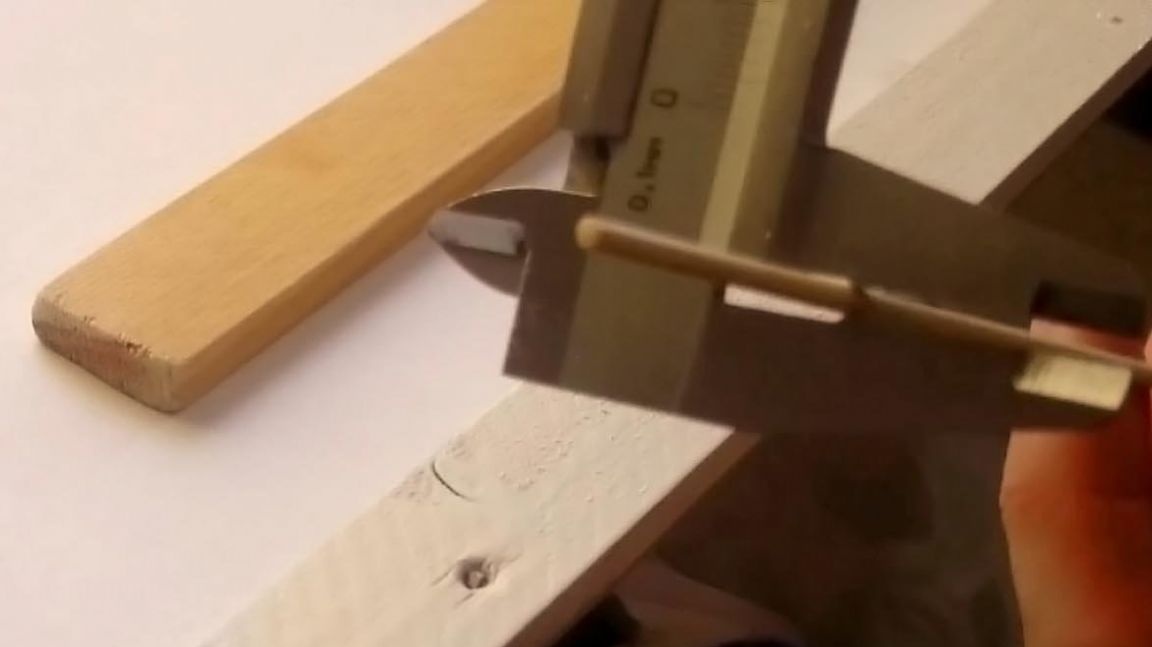
The marker shelf will be removable, it is attached to pins made of bamboo sticks. The diameter is 2.5 mm.

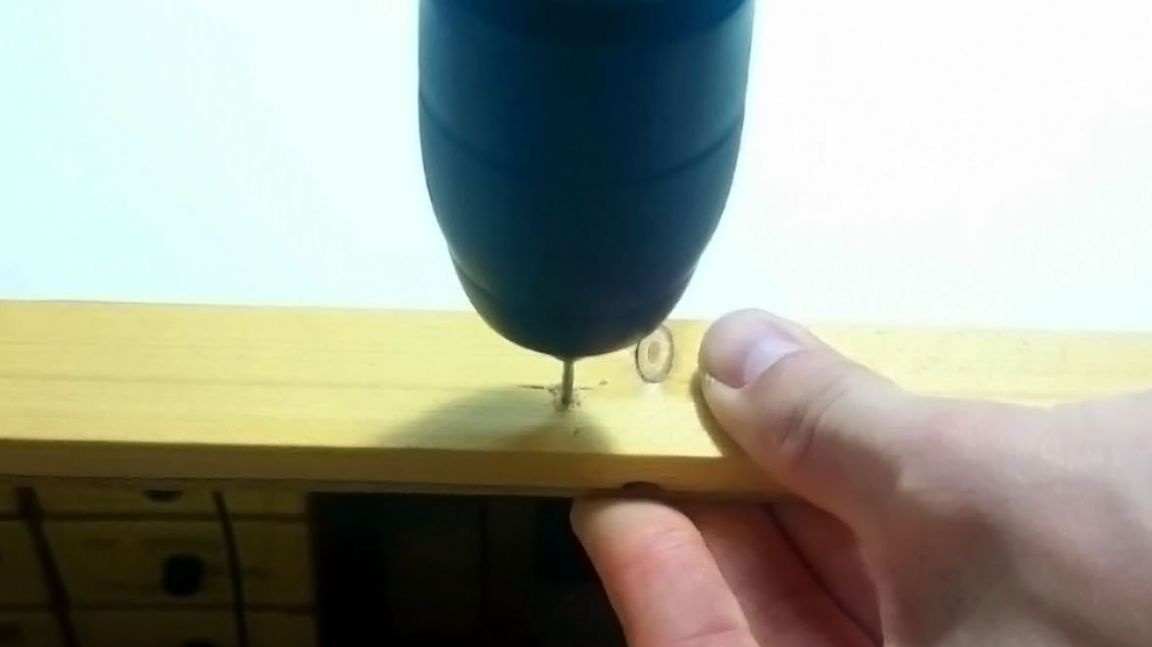
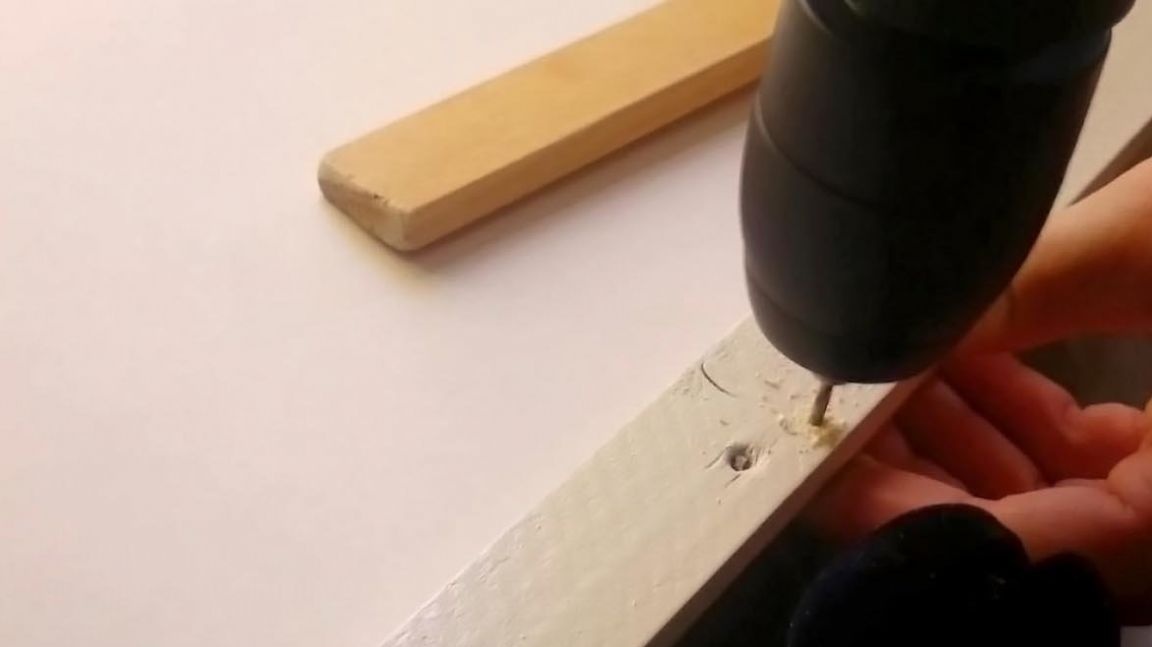
In the frame, you need to drill a hole of the same diameter and then slightly expand it, swinging the drill in different directions.

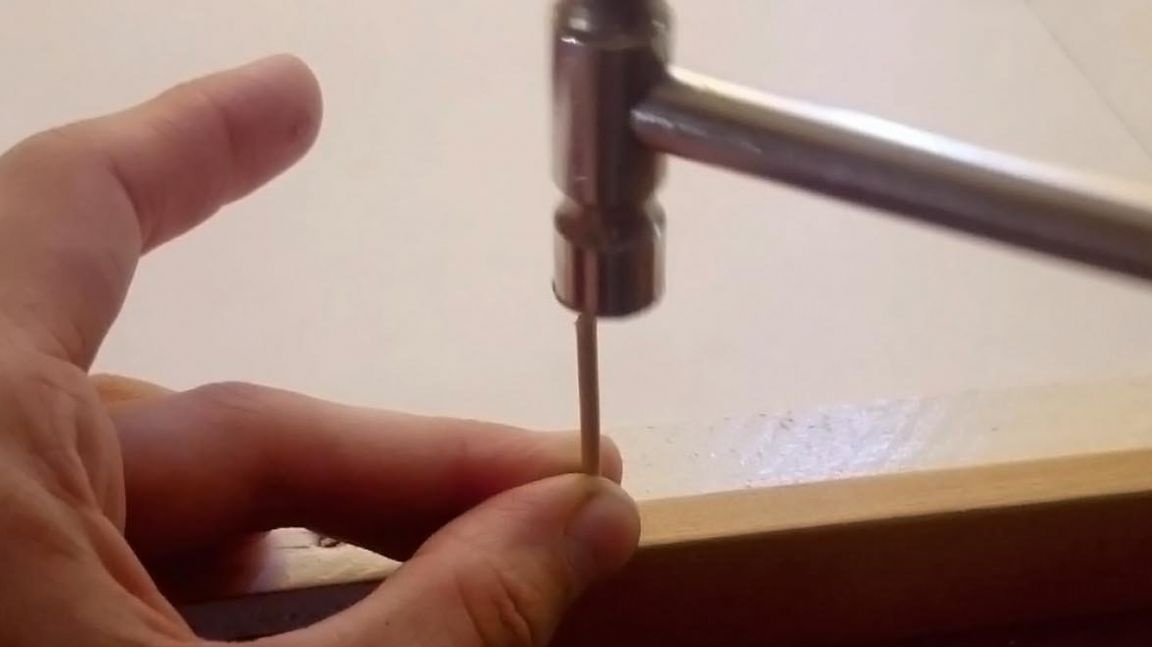
In the shelf, you also need to outline two holes, they must correspond to those that were drilled in the frame. Well, then drill. Subsequently, pins are hammered into the holes; it is advisable to put them on PVA glue.


How to hang a board
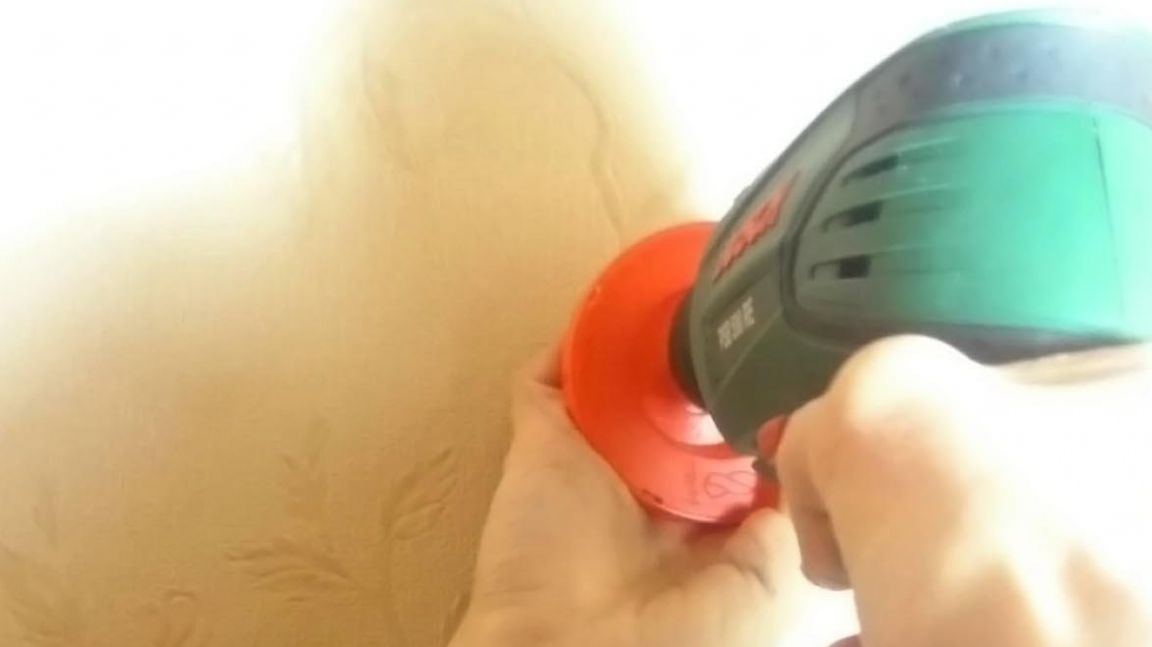
The board will be hung on the wall using screws. In the frame, you need to drill holes 1 mm larger than the diameter of the head of the screws used. Well, then you need to drill holes in the wall, you can see the red nozzle on the drill, it picks up dust, it costs only 35 rubles.

Well, then, using a pair of toothpicks, the screws are screwed into the wall. After that, the board can be hung up.


That's all, the board is ready, you can try to draw. Markers are used special designed for marker boards. The inscriptions are erased very simply, you can erase them with your finger or with the hard part of the sponge used to wash dishes. Since the surface is glass, the inscriptions are erased immediately, one movement is enough, and the timing is not important.

If necessary, the board can be removed and written on the table horizontally. Everything looks quite stylish and expensive, given the low cost of the materials used. The only drawback is that the glass at a certain angle glare, but this can be adapted.
6
8
3

Add a comment

    • smilesmilesxaxaokdontknowyahoonea
      bossscratchfoolyesyes-yesaggressivesecret
      sorrydancedance2dance3pardonhelpdrinks
      stopfriendsgoodgoodgoodwhistleswoontongue
      smokeclappingcraydeclarederisivedon-t_mentiondownload
      heatirefullaugh1mdameetingmoskingnegative
      not_ipopcornpunishreadscarescaressearch
      tauntthank_youthisto_clueumnikacuteagree
      badbeeeblack_eyeblum3blushboastboredom
      censoredpleasantrysecret2threatenvictoryyusun_bespectacled
      shokrespektlolprevedwelcomekrutoyya_za
      ya_dobryihelperne_huliganne_othodifludbanclose
12 comments
Excuse me, but why are we discussing this at all? They provide us with someone else's work (the author doesn’t even hear anything), are we breaking spears here ?! ... For what and to whom? To whom do we prove who needs it? Anyway this whole idea? Drag and drop everything from other sites here. As they said, like doing, do not like do not. You can not criticize, just no one. Everyone has a hut on the edge. Honestly, I am disappointed with this site. I thought that they would put their crafts here, where they can be discussed, argued, find a compromise, the right decision, do something for yourself. Instead, they offer me a bet, who is the steeper “rip off” someone else's work and then write step by step? So they drive “noodles”, who is stupid more and to disgust ... we take a carnation or a screw, and if we bite off a long with pliers (photo), screw in a screw (photo), ... some kind of mockery, and not working material.
Who are you talking to ??? Whose locality ???

And again I repeat: inattentively read!
My first post is not addressed to you personally, but to anyone who wants to repeat this product.
Your link to some text from a third-party site, but a lot of things can be written on the fence.Here we must be guided by the rules of the site https://bgm.imdmyself.com.
Regarding your link: you are disingenuous, citing only three lines from there. Let's be consistent and give the text from there in full.
In the finished text should NOT be:

The speculation and fiction of the reiter;
Personal opinions of the author;
Comments of the rewriter;
Errors of any kind;
What is not in the source *.

From now on, since you are guided by these rules, I will approach your alterations according to your own rules: so that there are no speculation, fiction, mistakes of any kind and other gag. You yourself wanted it.
Author
Quote: Ivan_Pokhmelev
Your trouble is that you read inattentively. In my first post, I did not ask anyone about anything, but simply wrote how to correctly shorten the self-tapping screw


Quote: Ivan_Pokhmelev
If in your area

Who are you talking to ??? Whose locality ???

Quote: Ivan_Pokhmelev
You do not creatively rewrite other people's articles, if you yourself do not, but describe someone else’s, then you could also comment on the rewritten


This is not my responsibility, moreover:

Rewriting Rules

In the finished text should NOT be:

The speculation and fiction of the reiter;
Personal opinions of the author;
Comments of the rewriter;

Although the admin allows this, no one obligated me to do this. But for this, apparently, you are. Just a request to continue to apply not to "You", but to "Homemade Author" and so on. That there were no misunderstandings.

Quote: Dmitrij
I do not like? Don't criticize
It is logical! I propose then to cancel comments, why are they?
You do not creatively rewrite other people's articles, if you yourself do not do it, but describe someone else’s, then you could comment on the rewritten one: “this and that I would do so-and-so”. And it turns out that you are not very well versed in the subject matter, not critical approach to the original sample, not trying to somehow improve it.
Your trouble is that you read inattentively. In my first post I didn’t ask anyone about anything, but simply wrote how to make the shortening of the self-tapping screw correctly, but you considered, apparently, that it would do, and set a minus. Do you think that after a person made a board for several hours, choosing a quarter with a knife, he did not have two minutes left to make two traffic jams from a piece of wood with an ordinary knife? Maybe he did so, threatening to fall glass boards. You believe that the author did the right thing, I believe that - no.
Quote: Dmitrij
The minus is that it will not reach you in any way who is the author of the homemade article and the author of the article, and to whom you ask questions. .....I do not like? Do not criticize, but do it your own way as you like.

Even I don’t understand, what is it about now?
Author
Quote: Ivan_Pokhmelev
The question is to who put the minus: you can pliers (not with pliers or wire cutters, namely pliers) bite off self-tapping screw? The second question: even with pliers can you bite off the self-tapping screw flush? Third question: to use toothpicks as a dowel - right? If there is no plastic or metal, then a wooden cork can always be made.
The questions are rhetorical, since there will most likely be no answer. )))


The minus is that it will not reach you in any way who is the author of the homemade article and the author of the article, and to whom you ask questions.

1. No one bothers to turn out the self-tapping screw. Or determine its length in advance and bite off the excess.
2. The cork must be sharpened, drilled, and so inserted a couple of toothpicks and twisted.

A man made from what was at hand. I do not like? Do not criticize, but do it your own way as you like.
The question is to who put the minus: you can pliers (not with pliers or wire cutters, namely pliers) bite off self-tapping screw? The second question: even with pliers can you bite off the self-tapping screw flush? Third question: to use toothpicks as a dowel - right? If there is no plastic or metal, then a wooden cork can always be made.
The questions are rhetorical, since there will most likely be no answer. )))
Such people remind me of the hero of the movie "Vovka in the Far Far Away" with his "Ah, and so it will come down!". I admit that in some cases you can do it sloppy, in haste, it’s not necessary to always lick everything to the ideal, but to boast of it and consider it a role model is somehow ridiculous.
Why minus? Said not for the "wool"? Wow.
If it so happened that the screws were long, the excess pieces can be bitten off with pliers.
If in your area it is impossible to purchase screws or screws of the required length, then before you shorten them by biting, you need to unscrew them, otherwise a millimeter or two will stick out above the bar. Or cut off their angle grinders.

... using a pair of toothpicks, screws are screwed into the wall.
Orrrr-yig! )))

We advise you to read:

Hand it for the smartphone ...