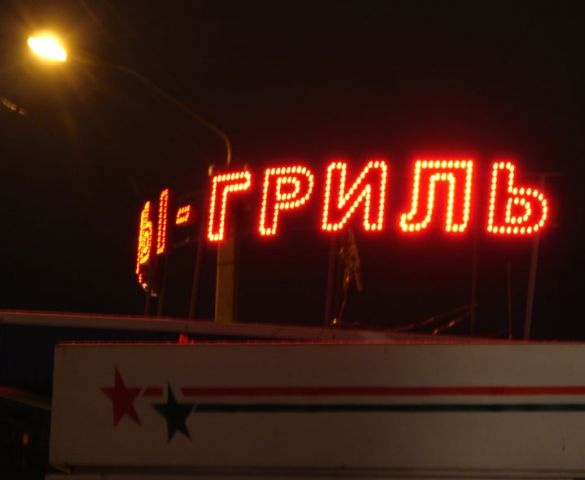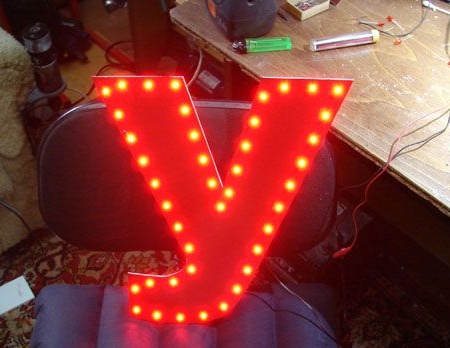
This article presents one of the ways to create an advertising sign with backlit letters using open LEDs.
The materials that the author needed to create a sign on open LEDs:
1) 3mm PVC plastic
2) Oracal 641 PVC film
3) About 600 5 mm red LEDs with a scattering angle of 60 degrees 4R5
Although an angle of 120 degrees is more preferable for such signs, the author decided to use diodes with an angle of 60 degrees, as the priority was better visibility from a maximum distance.
4) connecting wires
5) hot glue gun.
Let us consider in more detail the design features and the main stages of creating this advertising sign.
There are a huge number of ways to make advertising signs, depending on what provides the backlight. Commonly used fluorescent lamps, neon, LED clusters or miniature incandescent lamps. However, all these materials have their drawbacks.
Fluorescent lamps are large and relatively unreliable; compact multi-colored lamps are rarely within walking distance, moreover, light output at minus temperatures from such lamps is noticeably reduced, which is very significant in the Russian climate. Neon lamps are very expensive to manufacture, as well as their installation and maintenance, due to the fact that they are quite fragile and require high voltages. LED clusters of good quality are quite expensive, have large dimensions that do not allow their use in tight places.
Therefore, the author chose open LEDs to achieve the best indicators of visibility regarding the relatively low cost of creating this sign and the required maintenance of it during work.
As the beginning of the work, the author decided to cut out the letters of the future signboard from PVC plastic themselves. In addition to marking the contours of the letter itself, it is also necessary to mark the front side under the LEDs. The author chose about 20 mm to calculate the step for LEDs, with a 10 mm indent from the edge of the letter. Further, according to this marking, the author made holes with a drill on a 5 mm wood in plastic.
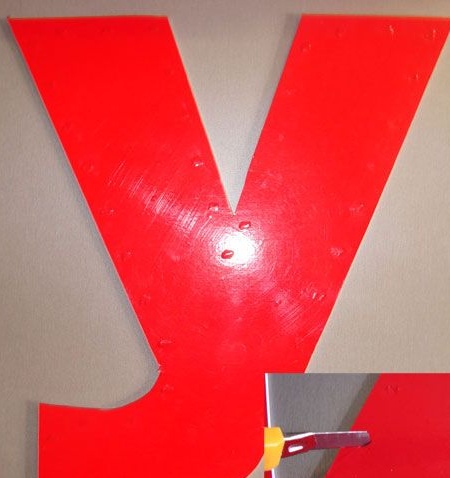
Then, a red PVC film was applied to the cut letters on the front side.
After which, the author cut the film with a cross in the place of each drilled hole. This must be done as accurately as possible within the holes.It is quite important to do everything in this order, since the film has the property of contracting over time and can expose the white frame of the letter in the place of the LED. Also, if you first glue the letter pvc with a film, and then drill holes, you can damage the film itself, and you have to glue it again.

The author took the next step using one of the LEDs. Holding it by the exits, the author gently pierced holes on the seaming side, so that the petals from the cut film stuck to the inner stacks of the holes, so that the film would not creep out and expose the frame of the letters. In addition, in this way the LEDs will sit denser in each hole.
After preparing the holes, LEDs are installed in them.
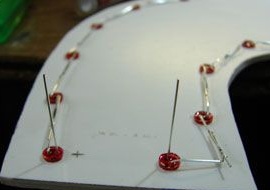
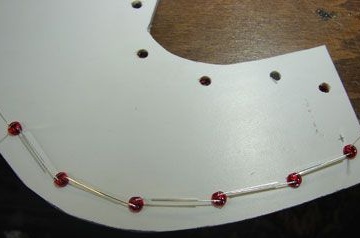
Since a supply voltage of 12 V was chosen, the LEDs were grouped in groups of 6 each in series. (The voltage drop at the red LEDs is about 2 V). Due to the fact that the placement step of each LED was chosen to be about 20-25 mm, the author was able to dispense with the leads of the LEDs to connect them, without resorting to additional wires. To do this, the conclusions were straightened parallel to the surface of the letter frame and then soldered together.
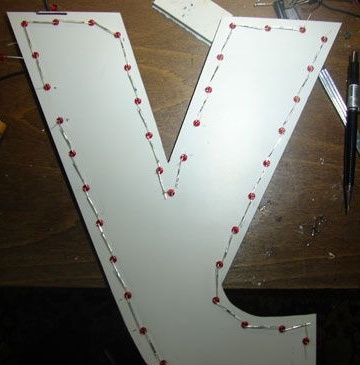
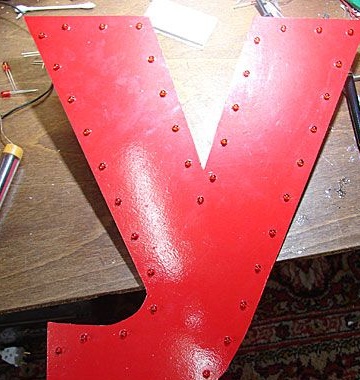
In order to avoid confusion, the author recommends orienting the LEDs with the anode or cathode in any particular direction. Thus, we get a string of LEDs that are connected in series. It may turn out that the last chain is unlikely to be 6 pieces, if you have not calculated the number of holes in the letters in advance, which in turn is quite long, so the author simply placed the missing LEDs for the circuit inside the letter itself. After that, all groups were connected in parallel and received two outputs for plus and minus. In order to increase the reliability of the design, the author installed a resistor of 0.5 W 10-30 Ohms in the gap of the positive wire.
It is also possible to install a diode to protect against reverse polarity during installation. Further, the author calculates the circuits for each letter, according to the following example: the nominal current of 5 mm LEDs is best set at 15 mA, so a letter with 7 circuits will have the following parameters: 12 V, 105 mA., And will consume about 1 W of energy .
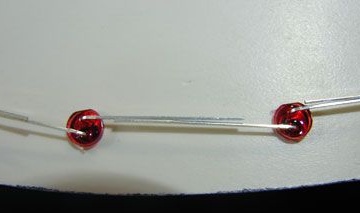
After the main work, the letters and the advertising signboard are assembled from them. To do this, the sides and removable back are glued. It is also possible to cover with a film if necessary.
In the future, the manufacture of the letter continues according to the usual method - the sides of any height and a removable back are glued. Skin-tight - to taste.
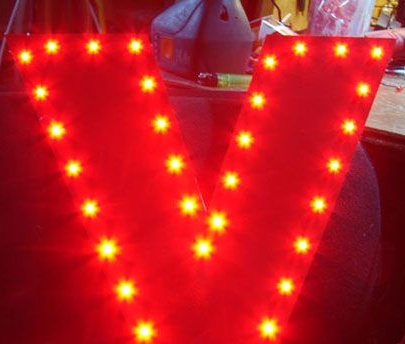

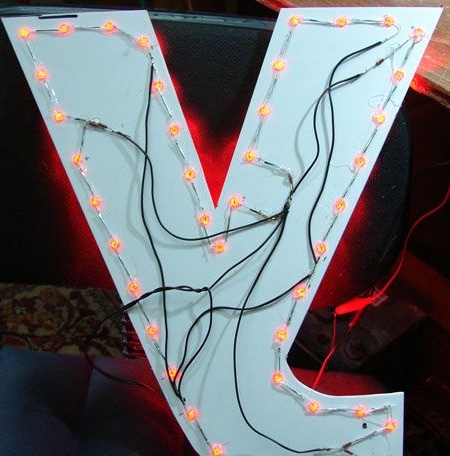
Photos of the finished sign:
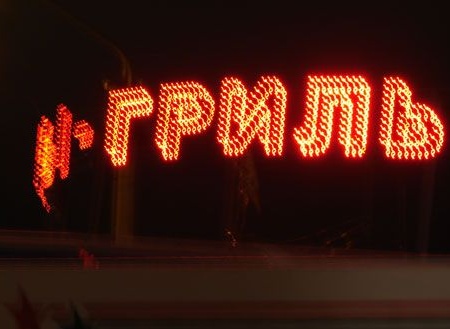
If you look closely at the photographs of the finished sign, you can notice one feature: the letter "L" glows slightly brighter than the rest. This is not an optical illusion, just in this letter the author’s last circuit contained only 1 LED, so instead of an additional 5 LEDs, he decided to use a resistor. At rated current, the difference was not noticed, but revealed at low. However, this is not so important, since the sign performs its function: it attracts attention well at a distance of up to 500 meters. In the future, the author sees the possibility of installing a controller for additional lighting effects. The total power consumption of the sign in test mode was about 5 watts.


