For those who keep their car repair shop or just have large reserves of used oil, the creation of a burner will be an indispensable thing. The burner described below can operate on waste oil, the oil can be mixed with water or even sawdust. This will allow heating without problems garage or another room with used oil.
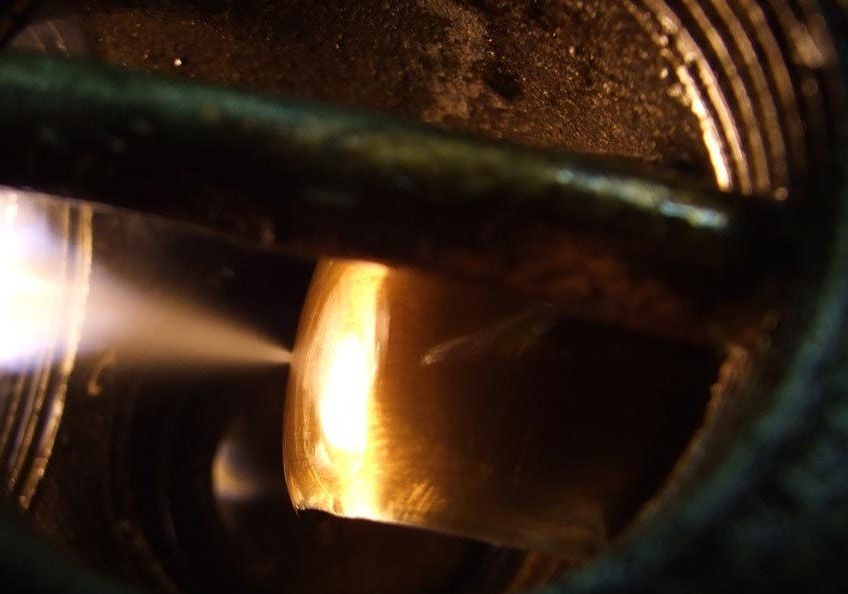
The principle of operation of the device is very simple. Oil flows on a spherical surface, forming a thin film on it. This surface has an opening through which combustible gas or ordinary air is supplied under pressure. In this case, the air flow will spray oil and it will ignite in the furnace. To spray oil more efficiently in the cold season, a simple heating system is provided.
Materials and tools for homemade:
- sheet metal;
- a bucket;
- car oil pump;
- electric motor for oil pump (with speed control);
- a bolt on M10;
- light and heat sensors;
- copper pipe;
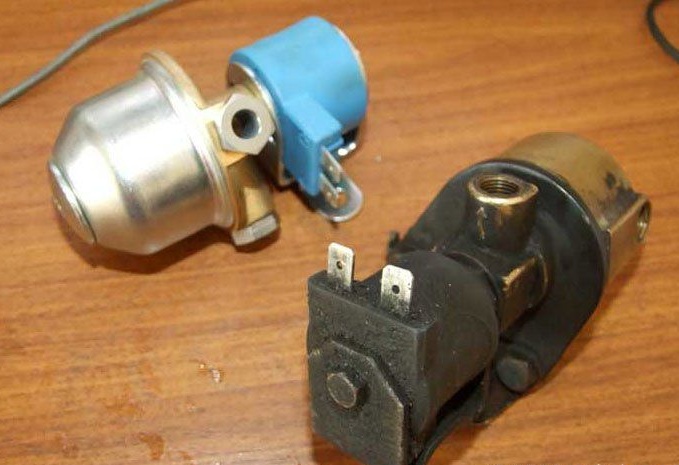
- air solenoid valve.
Instruments: drill, soldering iron, hacksaw, grinder, keys, pliers, welding machine.
Getting to the burner assembly:
Step one. Schematic diagram of the device
Another such device is called a Babington burner. Below you can see the original diagram.

During operation, the oil flows through the outside of the nozzle; therefore, its purity does not affect the operation of the device. The home-made air consumes very little, only a few liters per hour. Compressors from refrigerators or aquariums are suitable for creating airflow.
The system has an oil pump, it is designed so that the oil flowing down the sphere down is fed back up to the tank.
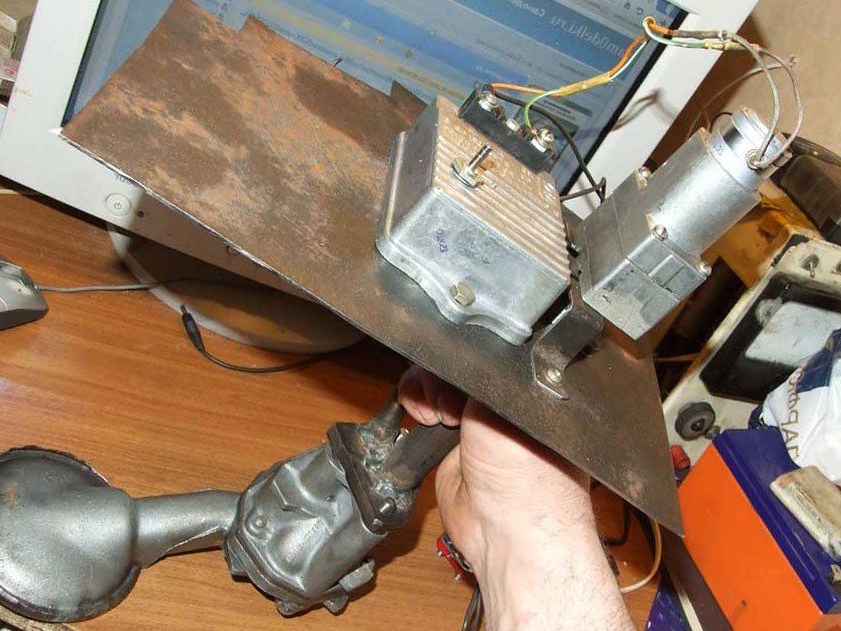
Step Two Type of burner
The burner was made in the form of a nozzle, which is put on a bucket of oil. The oil pump, as well as the engine and speed control were bolted to a sheet of metal. As a result, the design came out as in the photo.
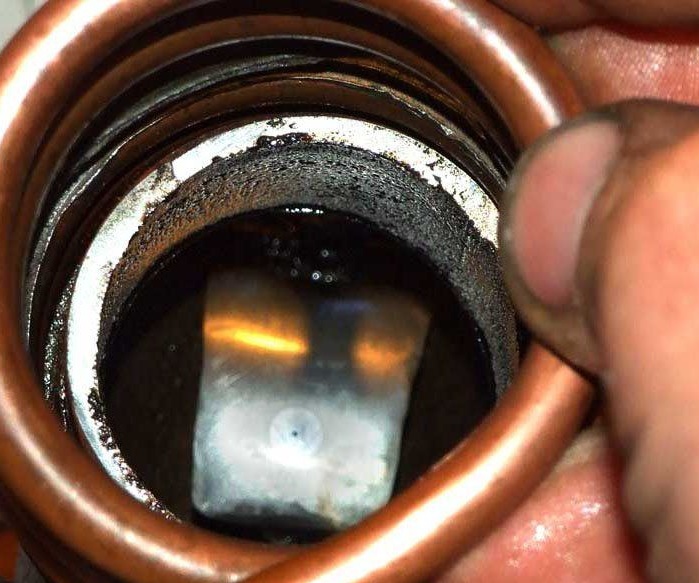
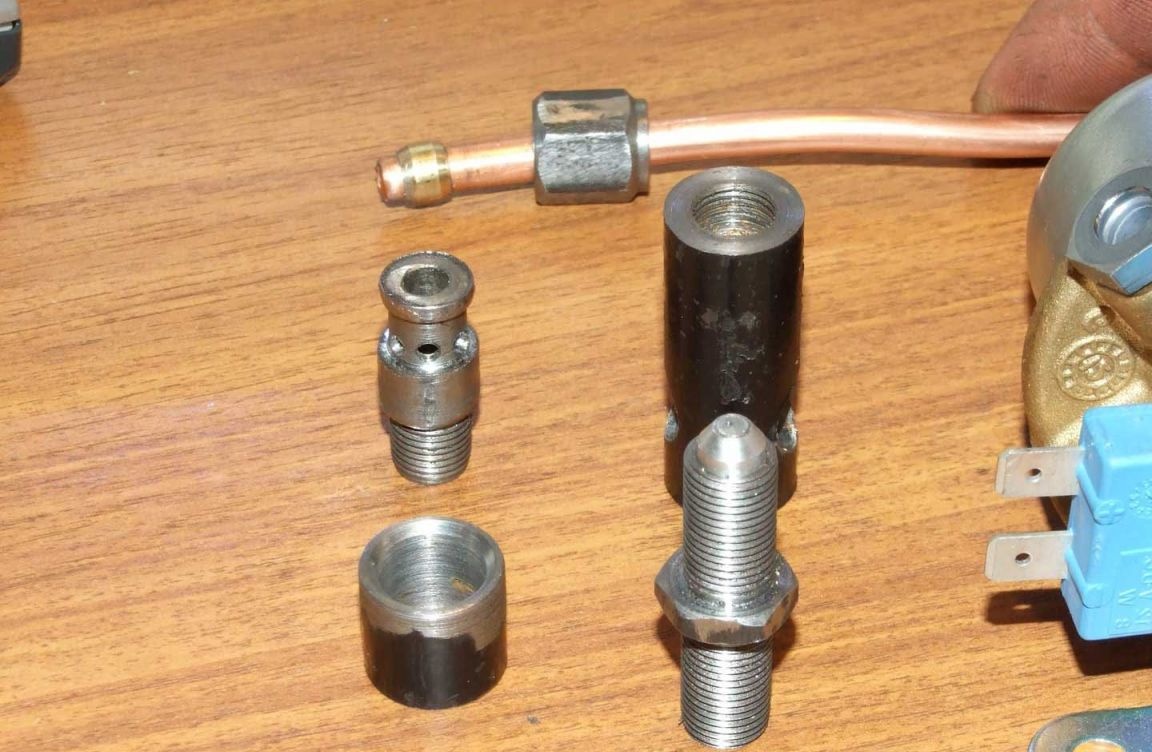
Step Three Nozzle making
Since the author could not find a spherical structural element, this part was made of a piece of stainless steel, which was welded to the M10 bolt. Next, the plate was spherical with emery.
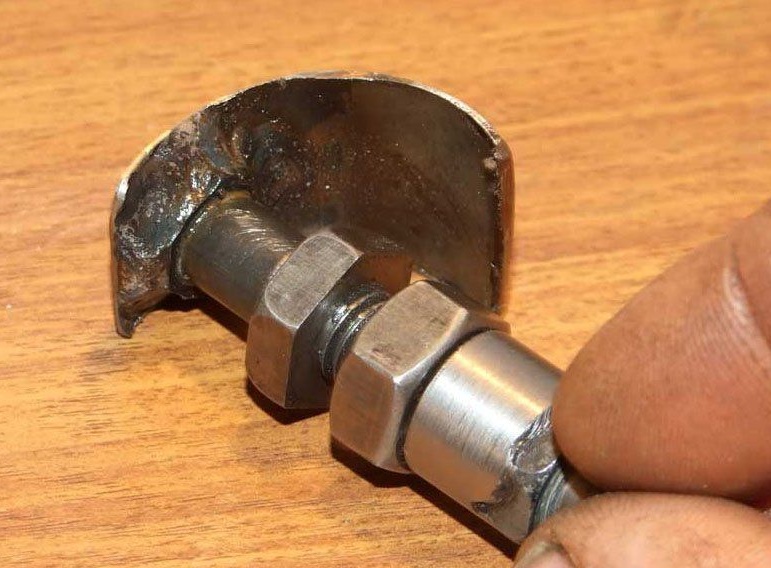
A hole with a diameter of 5 mm was drilled in the center of the bolt. Then, an aluminum plug was pressed into this hole. And already in this plug a hole with a diameter of 0.3 mm was drilled, but it is recommended to use a hole with a diameter of 0.25 mm.
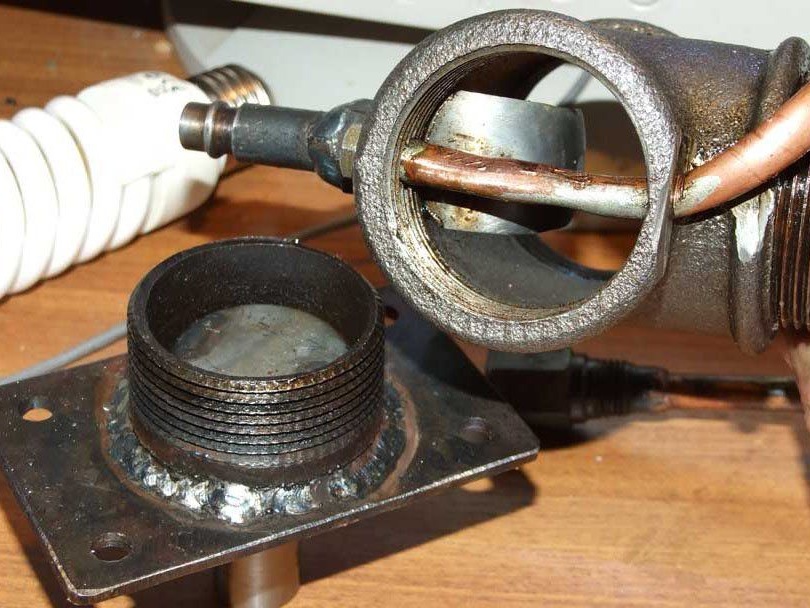
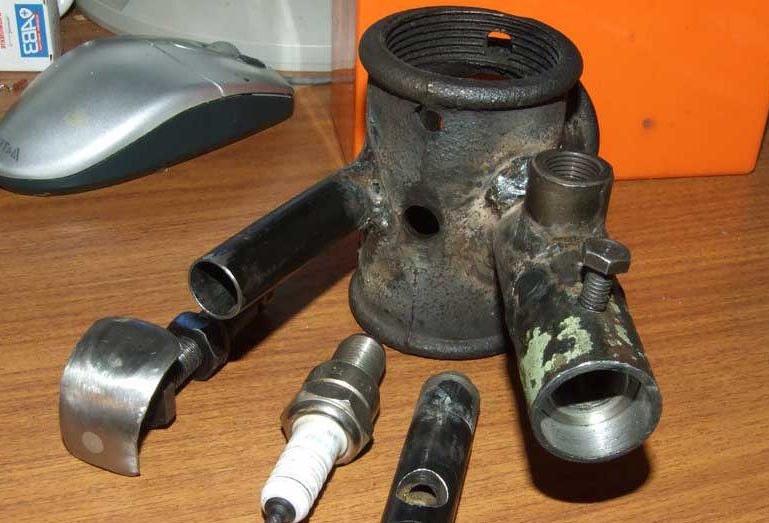
Then the nozzle was inserted into a 1.5 "cast-iron tee. For the tee, a base with a water seal was made, as a safety feature.
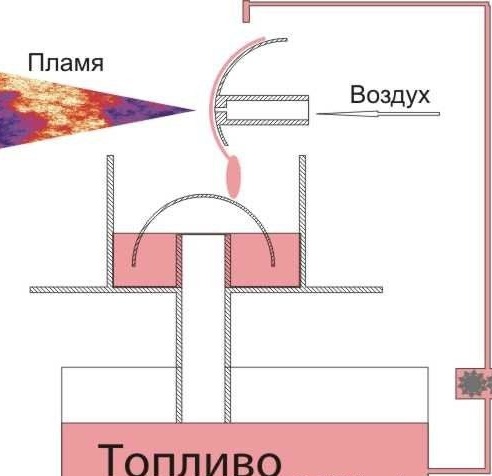
Here is another diagram of how the burner should work
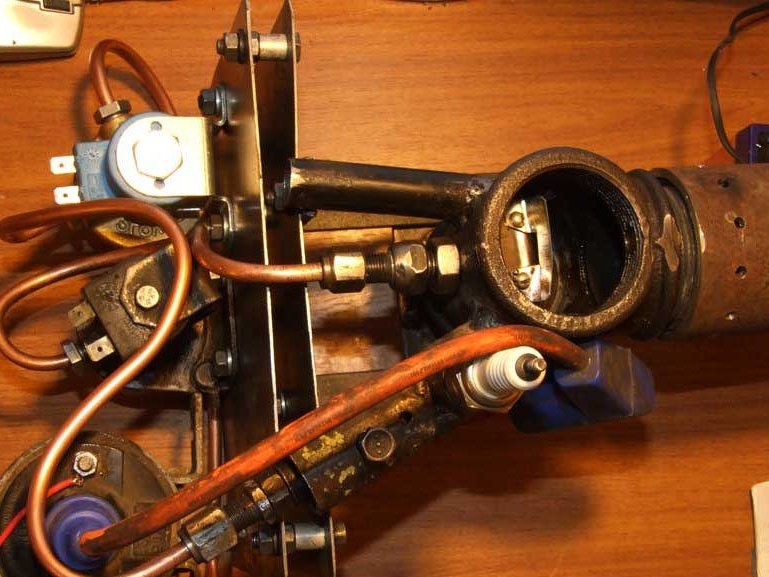
Step Four Assembly of the mechanical part of the device
The copper tube must be twisted into a spiral, in diameter it should be slightly larger than the outlet diameter of the tee. To successfully bend the tube into a spiral, it must be filled with sand.
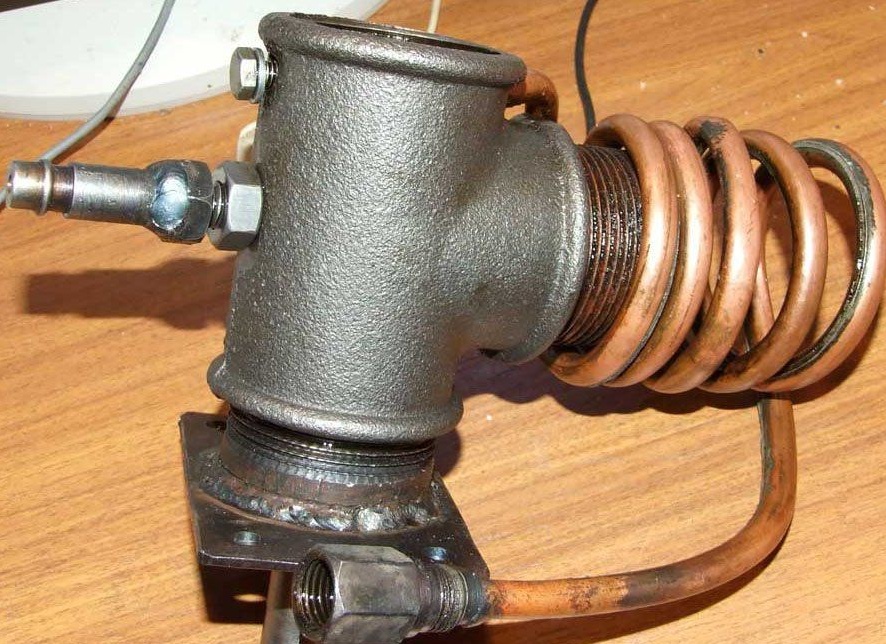
Then the tube is attached to the tee. That's all, the burner is assembled. The spiral is needed in order to heat the incoming oil. This is done so that the heated oil becomes more liquid, and this allows you to better spray it.
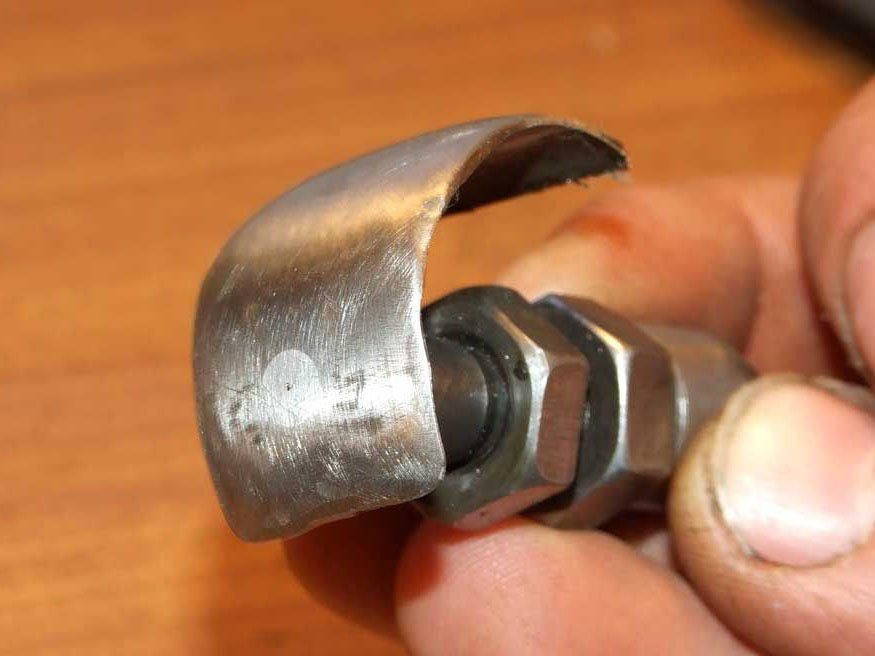
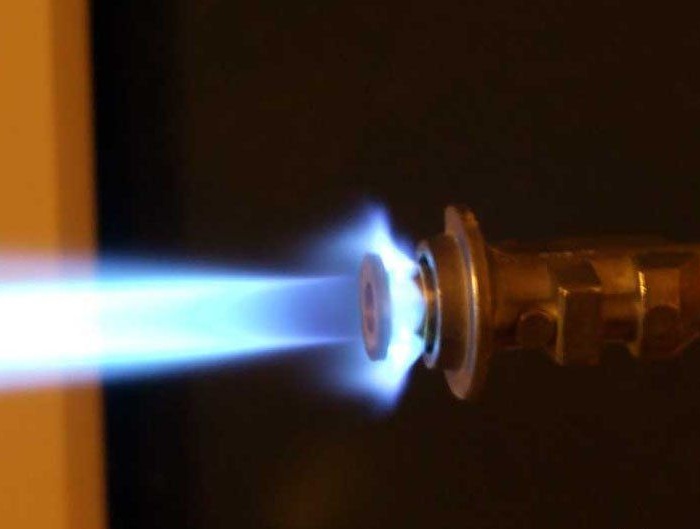
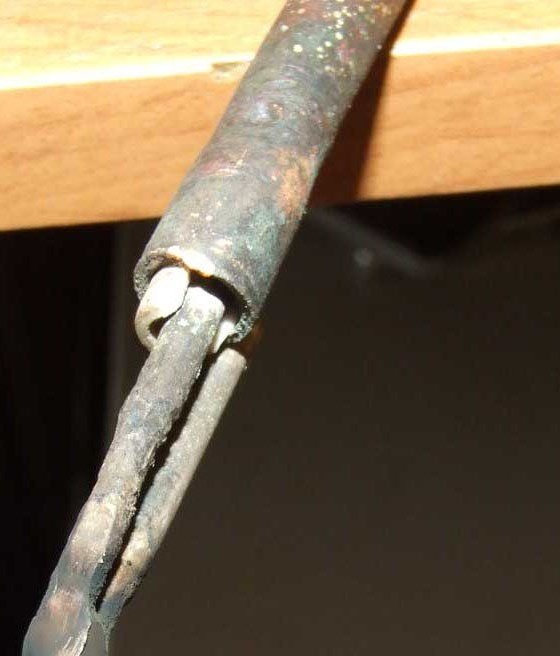
In the photo you can see how the nozzle looks in front. As you can see, during operation the oil is sprayed quite finely.
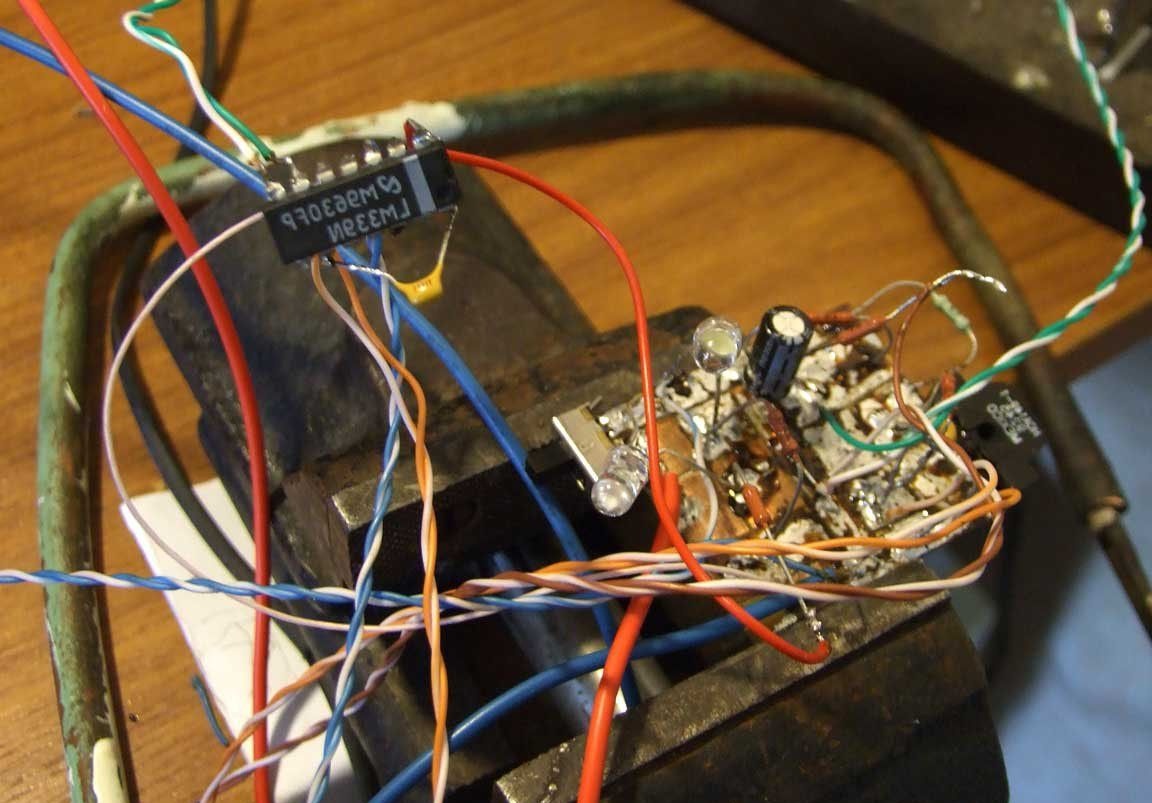
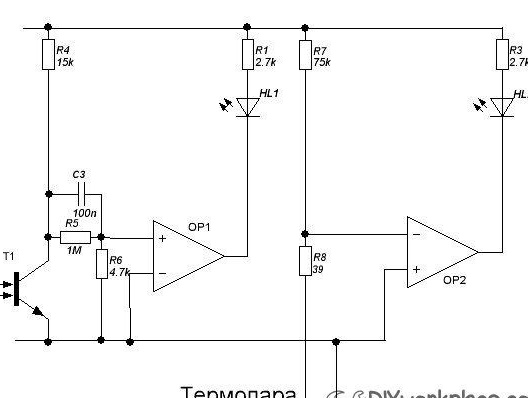
Step Five Electronic burner part
Using some sensors and other electrical devices, you can achieve autonomous operation of the burner.
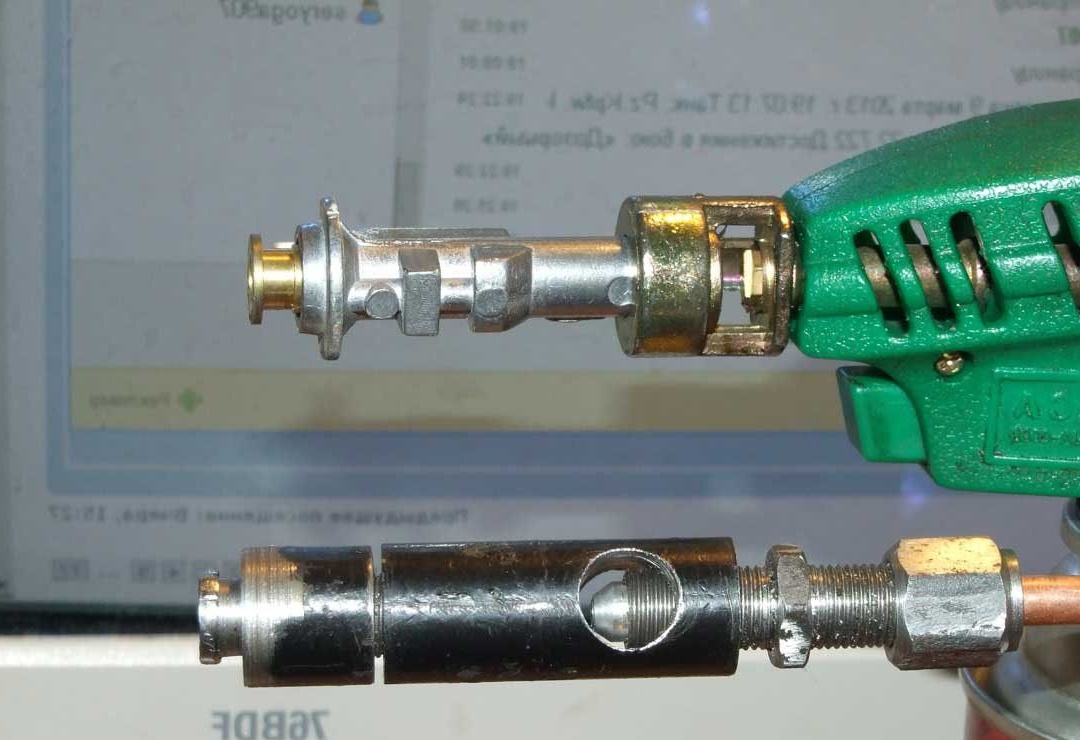
So that the burner can be conveniently started, a propane burner was purchased.
The system will work as follows. When starting, the controller will supply a spark and at the same time open the gas tap. After the gas ignites, the thermocouple will detect the presence of fire and then the electronics will start supplying oil and air. Next, with the help of an optical sensor, the flicker of the burner flame is monitored. As soon as the flame starts to flicker steadily, the electronics will shut off the gas supply.
A temperature sensor will also be provided in the system. When the burner heats up to the maximum permissible temperature, it will turn off, cool, and then turn on again.
Even if desired, homemade can be equipped with two nozzles, as a result, the burner will be able to work in three modes. For example, you can turn on a small nozzle, a large one, or simultaneously two at once. Two air valves will be required for this.
The author decided to make a burner for starting himself, focusing on the principle of a Chinese burner.
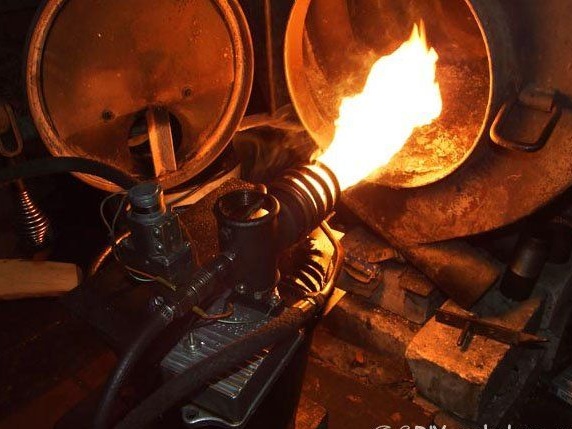
As a result, the Babington burner is capable of operating at a propane pressure of 0.2-1 kg / cm. A tube with a candle from the car was welded to the burner so that the burner could be attached to it for starting. A tube was also installed to mount the flame detector.
According to the author, the burner starts easily, just one spark is enough. At the same time, it burns quite evenly and the flame can not be blown away. So that the Babington burner could work in cold winters, the propane pressure was set low. In winter, it can be on the order of 0.5-1 kg / cm.
The author used a thermocouple from an old boiler.
An infrared resistor was also found, it is used as a sensor.
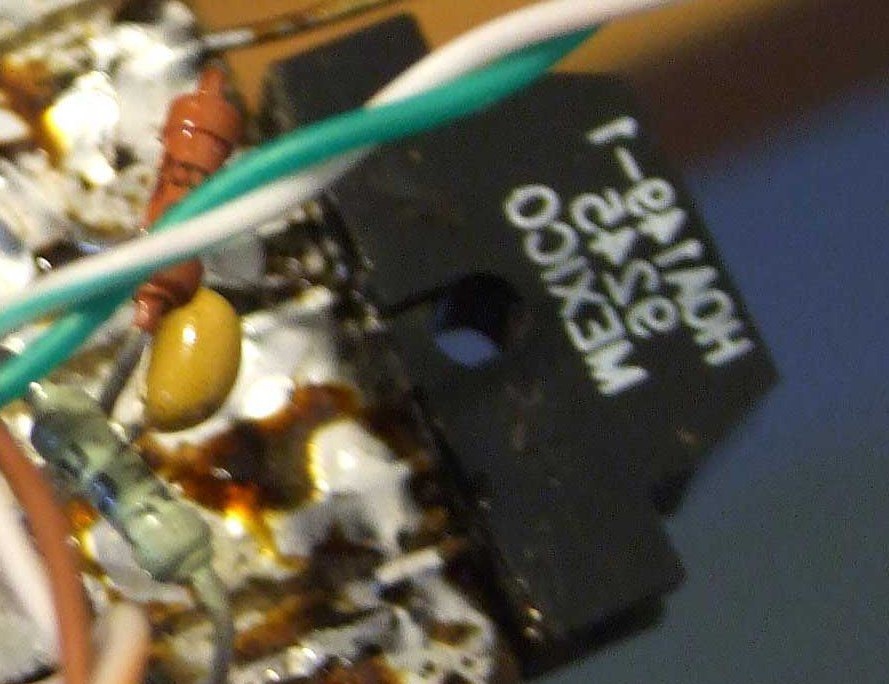
Everything works on the LM339n chip, which was removed from the computer power supply.
Well, then the electronics are going and you can watch a video of how everything works.
In the latest version of the burner, steel shields were added to it, which protect from heat. Suitable as a controller for complete automation of the system Arduino.