
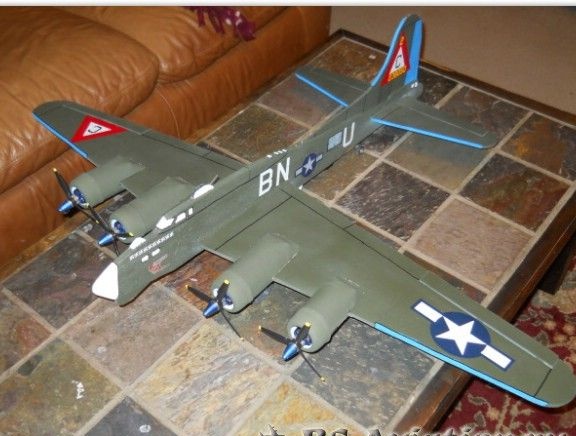
Reviewed below model refers to such a category of aircraft as planes. Homemade has four engines. If the model is qualitatively painted, as the author did, then during the flight it will be quite difficult to distinguish by what technology the home-made was going to. Airplanes are assembled very simply and quickly, they do not even need ready-made drawings.
Materials and tools for homemade:
- four engines (for aircraft models);
- one or two batteries (capacity and current depend on the engines used);
- electronics to control the model using radio control;
- elements for the manufacture of the chassis;
- cardboard;
- ceiling tiles;
- paints, airbrush;
- regulators for engines;
- servomotors for steering surfaces control;
- clerical knife, scissors, adhesive tape and more.
The process of manufacturing an airplane model:
Step one. Create Template
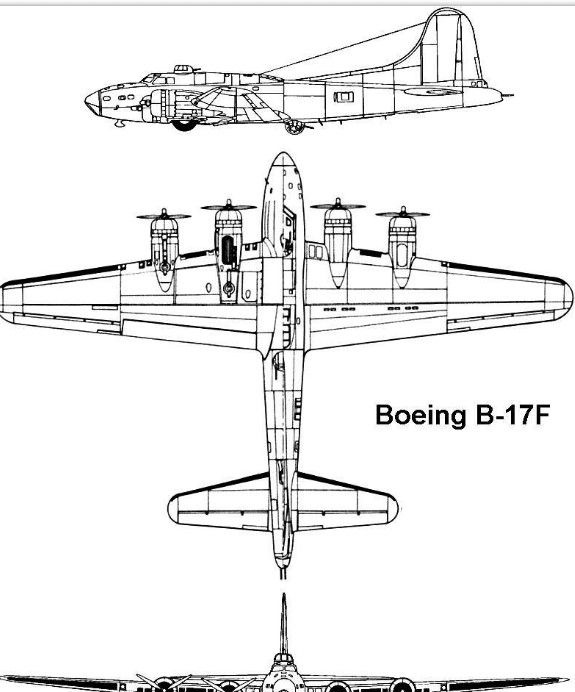
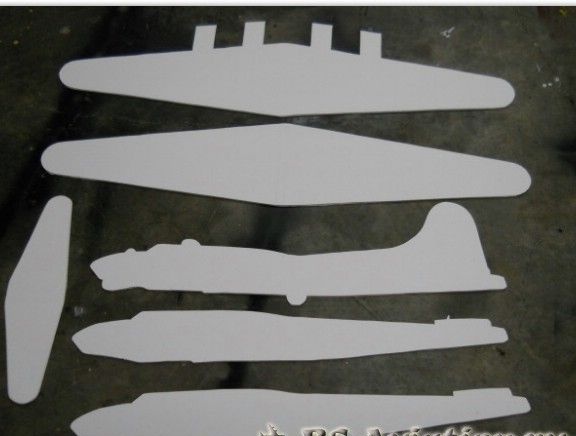
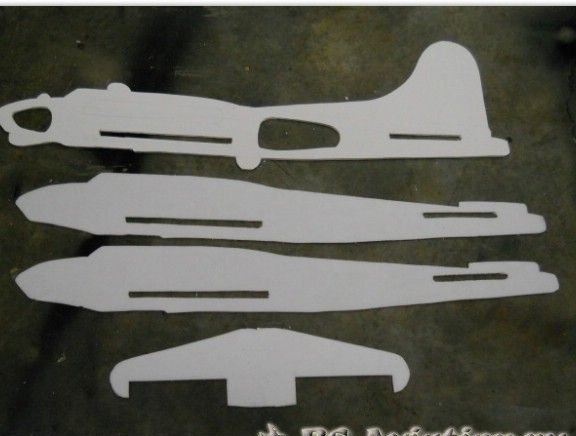
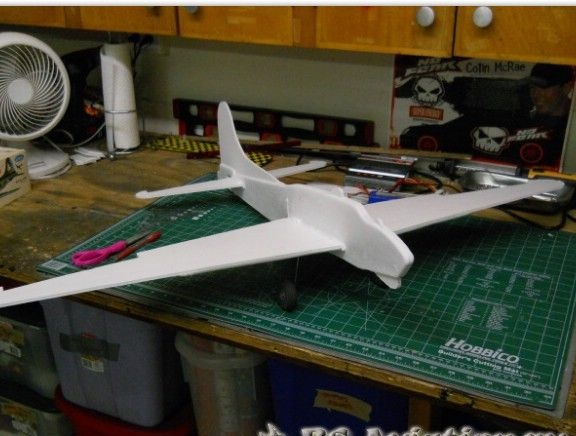
Templates are created very simply, even drawings are not necessary for this. You just need to find on the Internet drawings of projections of the required aircraft. Further, in any graphics editor (for example, in Photoshop), it is necessary to scale to the desired wingspan. The contours of the fuselage, stabilizer and wing need to be circled. Next, all this needs to be printed and then cut. As a result, blanks should be obtained as in the photo.
To create the fuselage you will need several layers, it can be 2-3 layers. If there are three layers, then in the central one you can create voids to make the model easier. There should also be a stabilizer from the blanks, as well as blanks for creating wings (also 2-3 layers).
Subsequently, it is necessary to refine the fuselage blanks, creating holes in them for relief. It is also necessary to create places for the installation of a stabilizer with a wing, and on the stabilizer itself, cut the PB.
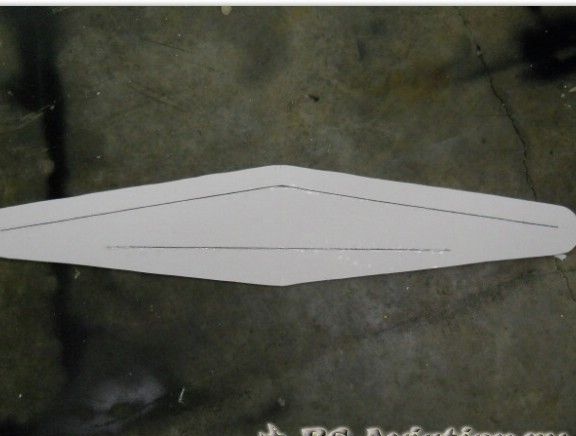
The wing needs to be assembled with a small V, it can be strengthened with bamboo or carbon rods. Line segments are also suitable. At the same stage, you need to cut the ailerons.
Step Two Bonding
Since the glue is quite heavy, you need to use a special bonding technology. The bonded surfaces must first be sanded. Then a small drop of glue is applied and spreads over the entire surface to be glued with a piece of the ceiling.
If you connect large areas of the fuselage with each other, the edges of the parts must be carefully smeared with glue, and a grid of glue lines is applied in the center, it is also called a checkerboard. Thanks to this approach, it is possible to reduce the weight of the aircraft model without loss of strength.
Everything sticks together quickly. The glue is applied to both surfaces that need to be glued, and then they are pressed together and sent under the press, it can be a stack of books. Clay Titan dries about 20 minutes, if it was applied in a thin layer.
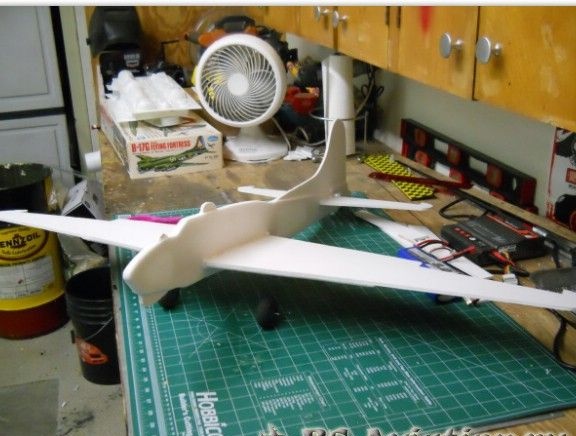
Step Three Chassis and steering planes
At the next stage, the chassis is attached to the model.
You also need to make steering planes. This is done classically, that is, first you need to make incisions in the ceiling so that the plane can move, and then tape is glued on top, as a result, the steering plane moves perfectly and lasts a long time.
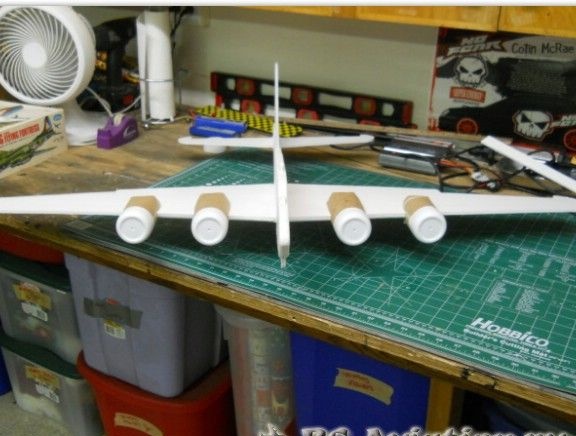
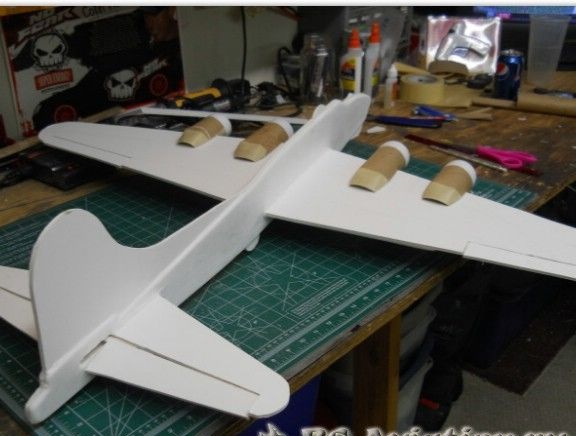
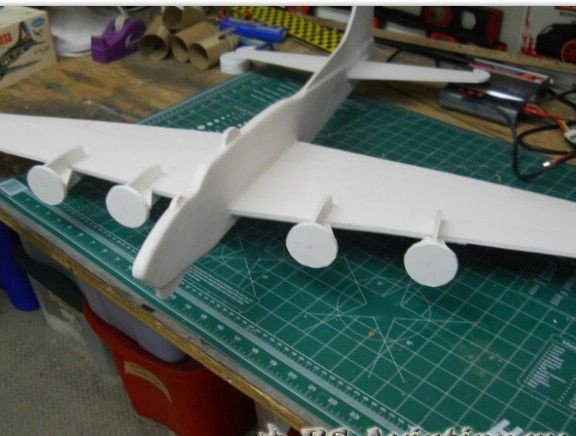
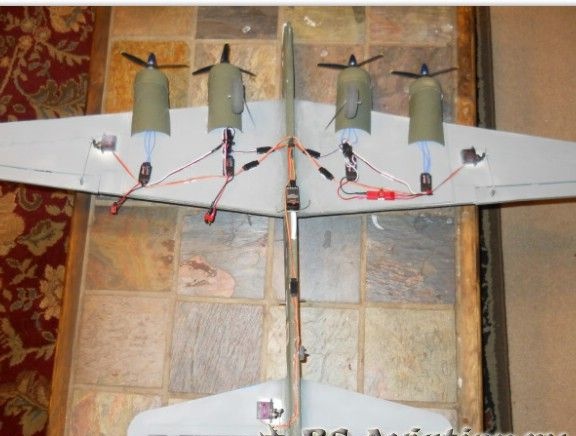
Among other things, you need to make engine mounts, there should be 4 pieces. The back of the turbines is easiest to make of cardboard, as it can be easily bent into the desired shape (semicircle). And in front, plastic caps of a suitable size are installed.
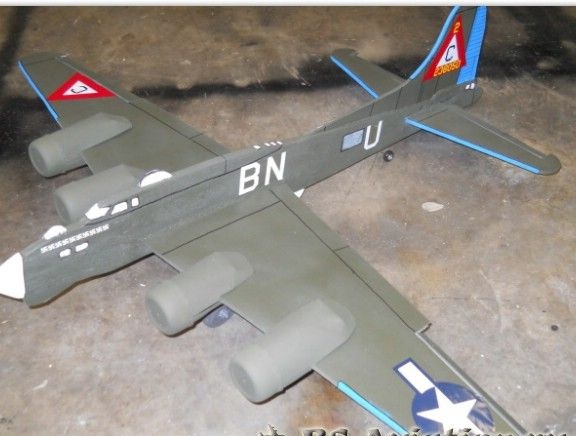
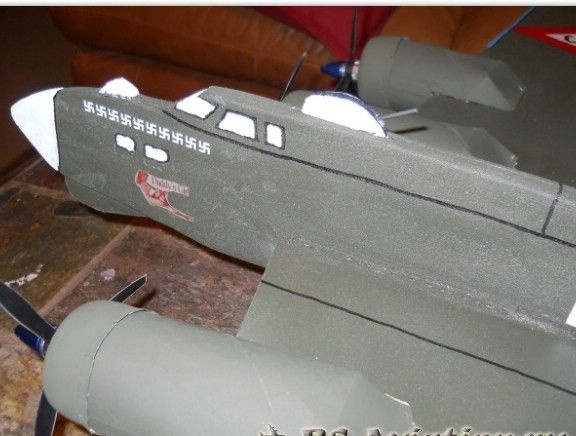
Step Four The final stage. Painting aircraft models
The model paints the author using spray cans with acrylic paint, a brush or an airbrush are also suitable.
After painting, you will need to make a hole in the plastic covers, as a result, a full-fledged front of the nacelle is formed. Then it only remains to fix the engines and connect all the necessary electronics. All electronics are attached with a glue gun. Each engine needs its own BC regulator. The receiver should be powered by only one controller, so improvements will be needed here.
The battery can be used one or two. If there are two batteries, then the model will be easier to balance, while the batteries are attached under the wing on each side of the fuselage. It is important to understand that if one engine consumes 15A, then four will consume 60A, while the battery will have to be able to give these 60A when testing a homemade product. If it is two batteries, then each should produce at least 30A.
That's all, the homemade product is ready and you can experience it. You just need to wait for calm weather.