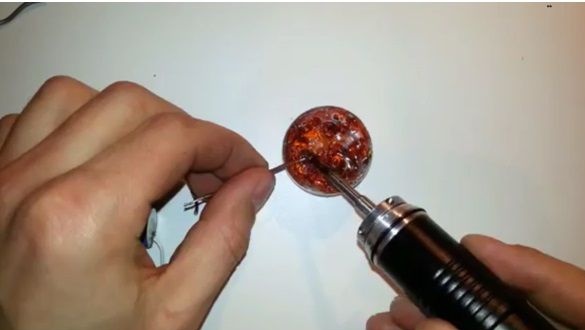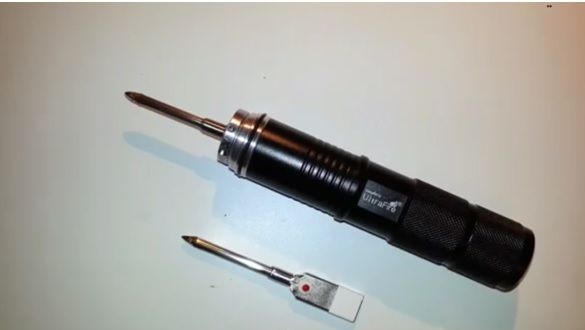
It often happens that you need to solder something in the place where the extension cord is pulled far away, or where there is no electricity at all, in such situations you can be helped out by a soldering iron that runs on gas or on the battery. In this article, we will look at how to make a standalone battery powered soldering iron do it yourself.
In order to get started, the following tools and materials will be needed:
1.Copper wire with a diameter of 4.
2. Antenna with radio receiver.
3. Grinding wheel.
4., rechargeable battery.
5. A small flashlight.
6. Nichrome wire.
7. A casing from a fiberglass wire, such a wire can be taken from an old broken electric kettle, there you can also find a nichrome wire.
8. Superglue.
Instructions for the manufacture of low-voltage rechargeable soldering iron.
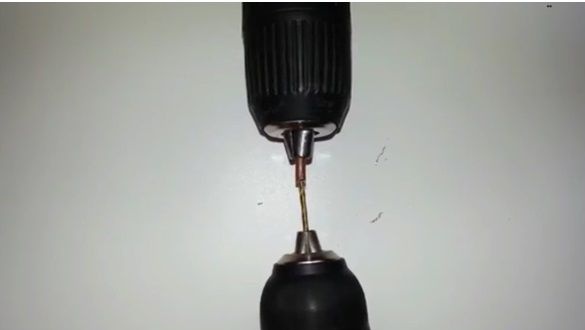
A copper wire with a diameter of 4 mm and a length of 20 mm. It must be fixed in teeski or drill in advance centered one cent in the center, with the help of two millimeter drill it is necessary to make a hole of five millimeters. Then you need to increase the diameter of the hole to 3 mm. This work is best done with a drill or screwdriver at low speeds.
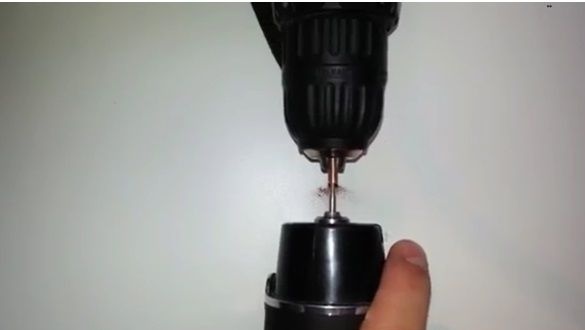
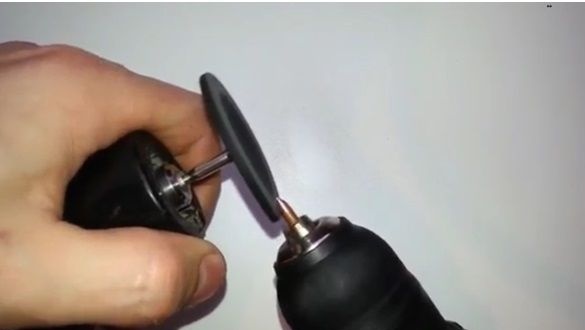
Next, you need to give the workpiece a shape, for this it is better to use a grinding wheel. The end result is a soldering iron tip. On the back of the sting you need to make a small cone and chamfer.
Then select a section of suitable diameter from the old antenna of the radio receiver, and cut a piece of 50 mm long from it.
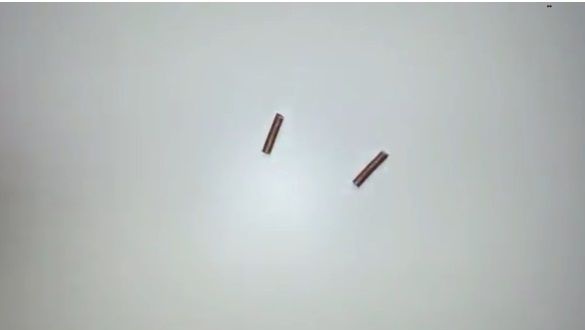
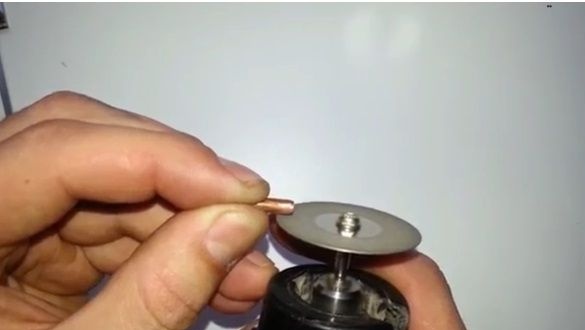
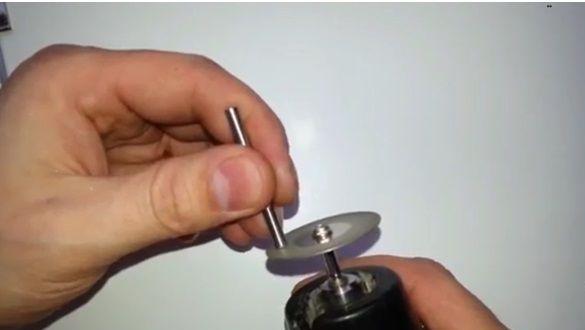
We take a wire of nichrome diameter, which should be 0.2 and wrap at least thirty turns on the needle for sewing.
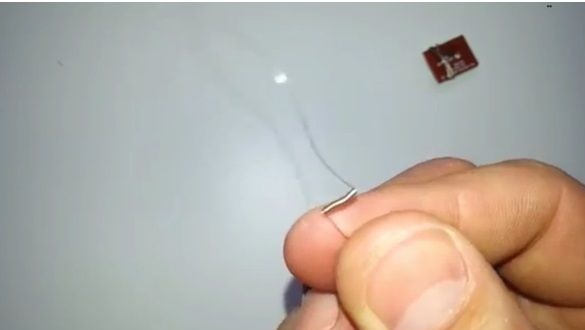
The soldering iron will work with the battery, using it, we check the heating element you have made.
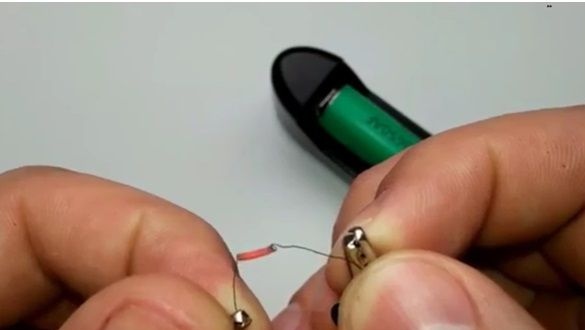
If everything works, go to the next part. Remove the casing from the fiberglass wire so that the fiberglass does not break out, it must be smeared with glue.
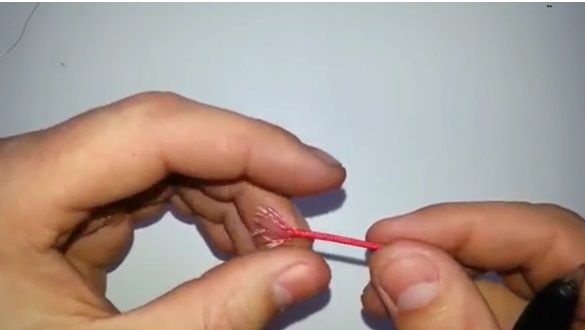
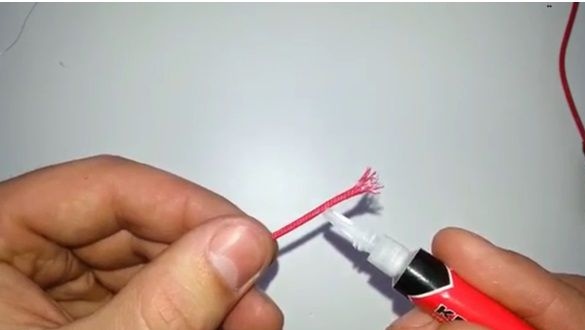
Remove another 5-6 mm braid from another piece of wire, using a sharp and thin tool (an awl or a gypsy needle), make a hole in the wire and insert a prepared nichrome heater into it. After the wire must be slightly crimped.
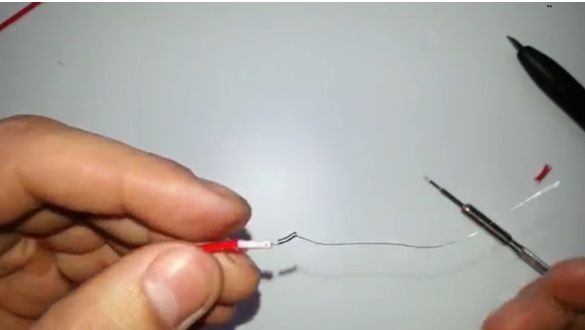
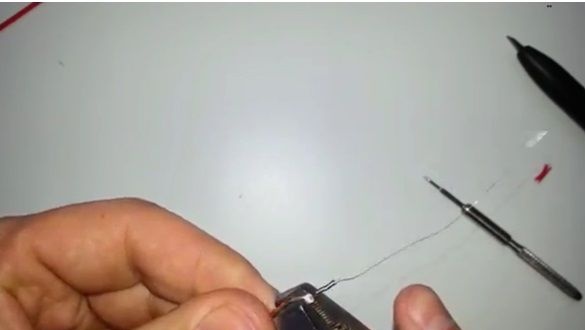
Now we take a fiberglass braid and cut off a piece of the desired length, then put it on and fix it on a spiral with glue.
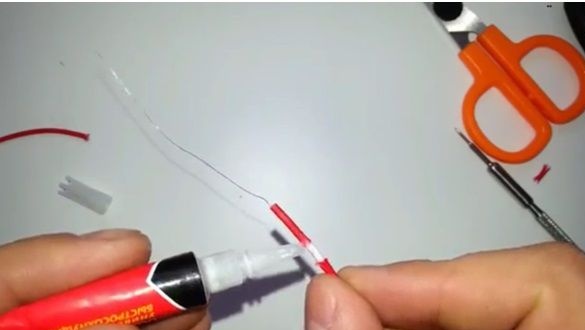
Now you need to put on the sting, do it so that the tip of the nichrome wire is opposite the chamfer on the sting.
Put the prepared piece of the tube from the antenna on the finished structure, and on the back, put on the fiberglass casing and fix everything with glue.
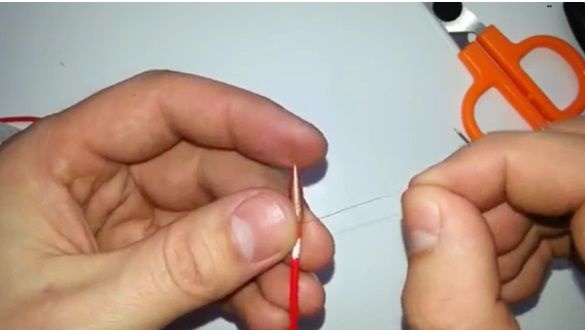
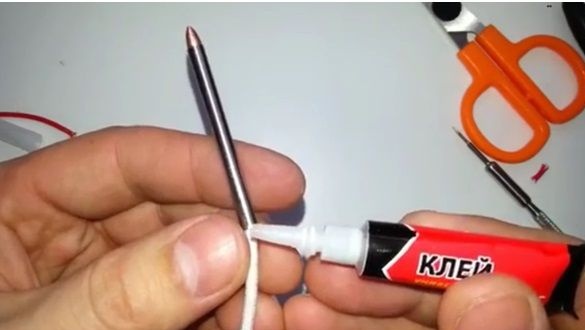
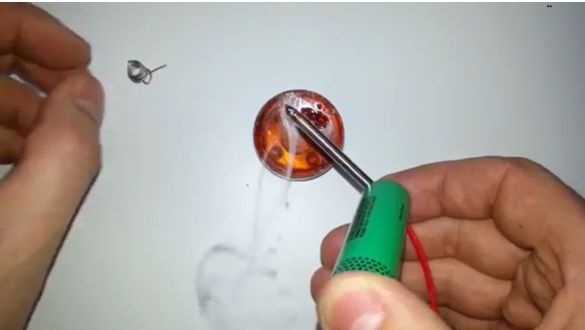
Next, we check how the sting made is heated, for this we need to connect the battery (only the sting should heat up, the structure in the middle should be slightly warm). If everything works correctly, the sting should be tinned.
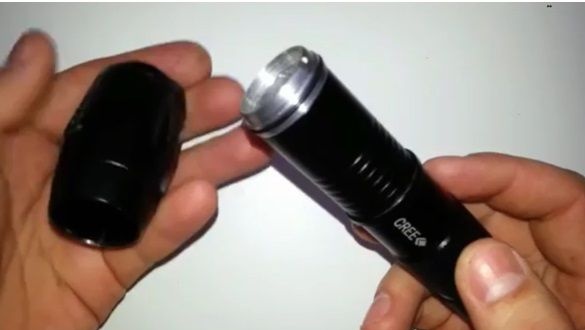
For making the case, the case from the old flashlight is ideal. Also, in order to make it more convenient for you to use a soldering iron in poor lighting conditions, you can add LED lighting by attaching a pair of LEDs to the washer, which fits the diameter of the case.
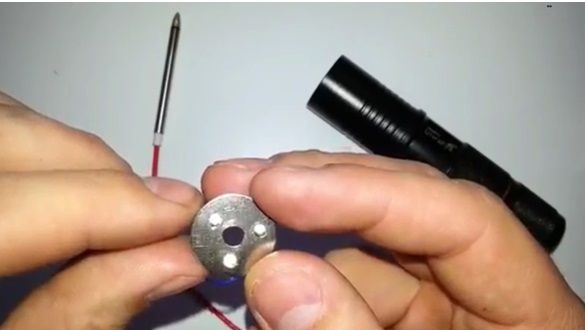
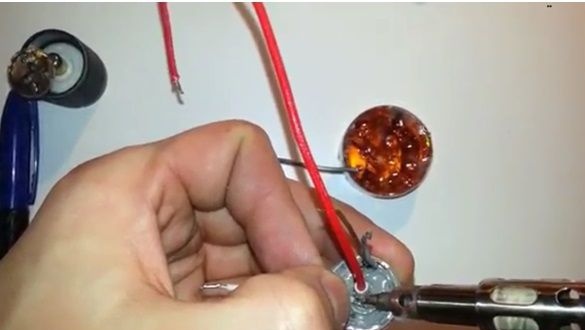
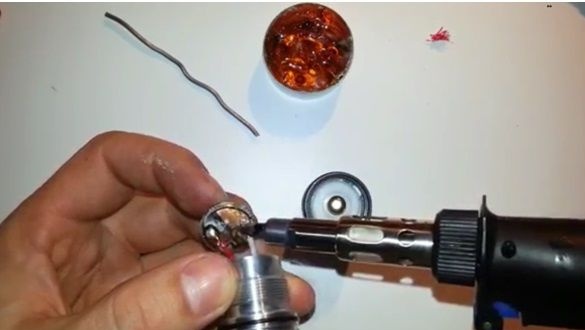
The washer and sting with a wire are attached to the body of the flashlight using epoxy, after drying, the mass wire is soldered to the sting. Then you need to solder the wires to the contact group conducting the charge from the battery, and collect the soldering iron.
Such a soldering iron does an excellent job of tasks and will become an irreplaceable assistant in the household.
