

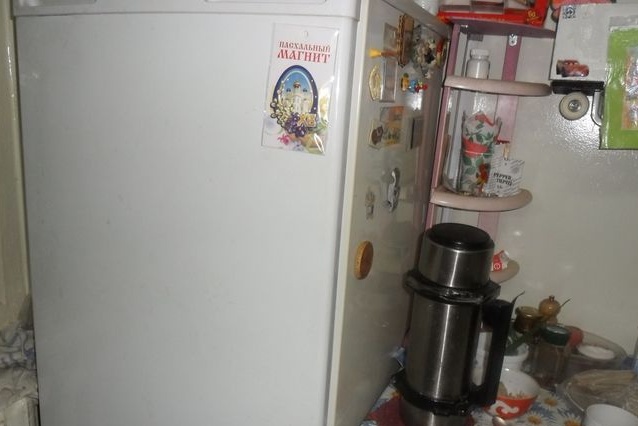
On the next visit, the grandson and grandmother, after a stormy meeting and plentiful use of tea with the famous grandmother’s pies, went to the kitchen, closer to the refrigerator.
I looked at my daughter in bewilderment (the mother of my descendant).
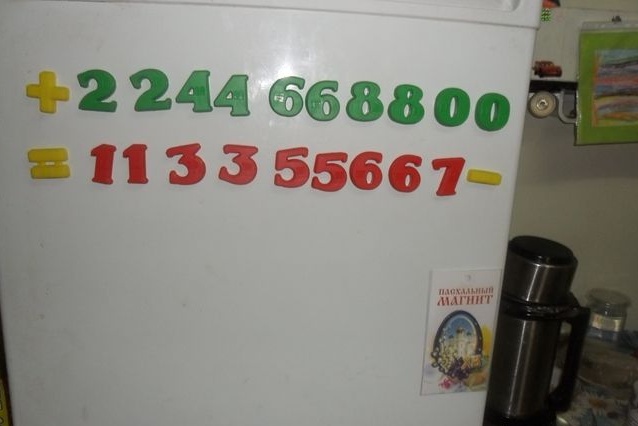
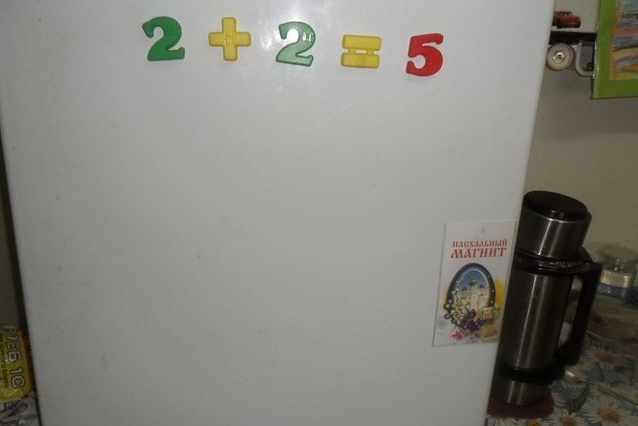
- Soon you will know everything - there was an answer. It turns out that in the kitchen the grandson taught his grandmother how to make arithmetic problems,
and the refrigerator was needed as a training board, the numbers were magnetic.
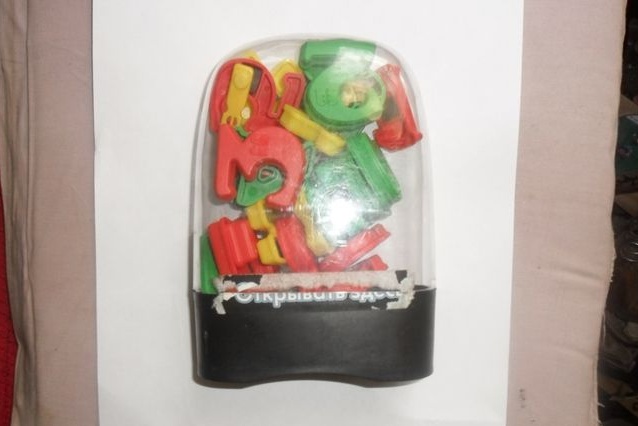
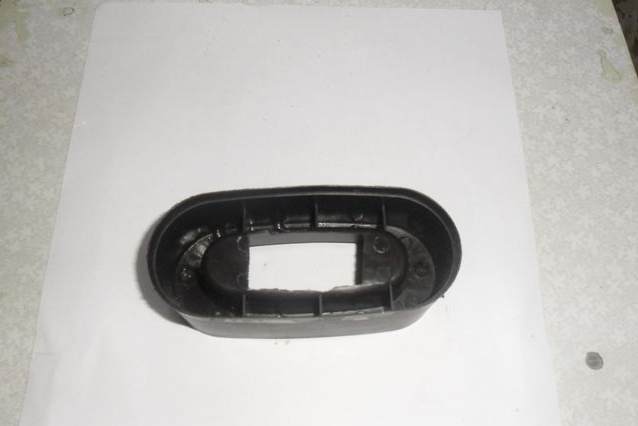
As a consolation, I got a nice case from numbers.
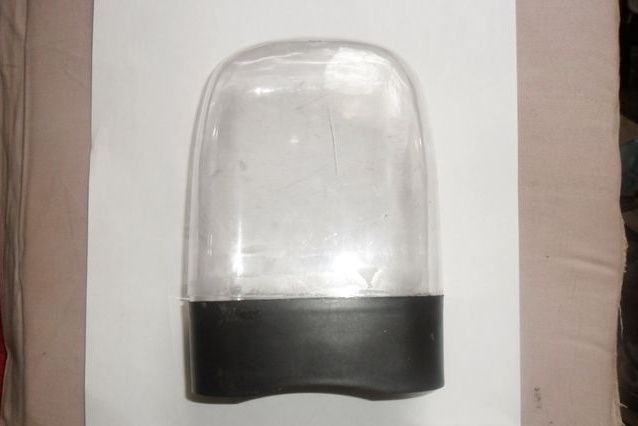
“Do something interesting from him, grandfather.”
- -And where will you store the numbers?
“They now have a place on the refrigerator - grandmother is weak in mathematics, let her practice.”
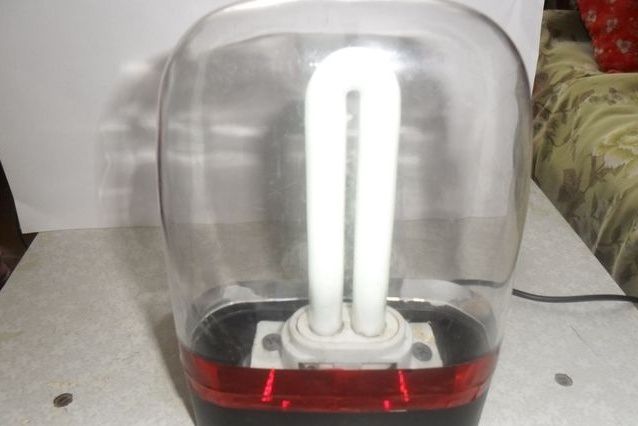
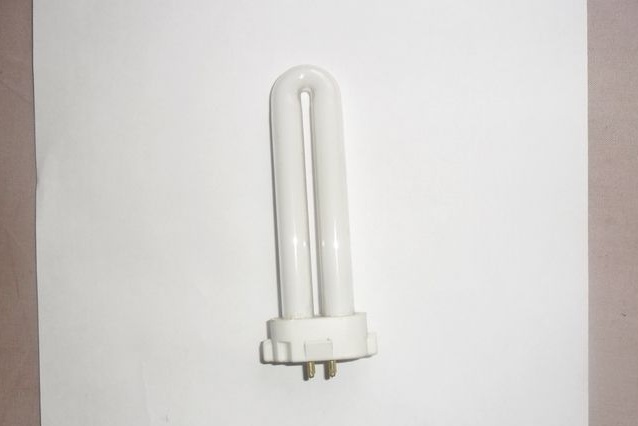
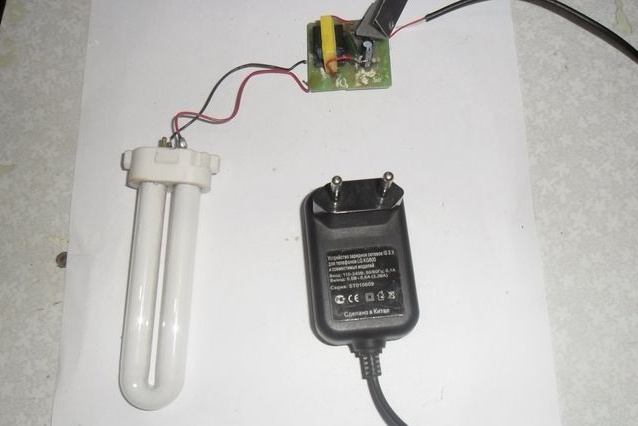
I had a fluorescent lamp with a power of not more than 3 watts, with one burned-out filament, apparently, my inner voice did not let it be thrown out.
There was also an established scheme for a simple blogging generator using a single transistor. Found her application more than once in different crafts, all with good results.
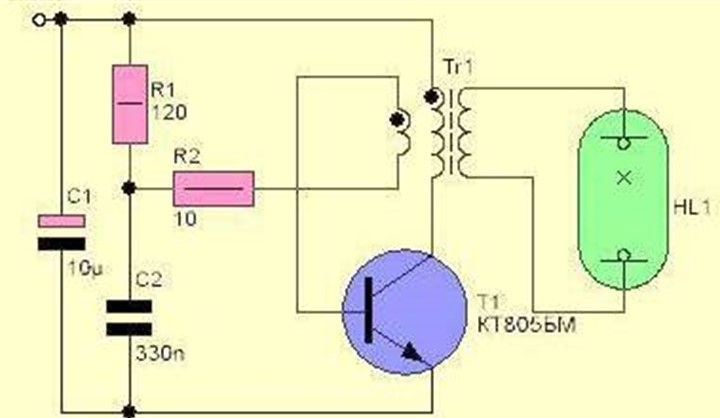
All this prompted me to make a nightlight for my grandson. The electrical circuit is built on the principle of a single-cycle blocking generator and contains only a few non-deficient radio components. The transformer was wound manually on a W - shaped core. A transformer from a push-button telephone of any manufacturer is ideal.
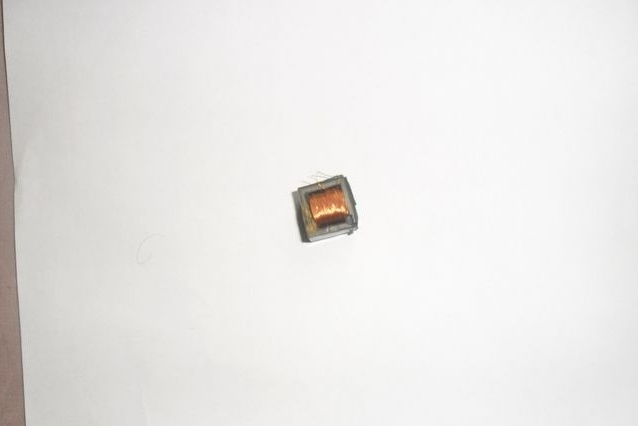
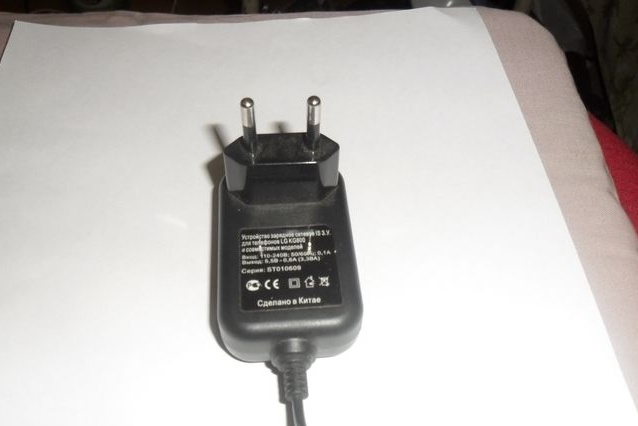
The winding for a fluorescent lamp can be wound with a copper wire PEL 0.1 - 0.18 mm, 200-250 turns. Then the collector winding is wound, containing 25 - 30 turns of copper wire PEL 0.4 - 0.55 mm. Next, we wind the base winding from 5 to 7 turns of copper wire PEL 0.25 - 0.4 mm. We select the resistor R1 so that the current consumption of the working device is about 0.5 A. As a power source for the night light, I used a charger from a cell phone with output parameters: 5.5 volts, 0.6 amperes, 3.3 watts.
Since there were few radio components, I didn’t really bother with the printed circuit board;
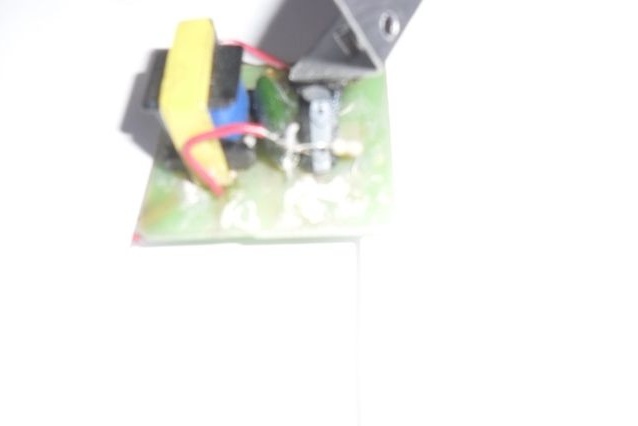
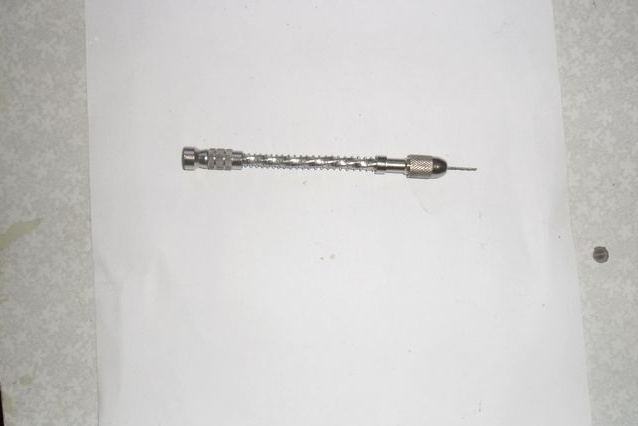
put everything together on a piece of fiberglass, drilled it with a hand mini drill purchased through Aliexpress,
holes with a diameter of 1 mm, on the reverse side of the board everything was soldered, according to the scheme and assembled the layout.
Turned on the power supply in the power grid and "Hurray, it worked!"

I cut out the necessary holes in the case cover donated by my grandson
and fixed in it all the components of the layout.
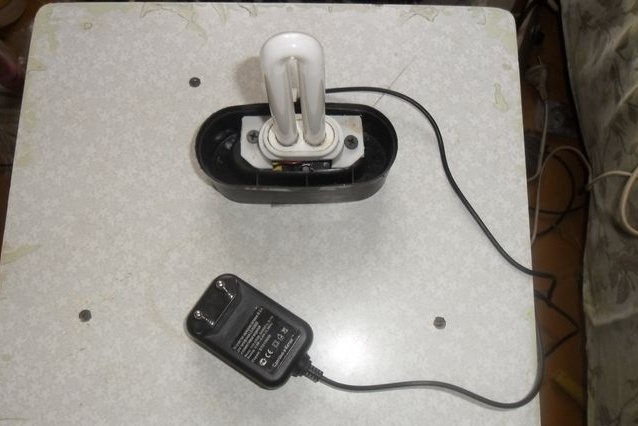
Turned on again - it works,
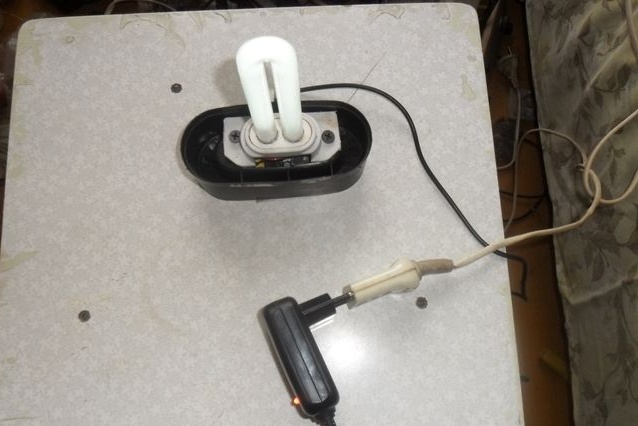
the case was closed with a lid and taped the junction of the adhesive strip of decorative film.

Remember the grandson of your grandfather!