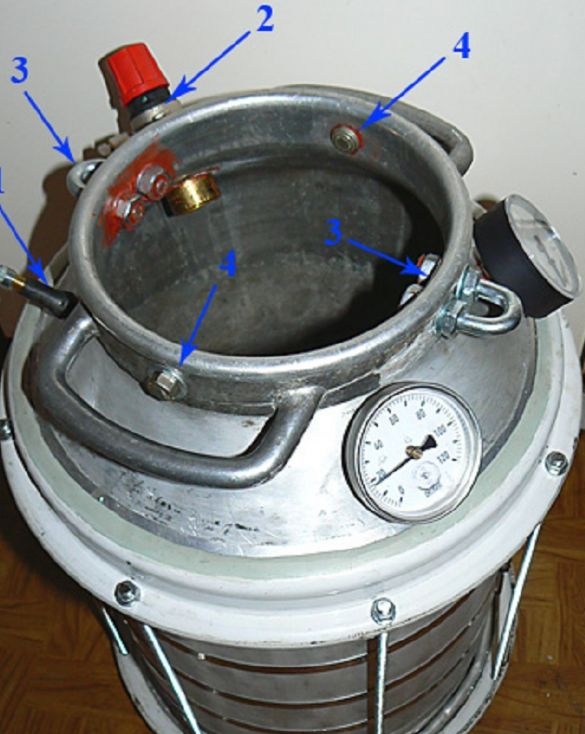
An autoclave is a device inside of which various chemical and physical processes take place under the influence of temperature and high pressure. Such devices are used in various fields of industry and science. In the food industry, autoclaves are used for the production of canned meat. It was for this purpose that the author decided to make an autoclave homemade.
Tools and materials.
-Bulgarian
-Drill
- 12 inch car drive
- Steel clamps 300 mm
-Thermometer
-Manometer
-Bolt hook
-Threaded couplers
-Safety valve
-Camera valve
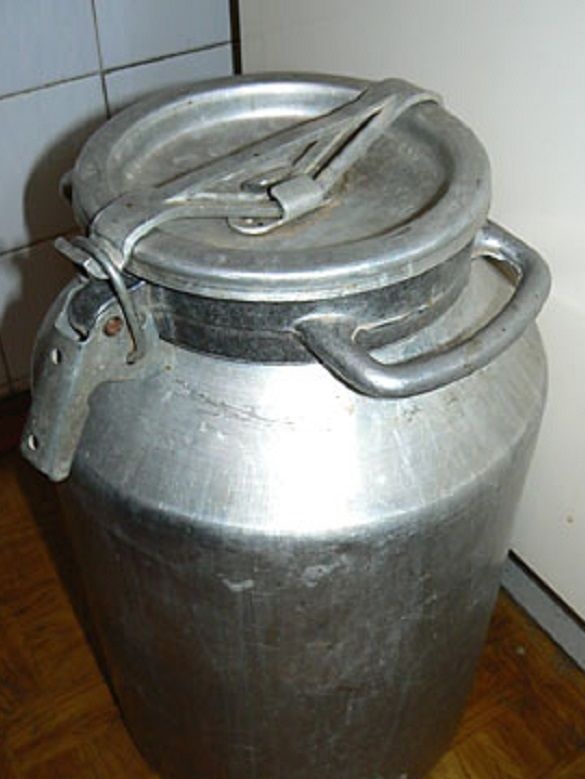
The author of the homemade describes two options. During the operation of the first homemade, some design flaws were identified, so it was finalized. Here we will consider the second improved version of the autoclave. Since the autoclave operates at a pressure of up to 3.5 bar, it is necessary to strengthen the flask so that it does not burst.
Step 1. Strengthen the central part.
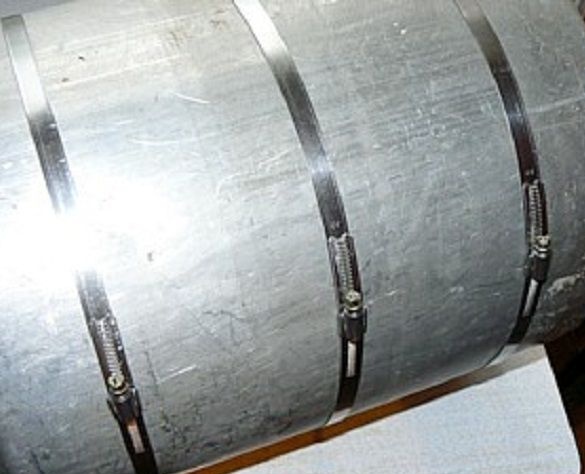
To strengthen the central part, the author used steel clamps. He installed five clamps at an equal distance from each other and pulled them off.
Step 2. Reinforcing the bottom.
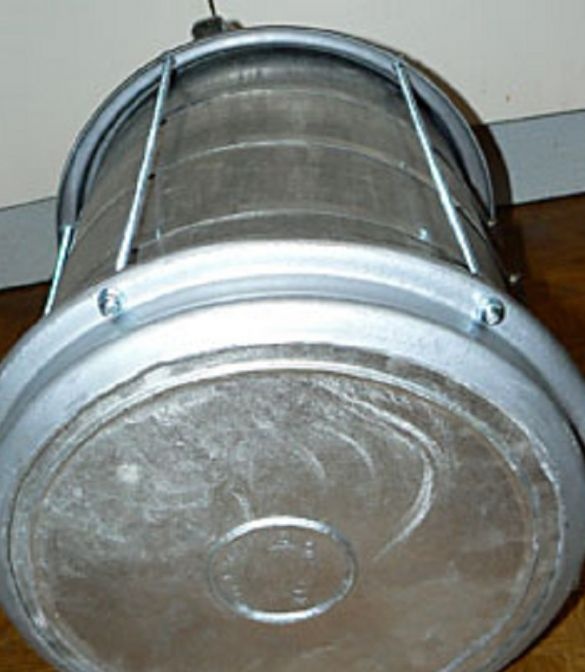
To strengthen the bottom of the flask, the author used a 12-inch rim from the Oka.
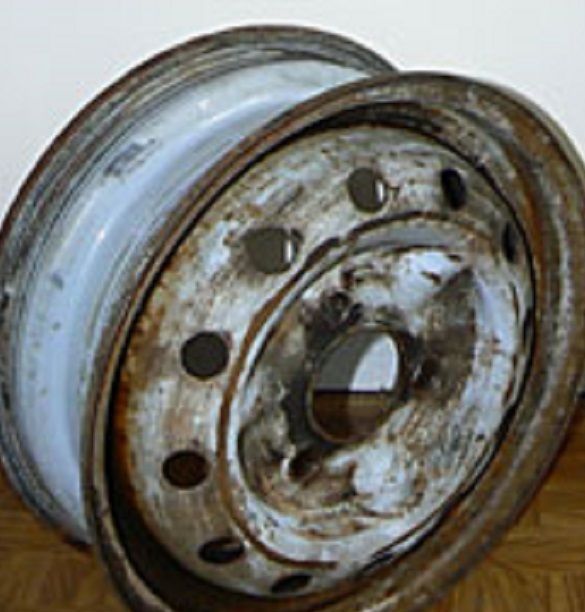
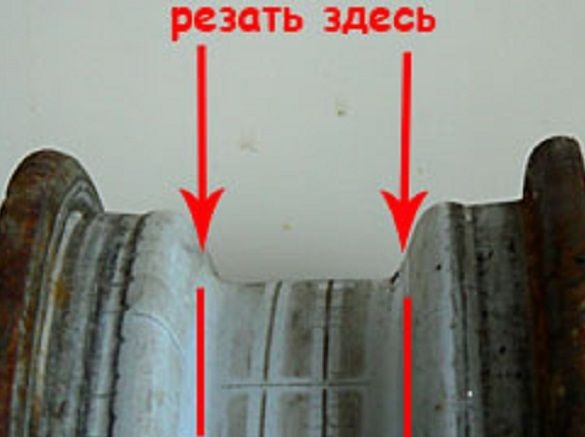
First, he cut the disk according to the marks. The result is three parts. For an autoclave, two side ones are needed. Through will go to the upper part of the can, and with the attachment plane to the lower.
A circle with a diameter of 28.5 mm is cut out of an 8 mm sheet of metal (in the first embodiment, 5 mm, but at a pressure of 3.5 bar, the 5 mm sheet began to bend). Removes the chamfer from the circle and sets it in the lower hoop. He puts the flask on the hoop, puts on top of the second half of the disk. The gap between the flask and the discs is sealed with an aluminum strip, which gives additional rigidity to the structure. Drills six holes for the M6 pin in the lower and upper parts of the disk. Having installed a hairpin tightens a design.
Step 3. Making the cap.
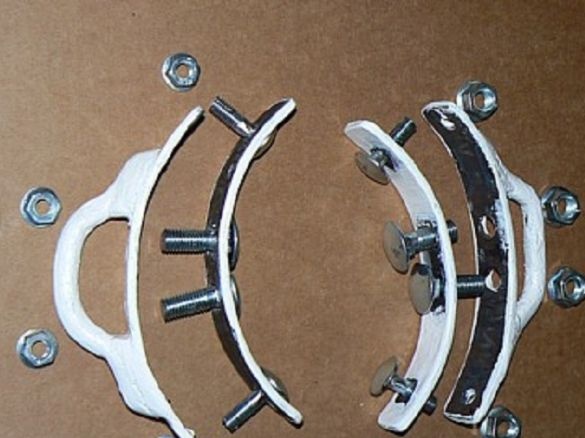
In the first version, the author left the standard cover by strengthening it with a pressure plate, but as practice has shown, the standard gasket is squeezed out under the influence of pressure and temperature.Then the author removed the regular flask cover. To make a pressure plate from a 8 mm sheet of metal, a hexagon with a diameter of 24 cm was cut. Six bolt holes 10 mm are drilled in the corners. Instead of laying, a conveyor belt with a thickness of 1 cm is used. A circle with a diameter of 21 cm is cut out of it. In the first version, it was possible to hook the bolts to the standard steps.
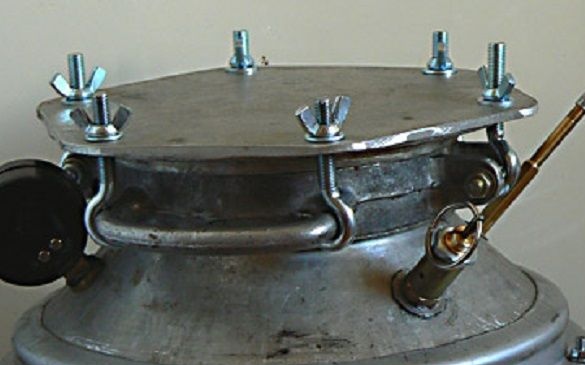
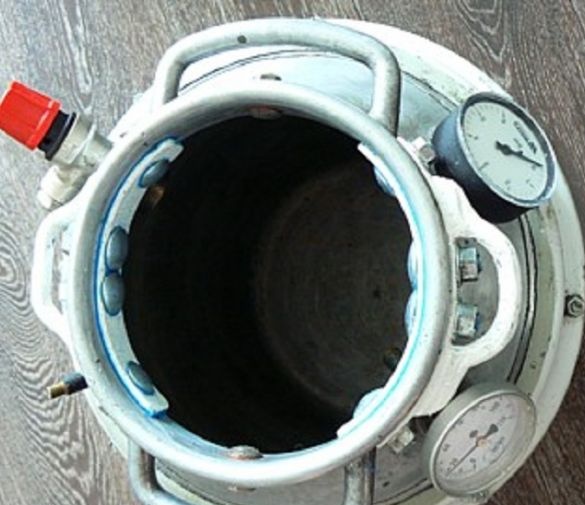
At the second flask they were offset, so the author used an additional mount. Having measured the equal distance between the handles, I drilled 4 holes on each side and installed the mount. You can use the mount for the cable.
Step 4. Installation of instrumentation.
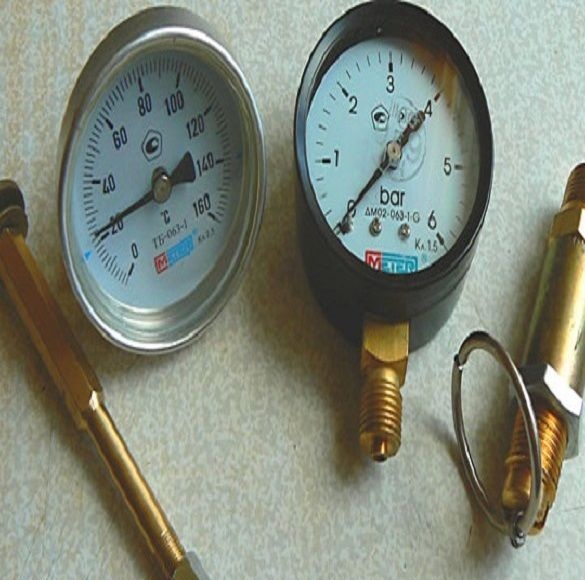
To control temperature and pressure, a thermometer and a manometer were used. Since the temperature in the autoclave reaches 120 degrees, a thermometer was taken with a scale of up to 160. The pressure reaches 3.5 bar. The author used a manometer with a scale of 6 bar. Two holes were drilled at the top of the flask. The diameter is slightly larger than the threaded part of the devices. Then, the nut is screwed up to the stop until it stops, a paronite gasket is placed. Thermo sealant is applied to the thread and a fum tape is wound on top. The tube is inserted into the hole and a gasket and locknut are placed from the inside.
Step 5. Automation.
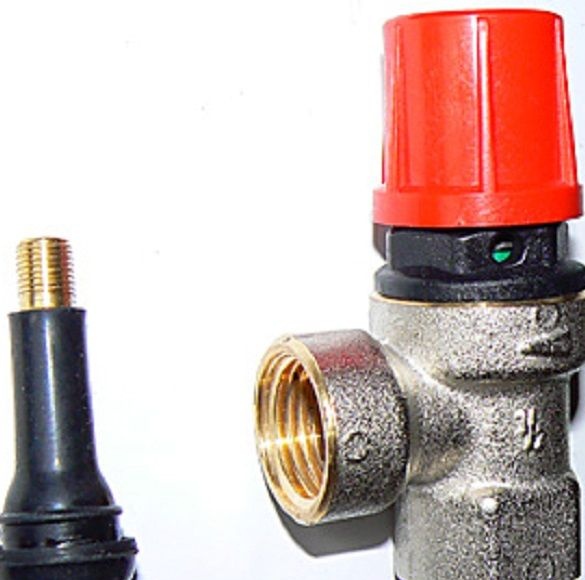
To increase the pressure, the author used a tubeless automobile valve. To relieve pressure, a safety valve for the heating system was installed. The valve operates at a pressure of 3.5 bar and has the ability to force-release the pressure.
According to the author, his autoclave has several advantages over industrial designs. Simplicity and low cost of manufacture, lightweight stainless construction, maintainability.
In more detail, as well as safety measures, the procedure for working on an autoclave and cooking recipes, see the source site.

