In order to make an air intake do it yourself The following materials are needed:
• Dense film;
• Cylinder of foam;
• Fiberglass;
• Mastic with fiberglass;
• Putty;
• Sandpaper;
• A sharp knife.
The process of manufacturing an air intake.
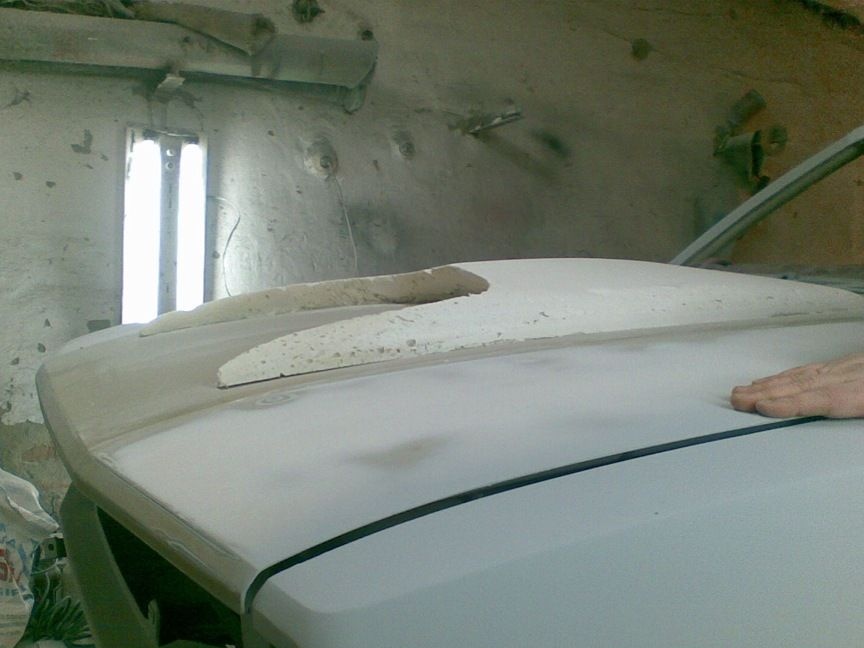
1. Spread the film in the place where you plan to install the air intake (the film should cover most of the surface so as not to stain the paintwork with foam). Then apply the foam evenly on the film (try to make the shape of the workpiece you need) and let it dry.
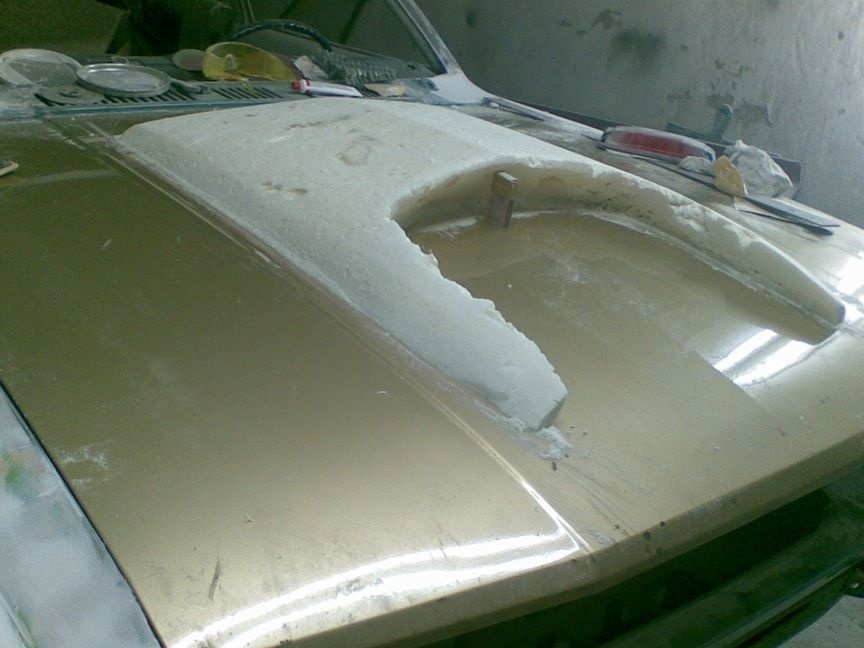
2. After the foam has completely dried, we reveal the sculptor’s talent and give the workpiece the necessary shapes and shapes with a knife and sandpaper until you get the part that you want to install on your car.
3. After the part is ready it needs to be glued with fiberglass, if your product has a complex shape and sharp edges then the thickness of the material should be 1-2 mm. In order to maximally repeat the shape of the product, and the material was as close as possible to the base, fiberglass often needs to be cut. Depending on the type of fabric, the required number of gluing layers is determined, the total thickness of the glued material should be at least 4 mm. Also, instead of fiberglass, a bandage with epoxy glue is allowed, the final result is almost identical.
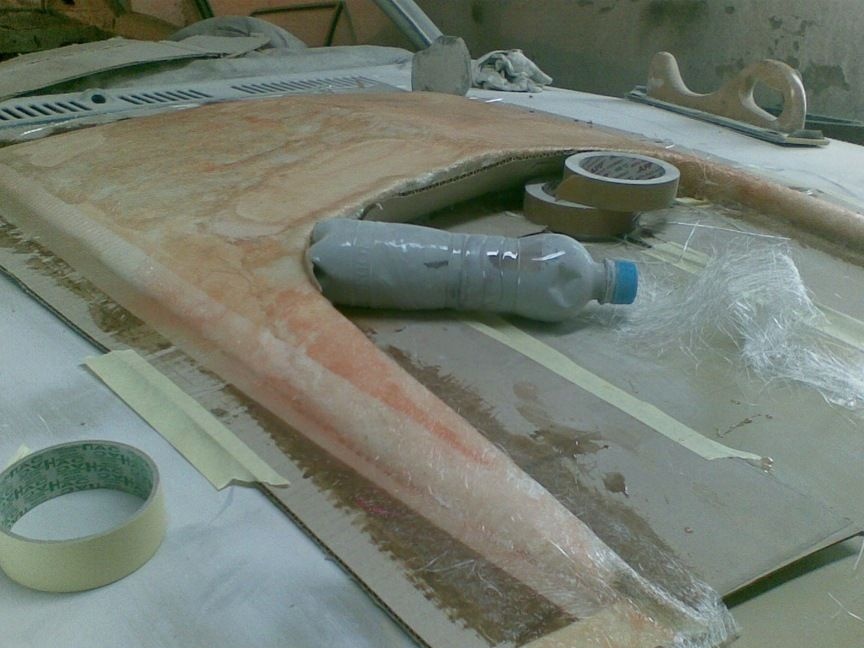
4. After pasting, the product must be allowed to dry well, depending on the temperature, this can take from one to three days. When the part is completely dry, you can continue to work. First you need to remove the foam with a knife from the inside of the product, making a hole for the air flow, and then you should sand the most noticeable irregularities with sandpaper.
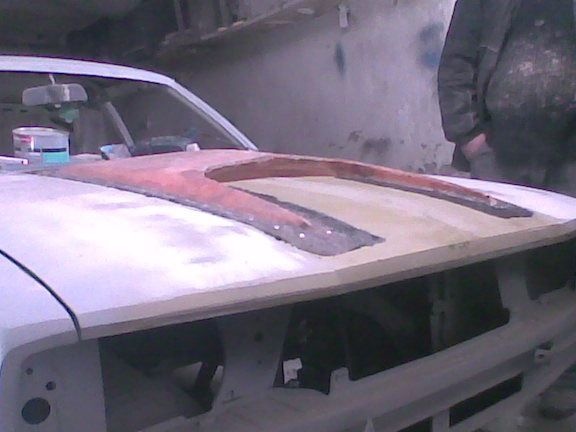
5.Next, you need to impregnate the part with mastic and putty. The process is quite laborious and the final result depends on it. For impregnation, it is better to use mastic with fiberglass, you need to apply it with a large layer, this will help to hide the errors that were made when pasting with a cloth. During impregnation, the part must be periodically applied to the place where it will be installed in order to immediately identify and eliminate irregularities (there should be no gaps between the part and the hood). Then we begin to fill the small pores with putty, try to make the first layer as thick as possible, to immediately fill all the pores and make the part stronger, because it will experience strong loads at high speeds, and level the surface with the second and third layers. After drying, the putty should be cleaned with fine-grained emery paper, if necessary, uneven areas are puttied so that the surface is perfectly smooth.
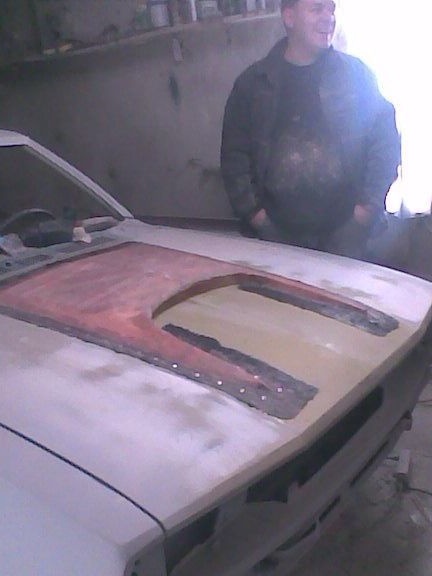
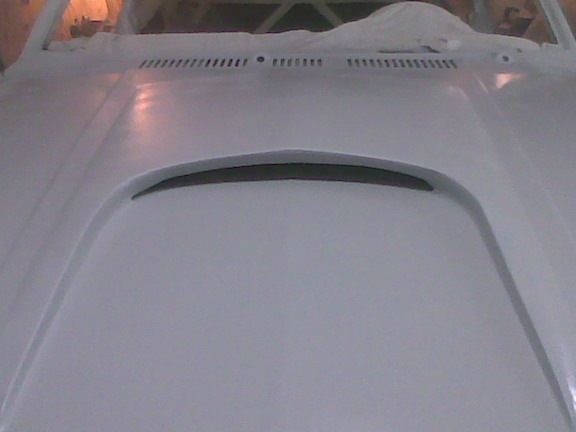
6. Next, the part must be degreased, primed, painted and varnished.
For mounting the air intake on the hood, it is better to use rivets.