
Nowadays, you can see everywhere products that are manufactured using vacuum molding technology. This approach allows you to quickly make plastic dishes, packaging, mannequins, paving slabs and much more. To do vacuum molding at home, you will need a special machine. Are such fixtures expensive, and too bulky. This article will consider an example of creating a simple vacuum forming machine, which uses only a vacuum cleaner and an oven.
Of course, the power of such a machine will be small, so it will not work to produce bulky items or just make a large number of products in a short time. But for the sake of interest and small household needs, such a machine is quite enough. In addition, with the help of such a machine, you can perfectly make hulls for various models, whether it be ships, planes or cars. You can also make items for various homemade. This device is a kind of unique analogue of the "3D-printer."
Materials and tools for homemade:
- a vacuum cleaner (the more powerful the better);
- oven (needed to heat plastic);
- wooden blocks;
- drill;
- self-tapping screws;
- a screwdriver or screwdriver;
- plywood or chipboard (thickness 16 mm);
- silicone (as sealant);
- Fiberboard for the working surface (plywood is also suitable);
- aluminum tape;
- wood, plaster (or other materials to create the form).
Machine manufacturing process:
Step one. Dimensions of the vacuum machine
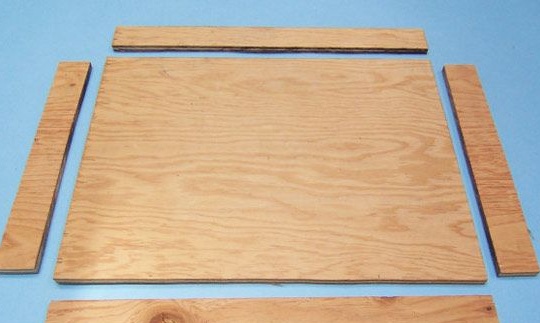
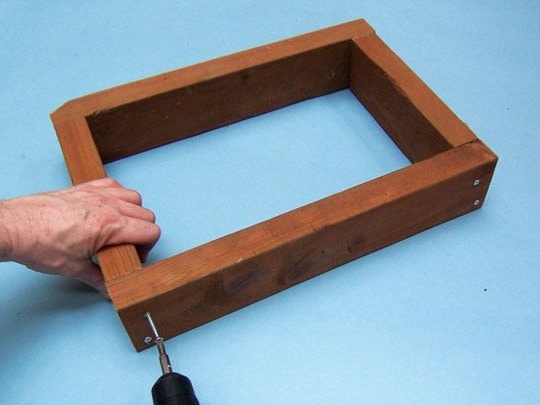
The main element of a vacuum machine can be considered a frame on which plastic is heated, as well as a vacuum chamber. The dimensions of the frame must be such that it fits in the oven. You also need to consider the size of the plastic sheets from which future products will be created. The frame is made of wooden blocks.
Step Two Making a vacuum chamber
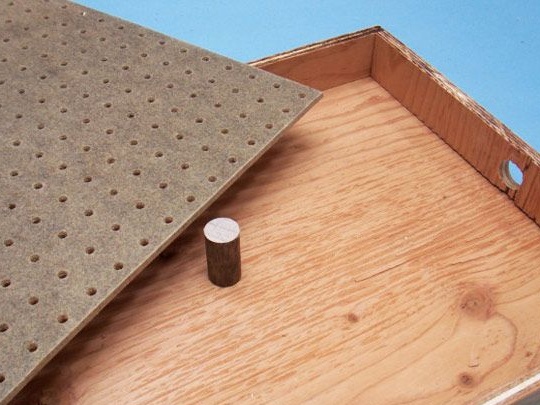
A vacuum chamber is needed to “suck” the plastic, which, in turn, will envelop the shape underneath. For the manufacture of a vacuum chamber, a 16 mm thick chipboard sheet or plywood will be needed. Technically, a vacuum frame is a box; its dimensions should correspond to the dimensions of the frame that will lie on it.
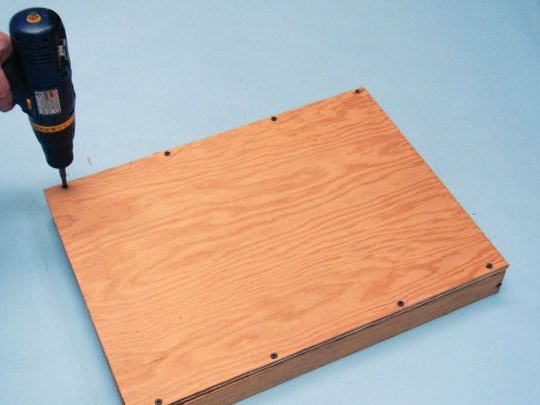
First, a frame is made from a bar, and then plywood is screwed to its bottom. Since the chamber must be airtight, all joints during assembly must be coated with sealant.
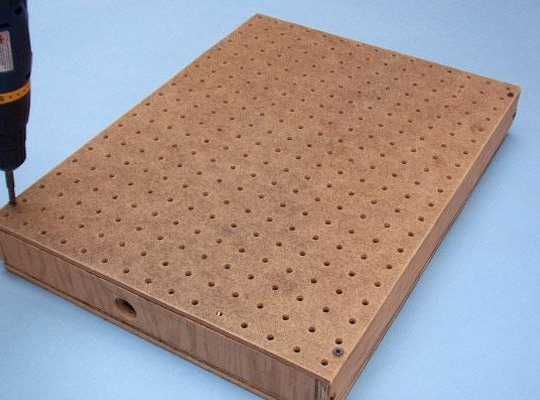
The vacuum chamber also has a working surface, that is, a place where the formation of products takes place. It is a sheet with evenly drilled holes. Fibreboard is well suited for these purposes, but plywood can also be used. It is important to understand that the working surface should not bend, so a spacer is installed in the center.
Step Three We connect the vacuum cleaner
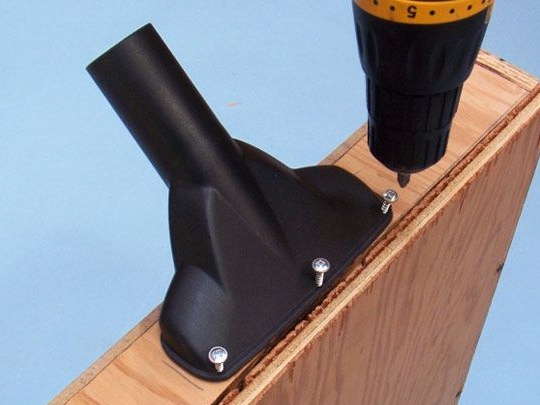
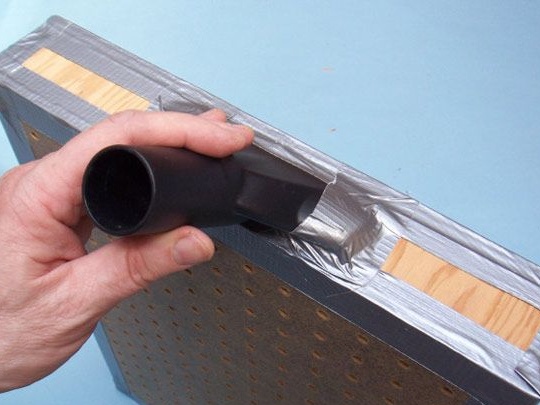
To conveniently connect the vacuum cleaner to the vacuum chamber, the author used the nozzle from the vacuum cleaner. It must be screwed to the vacuum chamber, having previously made a hole in it for pumping air. The nozzle is attached using self-tapping screws, it must first also be lubricated with silicone or other sealant.
If there are doubts about the tightness of the structure, it can be glued on top with aluminum tape or other adhesive tape.
Step Four Forms for homemade products. Product creation process
To create the form, you can use various materials, for example, gypsum, wood and others. If the forms do not have to be perfectly smooth, then polyurethane is ideal for these purposes, since it is easily processed with a clerical knife.
If there are concave places on the form, then holes need to be drilled here so that the plastic can “suck” into these recesses. A drill with a diameter of 0.1 - 0.5 mm is suitable.
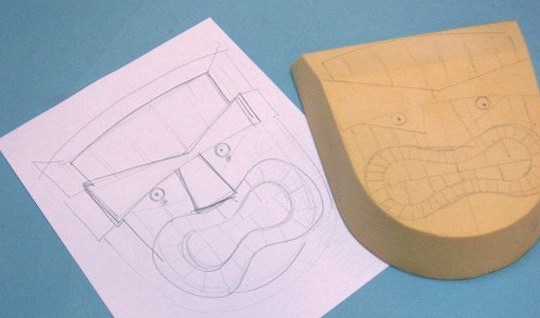
After the mold is made, you can proceed directly to the molding process. Work will be carried out in the kitchen, as access to the oven is needed.
First you need to connect the vacuum cleaner to the vacuum chamber and install a mold in the center of the working surface. At the bottom of the form you need to put pads 1 mm thick, coins will do. This is done so that the plastic better fits the shape below.

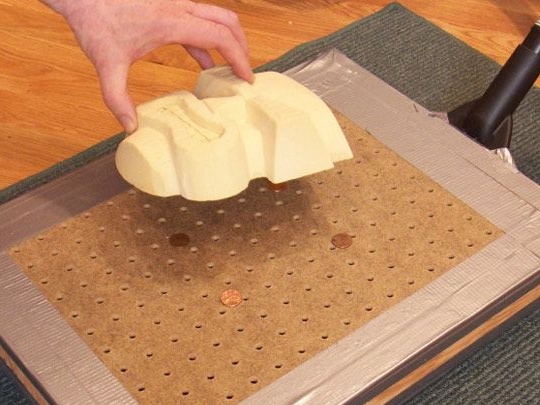
Then, around the perimeter of the frame, you need to cut out a sheet of plastic, PVC, PET and other types are suitable. Due to the fact that the vacuum cleaner does not create a very high vacuum, it will not work to use thick plastics. The thickness of the plastic for this homemade product should be in the range from 0.1 to 0.4 mm.
The plastic sheet must be nailed with brackets, keeping a distance between them of at least 2 cm. You do not need to sting the brackets, since the heated plastic can easily break out of its fasteners.
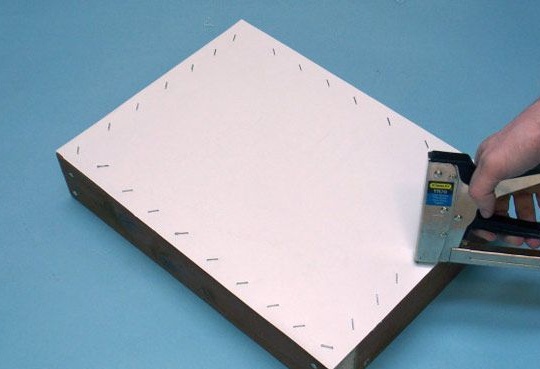
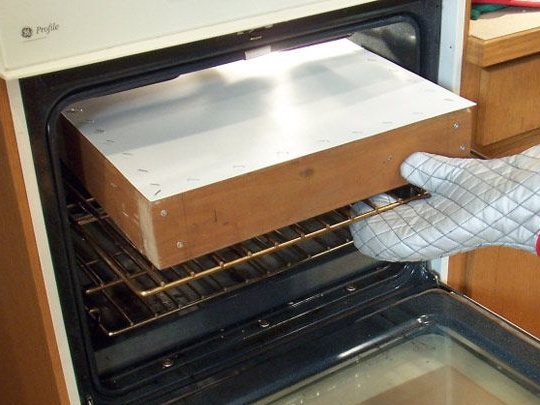
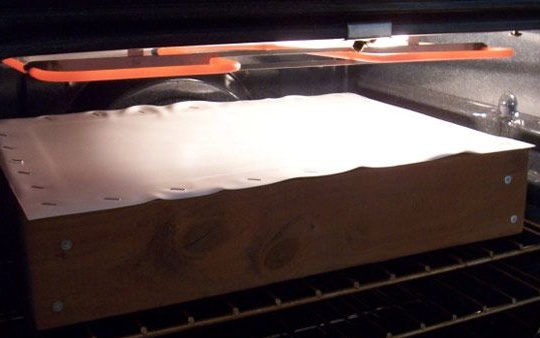
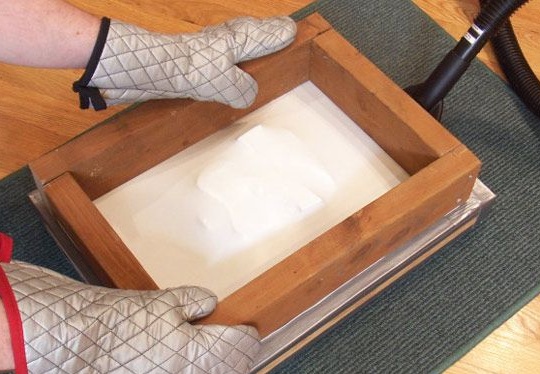
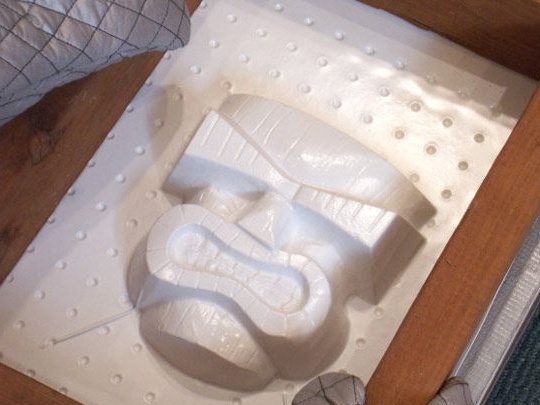
Now you can put the plastic in the oven, heated to 190 degrees (for each type of plastic there is an optimal softening temperature). After a while, the plastic will heat up and begin to sag in the frame. Now it needs to be removed and installed on the vacuum machine. Subsequently, the vacuum cleaner is turned on and the plastic begins to envelop the mold. When working, gloves should be used, as the frame will be hot enough.
The vacuum cleaner needs to be allowed to work for about 20 seconds, then the frame can be removed to remove the product. If in some places the plastic does not fit snugly, you can use a construction hairdryer.
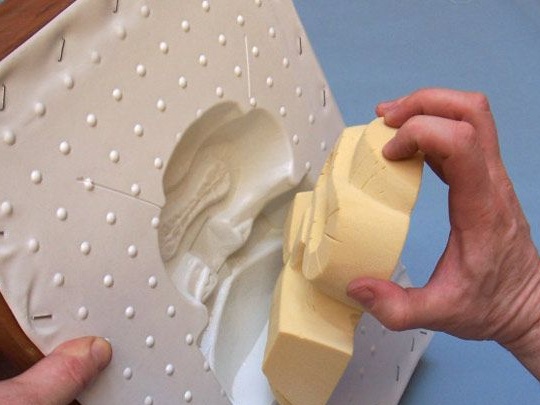
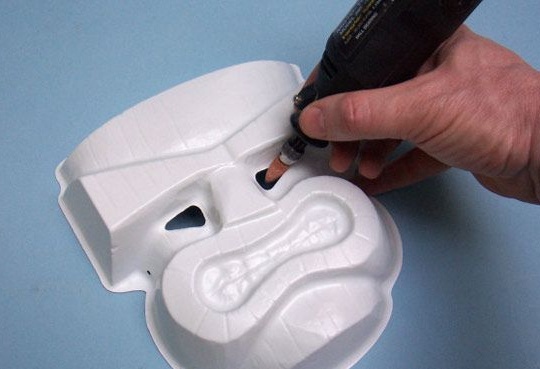
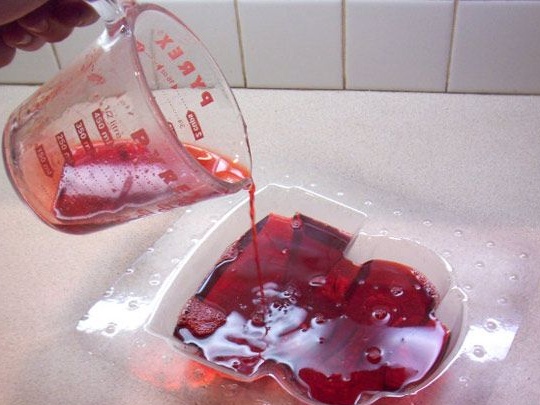
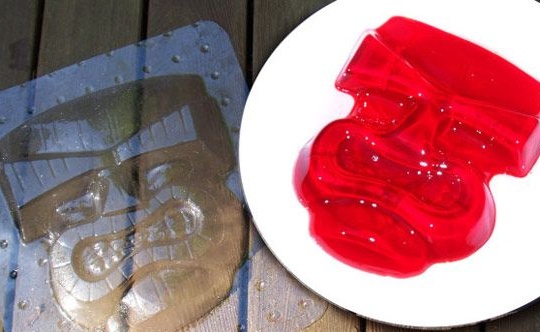
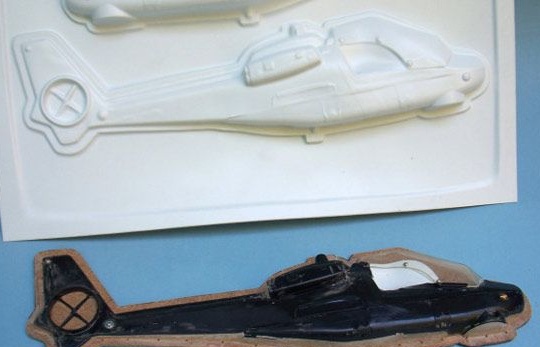
That's all, now the product can be processed at your discretion and painted in the right colors. According to the author, such a homemade product can work without problems with such a type of plastic as polyethylene terephthalate, it is from it that bottles are made. Well, what to do depends on the personal needs and fantasies of each master.
