The article will consider an example of creating a flying model of the Yak-3 aircraft, which can be controlled using radio control. On the homemade a contented powerful fire engine was installed, which makes the aircraft even more realistic and gives it excellent flight characteristics.
Collect this model not difficult, all materials are easily accessible, the necessary drawings are also attached.
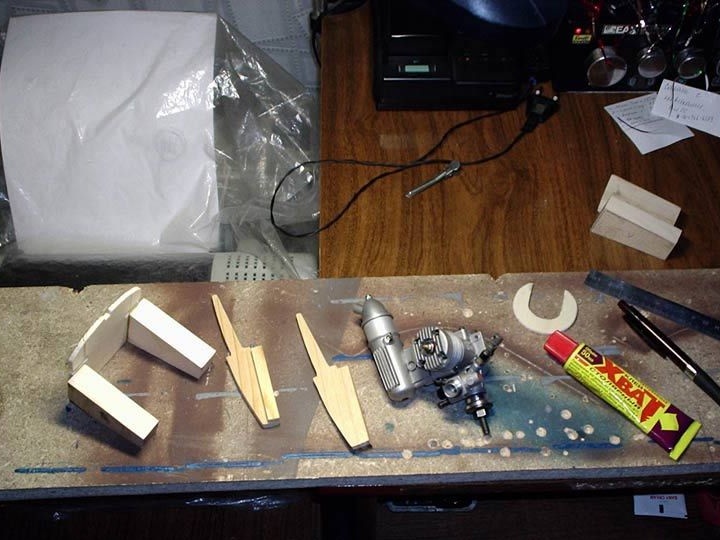
Materials and tools for assembling the model:
- 2 mm plywood (from fruit crates);
- pine slats;
- aspen bars (for the manufacture of engine mounts);
- ceiling tiles and film (to create wings);
- glue for the ceiling;
- wood cutting tools;
- servomotors (for steering wheel controls);
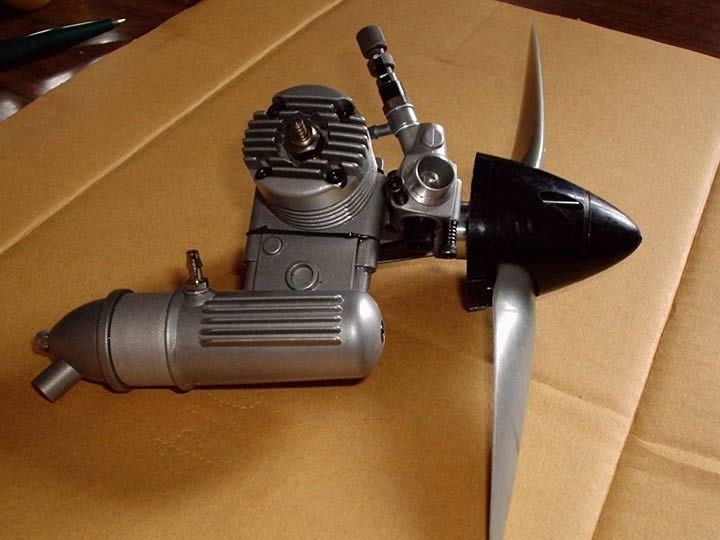
- glow engine and screw (engine 2.5 cc);
- electronics for management;
- soldering iron, vise, screwdriver, pliers, pencils and other tools.
Homemade manufacturing process:
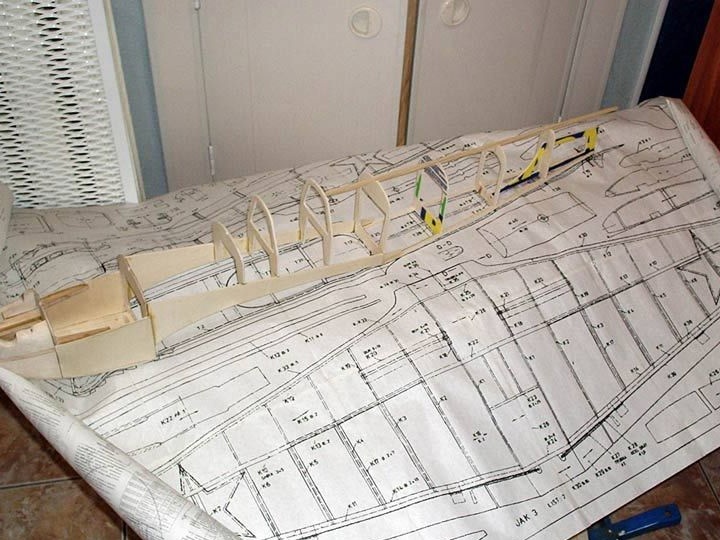
Step one. Drawings and blanks
First of all, you need to download and print the drawings of the future model. You can print it as a whole, or select individual elements.
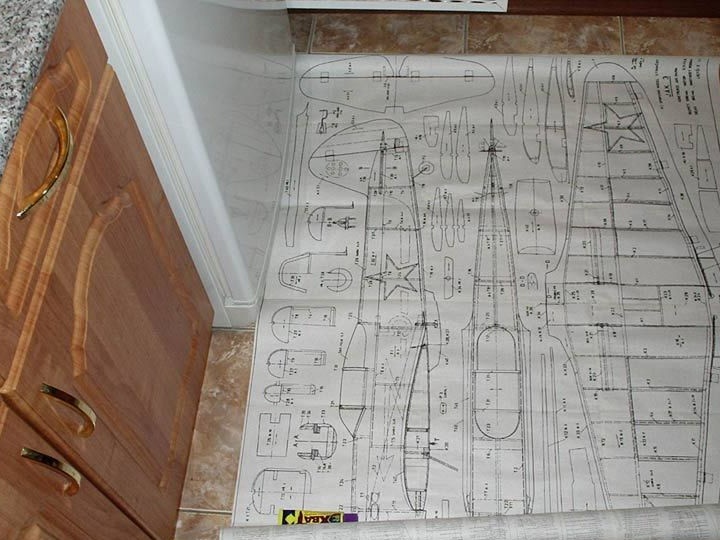
After that, you need to decide what size the model will be. This primarily depends on the power and weight of the engine used. The author used an engine with a volume of 2.5 cc; for such an engine, the wingspan should be 1150 mm and length 950 mm.
Then, based on the drawing, you need to cut the slats and ribs, the latter are made of ceiling tiles.
In the ribs, you need to make grooves for the rails-spars, for gluing, carpentry glue is used, although you can also use glue for the ceiling.
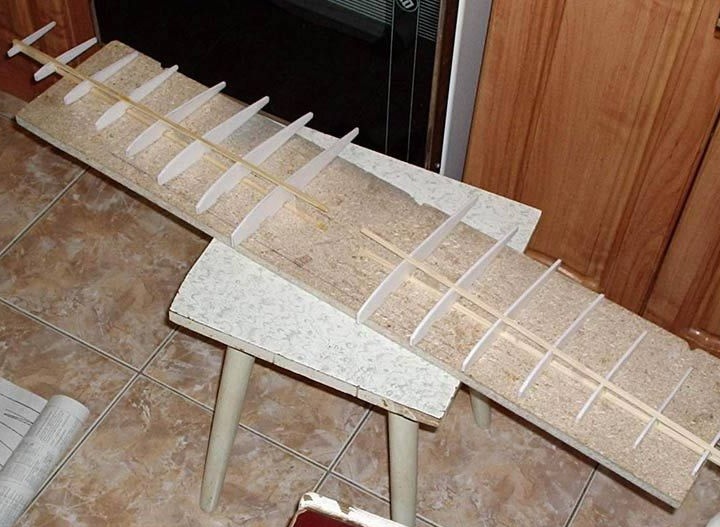
Step Two Making wings
The lower upper halves of the wing cover must be cut from sheets of 500x500 mm. After assembly, the wings can be tightened. To fix the casing until the glue dries, it is fixed with adhesive tape.
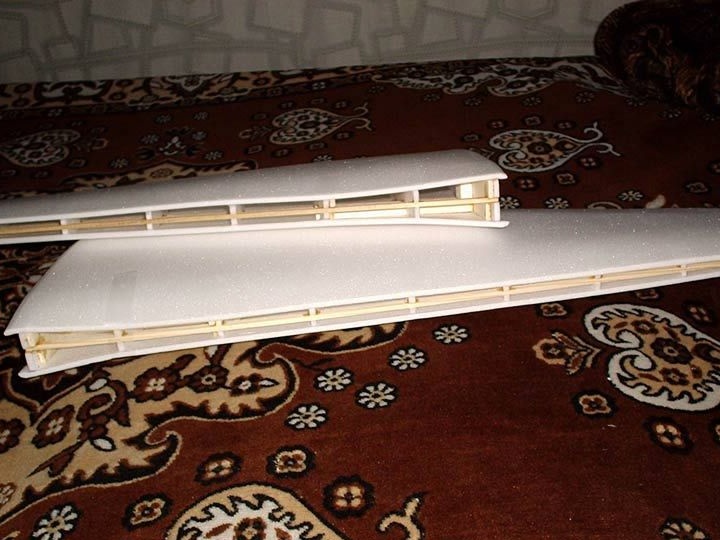
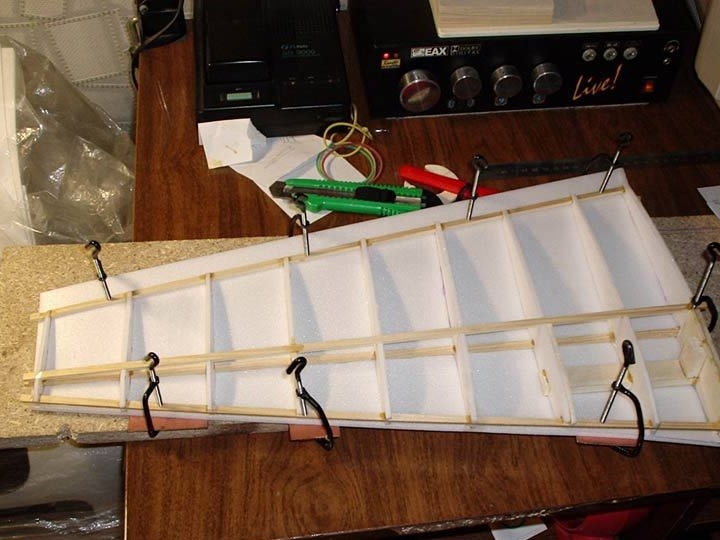
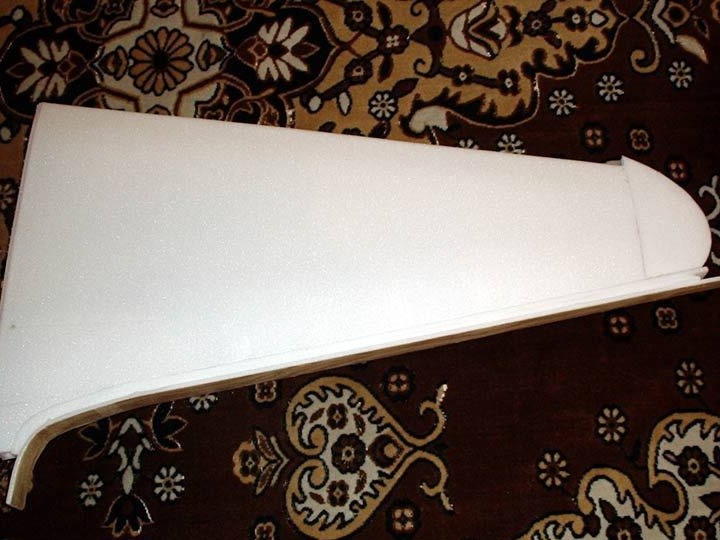
Next, you can begin to make the leading edges of the wings. They are made from strips of ceiling tiles that stick to the front of the wing. When the glue dries, the edges should be rounded with a piece of sandpaper glued to the bar.
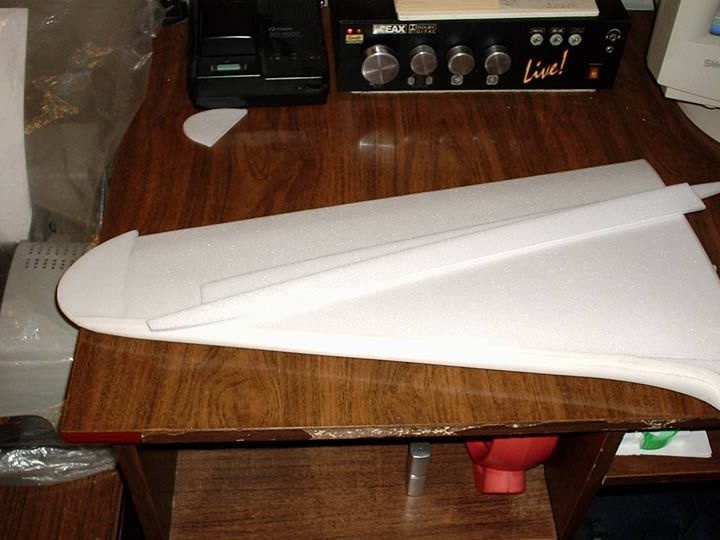
Well, when the two halves are made, it is then joined together. The place of gluing should be strengthened with plywood inserts. The wing is made so that it can be easily removed. It is fastened with two screws and a wooden tenon.


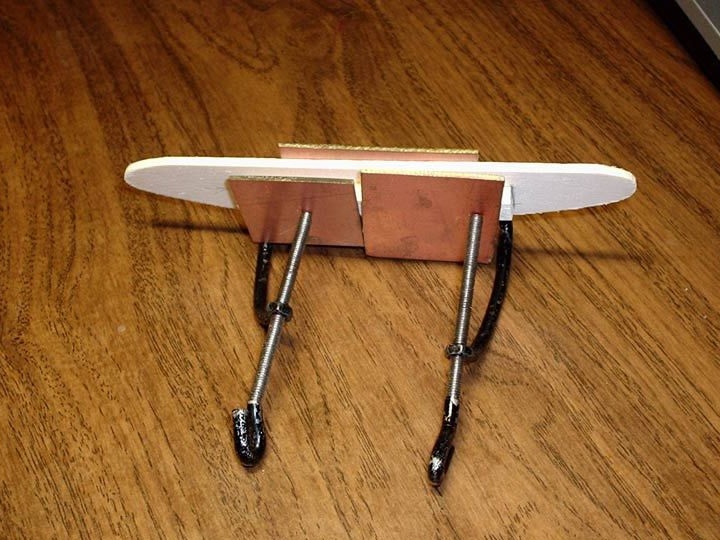
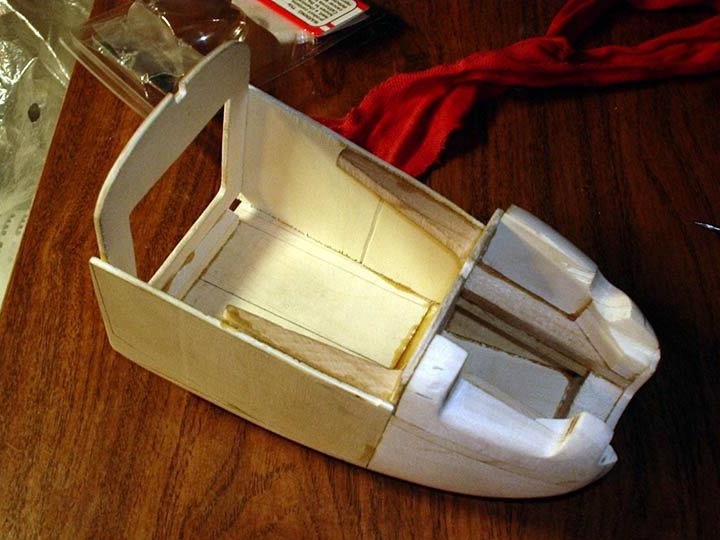
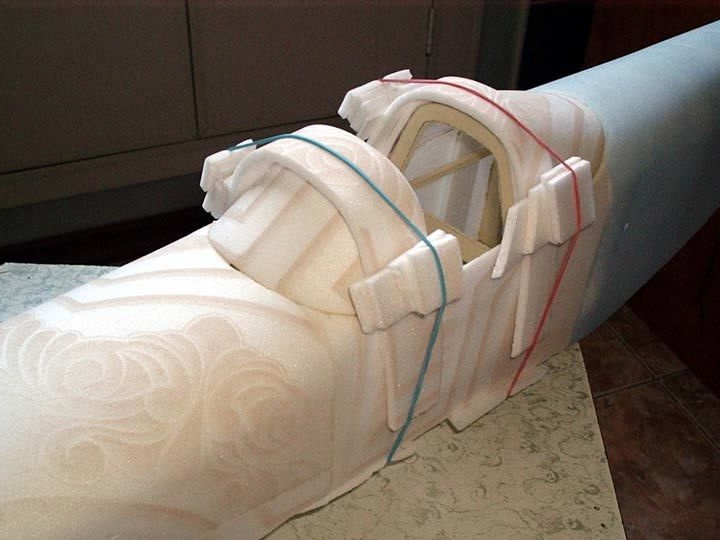
Step Three Engine compartment
In order to make the engine compartment, there will be the necessary aspen blocks and plywood 2 mm thick. After making the necessary elements and gluing, the workpiece is ground using an emery wheel and sandpaper.
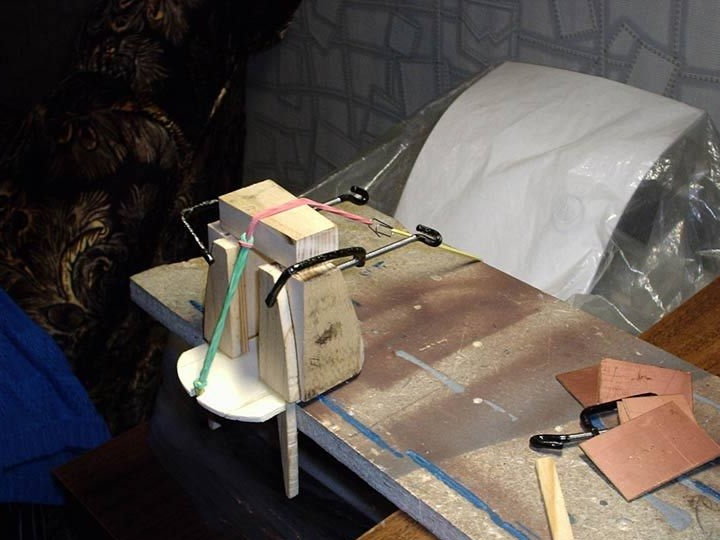
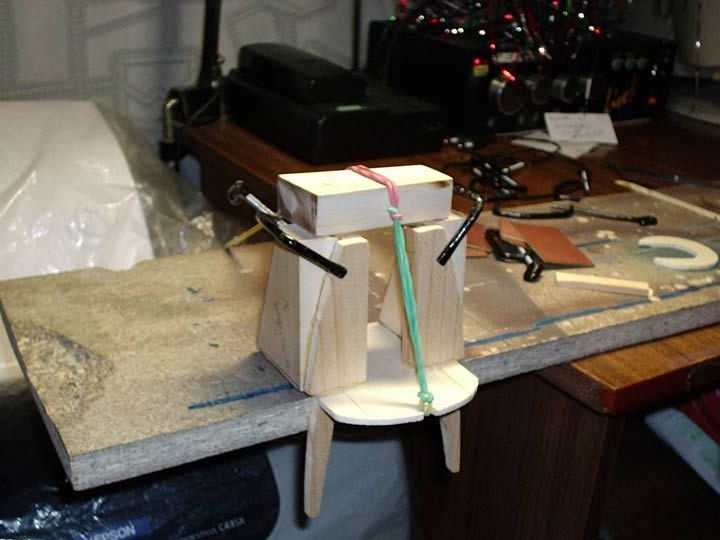

Then two cheeks of plywood 2 mm thick are glued to the bow, as well as a second frame. What should eventually turn out can be seen in the photo.
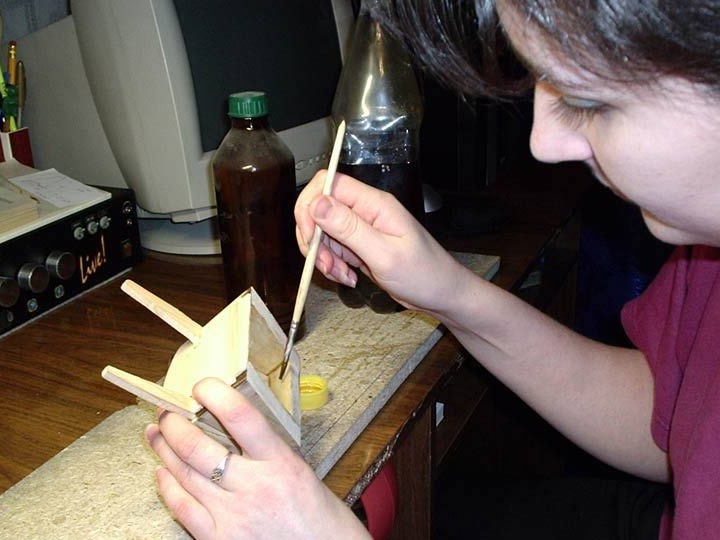
In conclusion, the inside of the engine compartment must be well saturated with nitro-varnish. This will protect the wood from the penetration of oil and fuel. It is still necessary to drill a drainage hole.
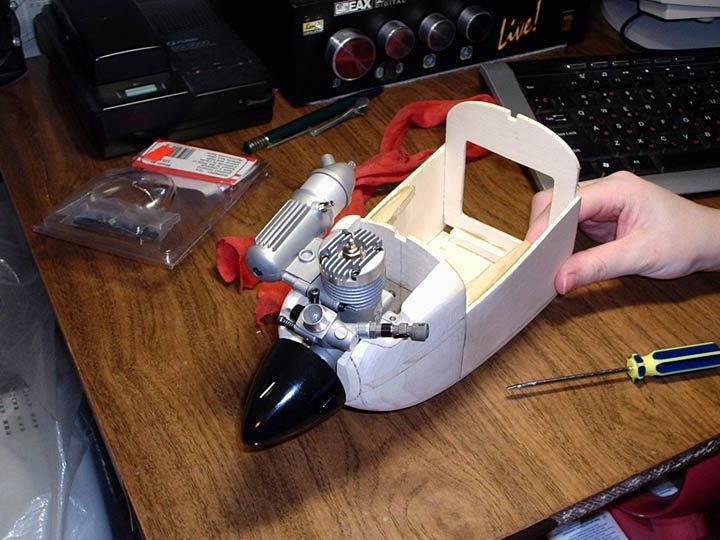
If the motor is installed in the engine compartment as needed, it is possible to carry out the final treatment with a fine sandpaper.
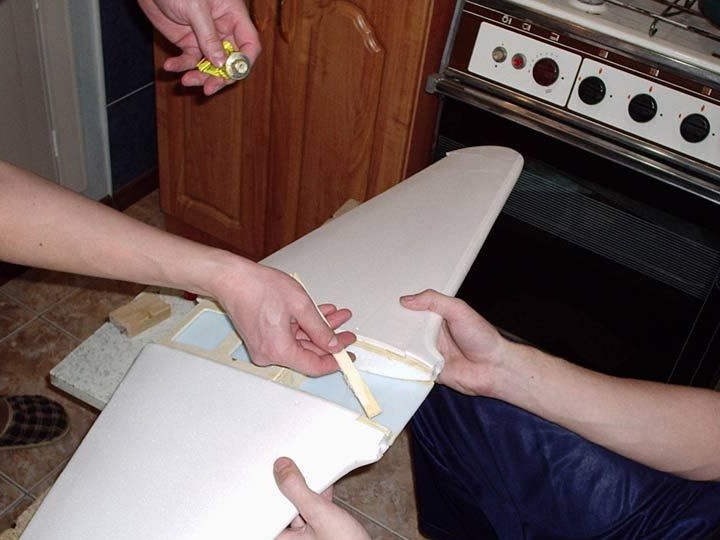
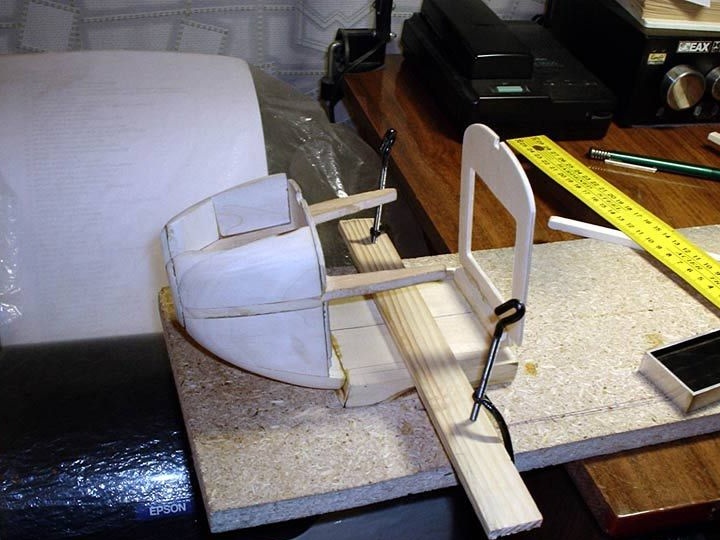
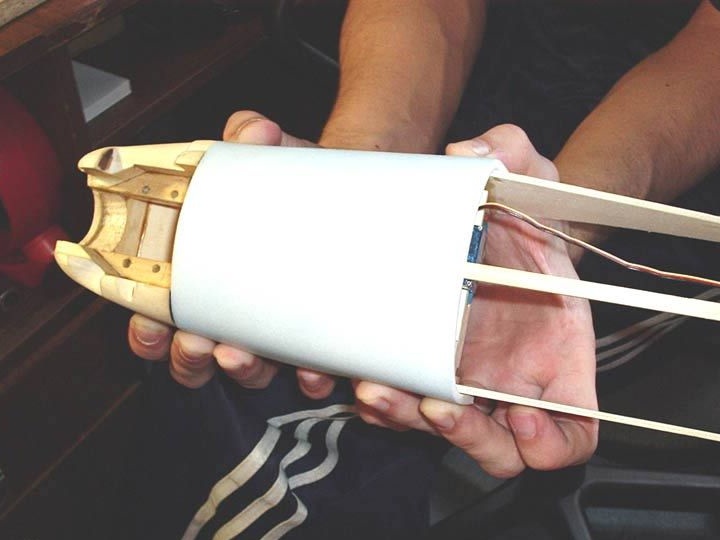
Step Four Fuselage making
Power components are glued to the bow, with which the remaining frames are connected.
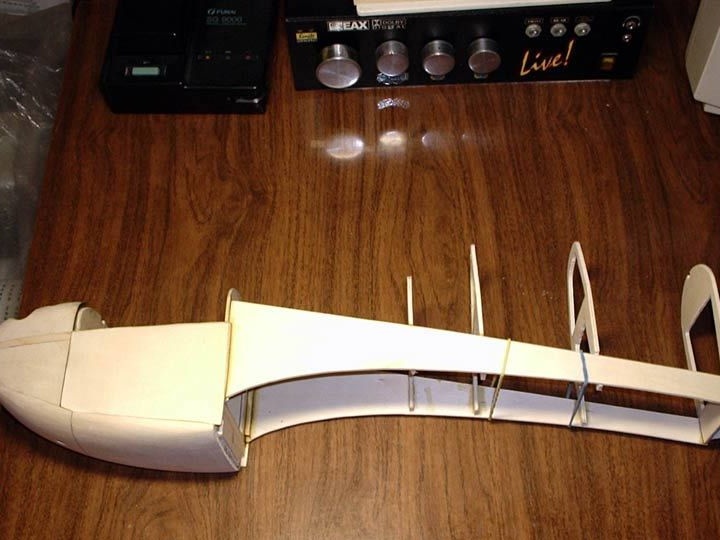
After the frame is completely glued, it must be covered with a ceiling. There is one caveat. The fact is that the fibers of the ceiling tile have their own structure, so if it is not cut correctly, then it will simply break when bent. It is necessary to cut off a piece of the ceiling and try to bend, if it breaks even with a slight bend, the sheet needs to be rotated 90 degrees and then the blanks should be cut.
In total, the close-fitting consists of several stages, before each new stage you need to wait for the glue to completely dry.
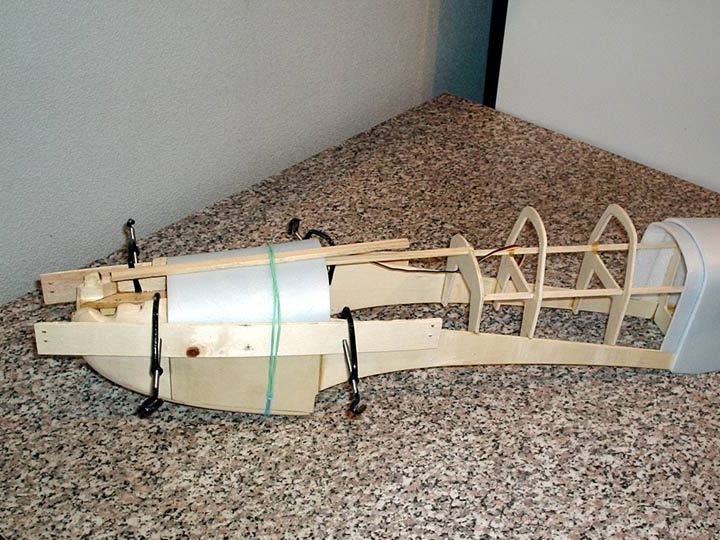
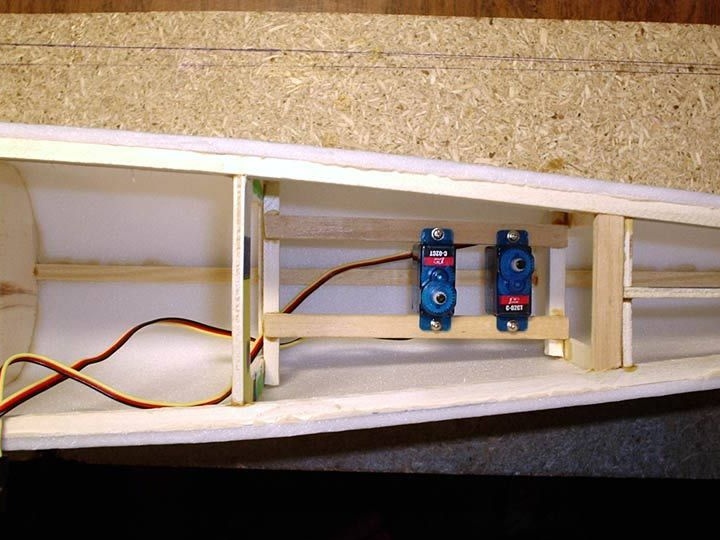
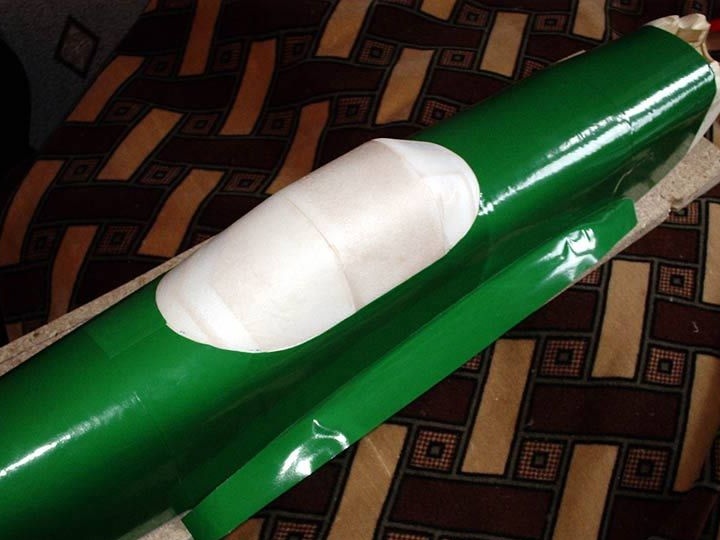
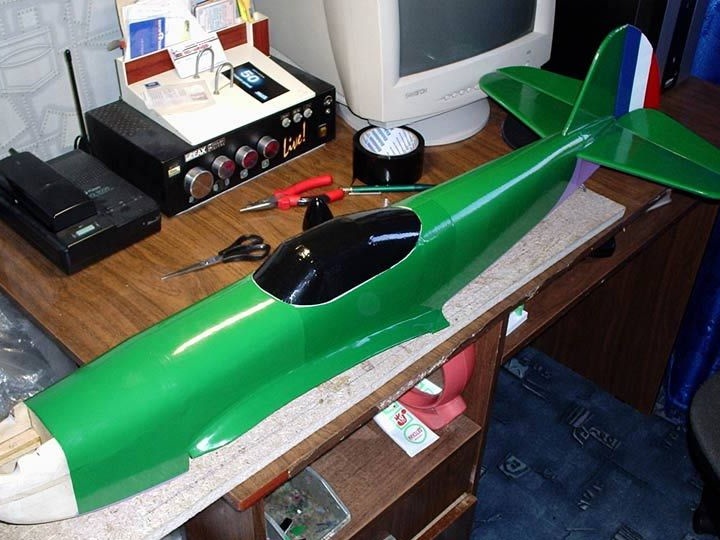
After making the fuselage, it is necessary to determine the places under the servos that will control the carburetor damper, elevator and direction. The machines must be installed so that they can be easily replaced if necessary. Cars are mounted on rails that are glued between the power elements of the fuselage. So that you can quickly access the steering cars, a special hatch is provided at the bottom of the model, it is made of plywood.
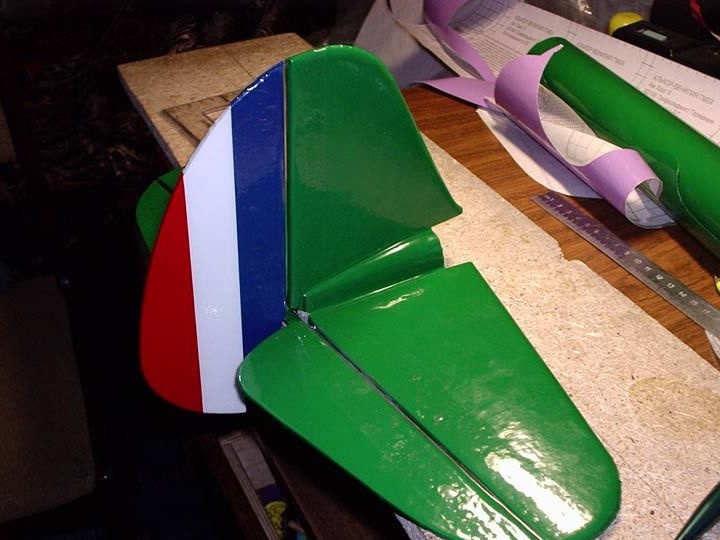
The elevators and directions are made of a two-layer ceiling. To increase the strength they are also covered with a film.
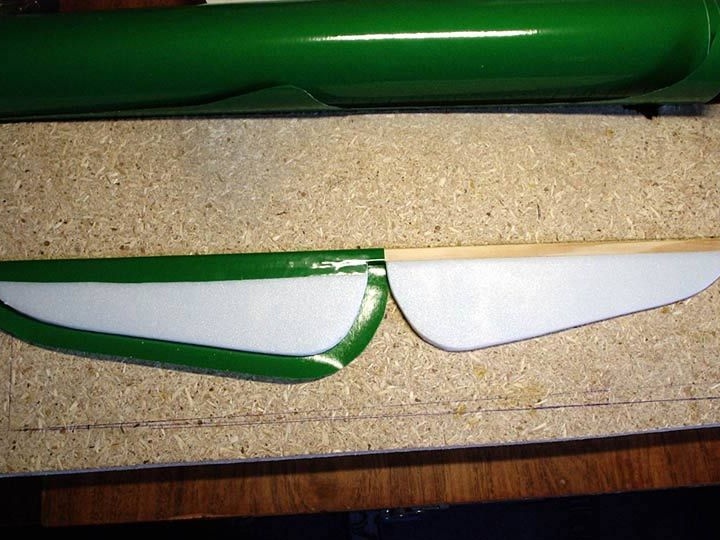
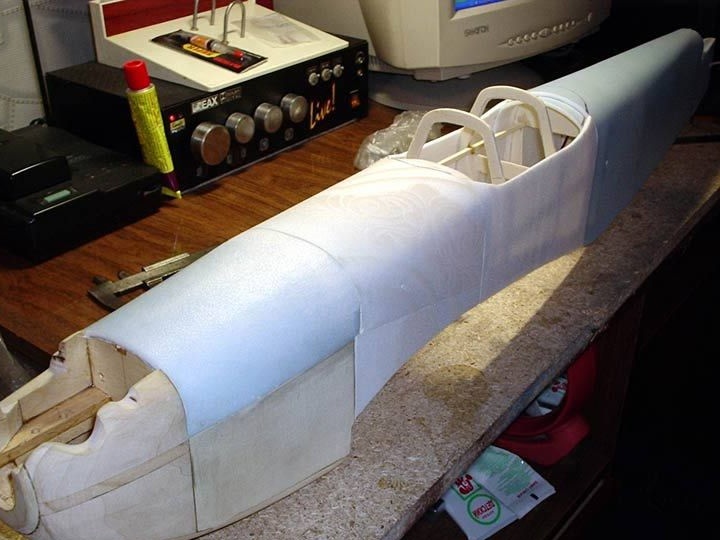
Step Five The final stage
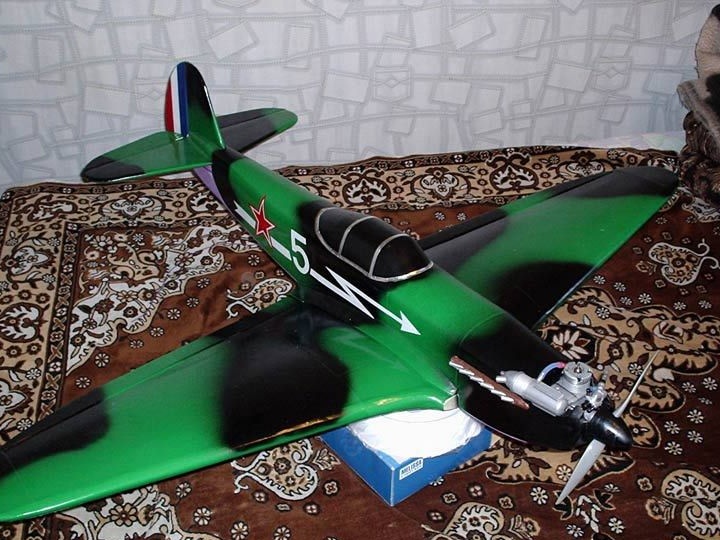
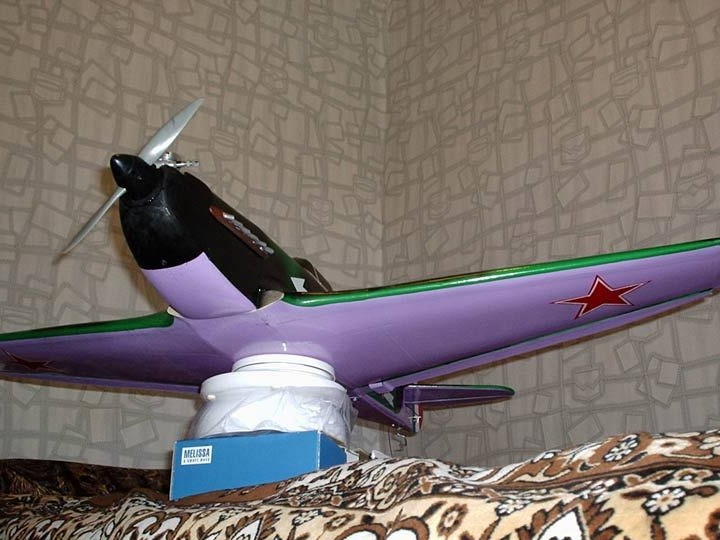
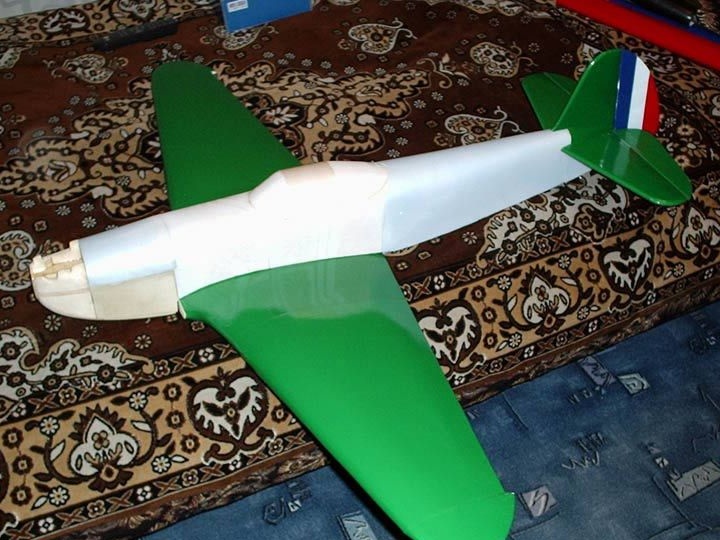
At the final stage, the homemade product is fitted with a self-adhesive film of the desired color. Also from this film all the necessary applications are made, including numbers, flags and so on.
In addition to the appearance, the film also protects the model from getting unburned hot fuel and oil when flying. So that such a mixture does not fall on the adhesive joints, the film must be glued with an overlap of about 3 mm.
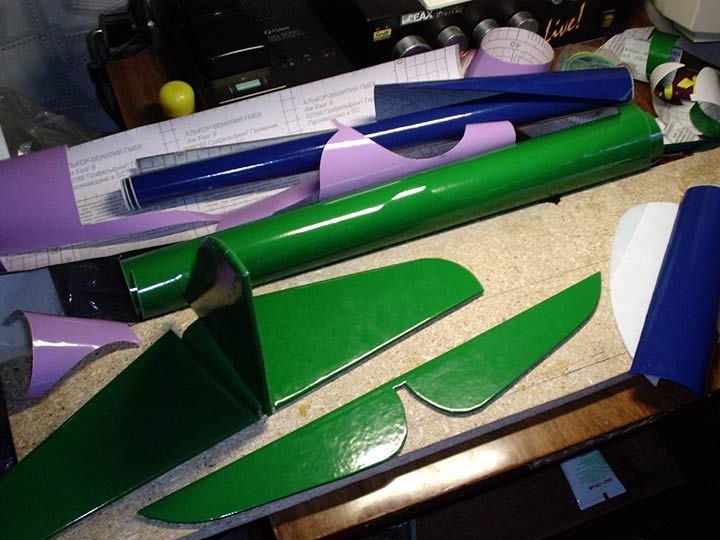
Well, then the homemade is painted. For these purposes, it is convenient to use a spray gun, but as a variant, a spray can also be suitable. To make stains easier, they can be cut from the film and glued.

The weight of the assembled model with a filled tank and all the equipment is 1260 grams, this is not so much, given that the original drawing shows the weight of 1600 grams.
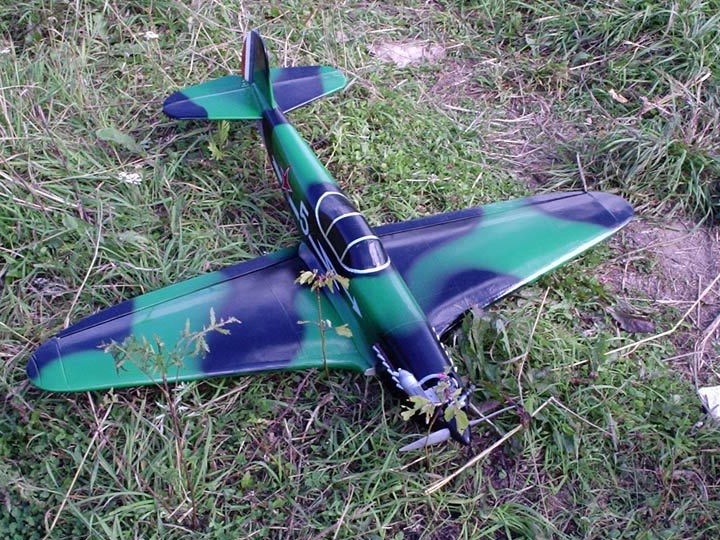
The model flies and is controlled, according to the author, excellent. It is quite stable in the air even at low speed, which allows you to land qualitatively. If you fly at medium engine speeds, fuel is enough for about 10-15 minutes of flight.