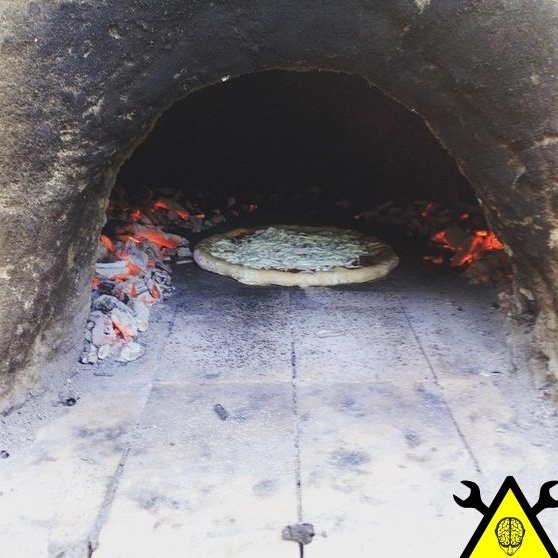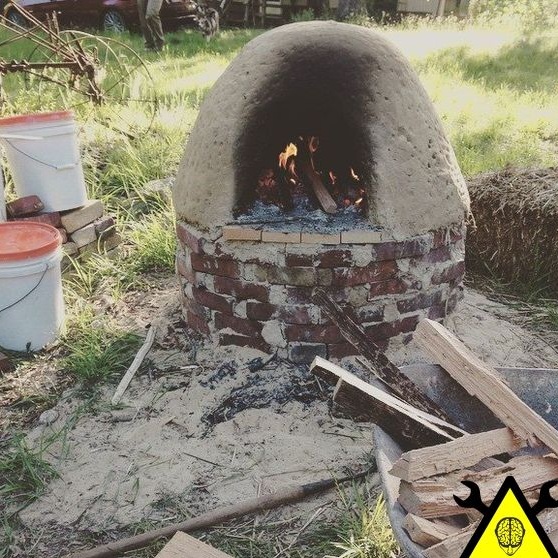
Below we will consider an example of creating a simple wood stove from improvised materials. You can use modern materials, but the author decided to use the technology of his ancestors, using water, clay, and straw for construction. In this oven, you can cook various gourmet dishes, such as pizza. Under construction homemade quite quickly, it does not have a chimney, so it is installed in an open space.
Such a stove will be a great addition to every summer house. According to the author, she will serve about 5 years.
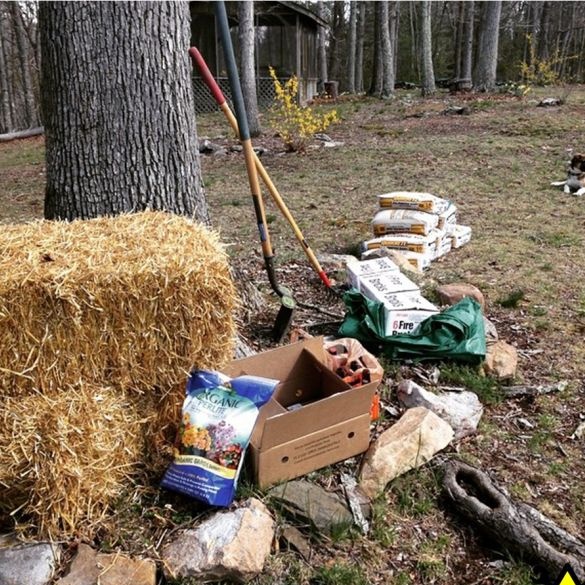
Materials and tools for homemade:
- one bale of straw;
- refractory brick (24 pieces);
- one bag of perlite;
- coarse sand (230 kg);
- two tarps;
- two shovels;
- car;
- glass bottles;
- water;
- broken brick;
- clay (approximately 130 l).
How to make an oven:
Step one. Stove plan
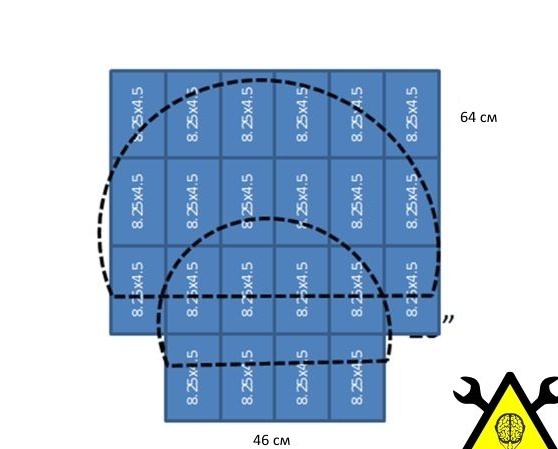
The author took the calculations of the dimensions of the oven on the basis of what size the bakery products would be baked in it. That is, you need to determine in advance the future height of pizza or bread.
The furnace is a hollow bell using a thick layer of insulation, as well as decoration. For the base of the furnace you will need a refractory brick.

Step Two Foundation for the furnace
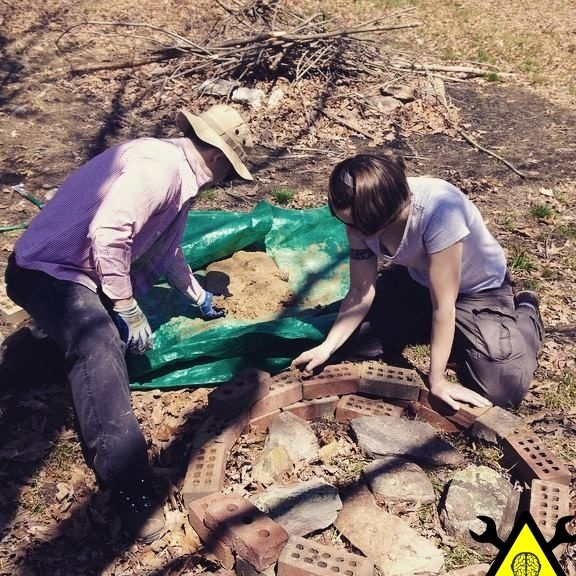
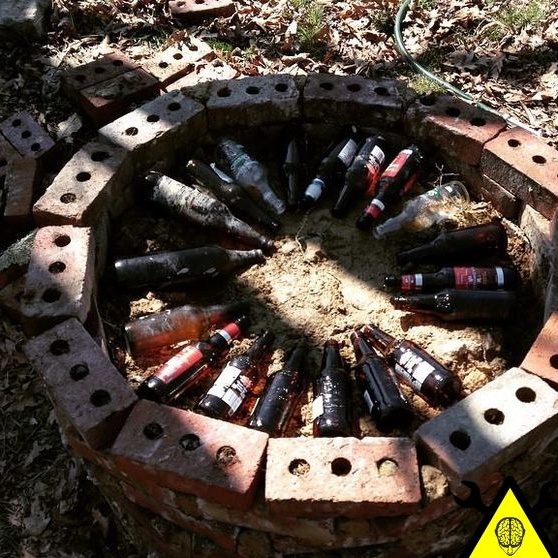
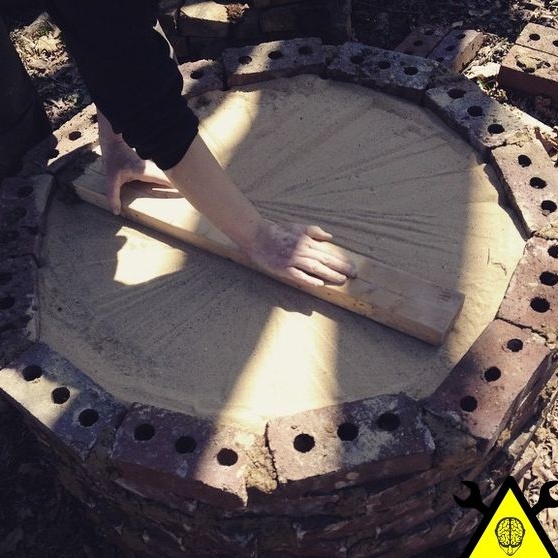
First you need to bring out the foundation for the furnace you need height. To do this, you need a brick. To prevent the furnace from giving all the heat to the ground, its bottom needs to be insulated; glass bottles are used for these purposes. Due to this, air chambers are formed in the foundation, which reduce heat loss. The spaces between the bottles are filled with perlite, and then everything is covered with sand from above. In conclusion, the sand needs to be leveled with a board.
Step Three Oven floor
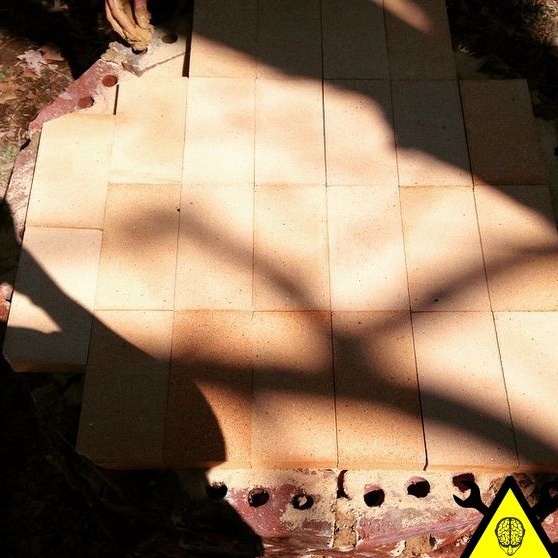
Sex is needed to arrange food while cooking. It must be level, otherwise it will be difficult to get food out of the oven. To make the floor you will need a refractory brick. Bricks should not move, they should be located as close as possible to each other. It is best to do the laying with the help of a building level.
Step Four Create a kiln space
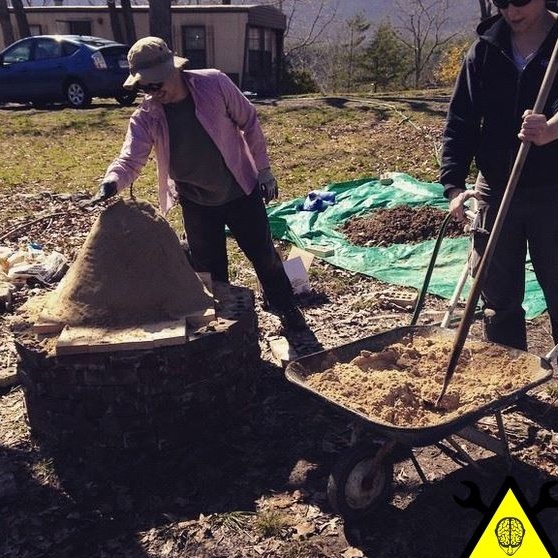
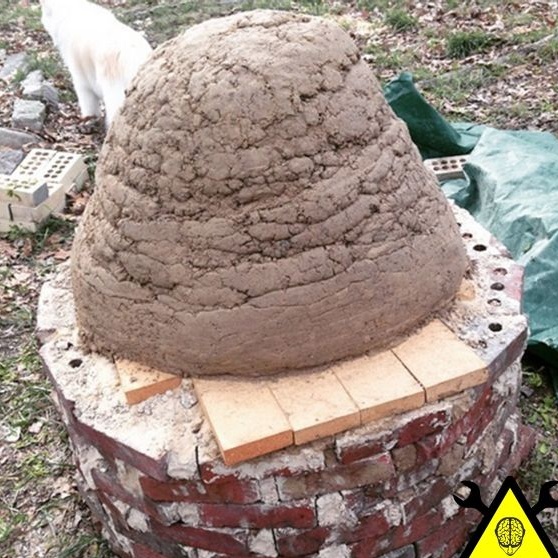
To make the inside, you will need a stick and wet sand. From it you need to build a slide of the desired shape and size. Subsequently, the sand will be removed and instead of a pile of sand, the interior of the furnace will be formed.
Step Five Laying the inner layer of the dome
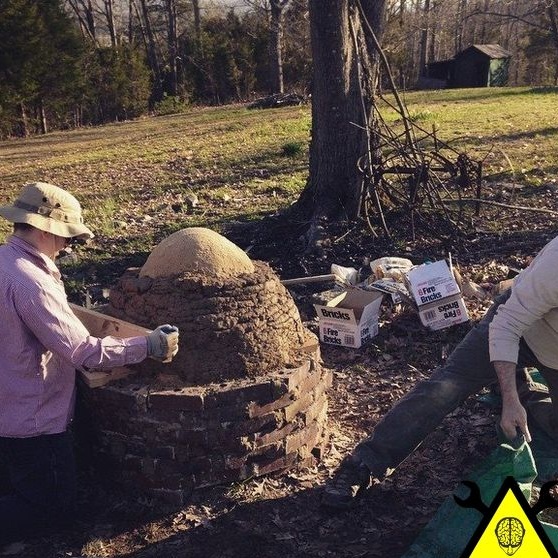
The inner layer consists of one part of clay and three parts of sand. The mixture should be wet enough for styling. If the ball from the mixture is easily formed, then the mixture is made correctly.
As a result, the laying layer should be about 7.5 mm thick. Well, then you need to leave the oven so that everything is dry, it will take about a week.
Step Six Oven door
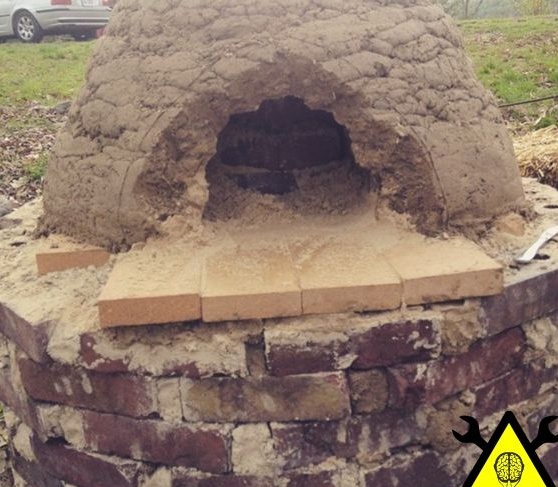
The entire operation of the furnace will depend on the height of the door. Its height should be 63% of the entire height of the inner dome.
Seventh step. Furnace insulation
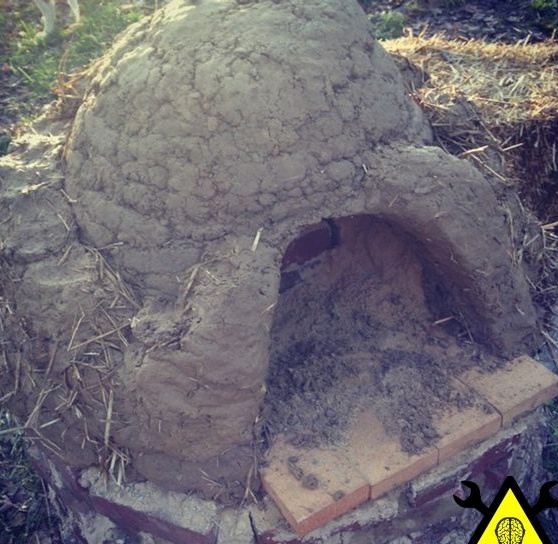
So that the oven can store heat for a long time, it must be insulated. For these purposes, you will need water, clay and straw. The final insulation layer should be about 12 cm. Well, after this layer has also dried, sand can be removed from the furnace, thereby creating an internal space.
In this case, the inner surface must be smoothed out using a hand or a rag with a small amount of water.
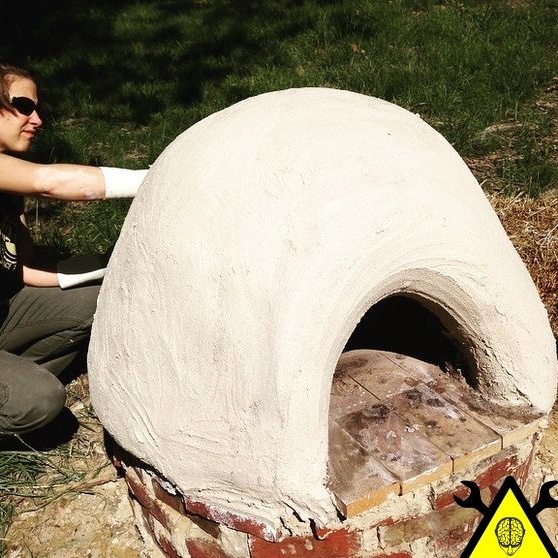
Step Eight. Furnace Finishing
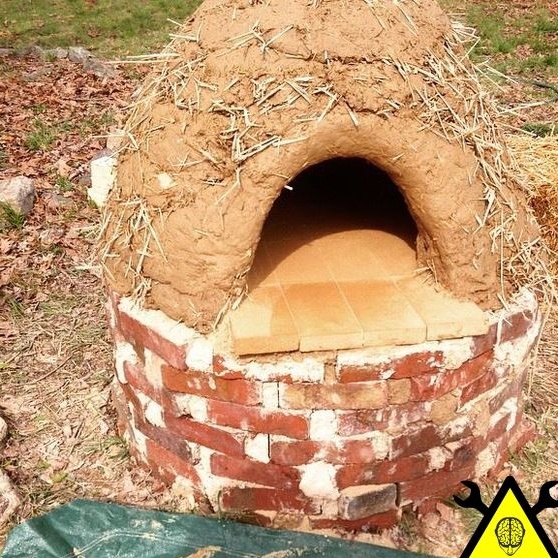
To make the stove smoother and more beautiful, it can be coated with a mixture of sand and clay. Well, now the oven needs to be allowed to dry completely, it will take about three weeks. However, the process can be accelerated by lighting a small fire in the furnace.
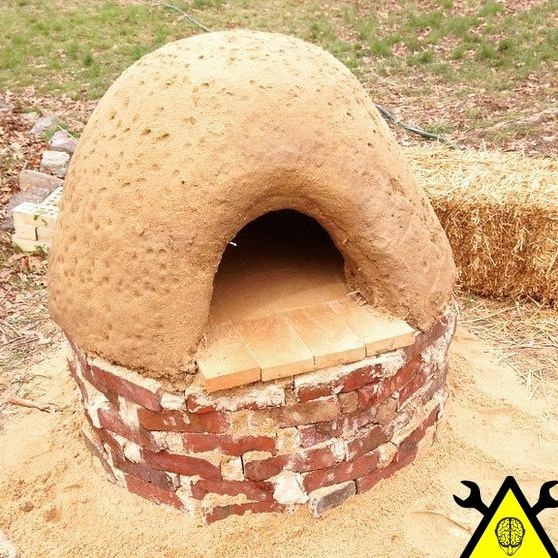
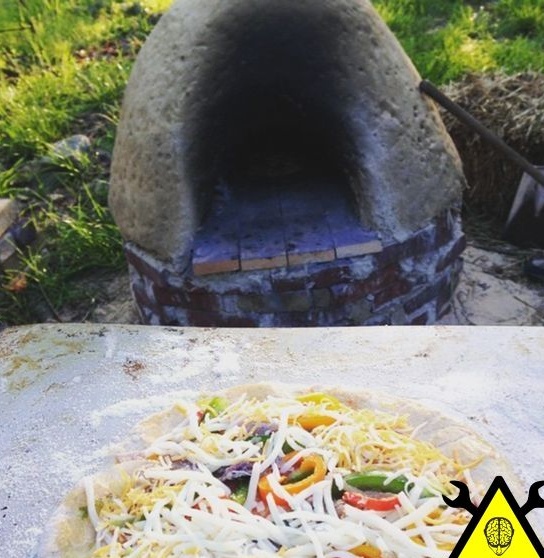
Before the first cooking, you need to warm the oven well, it will take about 3.5 hours. When the stove becomes hot outside, you can start cooking. By the time the furnace had to be coals, they need to be pushed to the edges. When cooking, it is best to use an infrared thermometer, this at first will allow you to accurately determine the temperature and avoid errors.

