To make the transition frame, you will need the following materials:
1. Cold welding (the required amount must be calculated individually);
2. Sandpaper No. 40, 120, 340;
3. Food wrap;
4. Masking tape;
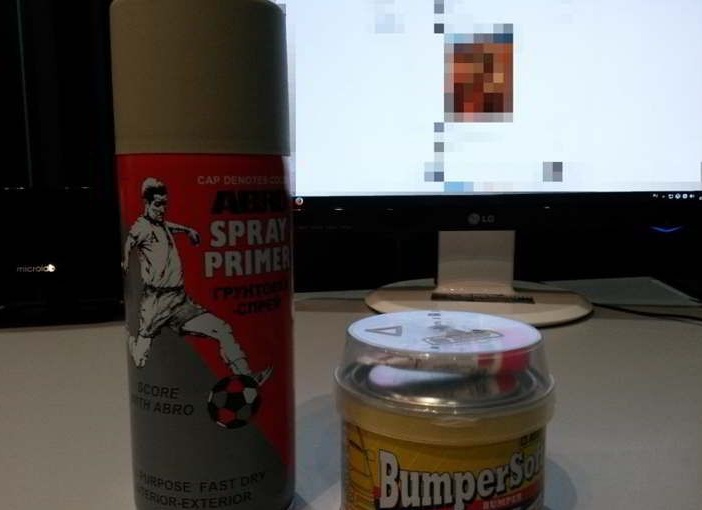
5. Two-component putty for plastic, acrylic primer (in spray can);
6. Degreaser, primer, paint.
Instructions for the manufacture of the transition frame.
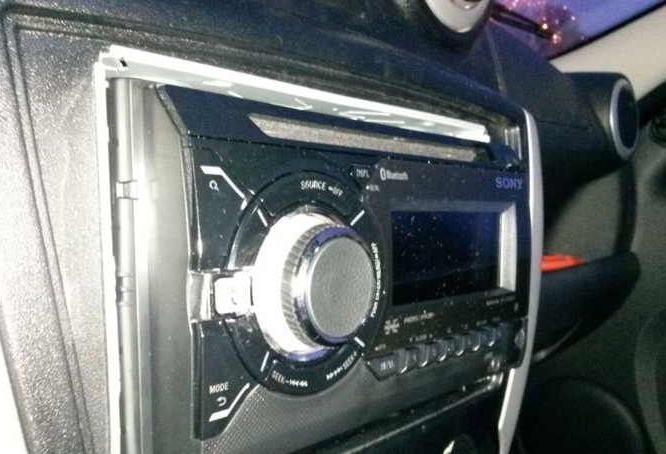
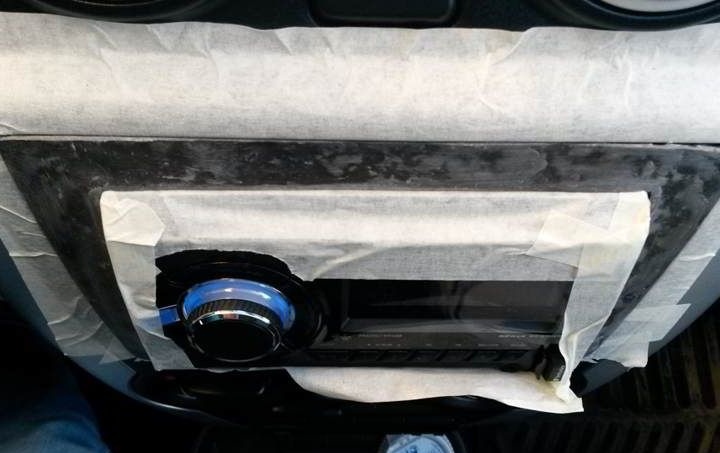
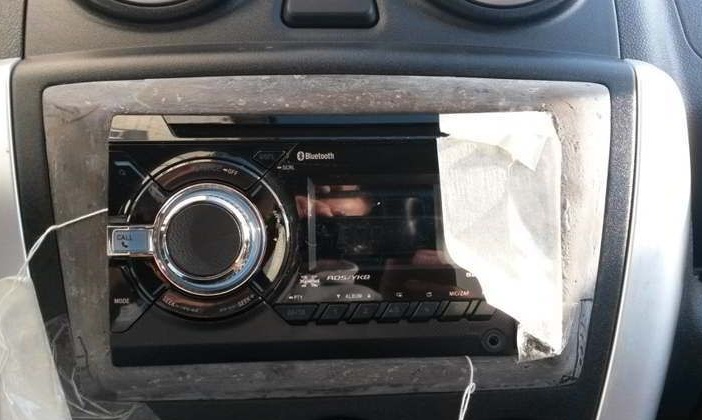
Before proceeding with the manufacture of the frame, you need to glue tape on the center console and the radio tape recorder to the places that will be in contact with the welding. Then, cling film is glued on top of the adhesive tape, and in the middle of the radio, fix the thread, with which you will remove the frame from the seat.
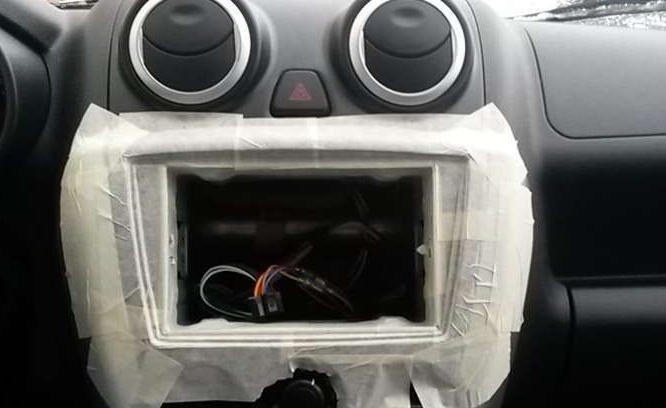
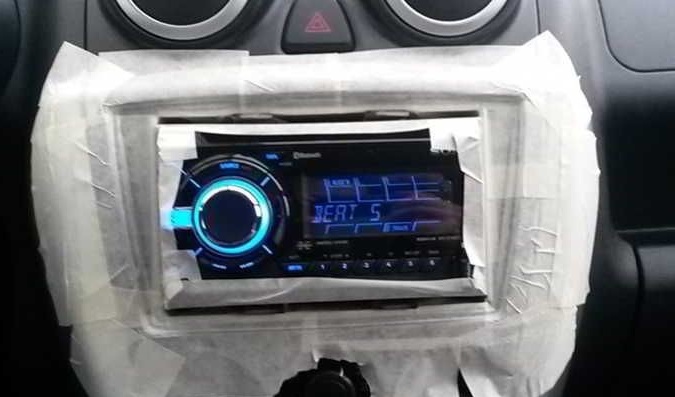
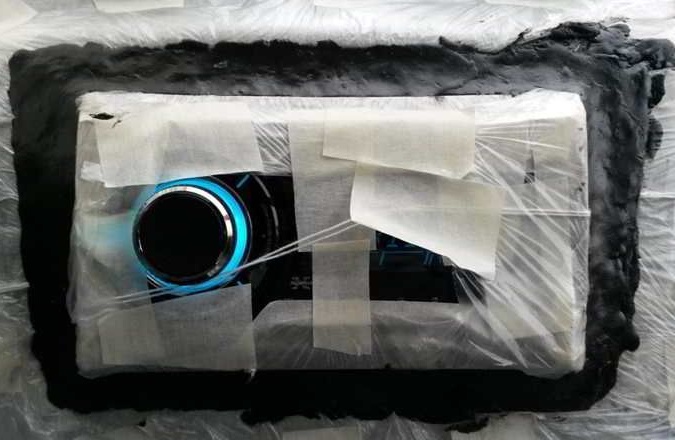
In order for the finished frame to stay well in place after installation, fastening should be done, for this it is necessary to install plastic plates between the radio and the console. The plates must be installed so that when applying the weld, they do not change their original position, and come out with a frame as a solid part. In order for the future part to have greater strength, it should be reinforced with 2.5 mm copper wire around the entire perimeter of the hole.

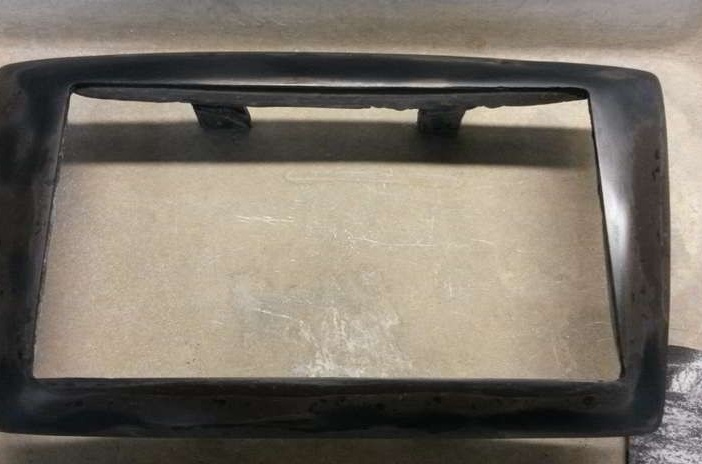
At the next stage, we proceed to filling holes with cold welding. At runtime robots it should be cool inside the car, as welding at high air temperatures harden quickly, and you risk not having time to mold a quality workpiece.
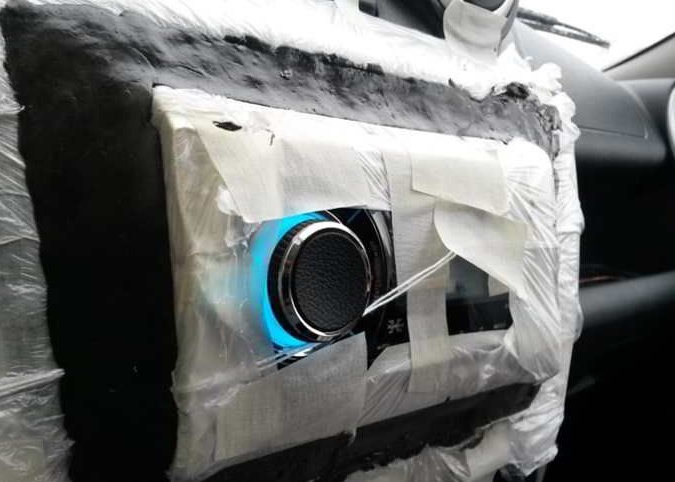
After the welding has completely dried, carefully remove the part from the seat.Important: do not allow excessive efforts and mechanical stress, so as not to break the workpiece.
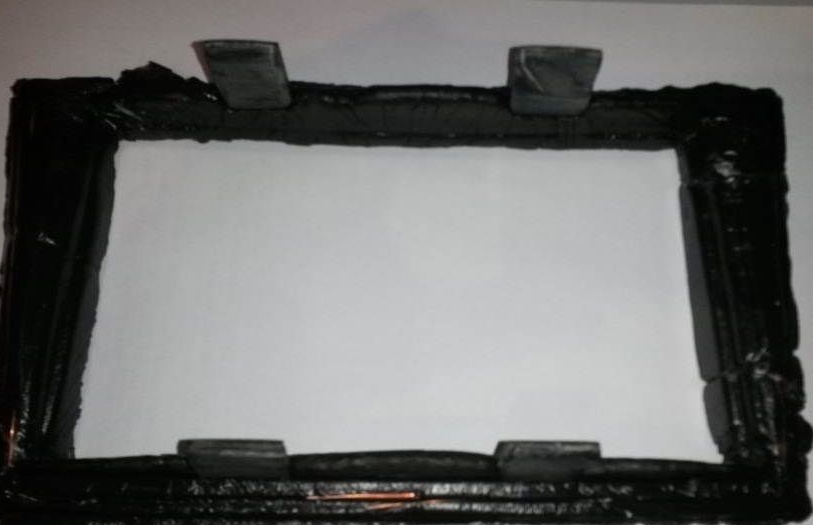
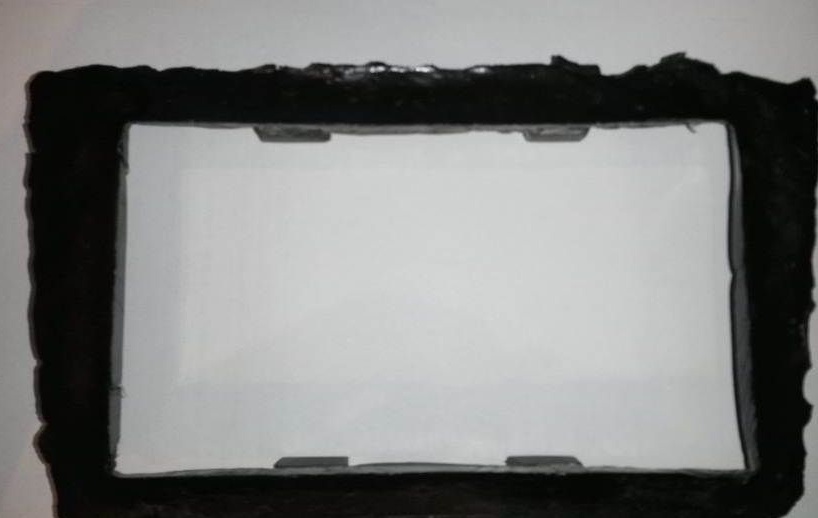
Then with the help of a stationery knife and sandpaper you need to remove all unnecessary and polish the front side of the frame. For rough cleaning, sandpaper No. 40 is used if too many have been cleaned or places need to be built up where there is not enough material for this, cold welding is used. It should be noted that the more often you try on the workpiece and eliminate irregularities, the more you will be pleased with the final result.
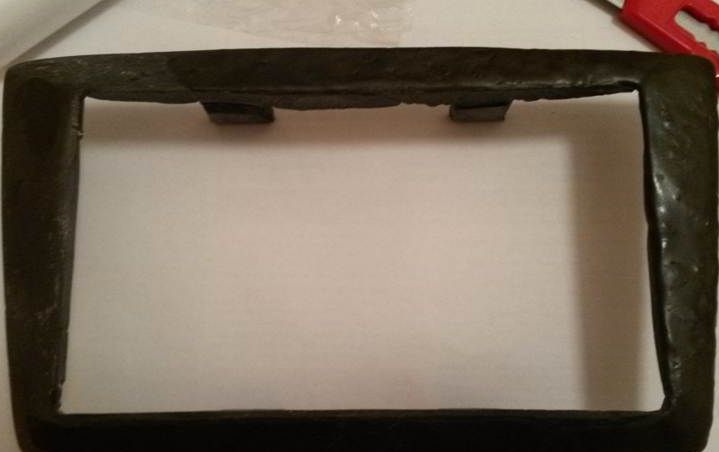
After the stripping of the transition frame is completed, it must be degreased, primed and puttied with two component putty for plastic. It is necessary to apply two three layers of putty on the part to get a perfectly smooth surface, and after drying, sand with No. 120 sandpaper and No. 320 to make the surface smooth.
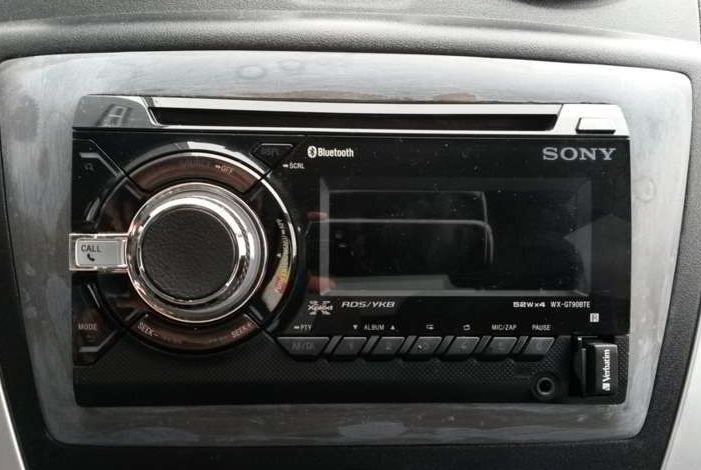
After the putty is completely dry, the surface of the frame should be degreased, and then 2-3 layers of primer should be applied to get an even texture for further painting. At the end of the work, the transition frame was painted with black matte alkyd enamel in three layers.
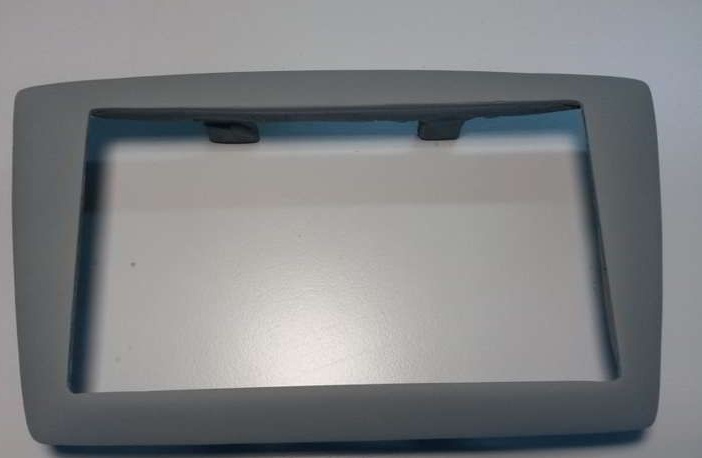
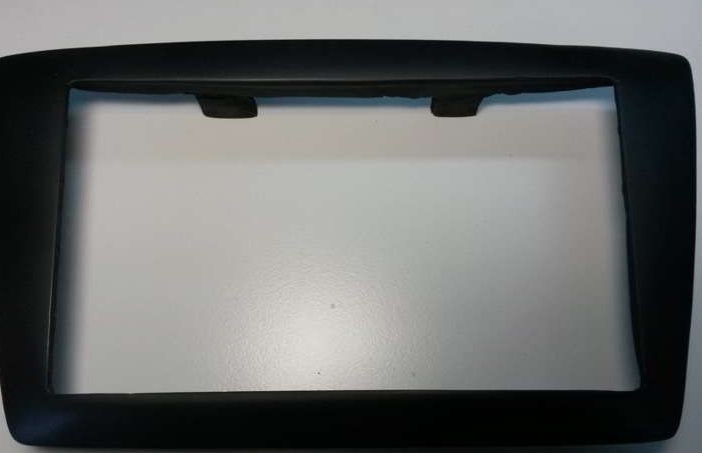
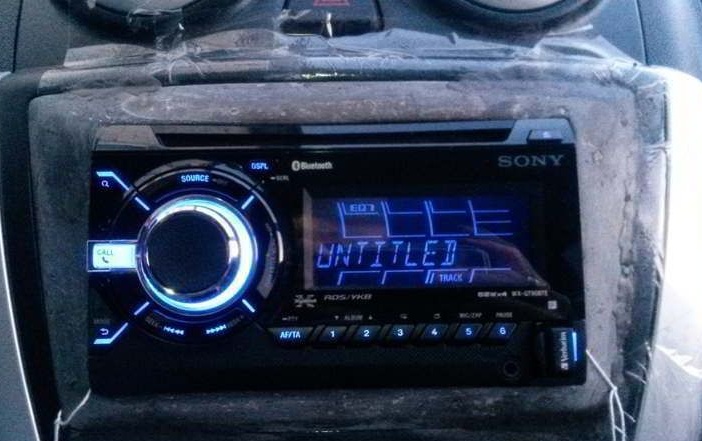
On this, the frame manufacturing process was completed, and the frame was installed in its place.