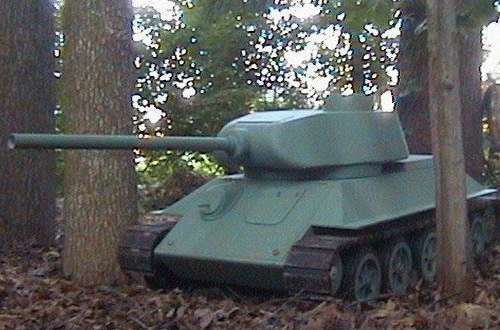
To have your life always bright, you need to remain a child. Here is an example of a retiree who is not losing his life, having retired, he closely engaged in the design of radio-controlled tanks. This lesson gives him vivacity and energy. From childhood, the author was fond of modeling, collecting military armored vehicles, and now having a lot of free time he creates a radio-controlled combat vehicle.
This venture is very difficult, it requires a lot of time and labor, both physical and mental.
The master did not ponder which model will collect, of course, the legendary Soviet tank T-34-85.
During the Patriotic War, the Germans were fiercely afraid of the maneuverable and fast Russian tank.
Assembling the model, the author took into account all the subtleties and nuances of this machine.
Well, let's go directly to the assembly itself, but before that, check out the list of tools and materials needed to create the legend.
Materials
1) plywood
2) wheels
3) axis
4) fiberglass
5) bolts
6) gearbox
7) batteries
8) wires
9) corner
10) glue
Instruments
1) circular saw
2) jigsaw
3) set of wrenches
4) drill
5) soldering iron
6) hammer
7) clamps
8) ruler
9) file
10) screwdriver
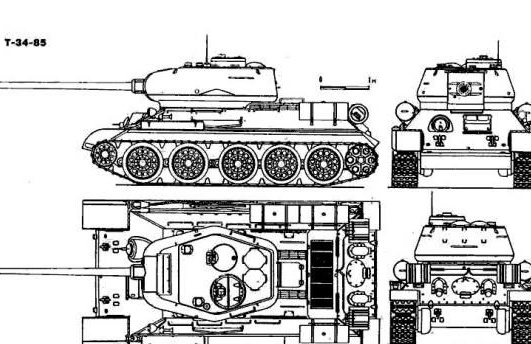
The basis was taken drawing T-34-85
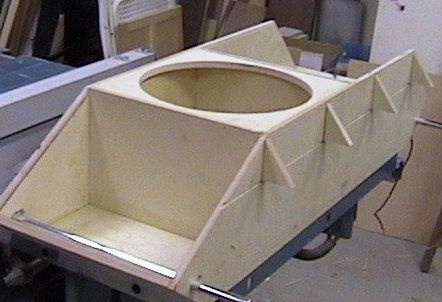
The body of the author is made of plywood.
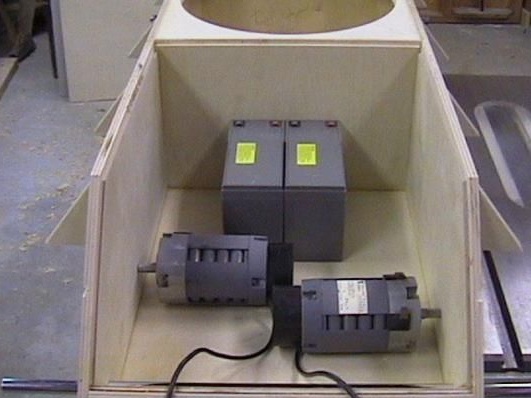
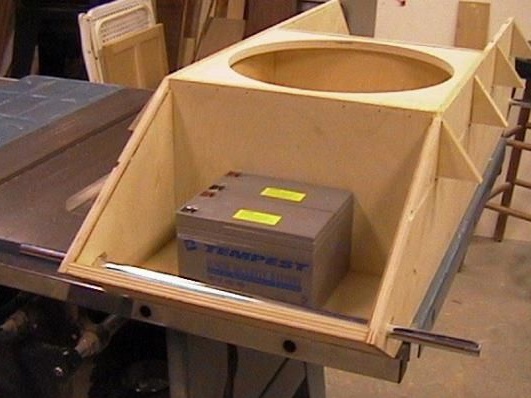
In the engine compartment located batteries and electric motors.
The installation location of the turret swivel mechanism.
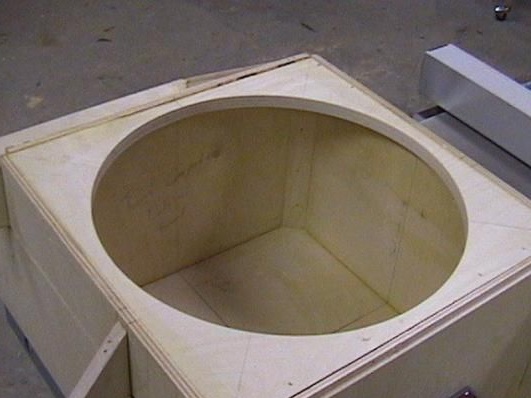
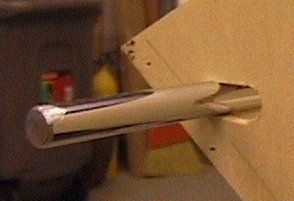
Set the front axle.
In the front part where the driver is located, additional batteries are also installed.
Next, the author proceeds to install the corners, for the subsequent installation of road wheels.
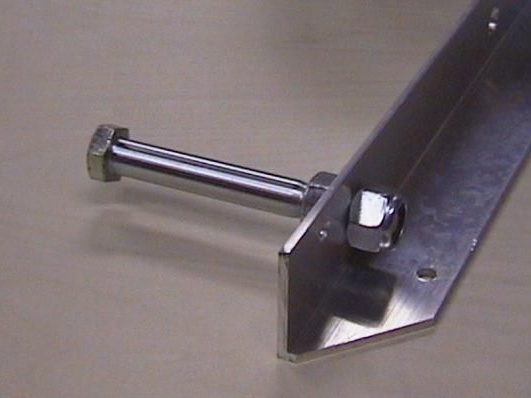
Screwed to the body with bolts.
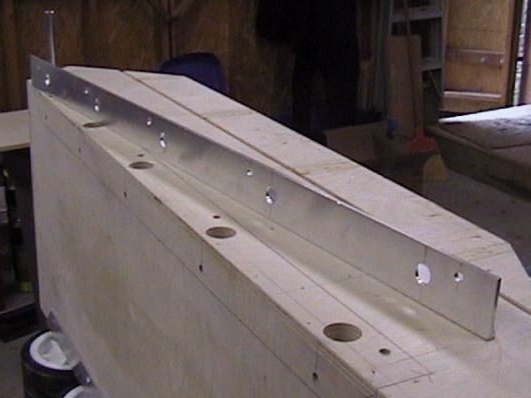
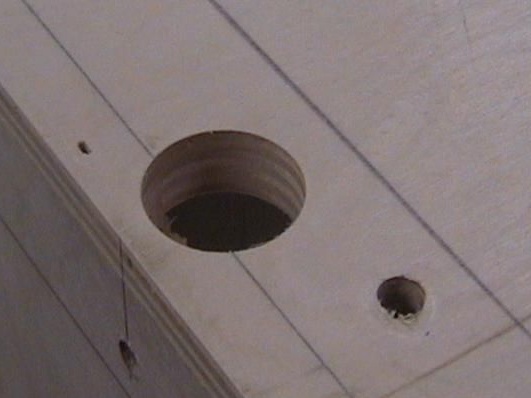
To do this, made holes in advance.
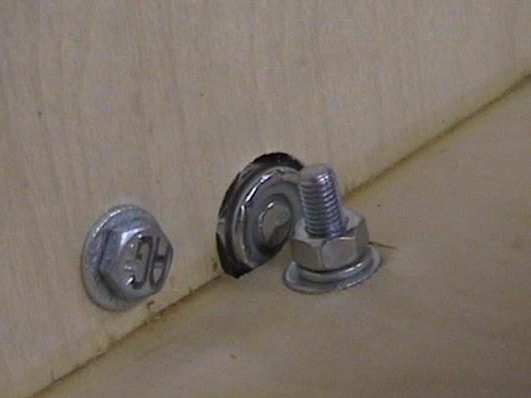
Tightened with a bolt under the washer for reliability.
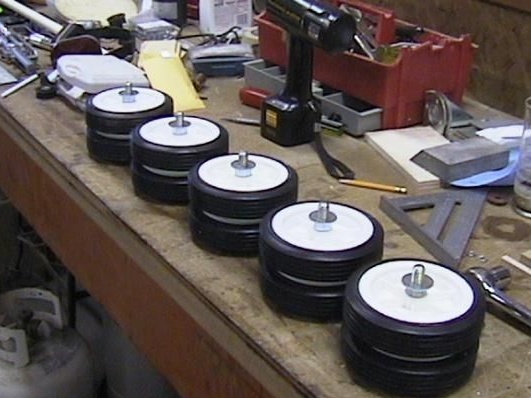
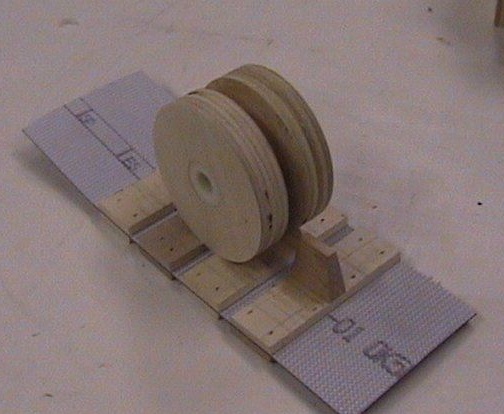
Combined 2 wheels turned out a basic skating rink.
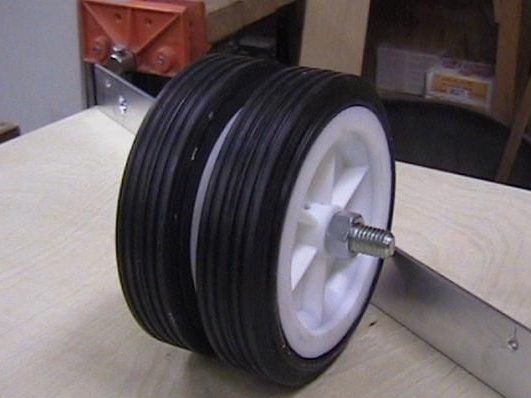
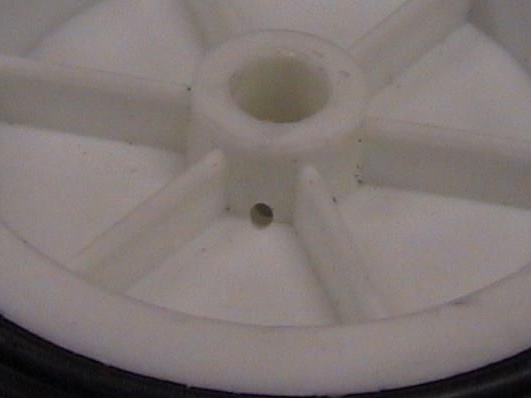
Type of wheel inside.
Thus, all rollers are made.
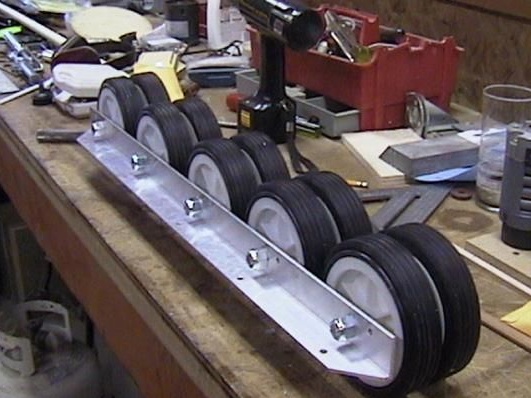
The wheels are screwed to the corner.
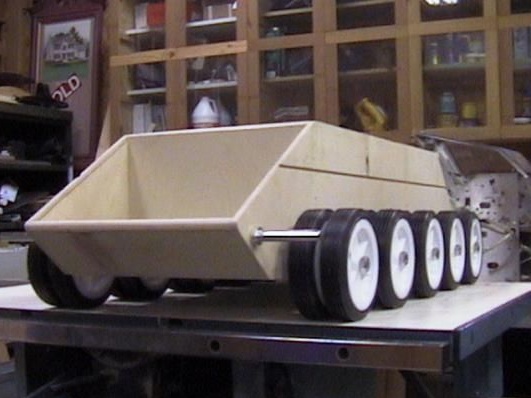
Everything is screwed to the hull of the tank.
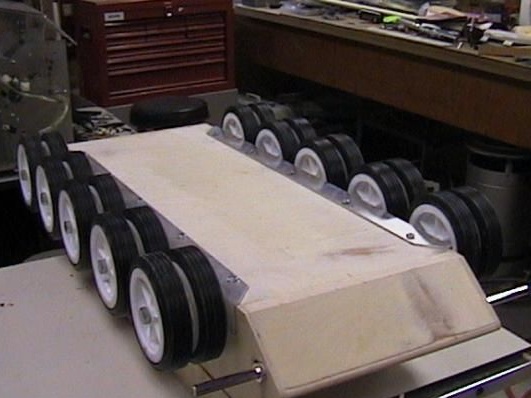
This is how it all looks.
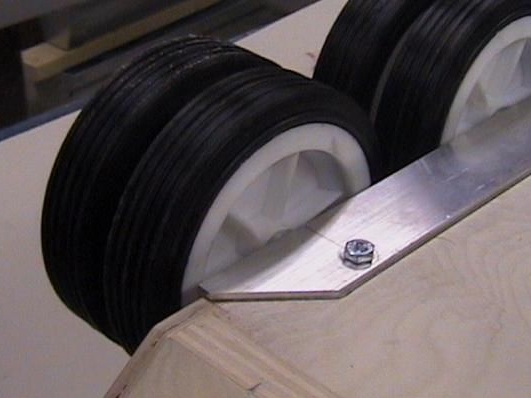
All rollers are installed.
Then the author proceeds to the manufacture of guide rollers, he makes them from the same plywood as the body of the tank itself.
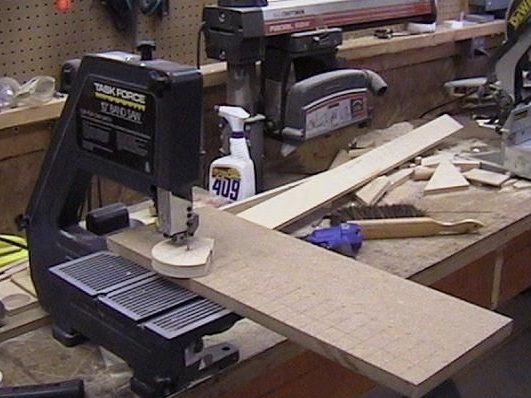
Drill a hole.
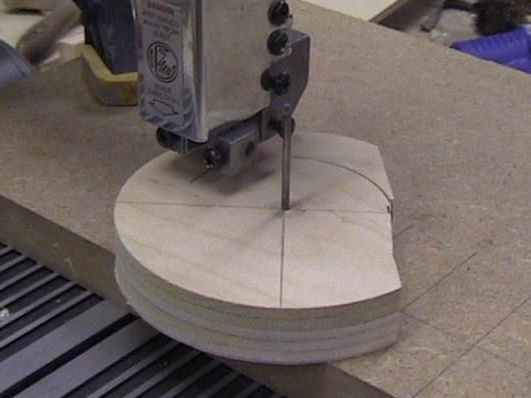
It forms on a circular saw.
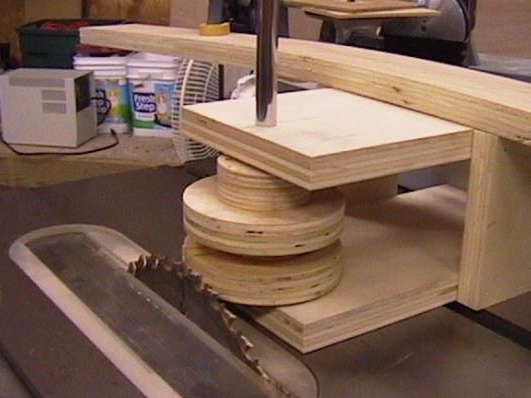
Continues the action.
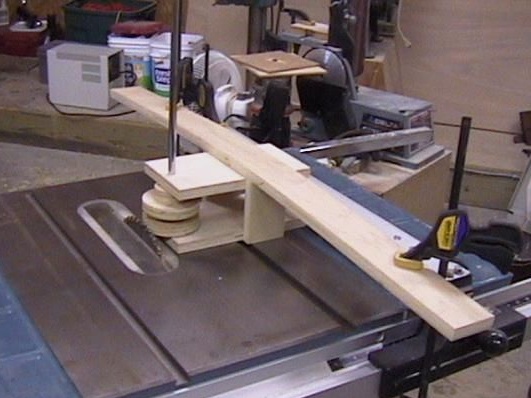
The rim of the rollers is glued with a fastener for reliable grip.
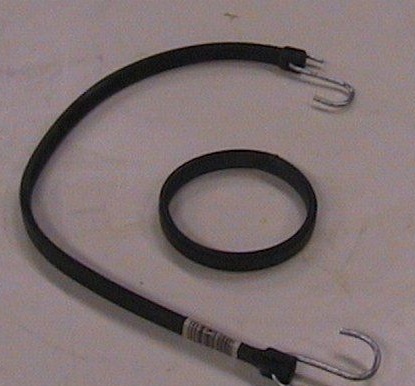
That's what he did.
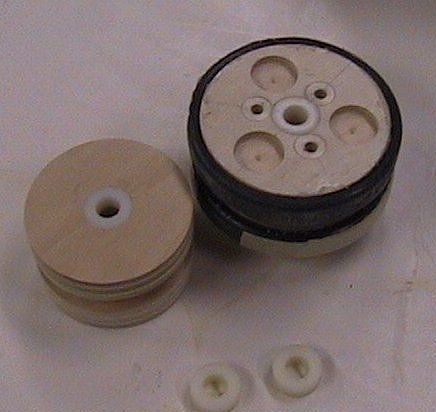
Front steering roller.
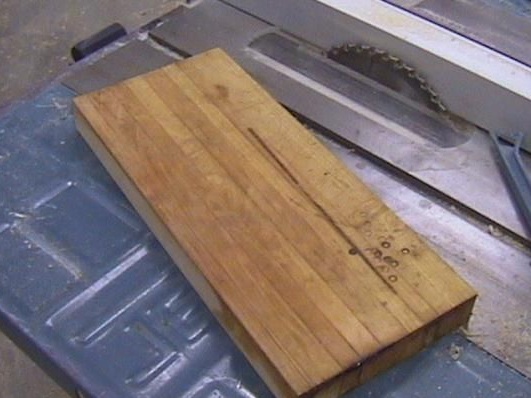
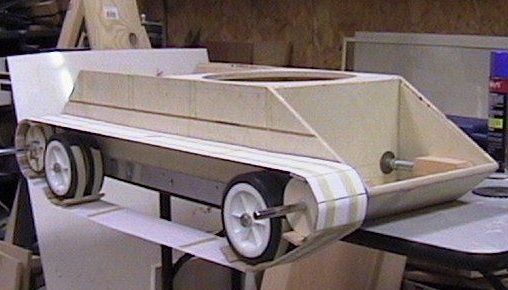
The master makes tracks of caterpillars from such a board, spreading it onto the rails with a circular saw.
The tracks themselves.
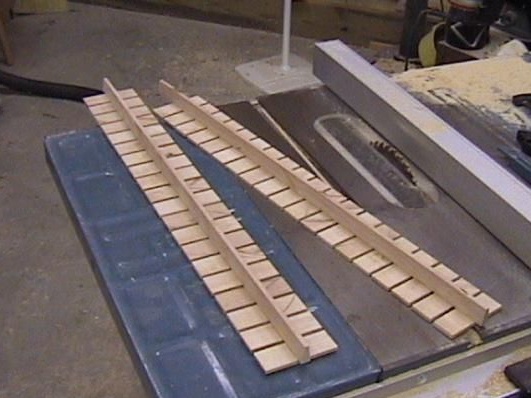
Conducts training.
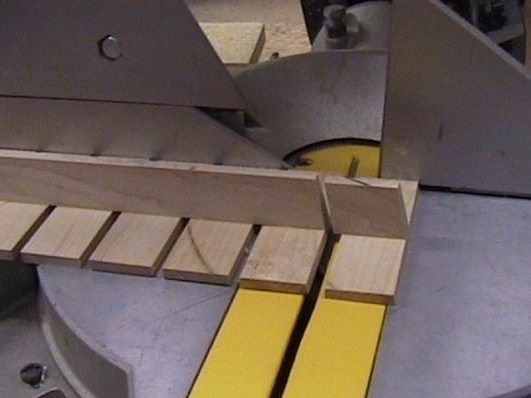
A circular saw sets the shape.
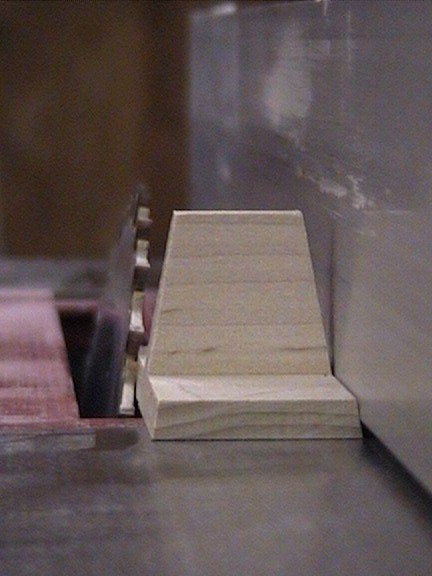
Prepares for assembly.
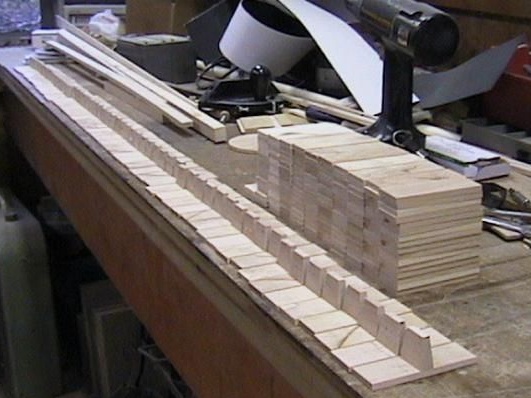
Trial installation.
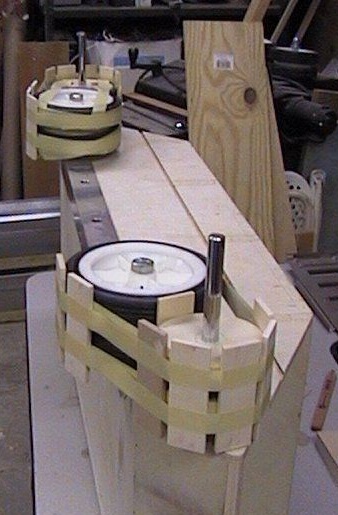
Stretches the tape, tries to pull.
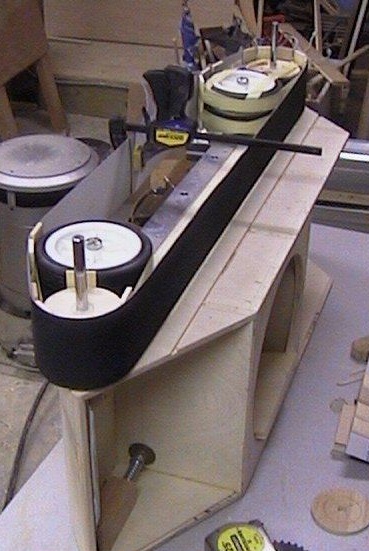
Installs a test track.
Makes the layout.
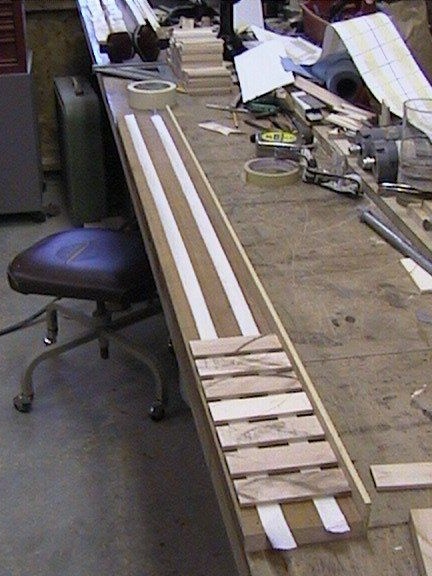
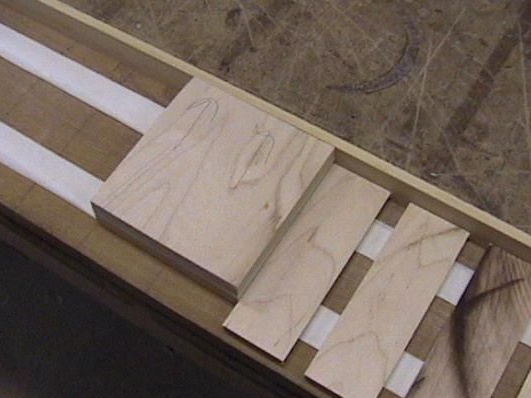
He strictly observes the interval, otherwise the caterpillar will constantly fly off the rinks, the fate of such a machine in battle is a foregone conclusion.
Glued by glue.
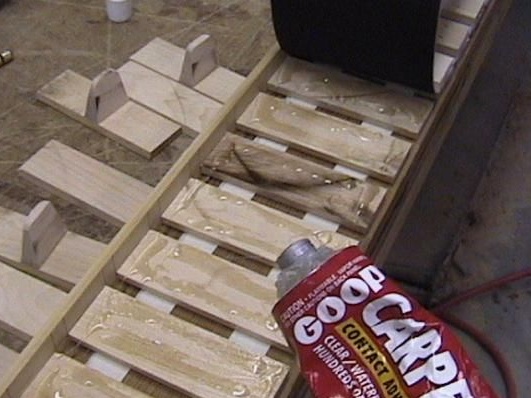
A guide is glued into the middle.
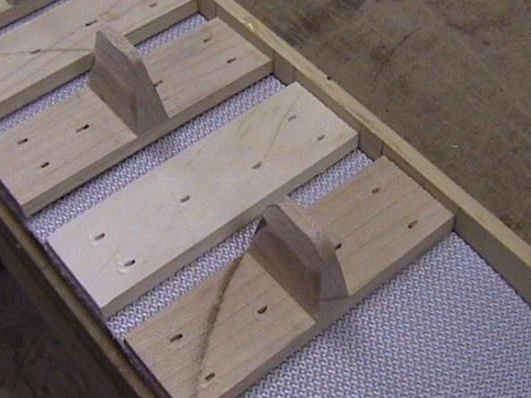
The order is strictly observed.
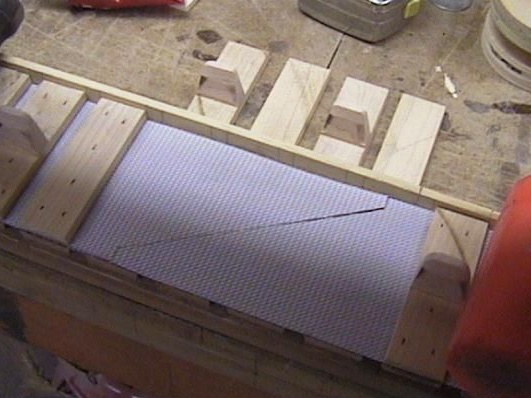
Paul done.
Leaves for a day to completely dry the glue.
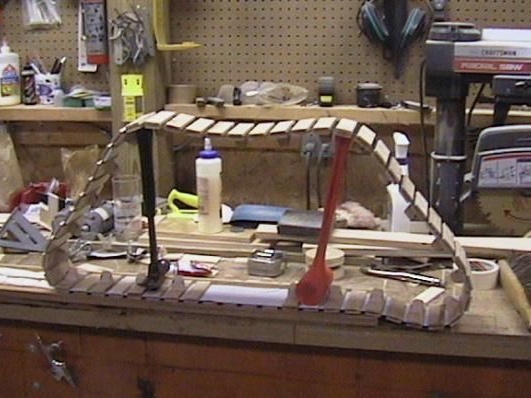
For greater reliability, the author uses clamps.
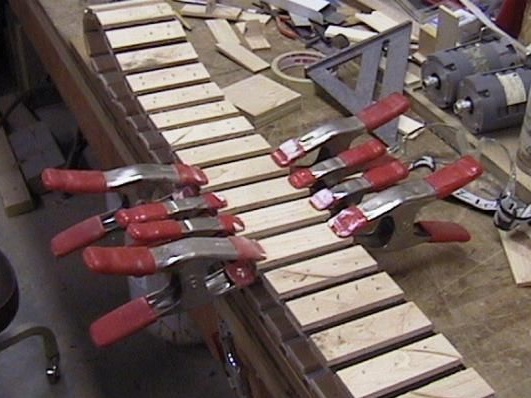
As everything dried out, he immediately installed it on the tank.
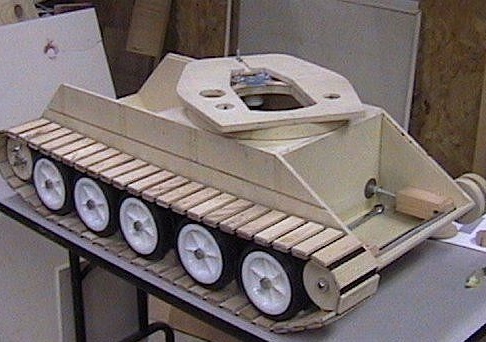
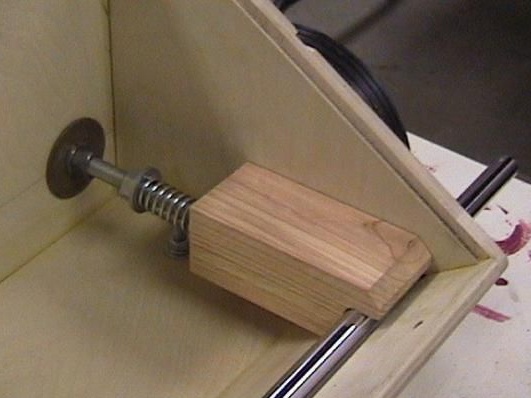
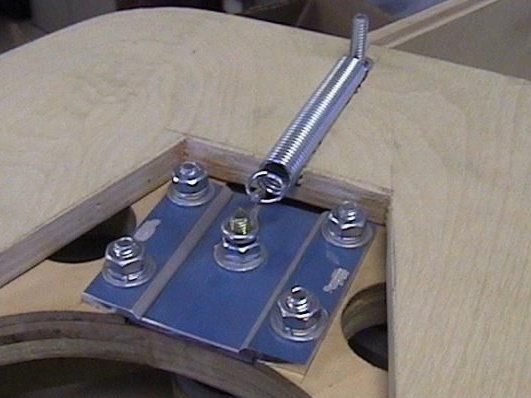
Please note that the master made the front track rollers with cushioning - this is necessary for tensioning the tracks.
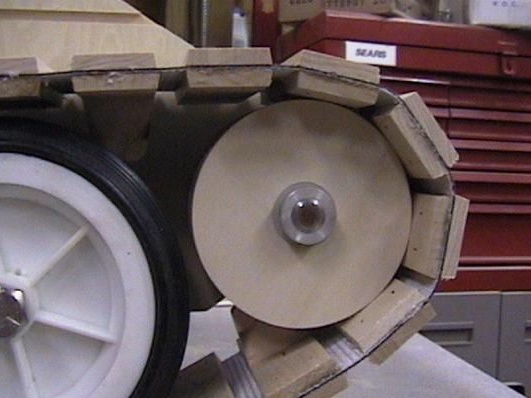
Side view, rear drive roller.
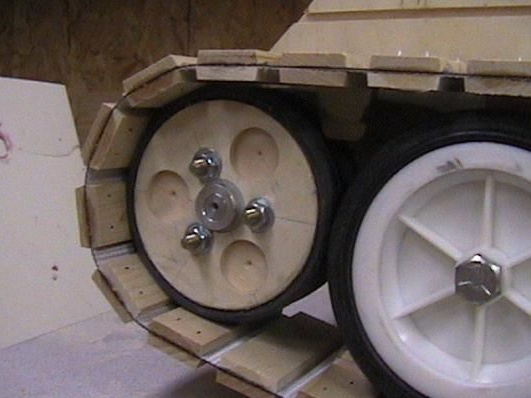
Mounted Caterpillar.
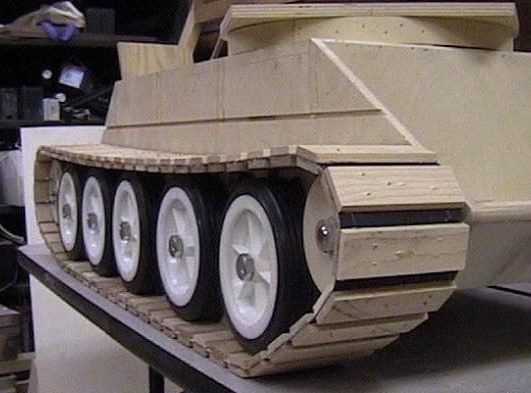
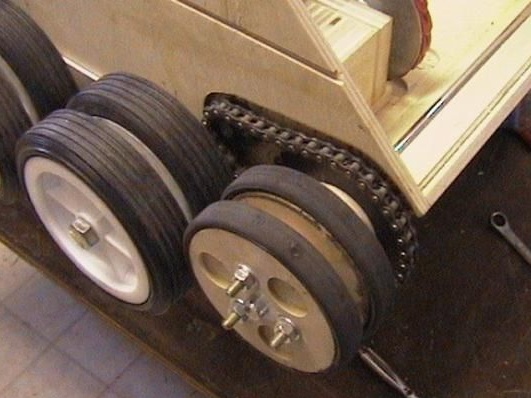
Drive transmitting torque.
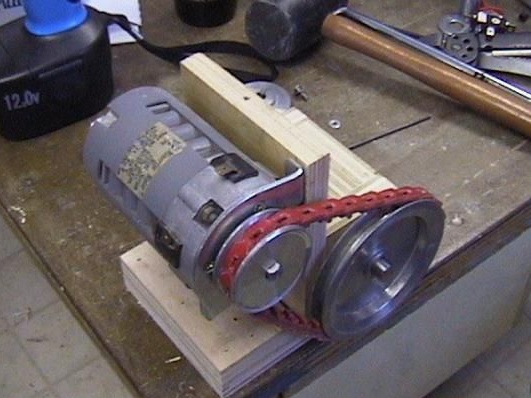
The electric motor with gearbox undergo preliminary tests.
Next, the unit is installed directly on the tank.
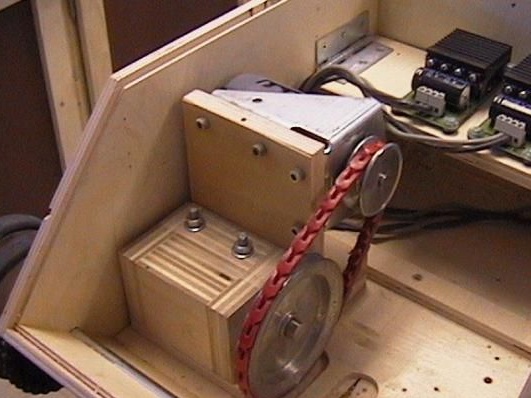
The gearbox is sealed in such a wooden shell.
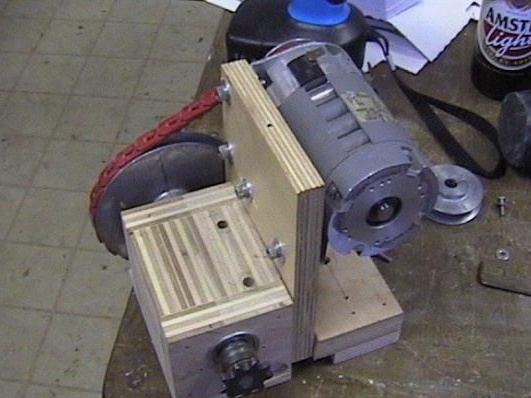
With the chassis sorted out, the assembly and installation of the turret and guns is ongoing.
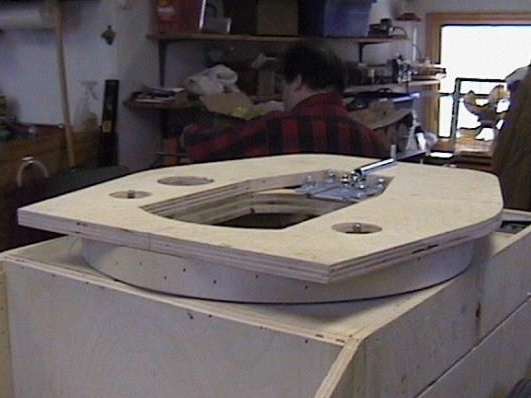
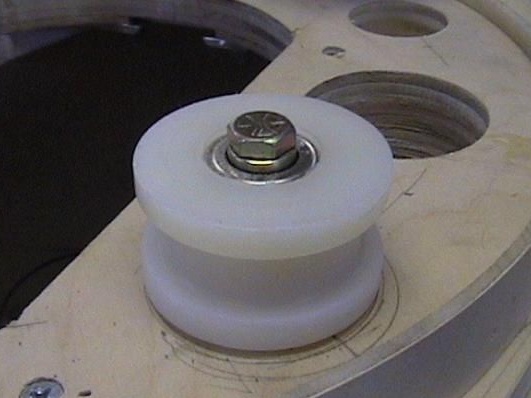
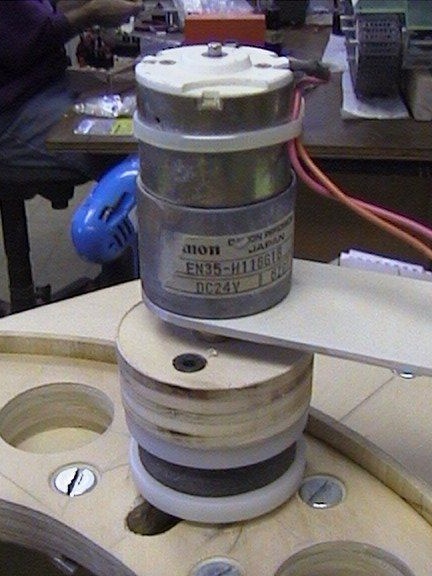
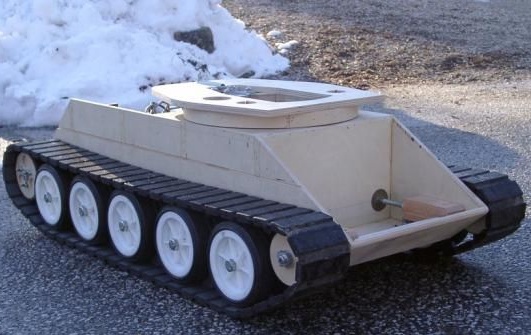
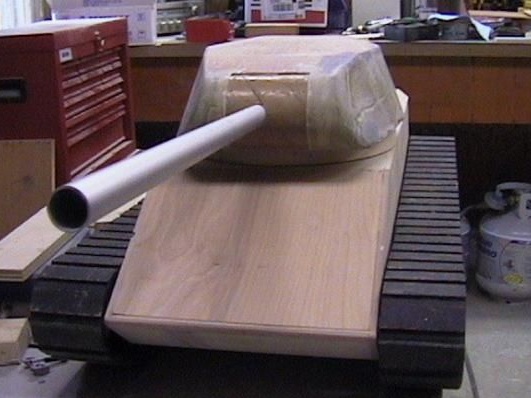
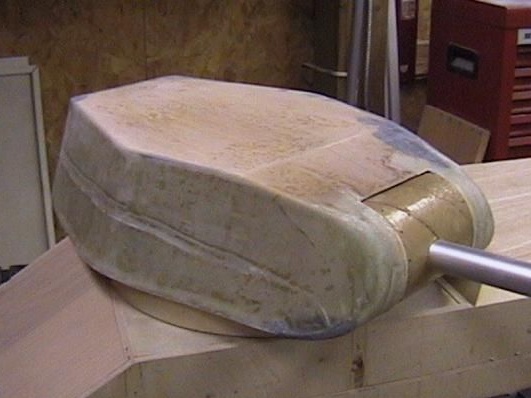
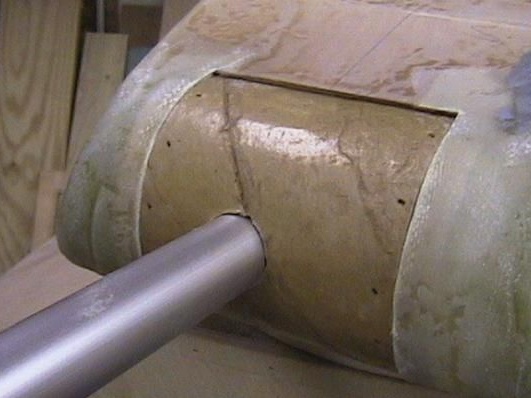
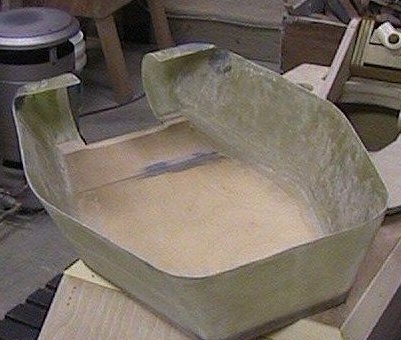
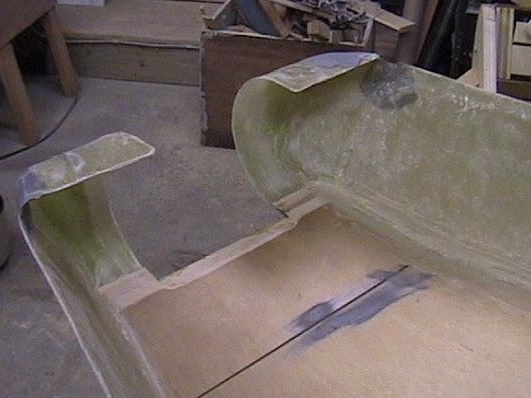
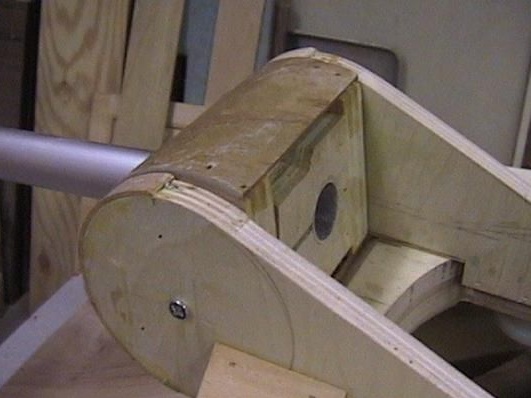
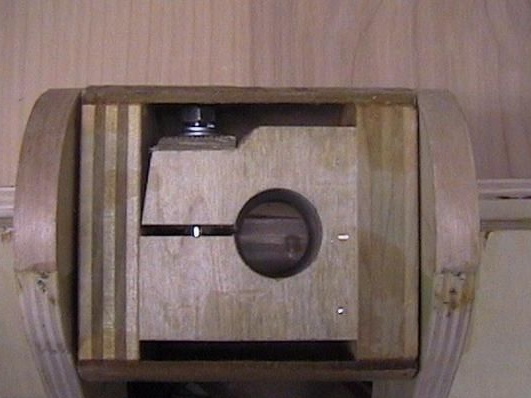
The tower has a pneumatic shooting system with paint balls.
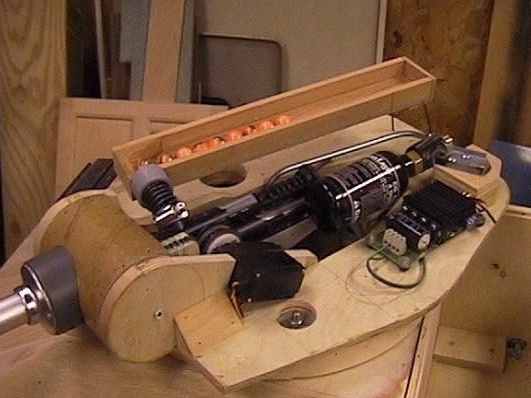
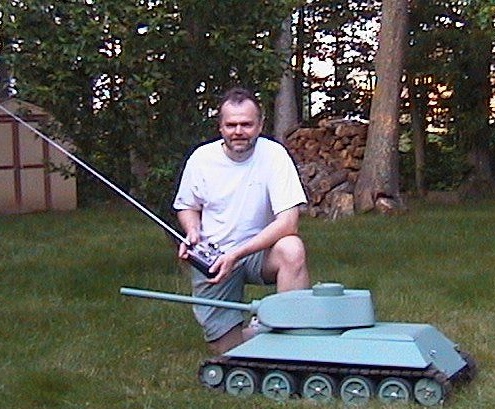
After assembly and painting, the author made a memorable photo with the tank.
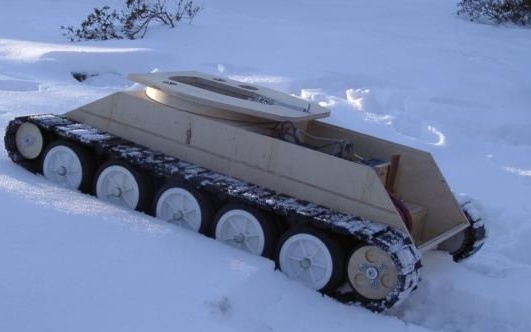
Runs in, "the tanks are not afraid of dirt."
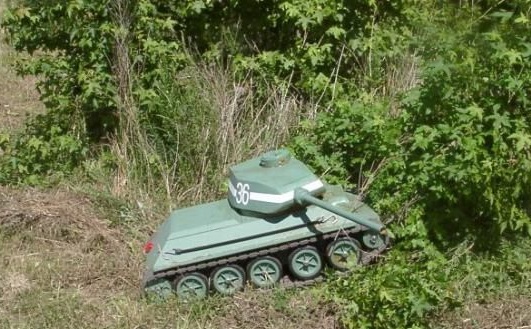
And here a tank duel is already taking place between -85 and the German T-6 Tiger heavy tank.
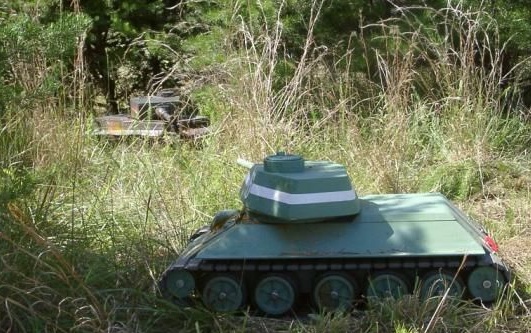
Our win is definitely!
