Easy to manufacture and functional in use tester made by the author homemade.
For the tester you need: a syringe for five cubes, a wire with a clamp, two LEDs (different emission spectrum), 4 batteries, a steel wire.
The tester circuit is as follows.
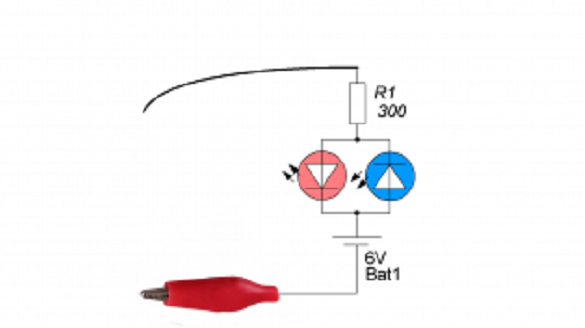
First, the author of the homemade solder on the other hand two LEDs, i.e. solder the small leg of one to the large leg of the other.
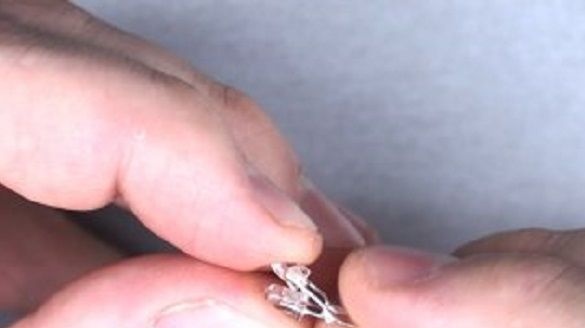
A resistor is soldered to one of the legs of the LED, a piece of steel wire is connected to the resistor.
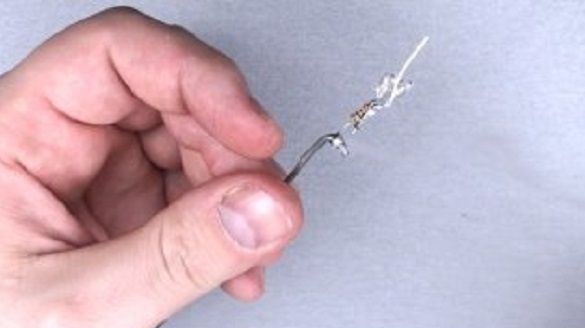
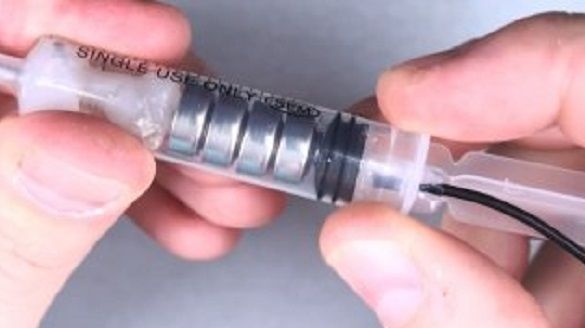
The place of soldering, LEDs, the resistor fills with hot glue. Bends the second end of the LED to form a battery contact. Fills a few drops of hot-melt adhesive into the syringe and inserts the soldered block into it, the wire sticks into the hole of the syringe. A hole is made in the piston of the syringe and, having inserted the end of the wire there (with a clip), it bends to form the second contact of the batteries. Inserts batteries into the syringe, inserts a piston with contact on top.
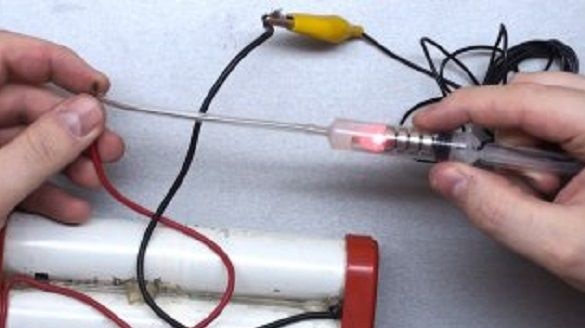
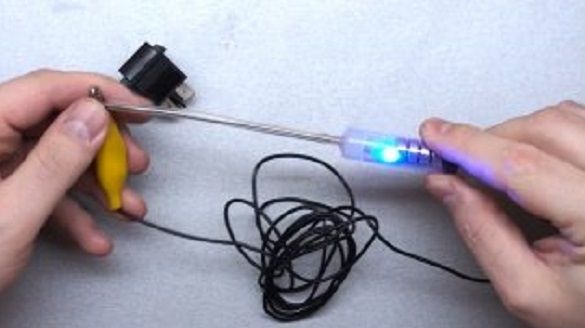
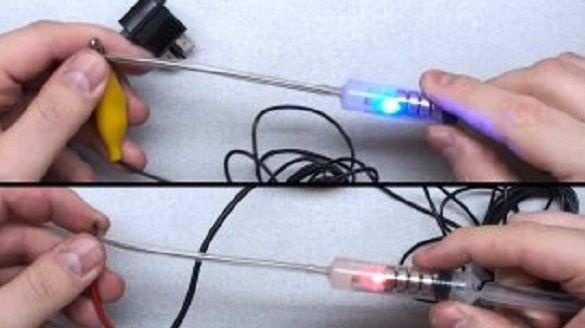
A piece of tube from a dropper is put on a piece of wire. This tester has two functions. With it, you can check the voltage of 12 V or short circuit, and the indication will shine with a different light.