
There are already several examples of bars made on this site. do it yourself. For the most part, it tells how to make a bar of sand poured into plastic bottles, which are then attached to the rod. In this case, the author approached the sport much more seriously and decided to assemble a metal bar.
To assemble the rod, the author collected and purchased the following materials:
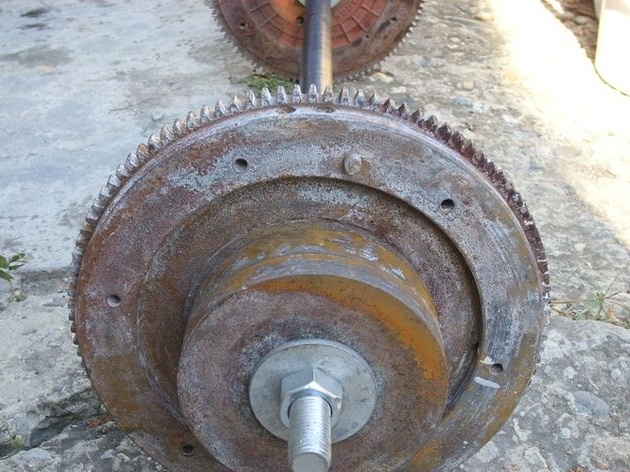
- two flywheels from the Cossack
- collapsible dumbbells
- stud with a thread of more than a meter and a diameter of 1.8 cm
- four washers + nuts
- rubber hose 1 meter long
- rust remover, as the flywheels are already pretty rusted.
The process of manufacturing a bar with your own hands from improvised materials.
The author wanted to put together a normal bar so that he could add weight to it.
Step one: rust cleansing.
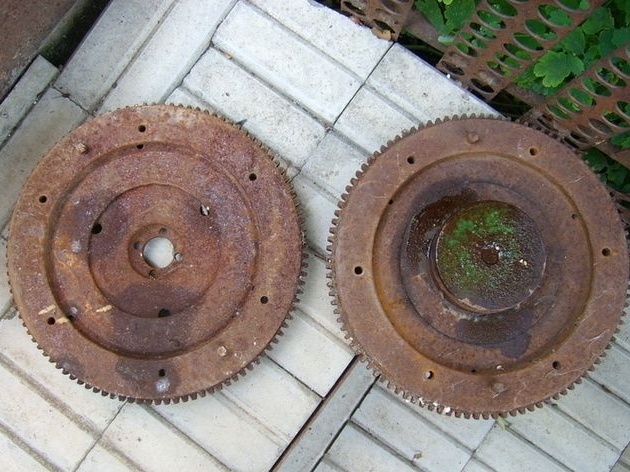
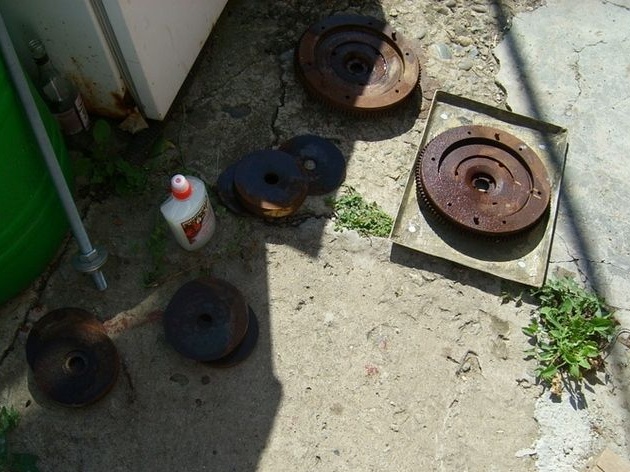
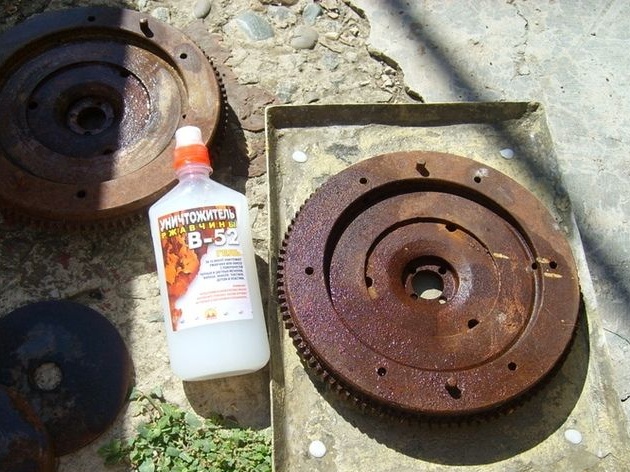
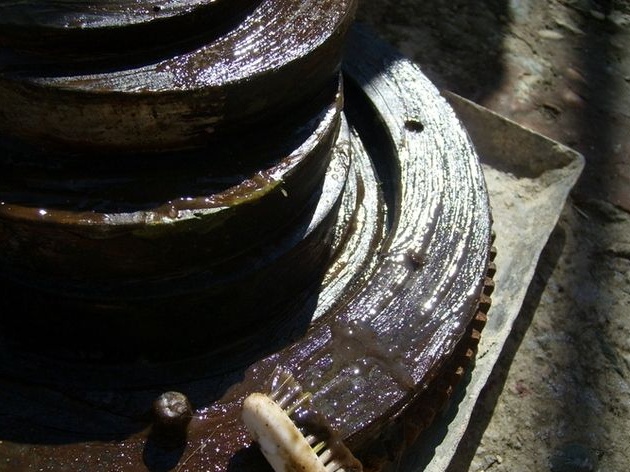
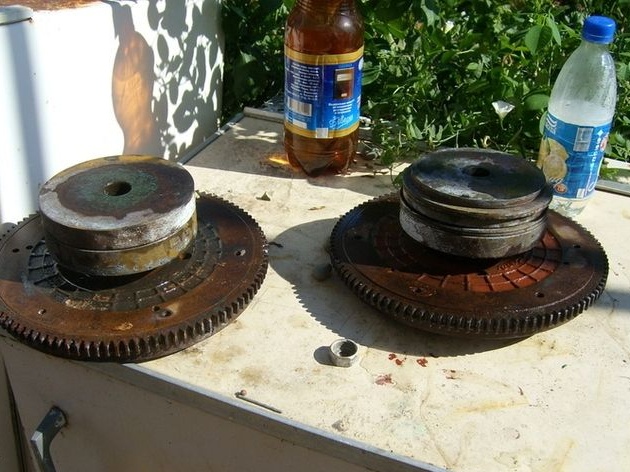
As a weight, the author decided to use flywheels from the Cossacks and collapsible dumbbells. But in order to use them in the construction of the rod, first you need to remove rust from them. After spending a lot of time in the barn, they managed to specifically rust, and to give them a more pleasant appearance, as well as not to get dirty during classes with the future pole, the author bought a rust remover. The tool was bought at the nearest hardware store, after all the metal parts were pretty smeared and left in this condition for half an hour. Then the author washed the parts with water and a brush.
Step two: creating a neck.
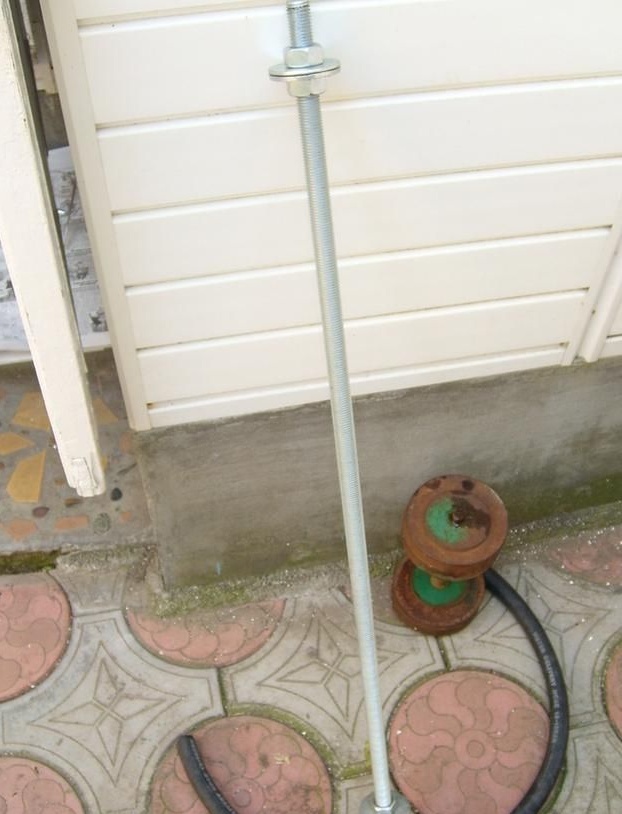
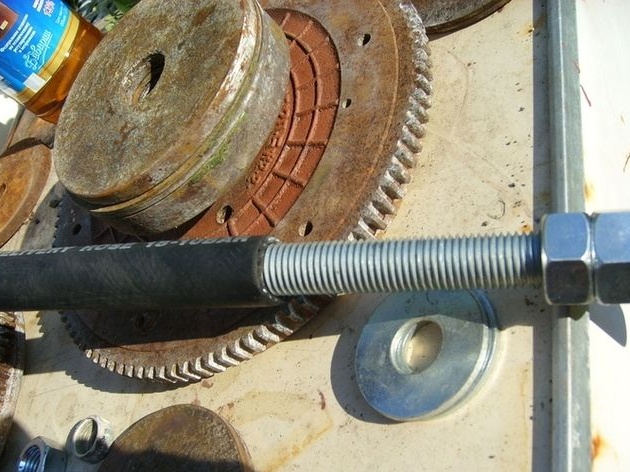
As a future neck, the author decided to use a hairpin a little longer than a meter and 1.8 cm thick. Without any shell, such a neck will damage his hands, so the author decided to wrap the hairpin with a hose. This will protect your hands from cuts on the stud threads when practicing with the barbell.
The author screwed a nut onto one of the sides of the neck, and then put the hose all the way on. Starting to wind the hose, the author realized that it might take longer than he intended, so he just greased the inside of the hose with oil and put it on in one fell swoop. In this form, he sat down quite tightly, without scrolls, which means holding the bar will be quite convenient.
Excess hose was then cut off on the other side of the neck.
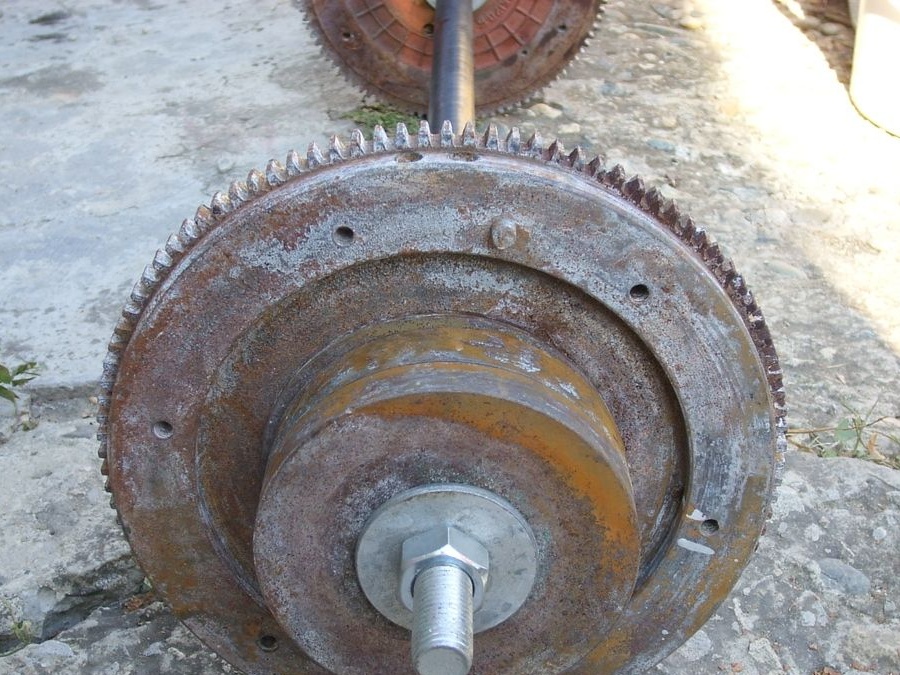
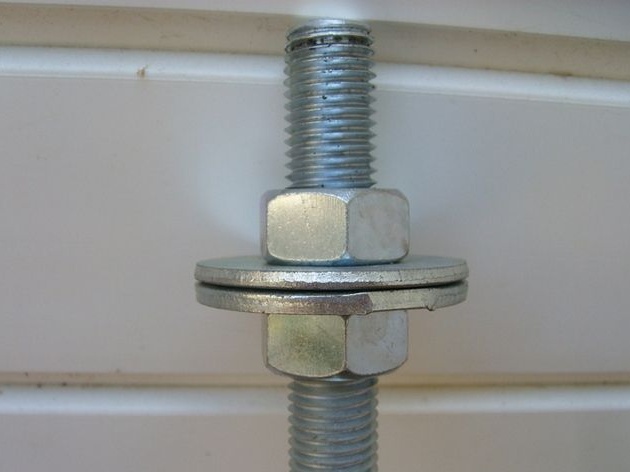
Step Three: Set Weight.
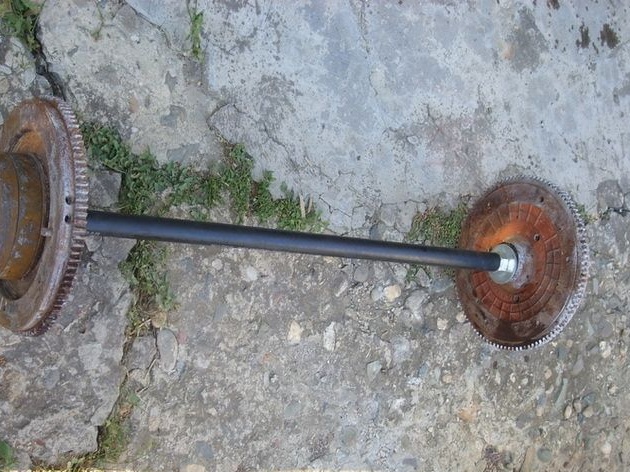
Further, the author tightened the nuts on the bar neck and began installing washers and flywheels with pancakes, on each side of the neck evenly. Then he tightened the nuts with a wrench and secured the weight at the edges of the neck. Thus, the author assembled a metal bar for sports.
The design of this bar allows you to improve it by adding more flywheels and weighting the weight of the bar for future training. Thanks to the rubberized bar, the bar turned out to be very convenient, almost like a real one.
The disadvantage of this bar is the teeth on the flywheels. You cannot put such a rod on the floor, as this will damage the coating, and the floor itself will also be washed. Therefore, the author plans to make an additional special stand for his bar. The stand is likely to be made of boards.