
Another way to create a mobile compact device for charging gadgets from USB. The device has a convenient compact housing and runs on a Crohn battery.
Materials:
-Car USB charger in cigarette lighter
Four wires
-Switch small size from the lamp.
Three Krona rechargeable batteries.
- Box of coffee "Fort".
-Glue gun.
The detailed manufacturing process of a portable battery charger.
Step one: disassembling the car charger.
To begin with, the author disassembled the car charger and took out a board from it. This board is essentially the main part of the future charger.
On one side of the resulting board there is a spring and a small piece of iron plate. The spring in such devices is almost always a plus, and the iron plate, respectively, is a minus.
Step two: prepare the board.
Thus, the spring can be successfully soldered to the wire, and then lead the wire to the board. the same operation is performed on the iron plate from the side. In the event that the spring is soldered to the board, then it can be carefully soldered and instead of it connect a wire to the contact. If the spring is soldered to the wire, then the task is even easier - to solder it from the wiring. With iron, the author did exactly the same thing.
When the wires were soldered to the board, the author put it aside and took up other parts of the assembled charger.
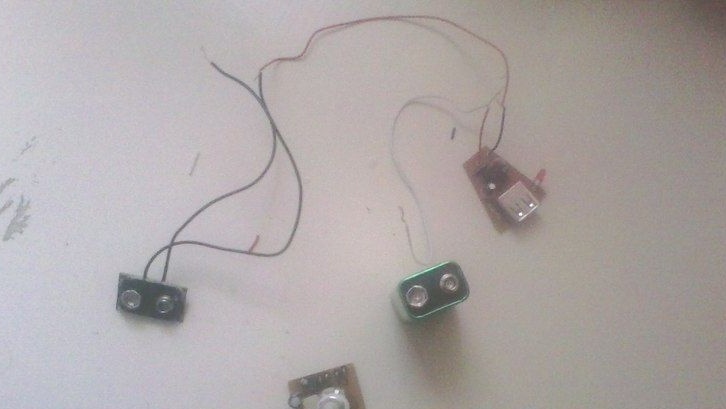
Step Three: Create Terminals.
For the charger, you need to make the terminals to which the batteries will be connected. You can take a ready-made terminal, for example, from some old toys, or something else where the Krona battery was used. The author decided to just make such a terminal on his own. To do this, he removed the clamp from one of the Kron batteries, turned it over, took the solder flux and degreased the contacts with a cotton swab, which he dipped in the flux. When the contacts were degreased, he soldered the wires to them. Then he took a glue gun and applied glue to the solder point of the contacts. Thanks to this, he not only further strengthened the place of contact, but most importantly made insulation.
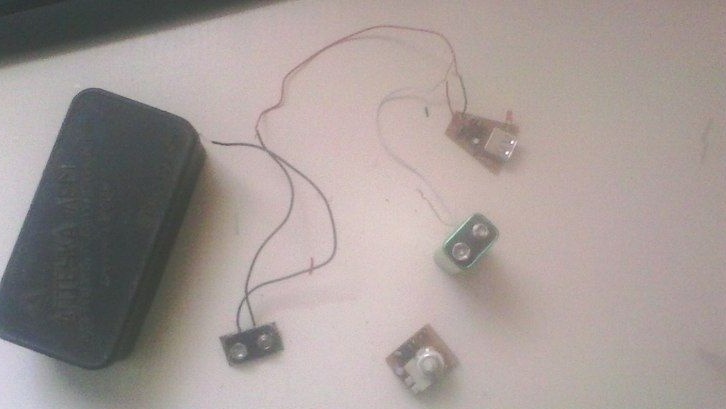
Fourth step: assembly of device elements.
After that, a battery was connected to this terminal to fully verify where is the plus and where is the minus. When the data were confirmed experimentally, the author took the board from the car charger and carefully twisted the negative wires connecting the parts of the charger. A standard insulation tape was used as the twist insulation material.
Fifth step: connecting the switch.
Plus, the author decided to start through the switch. The author originally planned to use a switch from the lamp as a device switch, but it turned out to be insufficiently practical in practical terms, therefore a switch from the lamp was used more.
The switch has two contacts, to one of which the author soldered the wire coming from the board, and to the second the wires coming from the terminal.
Step six: preparing the device case.
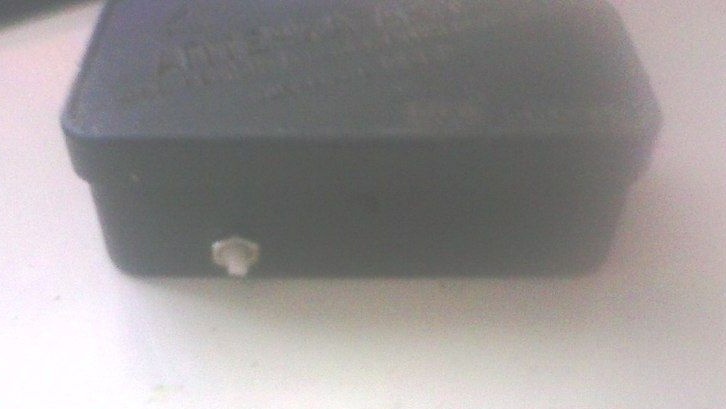
In principle, already in this form, the device can work and perform its functions, but it is inconvenient to carry such a set of parts with you without a case. Therefore, the author decided to put the entire device in a suitable case. In the case of the author, the APM First-aid kit turned out to be such a case, which is used to repair pneumatic tires. In this case, a hole was made for the USB connector, as well as a hole for the device switch.
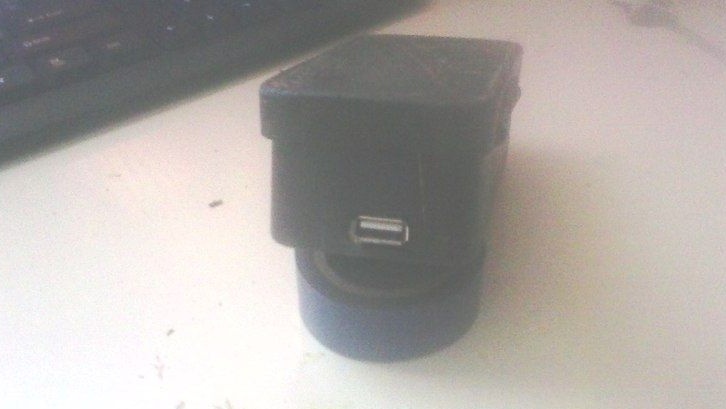
Seventh step: assembly of the charger.
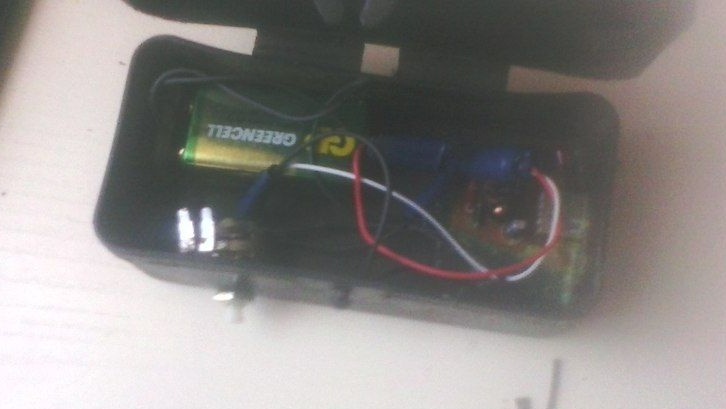
Then all the details of the device: the board, switch, terminal, were placed inside this box. The board was fixed at the bottom of the box with the same glue gun, and the device switch was also attached to it. Further, the author connected the battery and closed the box.
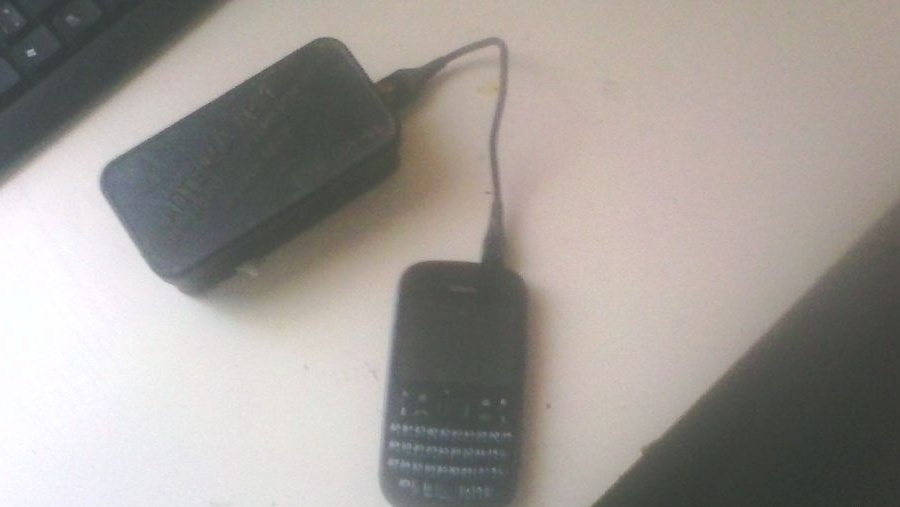
To check the operability of the device, the author connected the phone to the usb connector and saw that the phone indicator showed the beginning of the battery charge, which means, in turn, the normal operation of the assembled device.
Summarizing.
Since the input power of car chargers from the cigarette lighter is designed for 12 V, and the assembled device uses a board of just such a charger, in no case can you connect the assembled device to power sources above 12 V, otherwise the circuit will simply burn out.
Therefore, one Krona battery with a power of 9V is excellent for use in this type of device. According to the author, the crown was enough to charge an iPhone, camera or tablet about 2 times.
Subsequently, Krona can be replaced with a 12 V battery, which would further increase the efficiency of the device, but reduce versatility. Since the battery also needs to be charged somewhere, and the use of this charger implies the absence of such a possibility. Therefore, the use of a battery is more preferable, and if you do not want to throw away Crohn's batteries too often, you can buy a charger for them, and when you get home put them on charge, you will always have the opportunity to simply buy a charged battery in the store if there is a supply The battery in the train is over.