
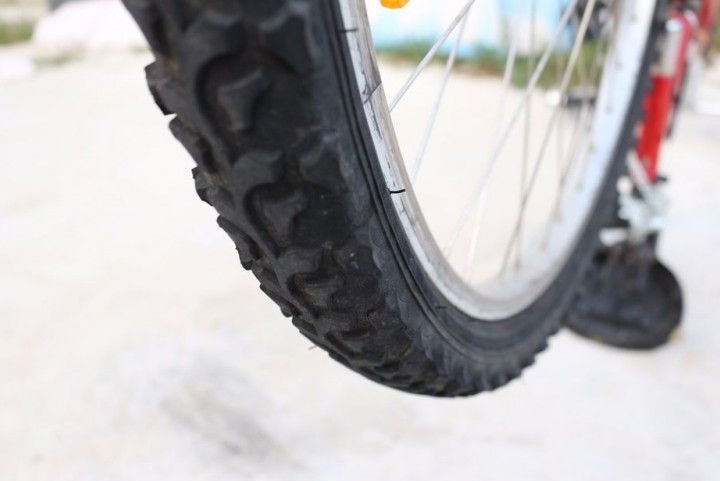
If you have to ride on a bike on gravel, glass, spikes, nails and other obstacles, this greatly increases the risk of wheel puncture. Since to the author homemade such a problem came quite often, it was decided to slightly upgrade the tires to reduce the likelihood of a puncture of the camera. The refinement is quite simple, but effective.
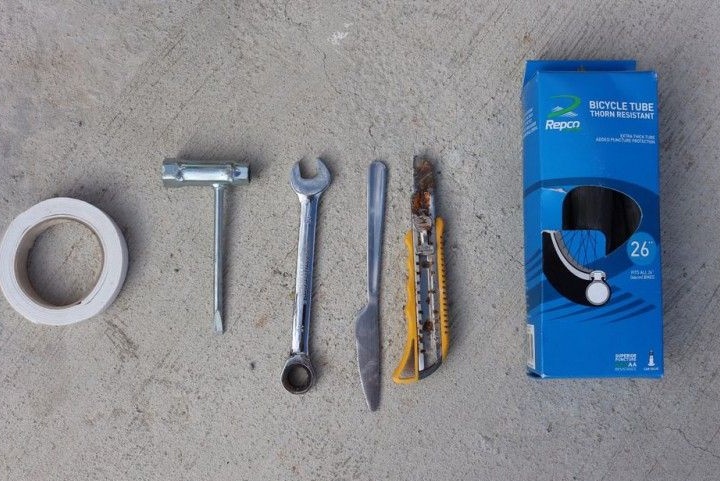
Materials and tools for homemade:
- 15 mm wrench;
- new or used tire;
- old tire;
- new camera;
- a knife (the one that cuts drywall is suitable);
- two screwdrivers for flat head screws or a knife;
- pump.
The process of finalizing the bike:
Step one. Remove the wheel
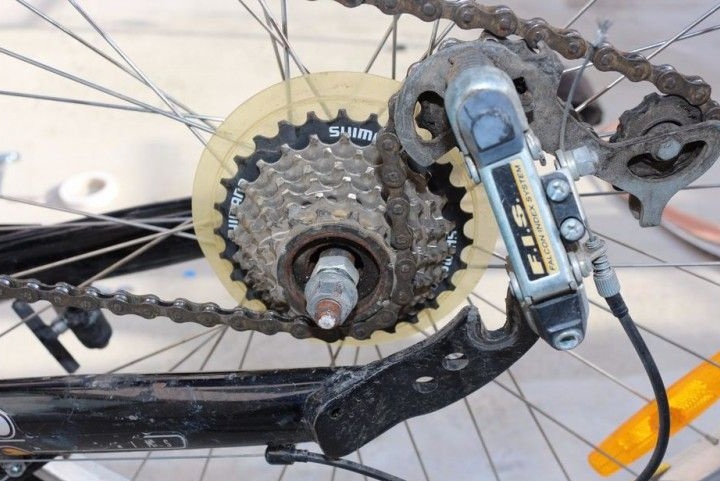
First you need to remove the wheel from the bike, which must be modified. Most often punches the rear wheel, as it accounts for the greatest weight. In order to remove the wheel, you will need to unscrew the two nuts, most modern of bicycles 15 mm turnkey nuts are used. On older bicycles, you will need a key for 17. You also need to make sure that the hand brakes are disabled.
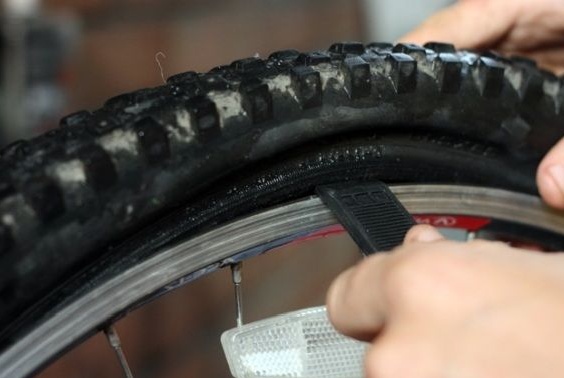
Step Two We shoot the camera
In order to remove the tire and get the camera, you need two flat screwdrivers. You can also use two tablespoons or forks. Both screwdrivers are inserted between the rim and the tire at a distance of 5 cm, and then parted in different directions. If the screwdriver is sharp, you need to be careful, otherwise you can easily damage the camera, if you need it, of course.
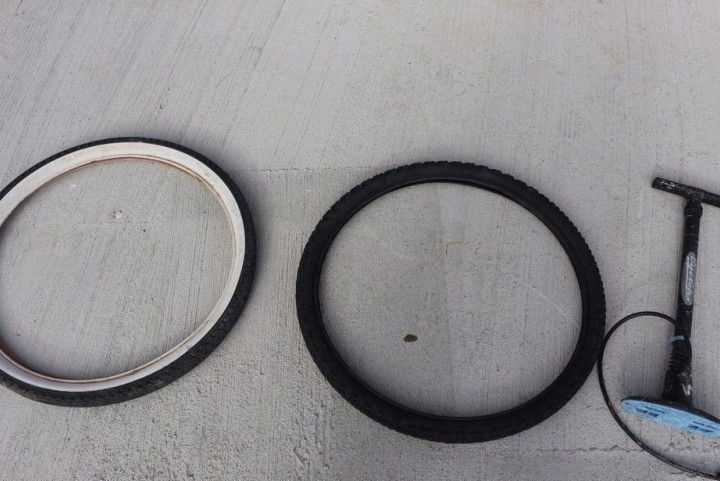
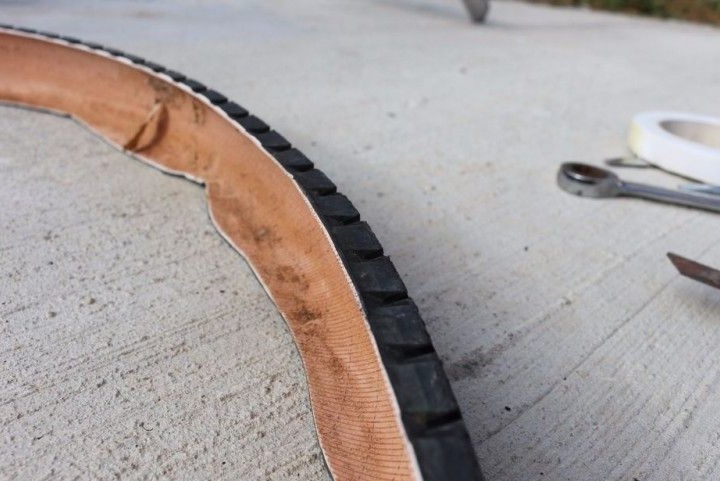
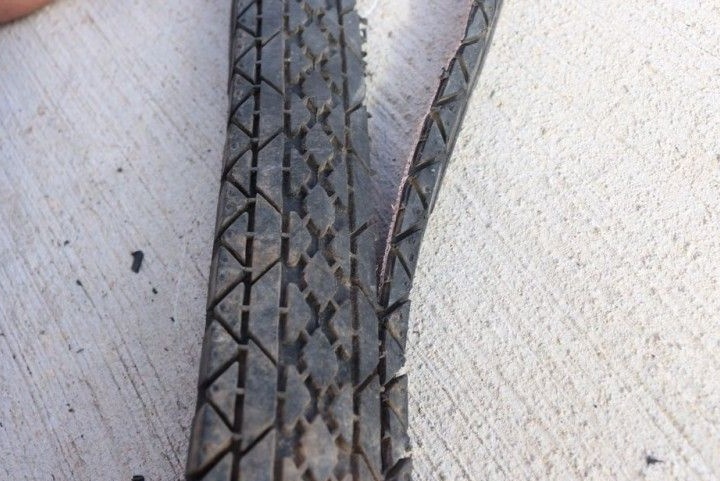
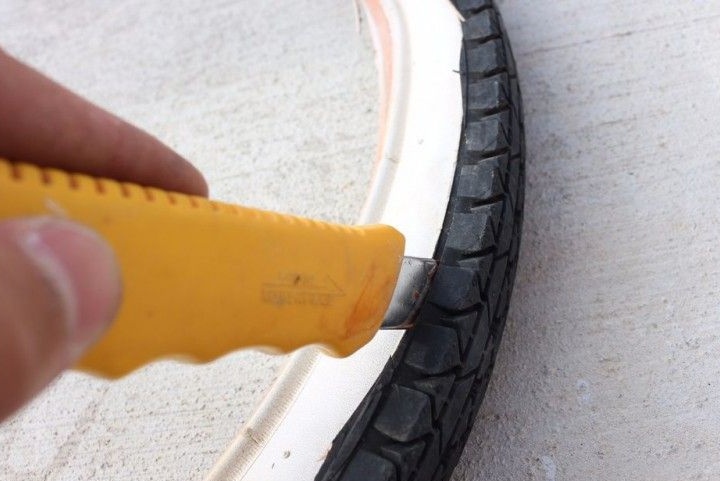
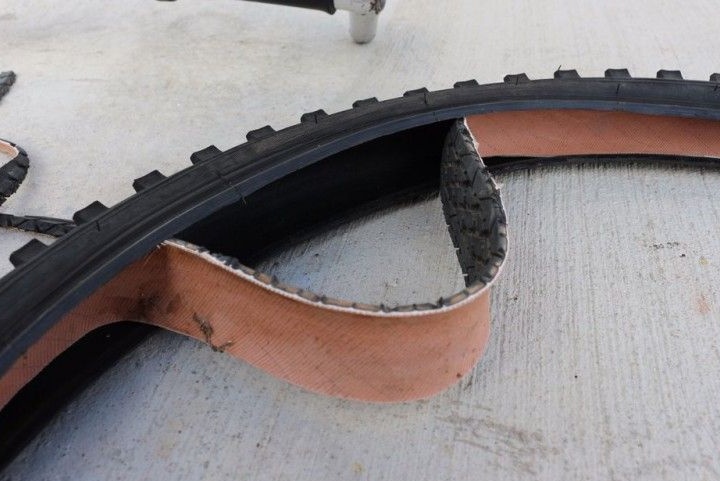
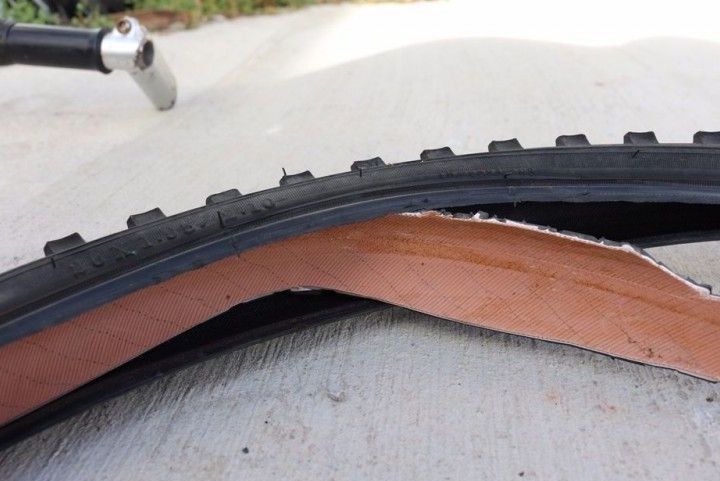
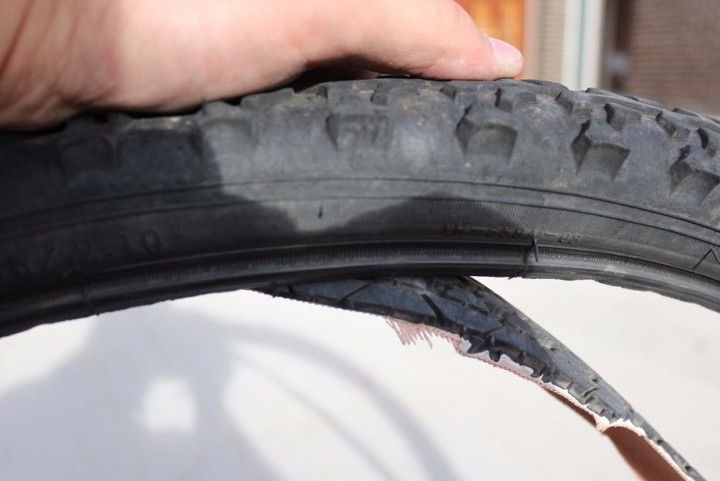
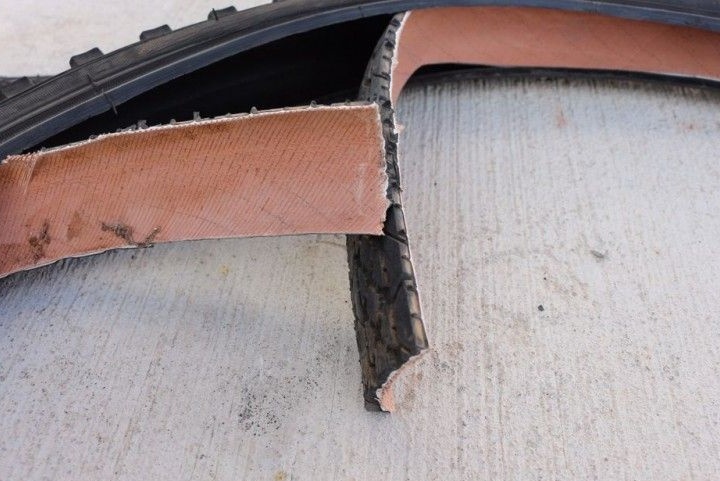
Step Three Preparing an old tire
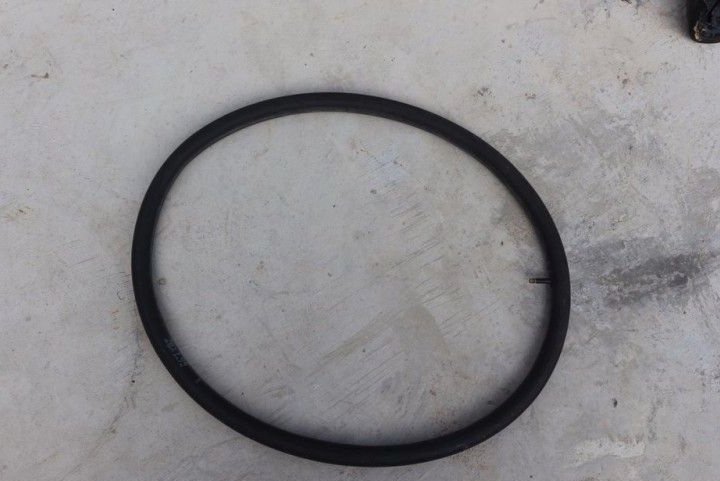
Now you need to take the old tire. It must be cut so that it can fit inside the new (outer) tire of the wheel. As a result, a double tire is formed, which will be very difficult to pierce through to the camera. The edges of the old tire must be removed with a sharp knife. As a result, only the flat section should remain from the old tire.
If the tire is too long, it will need to be cut to the optimum length. The total clearance after placing the strip in the tire should be minimal.

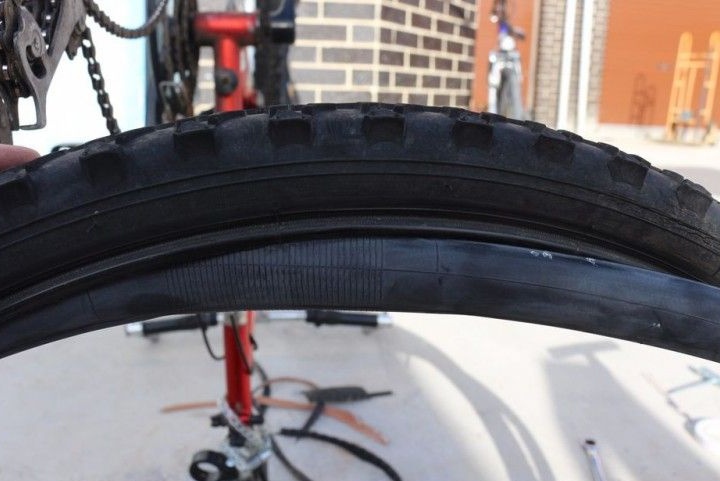
Step Four Install a new camera
Since the wheel will now be reliably protected from puncture, you can safely install a new camera in it. To do this, you need to pre-pump it a little with a pump so that it takes its shape. Well, then the camera is placed on the tire of the bicycle. When laying, make sure that the manufactured "armor" was in a circle around the tire.

Step Five Wheel assembly
After installing the camera, the tire can be put on the rim. First, insert a valve into the rim hole to pump the wheel. Well, then it all depends on the skill of the cyclist. When assembling, you should use sharp screwdrivers and other similar items, since they can easily pierce the camera and even the tire. Two classic metal spoons or forks are best suited for these purposes.
Step Six The final stage. Inflate the wheel and mount it on the bike
Before installing the wheel, you need to pump it up. First you need to pump the camera up slightly and then carefully stretch the tire in a circle with your hands so that the camera settles down well. Well, then the wheel is pumped up to working pressure.
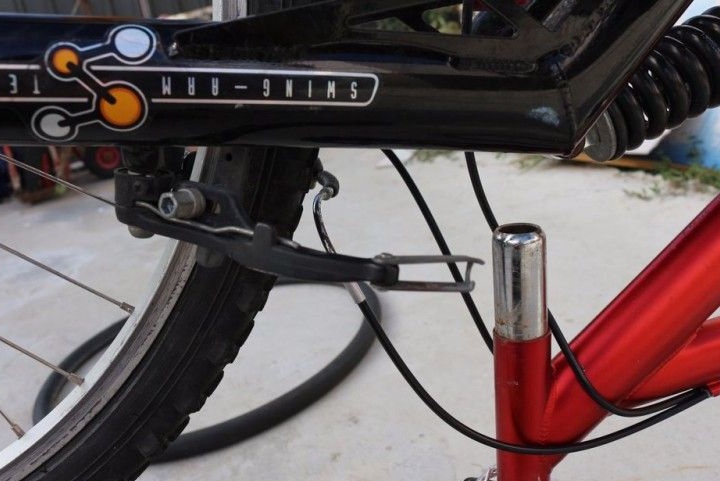
After that, the wheel can be mounted on a bicycle and make a test run. Significant changes in the dynamics of the bicycle should not be observed.
According to the author, now the wheel will be resistant to punctures, and this is very important when driving long distances. Among other things, even if a wheel puncture happens, due to the double tire for hire, you can still slowly drive to your destination or the nearest workshop where the wheel can be repaired. Also, such a wheel requires less air pressure, since the installed tab occupies the internal volume of the wheel.
If you want to protect the bicycle wheel even more, you can make several such tabs, though this will affect the weight and possibly the dynamics of the bicycle. If weight plays a key role in this, you can look for lighter materials for such purposes. If you need to get impenetrable tires at all, then they can be made tubeless, that is, there will be only one tire inside. This approach will be good for homemade carts, trailers and other equipment.
Well, ideally, such improvements should be done on both wheels of the bike. By the way, modernization is relevant not only for bicycle wheels, but also for motorcycle or even automobile.