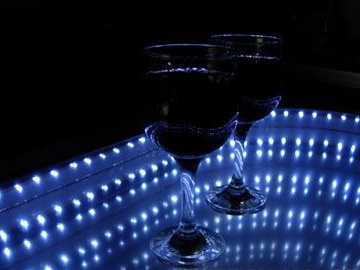
The author has long been looking for an original idea for the design and assembly of a bar table. Looking through the pages of magazines and Internet sites, he came across a rather interesting idea of creating the illusion of an endless glowing tunnel inside the table. With its impressive external effect, this design does not require special knowledge in electronics and is available to anyone who has the means to purchase the following materials.
Materials for making a table with backlight:
- MDF.
- Glass 6 mm and a mirror 4 mm in size of the intended table.
- Various varnishes, paints, primers, enamels for decoration
- Leg and mounts
- tint film
- silicone glue
- fillet
- garland or LED strip
A detailed description of the basics of the idea and assembly of the table with LED backlight.
The idea of creating such a table is quite simple. The whole point of the design is that it is necessary to place the LED strip between two mirrors. Thus, the LED lights, repeatedly reflected from each of the mirrors, create the effect of an endless tunnel.
Naturally, the top mirror should be translucent so that we can see the effect through the surface of the table.
Step One: Drawings.
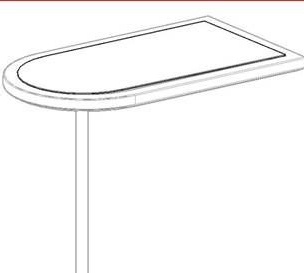
To begin with, the author made a small sketch of the design of the table. The sketch turned out like this:
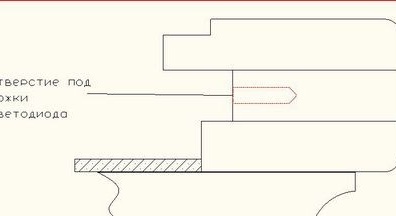
Then, in the AutoCAD, more accurate and detailed drawings were made, and a mirror with glass was also separately drawn.
After creating the drawings, the author began to search for the necessary materials.
Step two: search for materials.
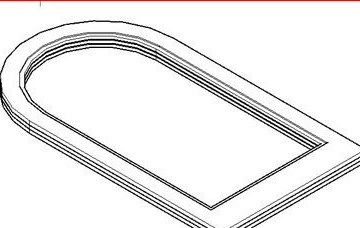
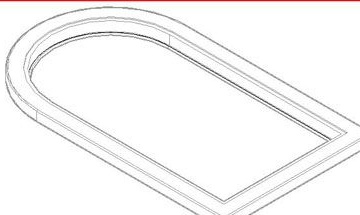
The first step was to find mirrors. If the usual mirror for the lower part of the table was not a problem, then ordering a translucent mirror for the upper part of the table was more difficult. Therefore, it was decided not to spend a lot of time looking for the right mirror, but to take advantage of the tech that was available. Thus, we took an ordinary mirror 4 mm thick for the bottom and tinted glass 6 mm for the top.
Step Three: Create a Countertop Frame
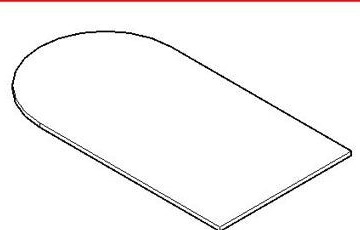

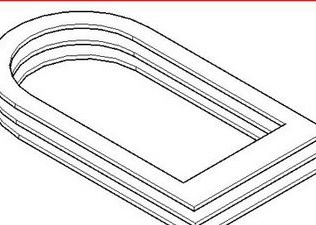
While the ordered glasses were made and delivered, work began on creating the main frame of the table. To do this, three blanks for the countertop were cut from a 16 mm thick MDF sheet, the two blanks were the same, and the third had an internal size of 10 mm larger. Then, in one of the blanks, the author milled a quarter of 5 * 15 mm under glass. Then he connected all the blanks in a single design.
Having turned over the structure, he proceeded to milling the lower quarter to a depth of 35 mm and a width of 15 mm. In order for the countertop to have a pleasant appearance, it was sanded and rolled around with a fillet around the perimeter.
The bottom cover of the countertop was also made. Its author decided to make it removable, so as to always have access to the internal electronic part of the table, so that, if desired, the backlight could be replaced. To do this, the same part was cut from MDF as the previous three, but without an internal cut-out and 10 mm less. Further milling, fillet and the creation of holes for screws.
Fourth step: painting and other work on the appearance of the product.
Proper decoration of the table is almost 50% of the success of the effect, so it was decided to print the painting as a separate item. First, the details of the table must be coated with a primer. The author used automotive soil, as well as auto enamel of any suitable color, in this case the metallic "snow queen" was used. The primer is applied on both sides of the table part. Then comes the stage of drying the primer for about 1 hour, depending on the brand used (read on the packaging). Then sanding with sandpaper with a grain size of 220 units, then 600 units, and then to the desired effect.
To get a beautiful table, you need to take this stage as seriously as possible.
When the appearance of the parts will completely satisfy you, as well as all the bumps and scratches will be removed, then the time will come to apply enamel. Enamel must be applied in several layers, with breaks for drying in 10-15 minutes.
Step Five: Work on the Mirrors.
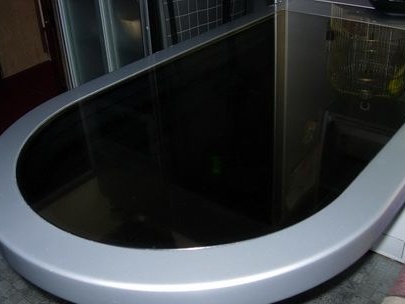
Somewhere in a week they delivered the glass. To make a translucent mirror out of tinted glass, the author used a mirror film glued on the inside of the glass. Next, the glass was glued to a quarter of the countertop, and the mirror on the inside of the bottom cover. For fixing, silicone glue was used.
Step six: electrician.
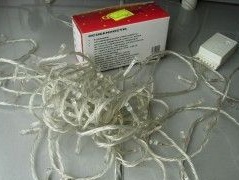
The author decided to make the electrical component from the New Year's garland on bright LEDs, so there is no need to deal with the wiring, the calculation of the resistances and the number of LEDs. Of the minuses of using such a garland is that 8 modes of glow are switched, and for the best effect, 1 mode of constant glow of diodes is needed, well this is a matter of taste of course. Probably, an LED strip or cord would be more suitable for these purposes, but it was made of what was available.
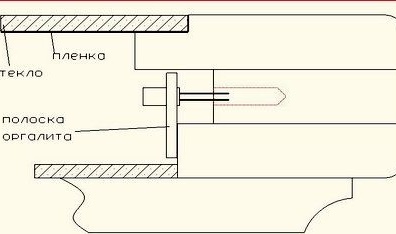

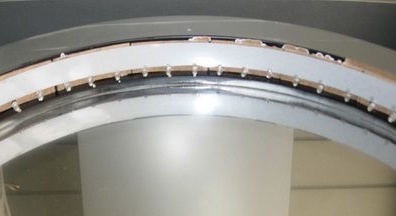
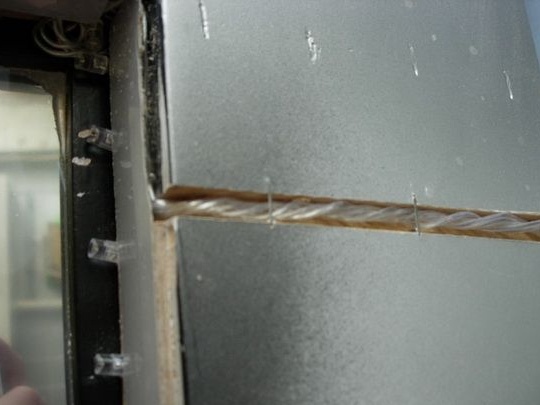
Then holes were made for the LEDs, for this the author made the necessary calculations for the distance between the diodes, corresponding to the number of diodes in the garland and the size of the table.
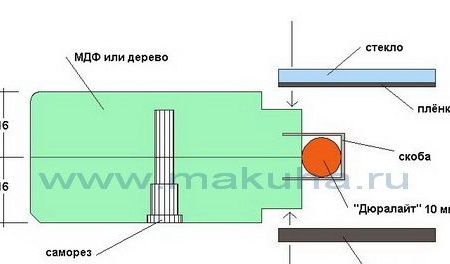
The wires were packed, LEDs installed. Fixed all plates of hardboard 3 mm on a stapler.
For a better external effect, everything was covered with a silver melamine edge with hot melt adhesive, which makes it easy to glue it with an iron.
The wires are led out through a special groove made on the milling machine.
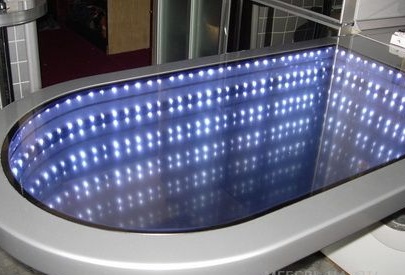
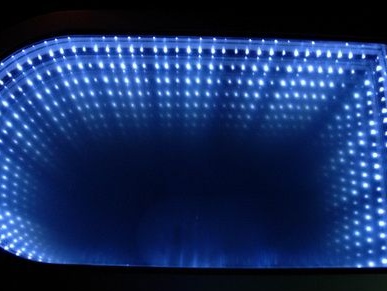
The result is an excellent table, with a beautiful lighting effect.
