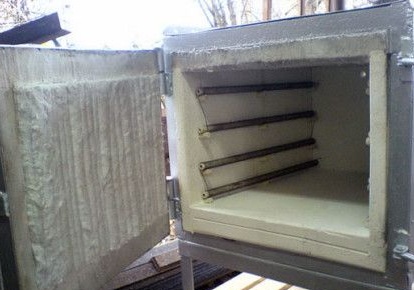
Pottery is 100% environmentally friendly and does not contain anything harmful, and what kind of porridge you get in a clay pot cannot be described in words, cannot be described with a pen).
In ancient times, craftsmen used wood-burning stoves and kilns to burn their products. This process included the harvesting of these very firewoods, the peasant needed to make firewood, both for heating the house and for firing pots, it was very difficult for the potters of that time to say bluntly.
But we live in the 21st century and there are plenty of energy sources. Mostly, electric-powered firing furnaces are currently popular, but there are gas furnaces as in the photo below.
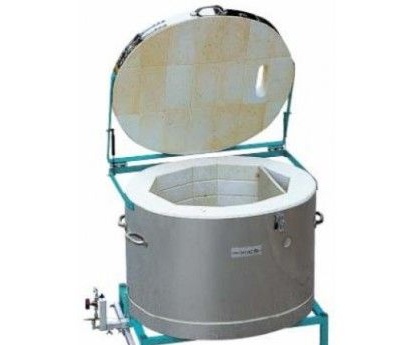
What further will it be about a home-made electric furnace for firing ceramic products, but before further narration, read the list of necessary materials and tools.
Materials
1) metal channel
2) galvanized sheet metal
3) wood screws
4) refractory brick
5) heating element "spiral"
6) asbestos
7) metal handles
8) rough metal
Instruments
1) grinder
2) welding machine
3) hammer
4) trowel
5) screwdriver
6) pliers
7) drill
8) mallet
To begin with, on the advice of the author, you should familiarize yourself with the stove schematically, but only then proceed to its direct assembly and connection.
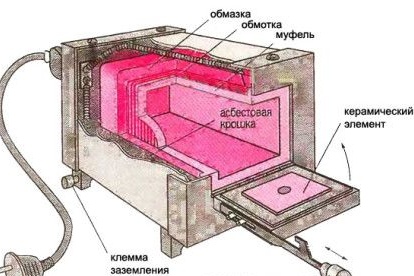
Well, what is the scheme, then the master explains that the foundation must be capital, made of good metal, as he actually did.
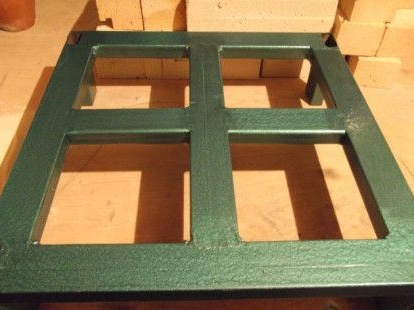
It is required to lay a galvanized sheet on the obtained base, screw it with screws.
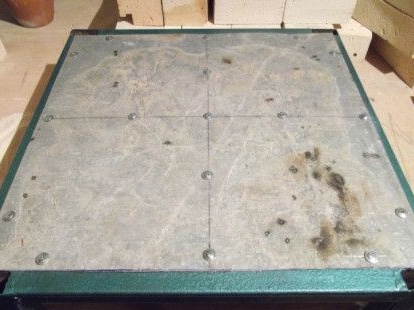
The surface is covered with refractory bricks.
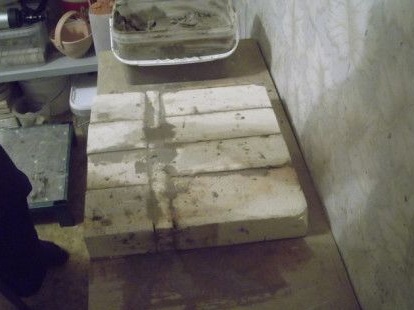
The author does everything very carefully and as accurately as possible.
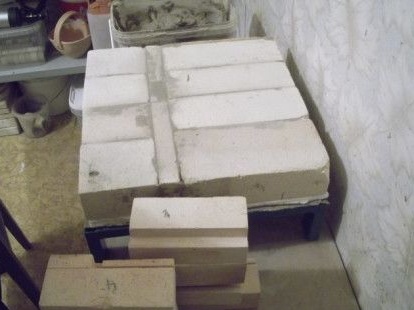
Gradually, a furnace is being built step by step.
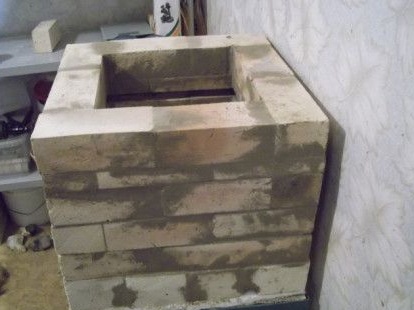
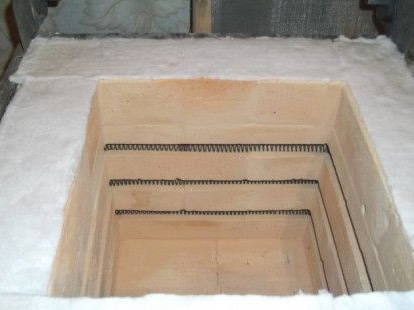
Inside, the master made grooves on the sides of the walls, removing a bit of the solution, the recesses turned out, this action was done to lay the heating element of the "spiral".
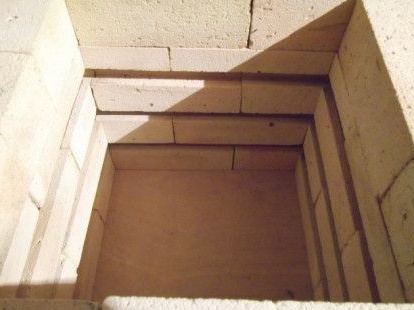
The furnace itself is ready, the next step is the manufacture of a cover for the furnace, it is still made of brick in a metal frame.
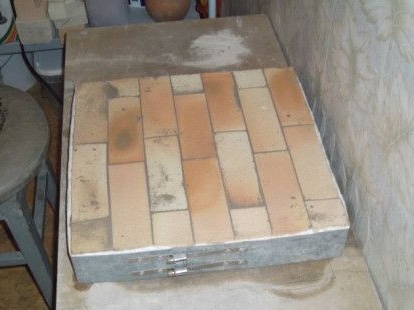
Before installing the cover, on the advice of the author, asbestos insulation should be made, as shown in the photo below.
And now the lid is installed directly, for the convenience of opening it, a convenient metal handle is installed.
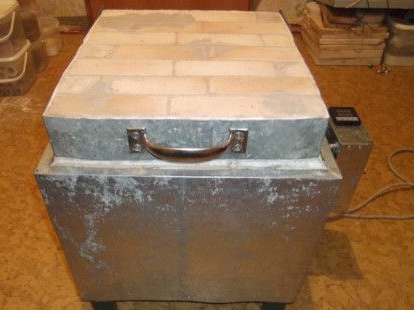
The miracle oven is ready, you can start firing ceramic products. As you can see there is nothing complicated here, you just need to make a little effort and everything will work out. Good luck with your endeavors!
