If you have an old laptop and an ownerless monitor lying around at home, then adding a few more computer parts, you can get a full-fledged computer in the form of a monoblock. More details on how to do this will be described in this article, but for now, we will consider a list of materials and parts necessary for assembling a monoblock.
Materials, parts and tools:
old laptop, author used Lenovo r60
plexiglass sheet
monitor stand, in this case from Samsung
-hot glue
screws, a few pieces
-screwdriver
-drill
Characteristics of the resulting computer
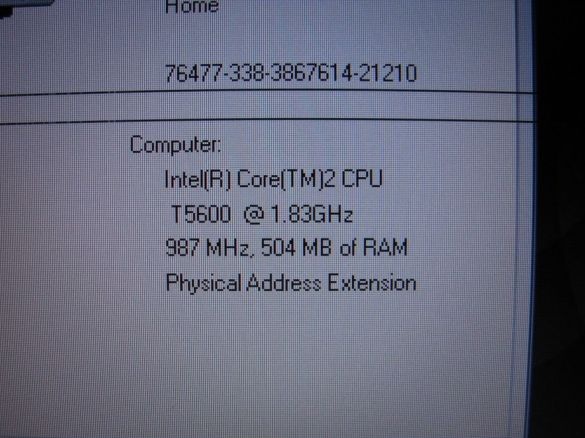
- dual-core intel processor with a frequency of 1.83 GHz;
-512 MB of RAM;
-Old 160 GB hard drive;
-record DVD-rom;
15.4-inch screen
Monoblock assembly description.
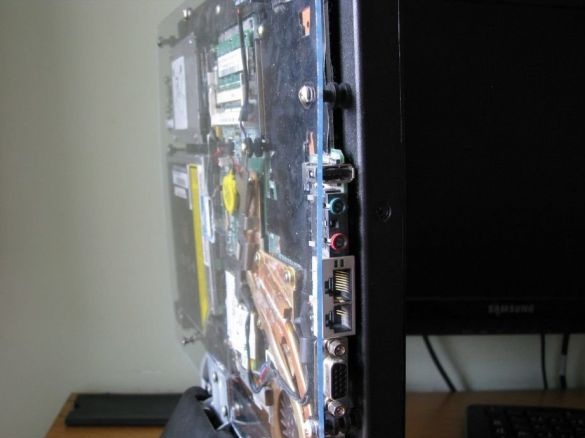
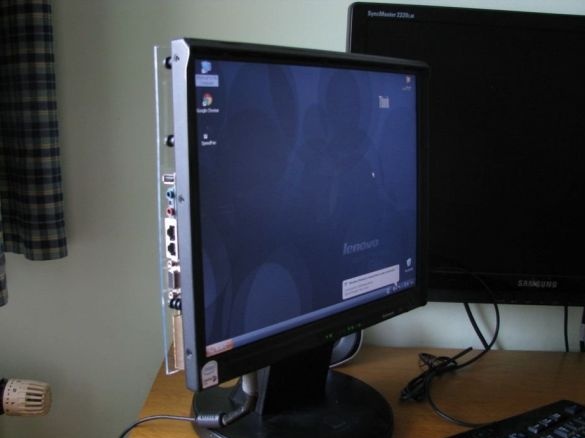
It’s not strange that the author decided to start assembling the PC monoblock from disassembling the laptop. The laptop screen has been completely removed, the disassembly method depends only on your laptop model. From the back of the screen, the places where holes should be located and intended for the inputs and outputs of connected peripheral devices, as well as the internal parts of the disassembled laptop were marked. Then, holes were drilled for each mount.
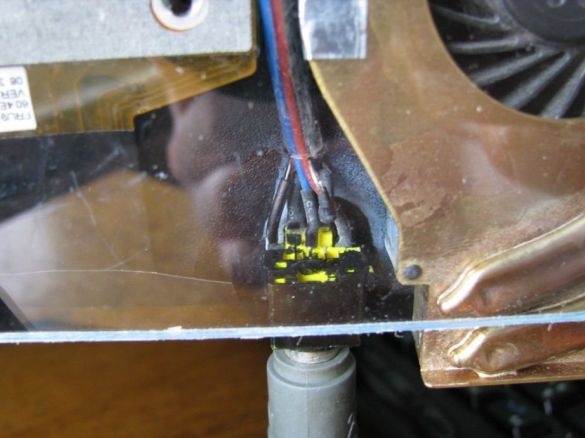
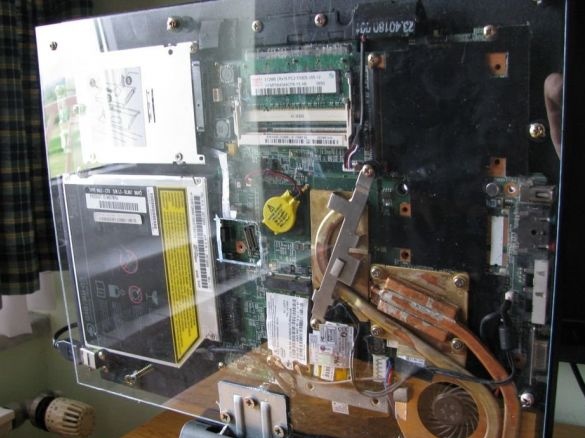
In order to fix the main parts of the laptop, including its motherboard, the author used screws. He advises everyone who will try to repeat this, to be extremely careful and careful when fixing, so as not to damage the board and other details. For convenience, it was decided to place the connector under the computer's power cable at the bottom of the monoblock design.
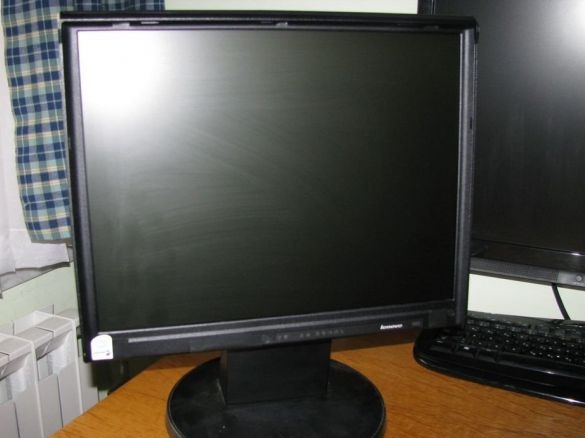
Next, the screen was installed back into the monitor holder, which is made of plastic.
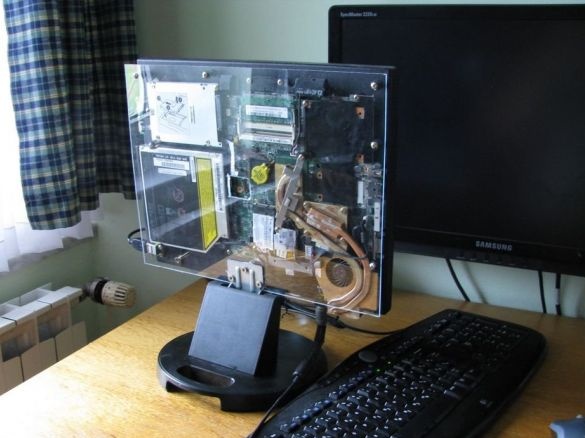
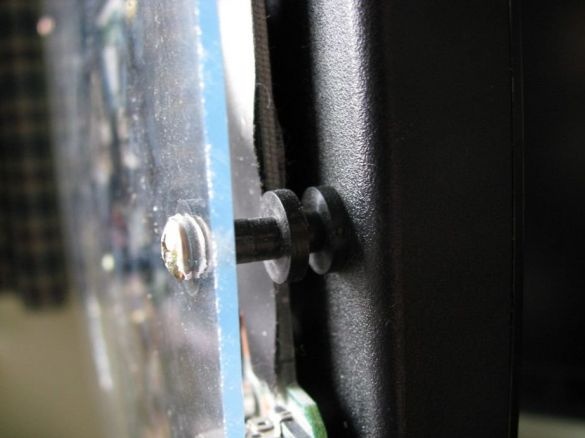
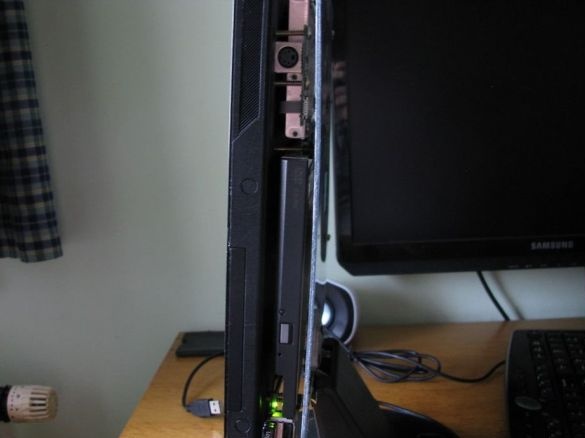
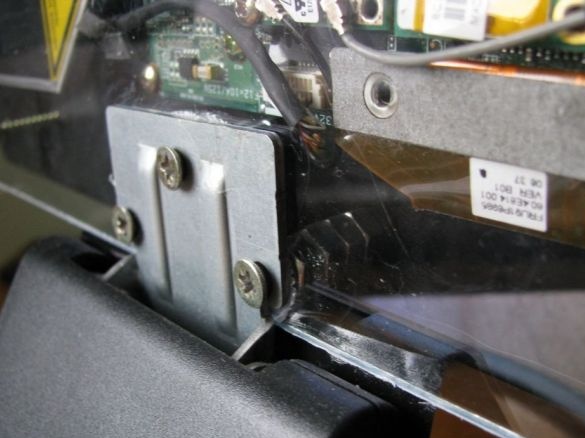
The author acquired Plexiglas 2 mm thick. A sheet of plexiglass was cut so that the resulting piece turned out to be the size of a monitor. It was also fixed with screws to the plastic case of the monitor, this is clearly seen in the photographs.
Another important nuance is that it is necessary to leave a gap between plexiglass and the system board. This is necessary so that the air circulates freely inside the structure and the computer boards do not overheat. To create a gap, plastic parts were used.
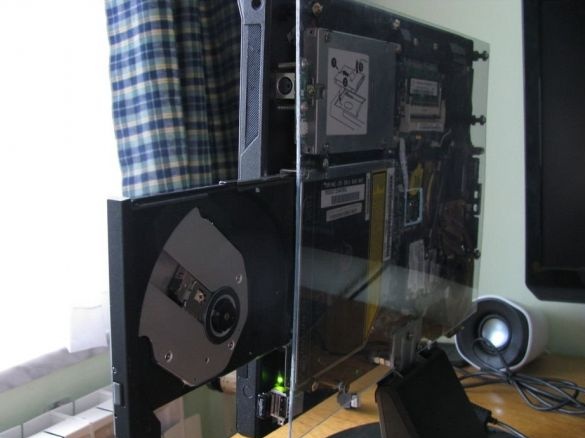
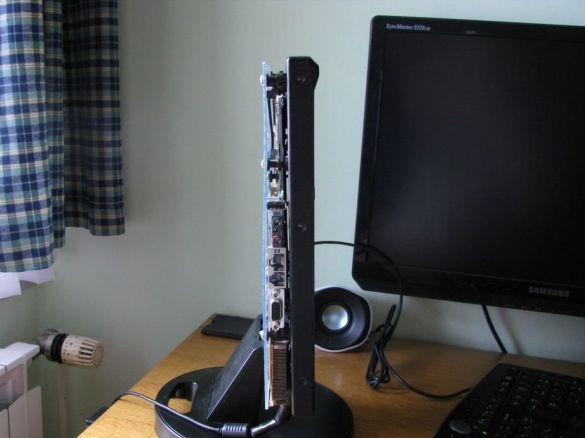
The result was a monitor, on the back wall of which the computer filling is fixed. The author installed a kind of candy bar on a stand from a Samsung monitor. The support was also fixed with screws to a sheet of plexiglass.
In the future, the author plans to make some improvements and modernization of the monoblock.
Development and installation of a button system for turning on and off a computer. Initially, this was prevented by the features of the circuit of this Lenovo laptop model, so the author chose to postpone the solution to the problem until later. Naturally, the computer can be turned on and off, but this is done using the keyboard.
For a more pleasant appearance, you can make the backlight around the perimeter of the plexiglass, but for this the author needs more knowledge in electronics and practice soldering skills. Other work on the design and stylization of the monoblock design is also planned.

