Materials
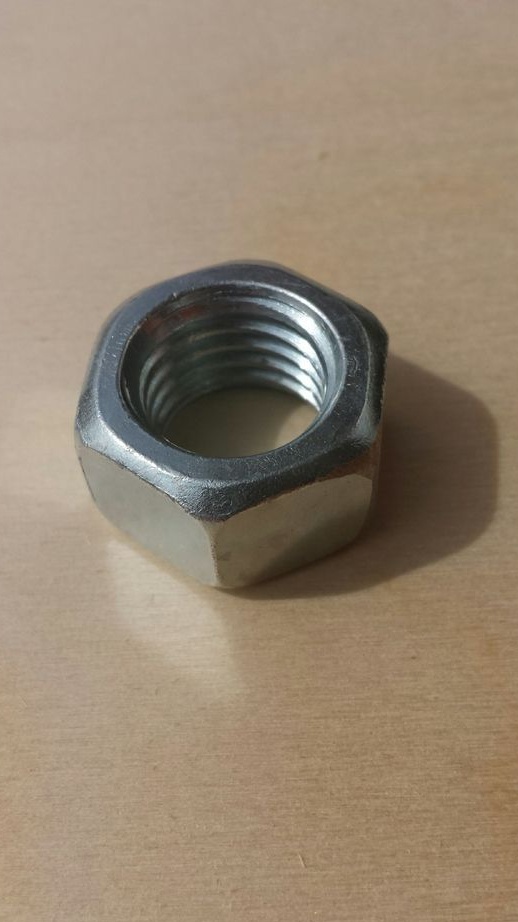
1. Nut to fit your finger
2. Bulgarian
3. Drill
4. Sandpaper grit from 220 to 600
5. Masking tape
6. File
7. Knife
8. The author used the power supply on 12V
9. Saline solution
10. Cotton buds
11. Varnish
12. Vise
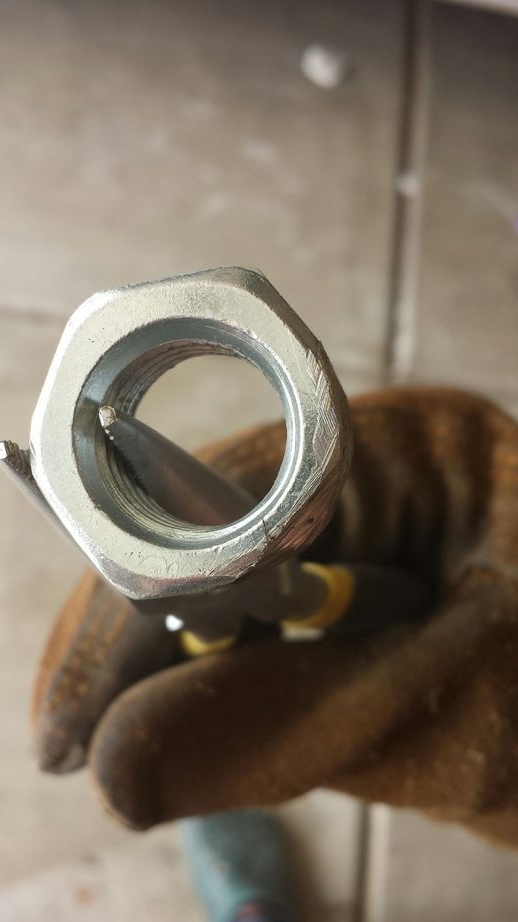
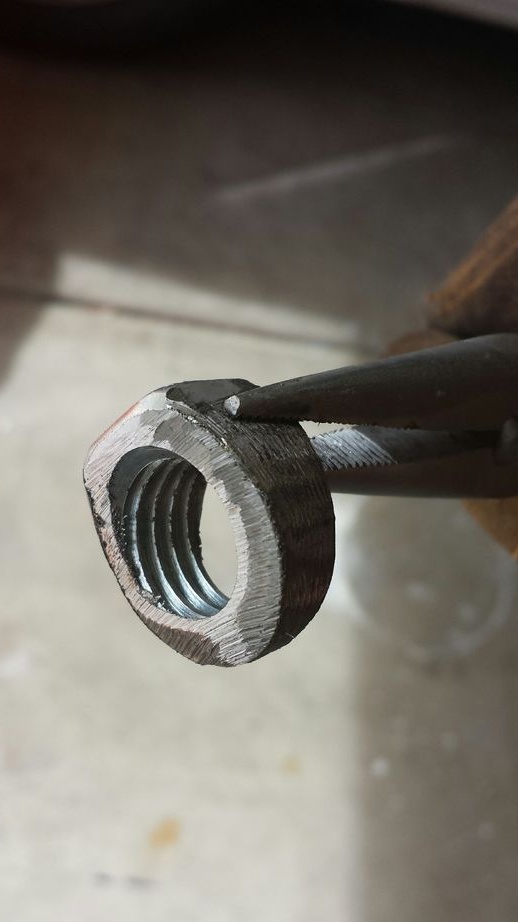
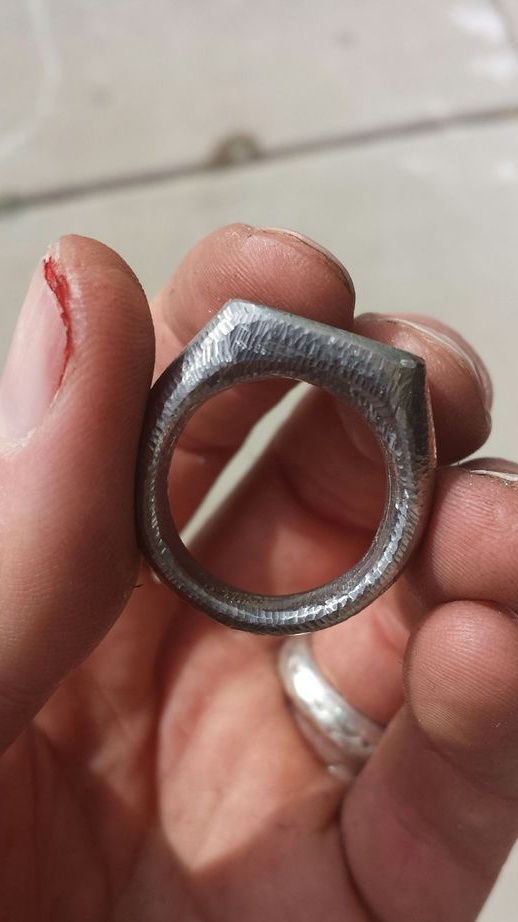
Step 1. Rounding:
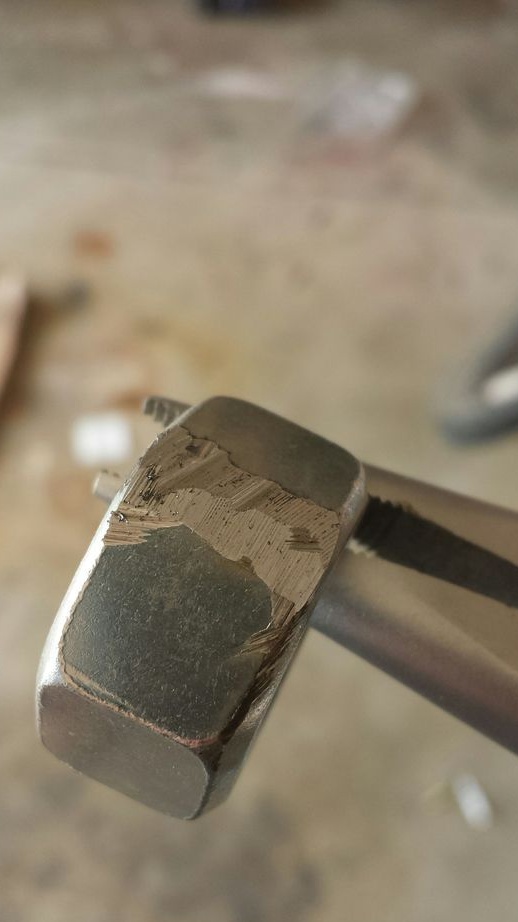
The author of the grinder rounds the corners of the nut, holding it in a vise. You need to do this carefully, evenly grinding the corners so that the ring is symmetrical. He deliberately did not round one side of the nut in order to make a seal out of it.
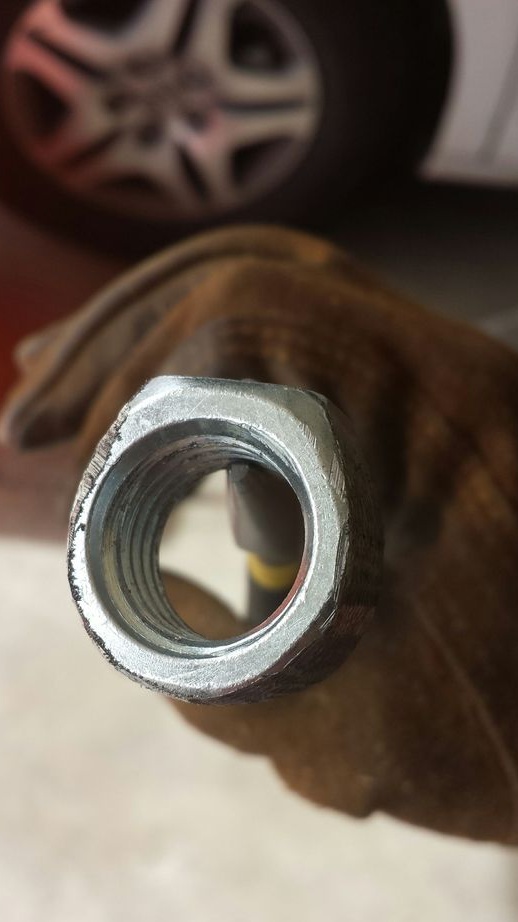
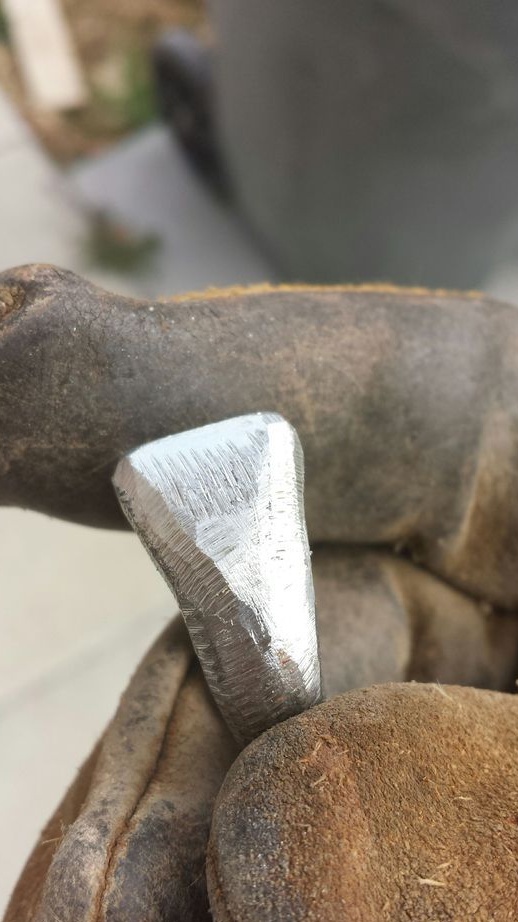
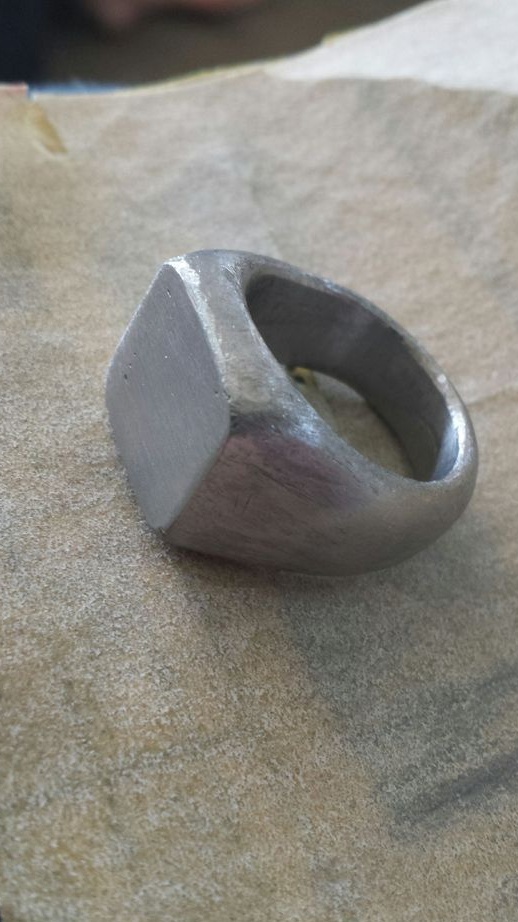
Step 2. We already do:
After rounding, the author begins to make a nut already, in the form of a ring. Stitches off the sides of the ring like a tubercle. From the middle there is a narrowing to the edge. Cuts metal carefully and evenly. Now you can customize the workpiece to your taste and make it of any shape.

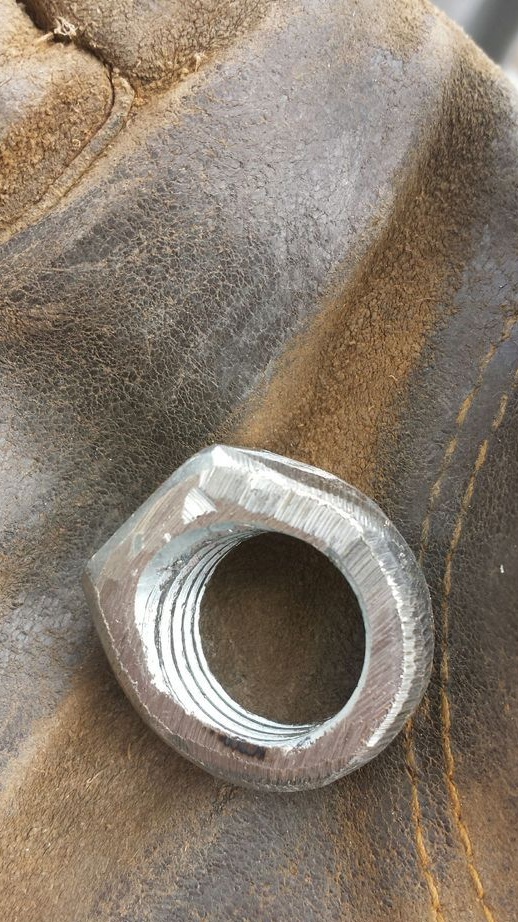
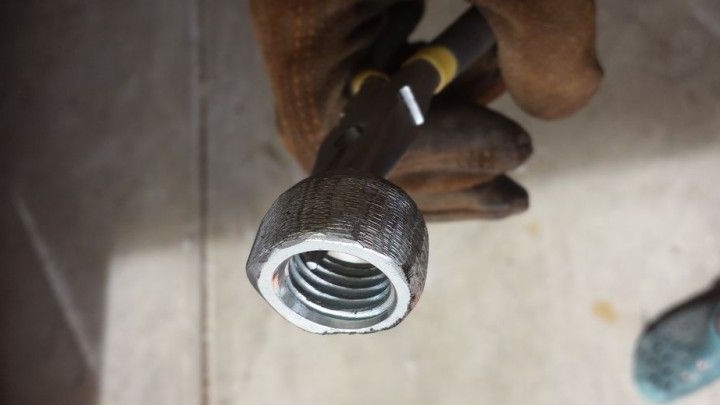
Step 3. Inside:
The next step will be the grinding of the internal thread and a more detailed fit under the finger. To do this, the author used a drill, the process is quite time-consuming and took about 15 minutes. Do not forget to check how comfortable the ring is for you, as this is the last step before grinding.
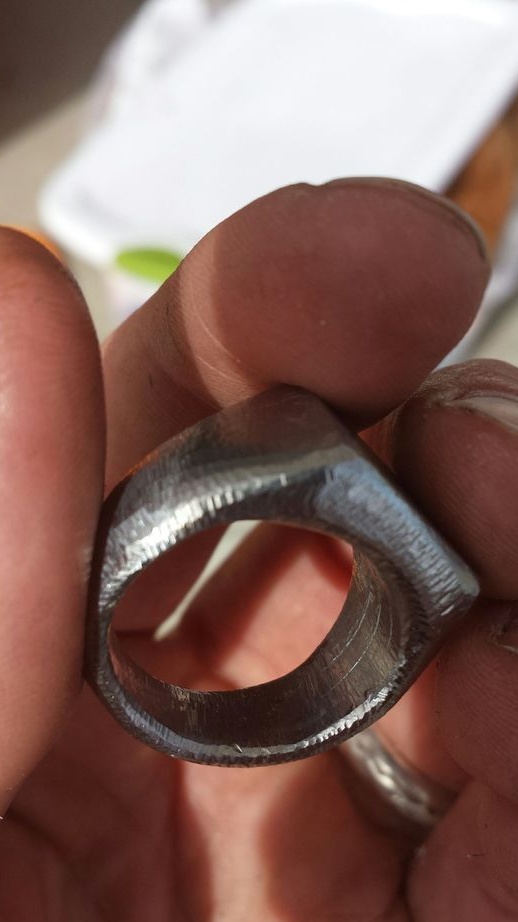
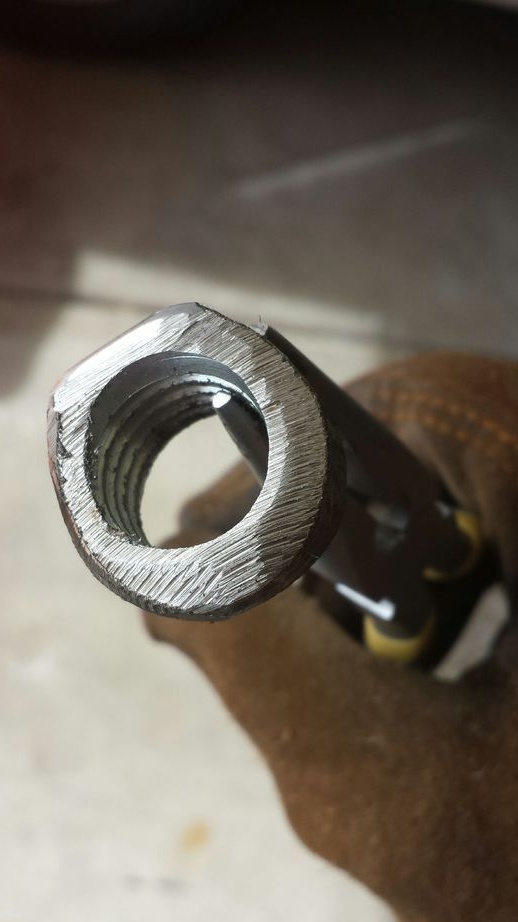
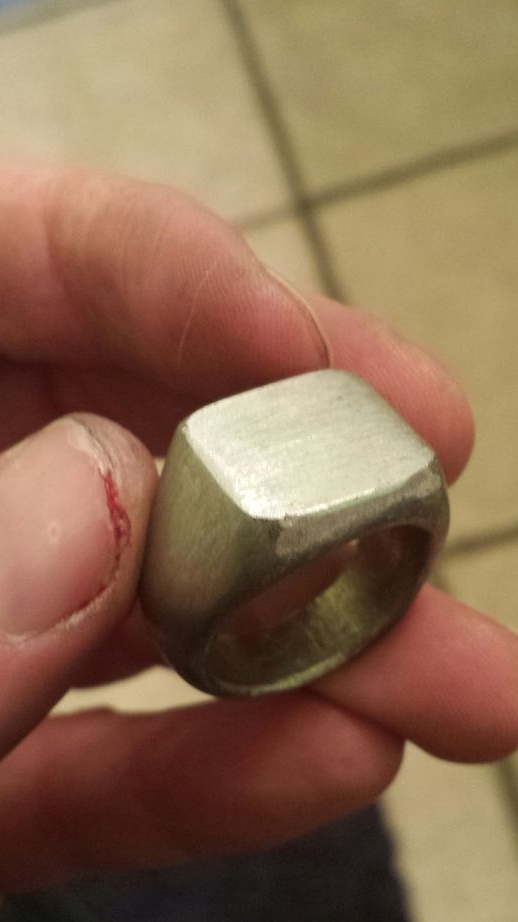
Step 4. Grinding:
First, it smooths the surface of the ring with a file. Then he proceeds to sandpaper, starts at 220 and finishes polishing 600. You can polish to your discretion to shine by increasing the grain size above 600 or polish to a matte surface, as the author did.
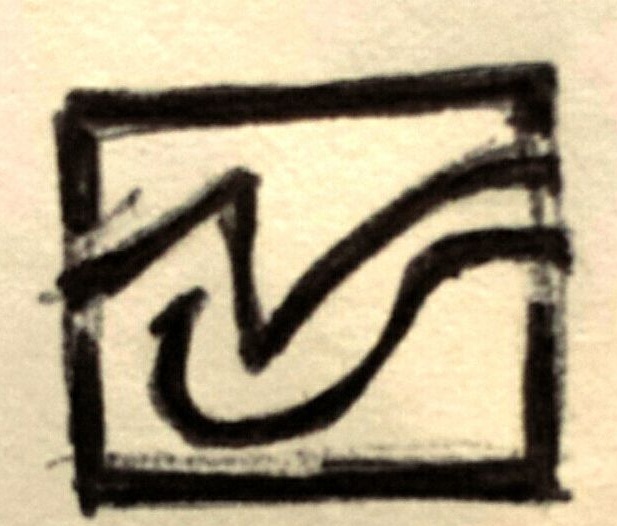
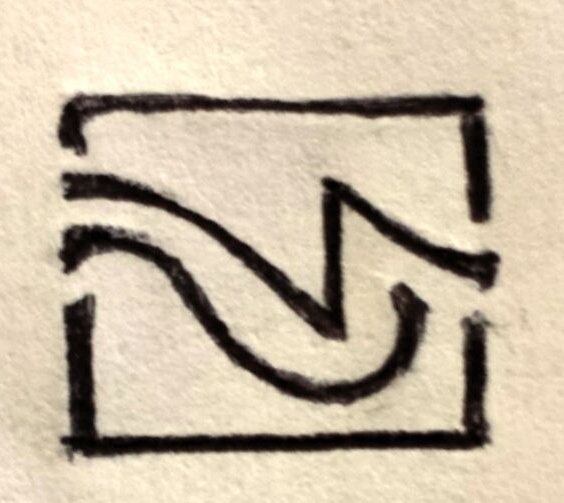
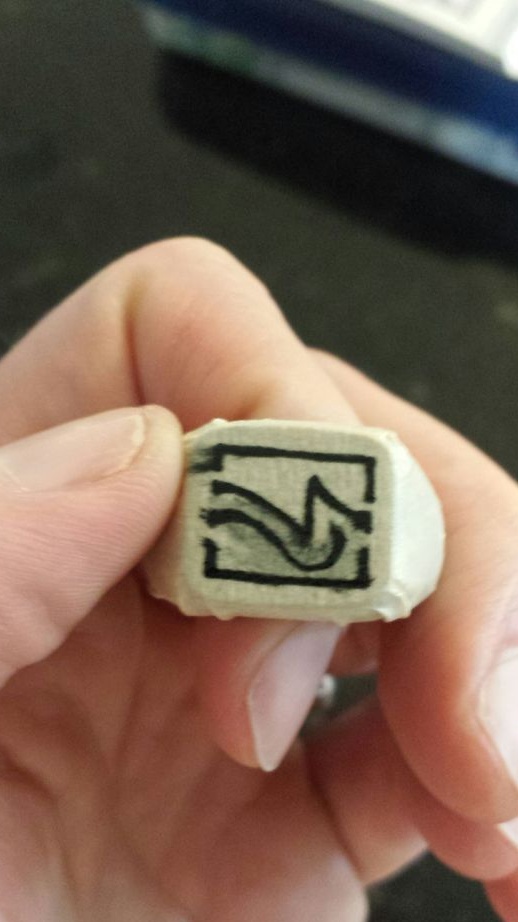
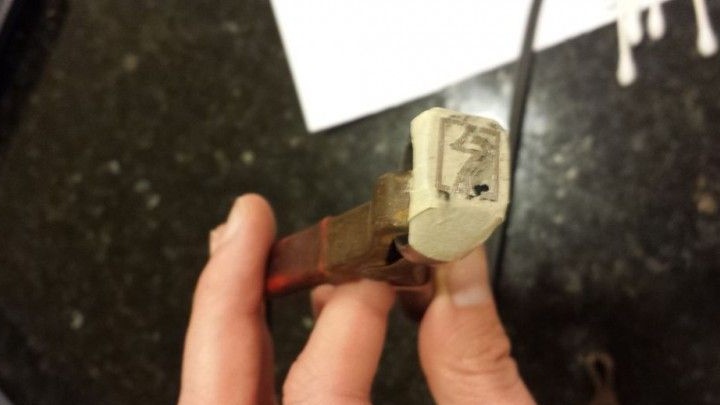
Step 5. Drawing for printing:
The author glued molar tape on the flat side of the ring and drew a marker image. You can either find the drawing on the Internet or come up with it yourself. He depicted his initials. After that, he cut a molar tape with a knife on the marker.
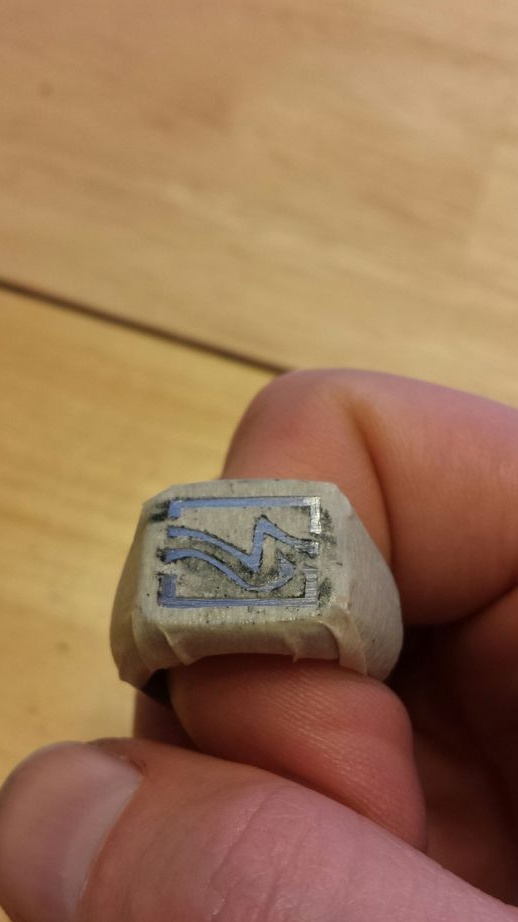
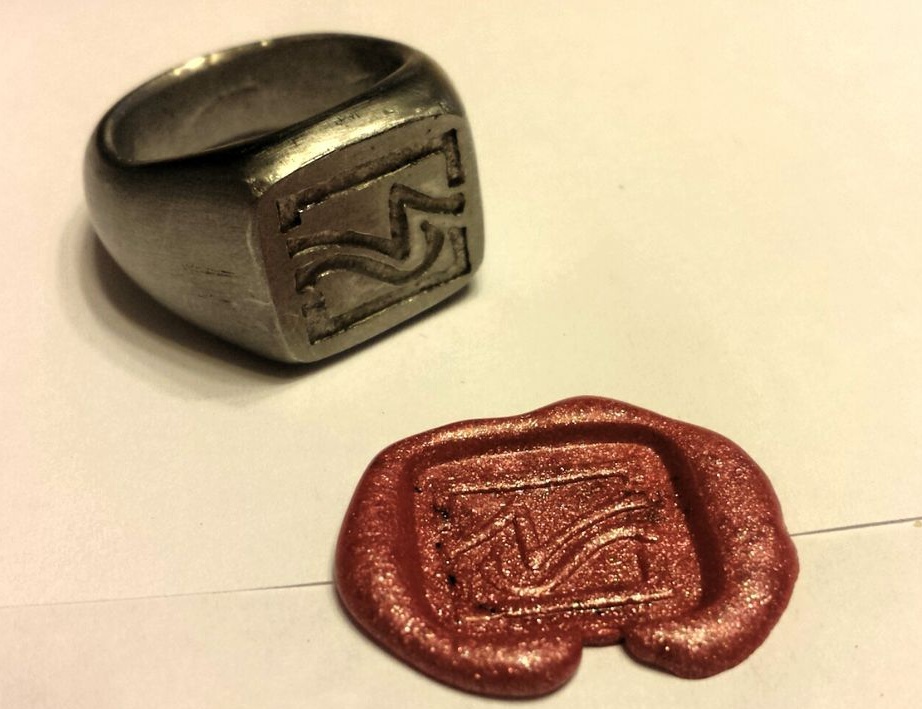
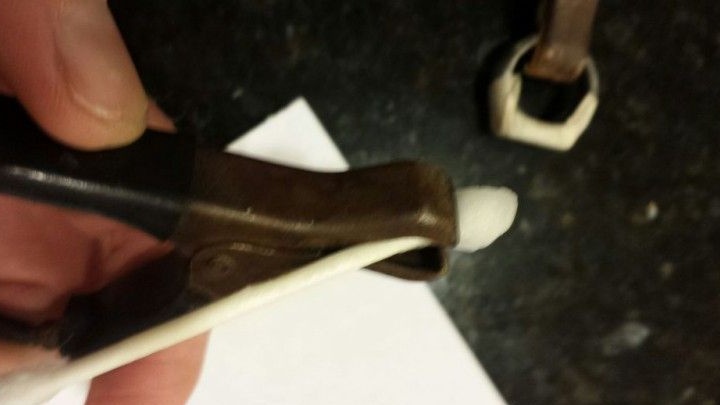
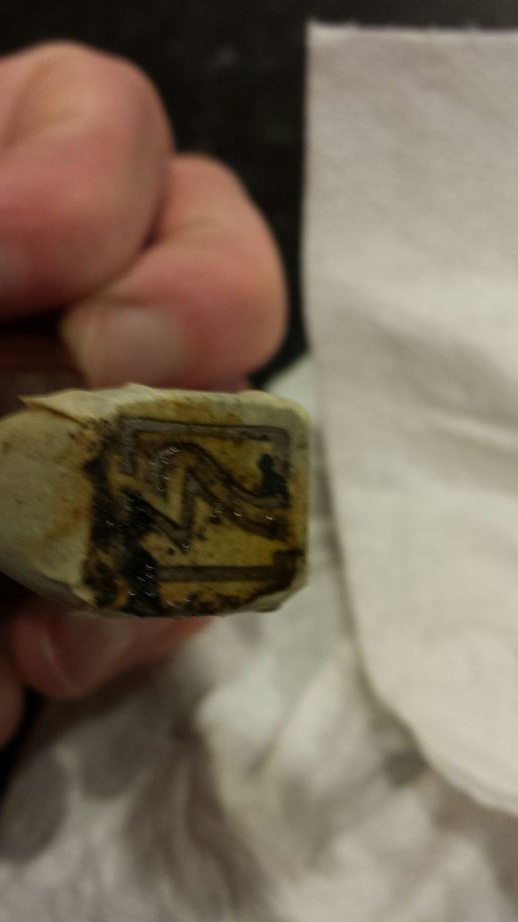
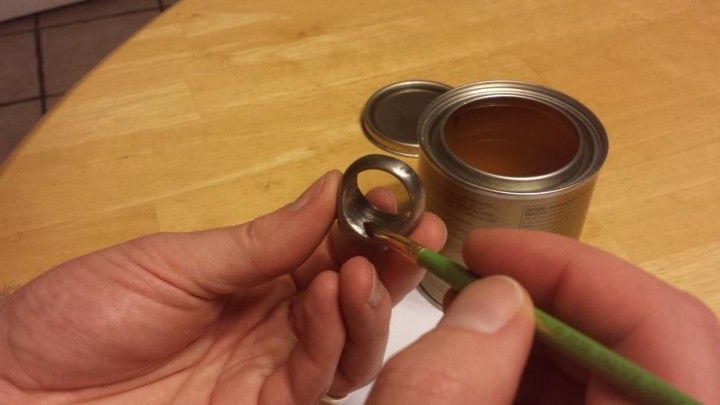
Step 6. Etching the image:
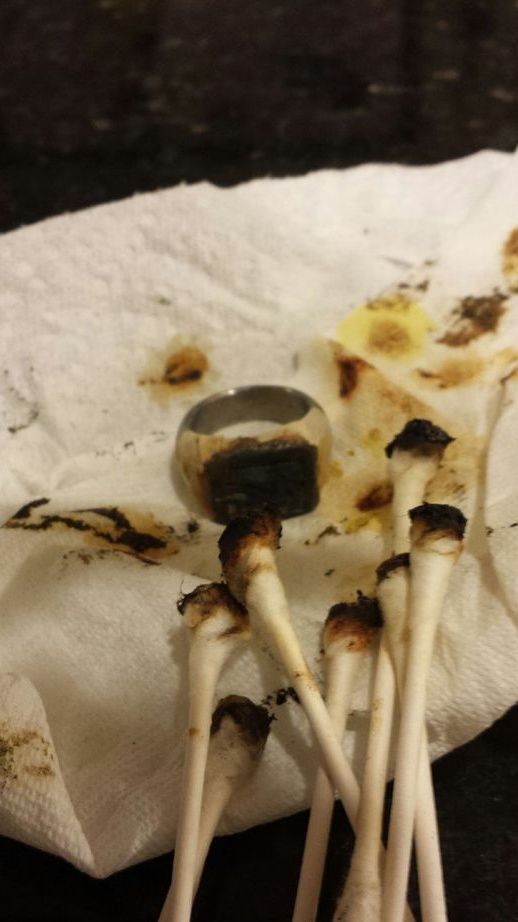
He poisons by electrolysis. A 12v power supply was used as a current supply source. The process took him about 5 minutes. And so he attaches a positive charge to the ring. Wets a cotton swab in saline and attaches a negative charge to wet cotton. The next step is to apply this wet cotton shelf to the drawing, the longer you hold it in one place. Etch the deeper, cotton buds, he periodically changed a total of 7 sticks. This must be done in a well-ventilated area, because the smell is not pleasant. After completion of the etching process, disconnected the wires and tape, washed in water.
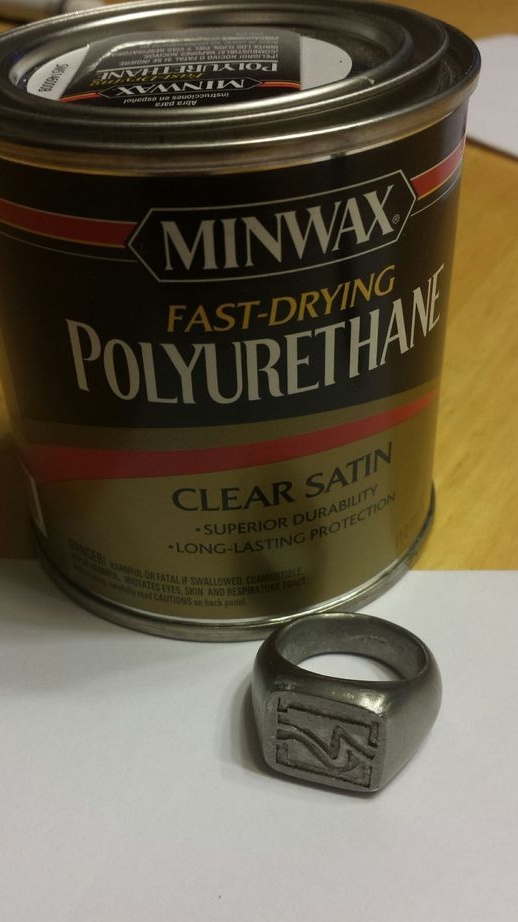
Step 7. Varnishing:
It is necessary to protect the ring from corrosion. For this, the author used colorless varnish.
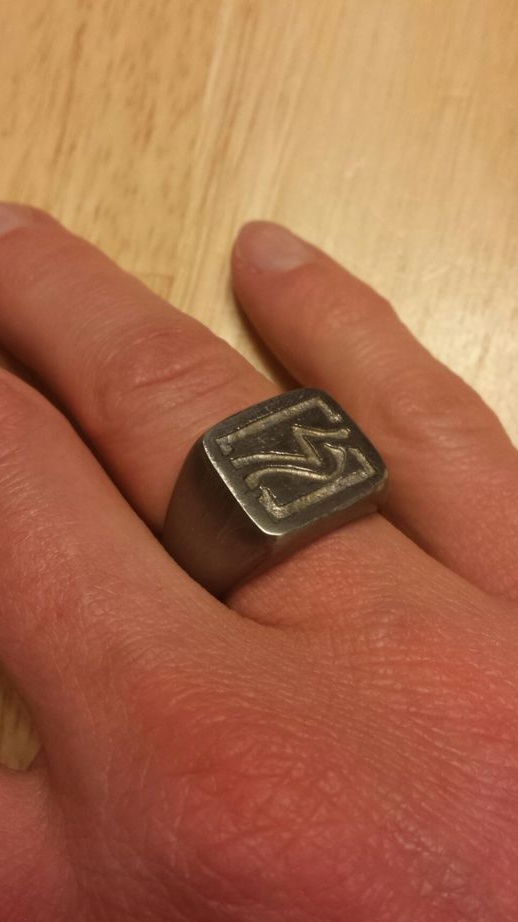
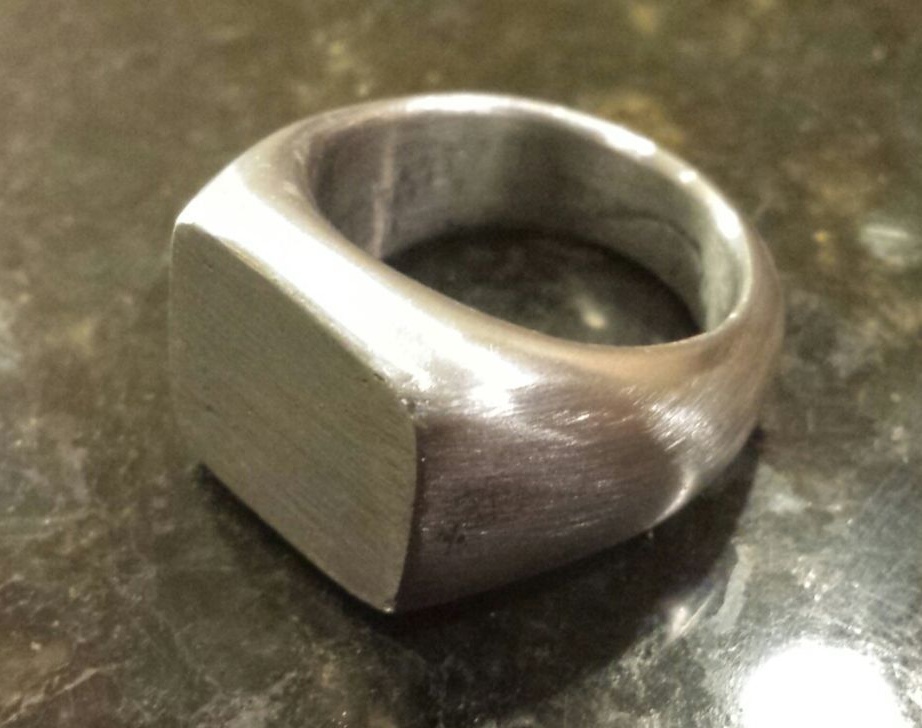
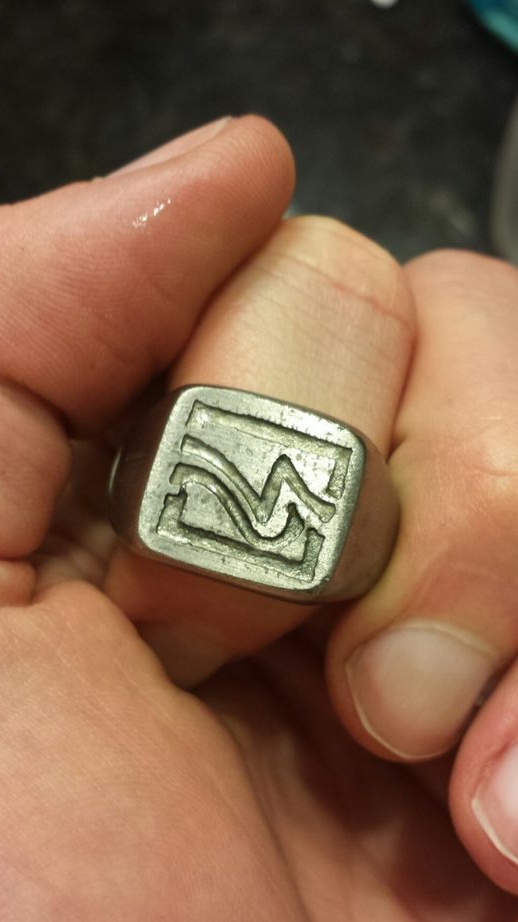
Step 8. The ring is ready:
So he finished his ring-seal made of nuts, it is quite attractive and the seal perfectly performs its functions.