
The device of the potter’s wheel is very simple, our ancestors used 2 circles of different diameters to create this machine, the first was large and was located below and served as a flywheel, set in motion by means of movements of the potter’s legs. The small circle served directly as a working surface, driven by the transmission of torque from the large circle.
Nowadays, everything is much simpler when using electric energy, the work of the master has been much simplified and has become much easier.
Today it is easy to buy a potter’s wheel with an electric motor at an affordable price, but our craftsmen cannot be appeased and they assemble this machine from improvised means. A real potter must make a circle with his own hands.
Here is a living example of the wit of our people will be described in this article, namely, how the author made a potter's wheel from an old drill and bucket. Interesting? Then read on, but first you should familiarize yourself with the list of tools and materials necessary to create a pottery wheel.
Materials
1) paint bucket
2) drill
3) pedal from the sewing machine
4) tray
5) steel plate
6) wires
7) bolt
8) nut
9) sealant
Instruments
1) drill
2) pliers
3) screwdriver
4) knife
5) wrenches
6) hammer
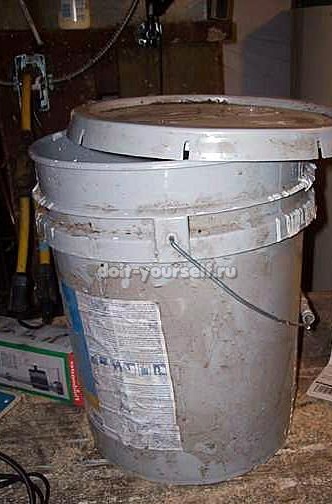
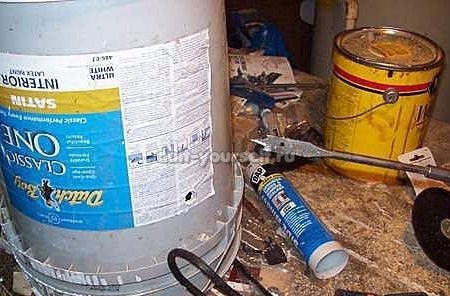
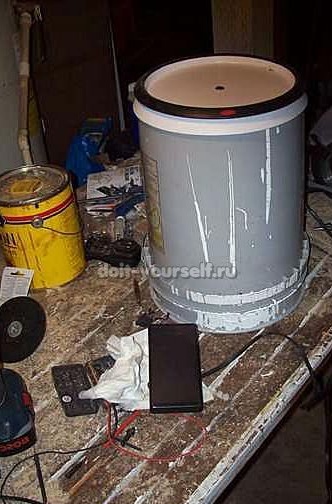
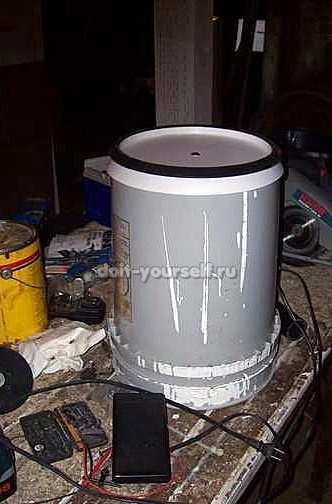
And so, first, the author prepared an old bucket of paint.
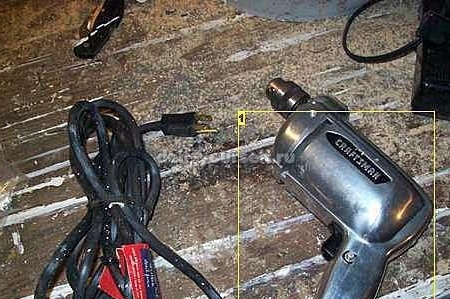
An old drill.
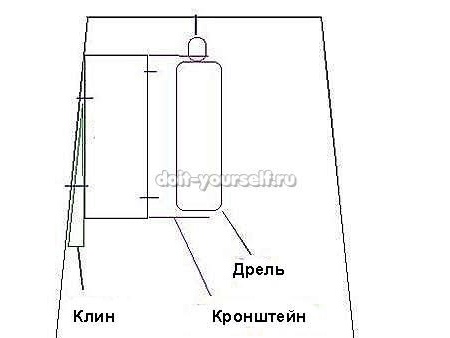
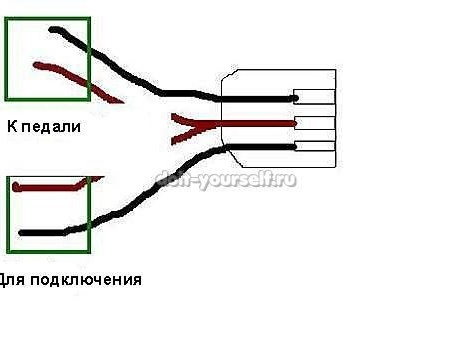
For his followers, the master sketched a simple little sketch.
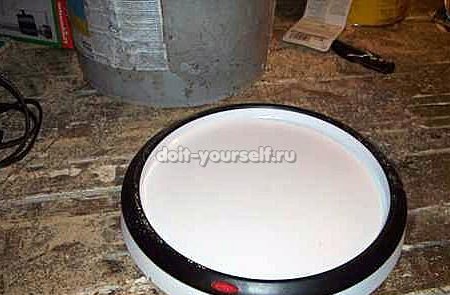
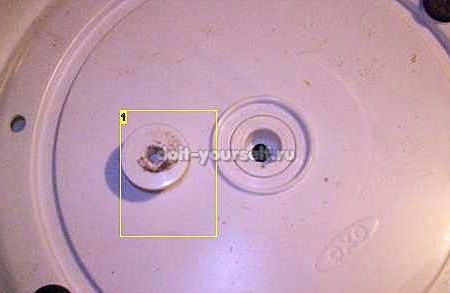
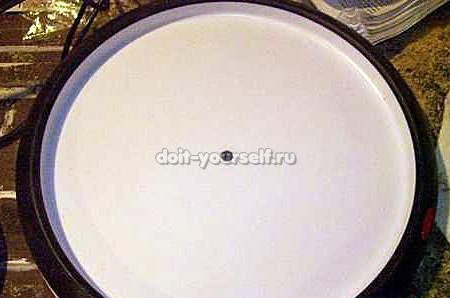
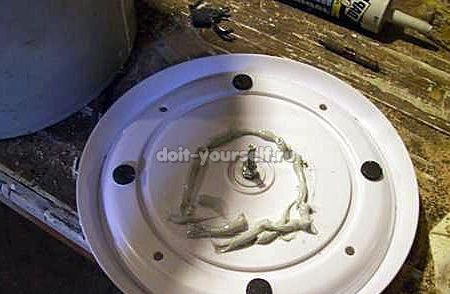
Taking here such a round tray made of plastic.
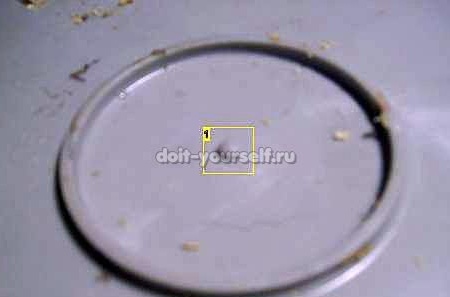
Drills a hole strictly in the center, otherwise nothing will come of it.
Everything is checked several times from all sides.
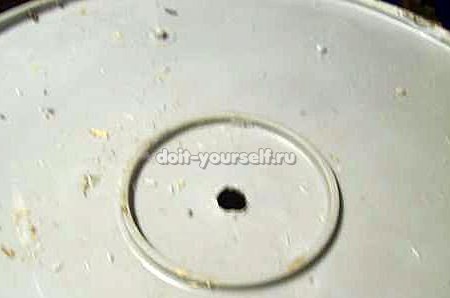
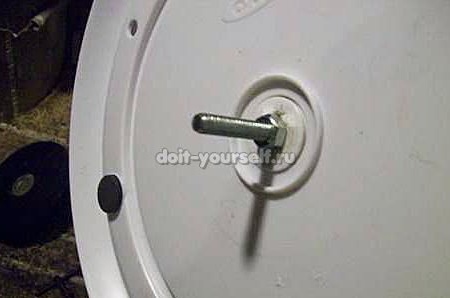
In the resulting hole.
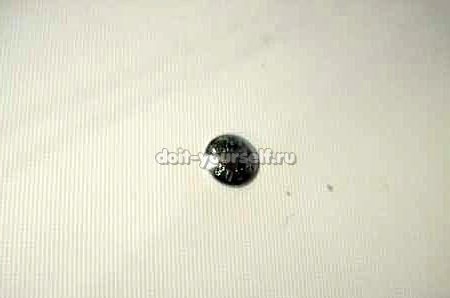
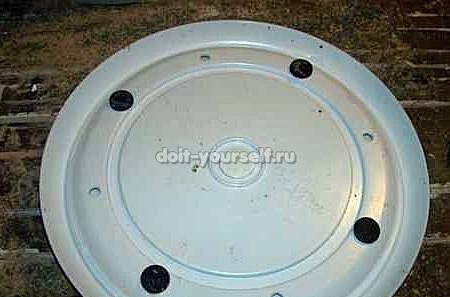
A nut is screwed on the reverse side, and preferably two for fidelity.
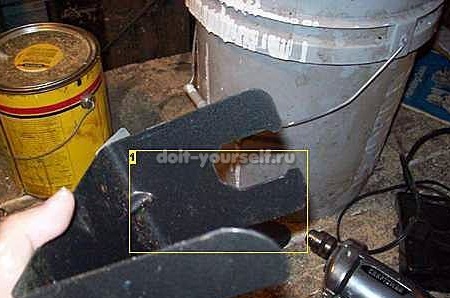
Then comes the preparation of the base and attachment of the drill inside the bucket, for this the author used this bracket.
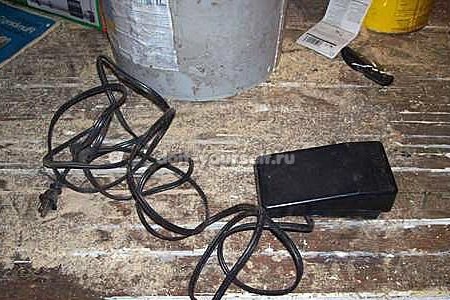
Parses the plug.
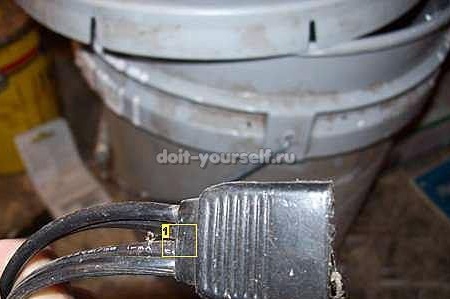
And connects according to the scheme.
The junction is well insulated.
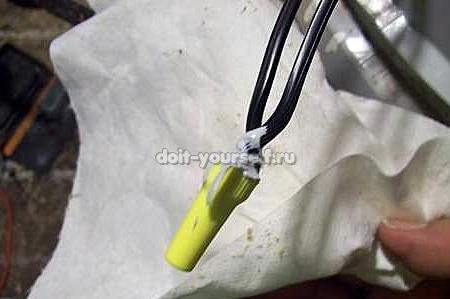
For reliability, it is better to coat with sealant.
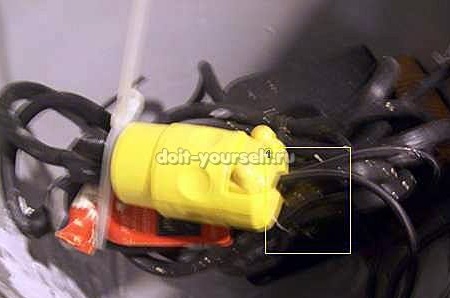
And once again passes all the joints and seams with silicone sealant.
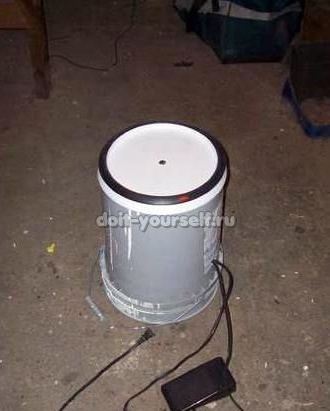
How dry everything can be tested.
According to the author, to familiarize himself with pottery, this machine is very good, but still has a number of drawbacks, the drill heats up during prolonged use, the pedal requires a little tweaking in terms of speed limits, and the author suggests slipping a sliver as a limiter.
And the rest is noteworthy apparatus.