

But first, let's figure out what it is and why it is needed. In fact, its name tells us its purpose. It is formed from the Latin word curvus, which means curved or wavy. That is, a curvimeter is a wheel or roller distance meter. Two types of curvimeters are distinguished: small (cartographic), which are usually used for measurements on the map, and large (road), which are usually used to measure the length of curved sections of already highways. They can be used wherever it is inconvenient or impossible to measure with standard roulette, therefore the project promises to be interesting.
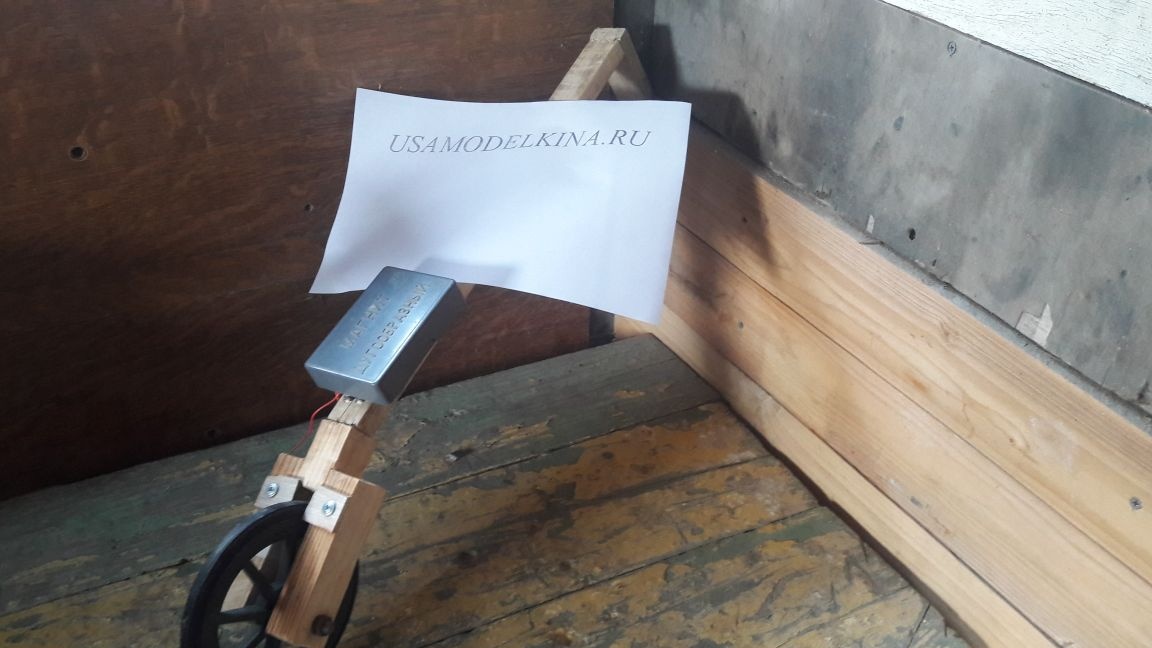
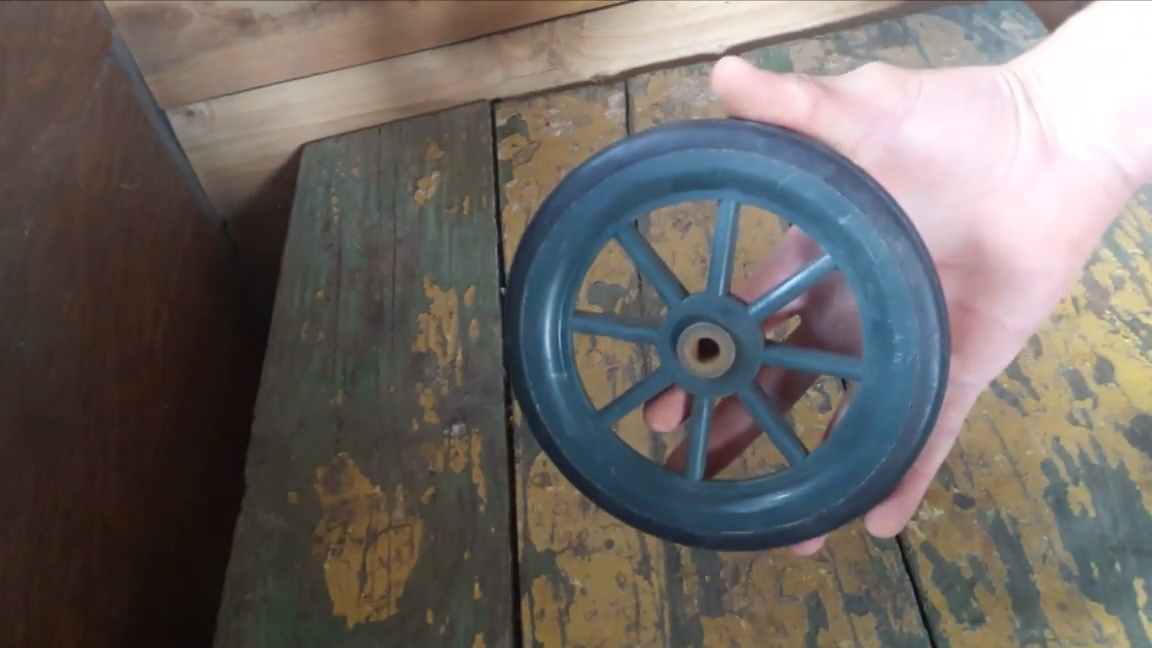
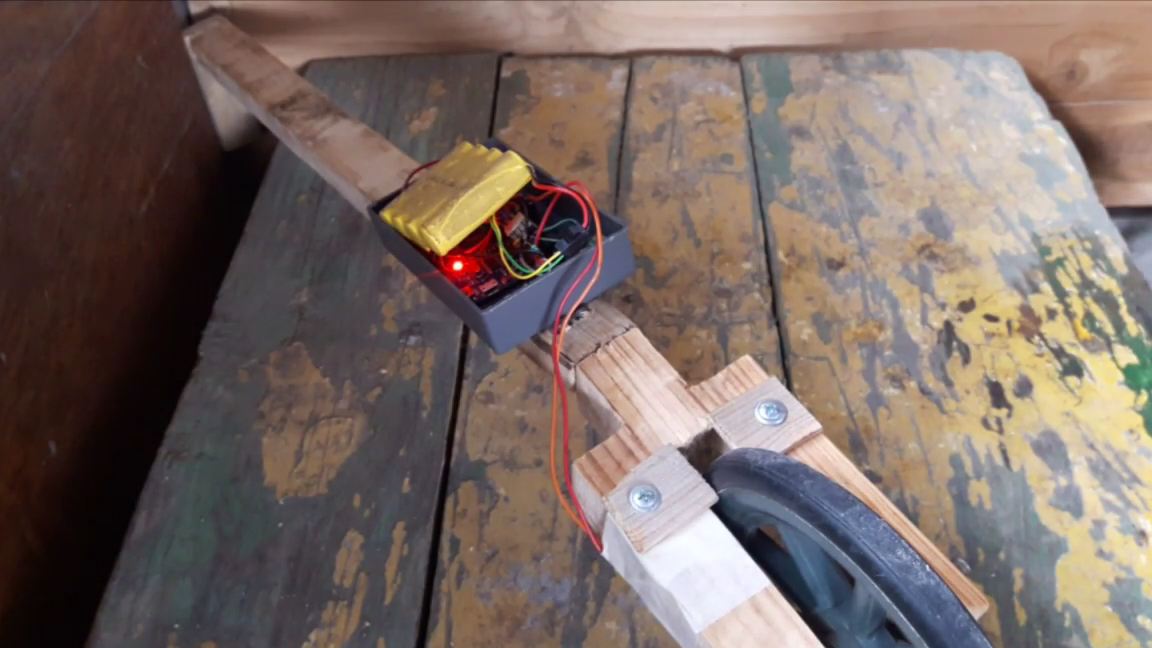
The first thing to take care of when building the curvimeter is a wheel or roller. It must be small enough so that the accuracy of the instrument is high, at the same time it must be large enough so that the value of the readings is not greatly affected by the unevenness of the measured surface. In my case, the wheel has a diameter of 14 centimeters.
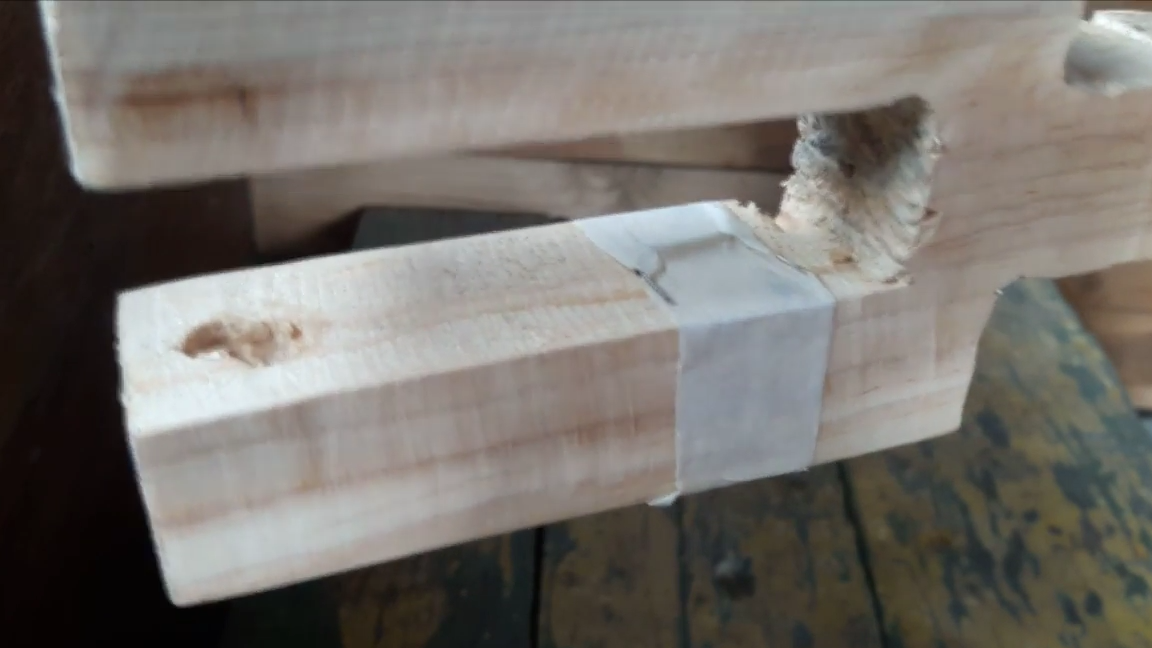
Now you need to determine the material and size of the structure. I used a tree.
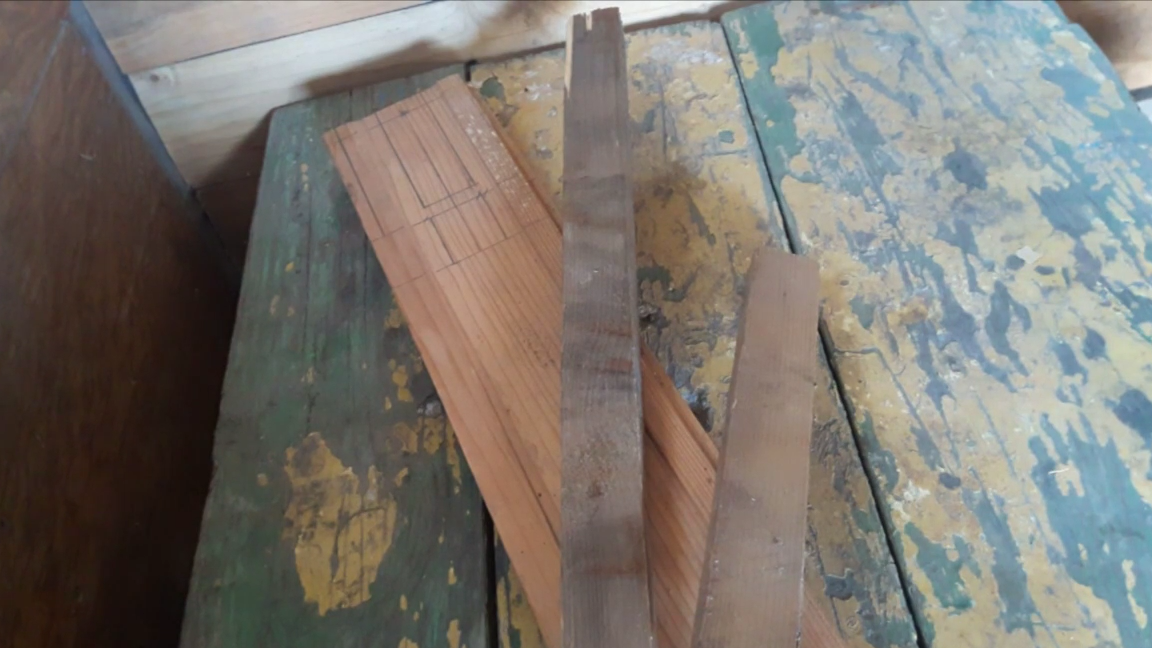
On the bars I made a marking and made the necessary cuts and holes.
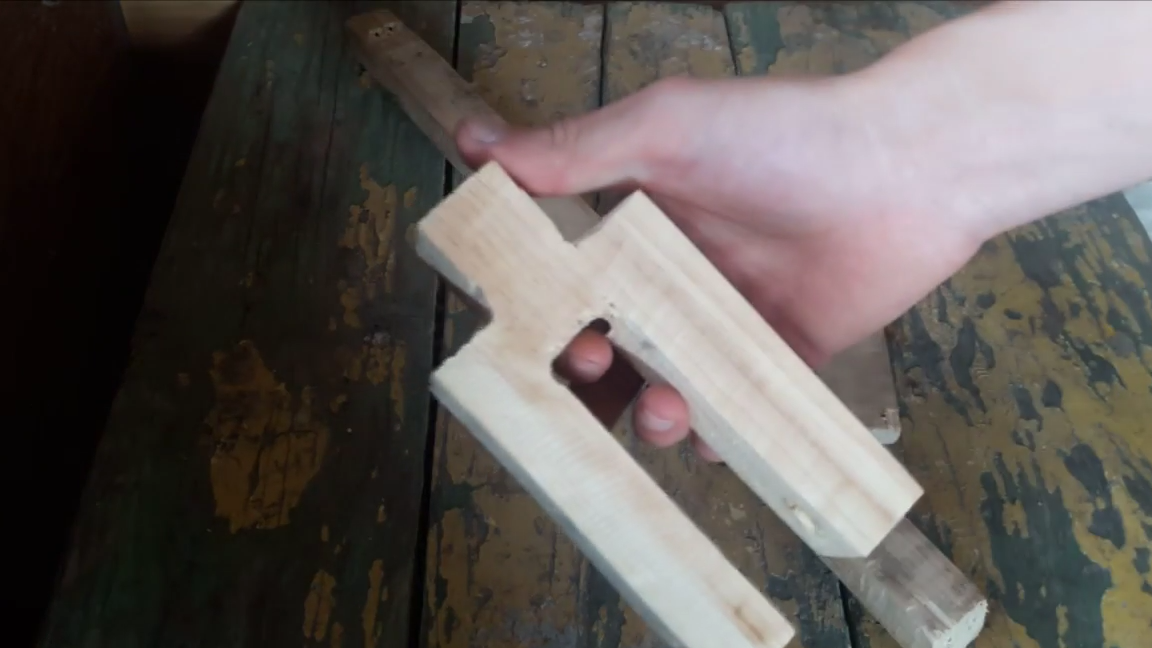
Then I assembled the machined parts using small self-tapping screws.
Now let's digress a bit from the curvimeter itself and think about how this thing can even determine the distance? Everything is pretty simple. We just need to calculate the number of revolutions of the wheel and multiply by the length of its outer circumference, and it’s even easier to add a length value each time the wheel makes another revolution.
To count each revolution in the simplest case, you can use the "sliding contact". However, I do not recommend using such a reference mechanism. It is much better to use a reed switch or a Hall sensor.
It's time to try on a wheel. I will fasten it with a long bolt. We find a place on the frame where the wheel rim is as close to it as possible and mark with strokes. Around this area, we must install the reed switch.
On the wheel you need to install a small magnet.Make sure that his strength will be enough to close the contacts of the reed switch.
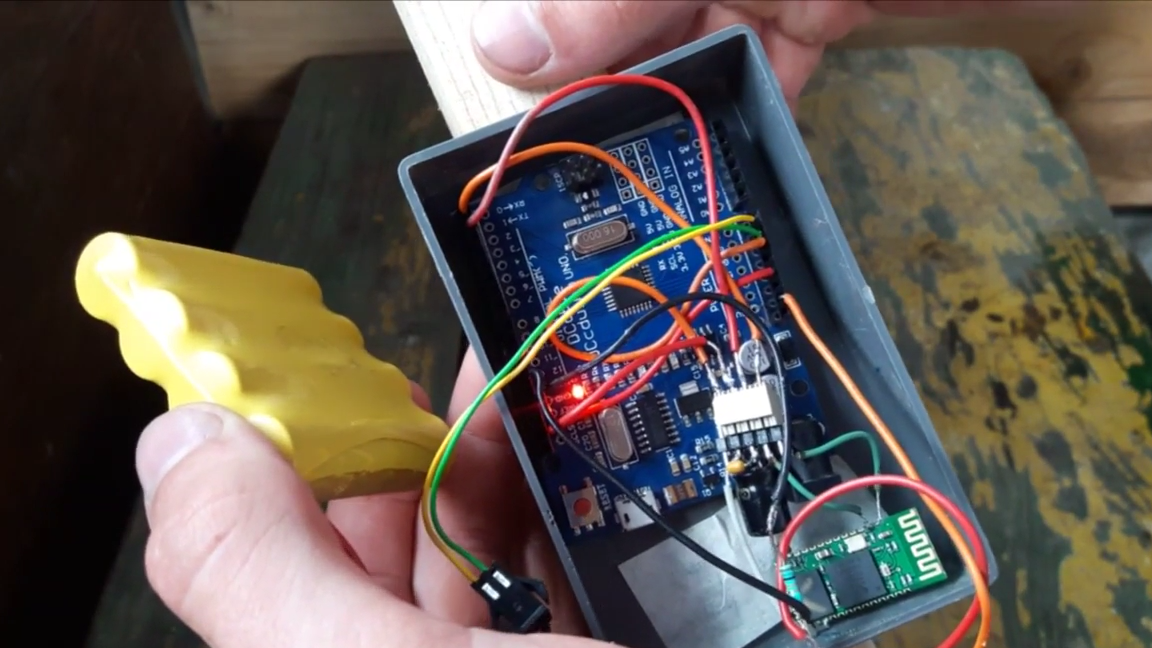
Now we will be engaged in "brains" of system. In my case, this is a fee Arduino UNO. It will read the status of the reed switch and transmit data via Bluetooth connection, using the HC-05 module, to the phone. By the way, the reed switch is connected to the board like a regular button. I think there should not be any problems with connecting the Bluetooth module.
As for the code itself, it is very simple. And I tried to comment on it so that everything was as clear as possible.
int gercon = 12; // connected the reed switch to 12 pin
double distance = 0; // created a double variable to store the distance
void setup () {
   Serial.begin (9600); // connected a serial connection
 }
  void loop () {
/ * Next is the if loop. If the reed switch is closed, then the next distance calculation takes place. The value 0.46472 is already the calculated length of one revolution of the wheel. To avoid "extra" data, add a delay of 200 milliseconds and display the readings
* /
   if (digitalRead (gercon) == HIGH)
   {
 distance = distance + 0.46472;
 delay (200);
 Serial.println (distance);
}
} 
Here is our curvimeter and ready!
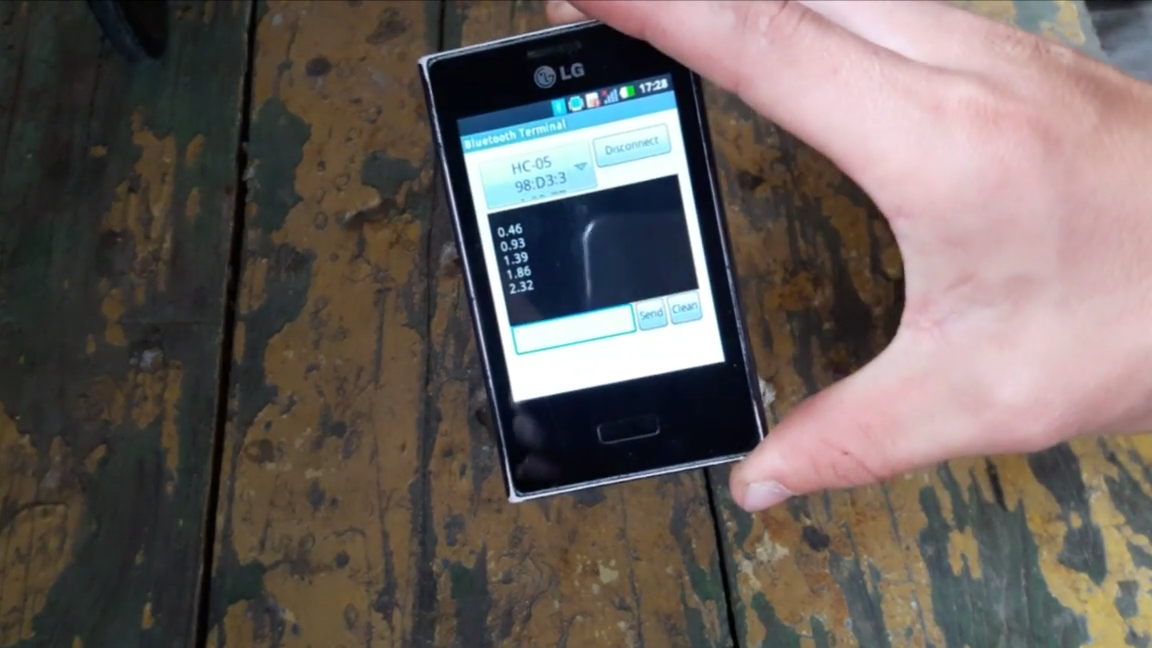
Let's make a couple of test races. Everything works great!
You can watch a video on the assembly of this device, maybe you will find there something interesting.
[media = https: //youtu.be/kx_7ztPsLws]
Have a good repeat of the project!