
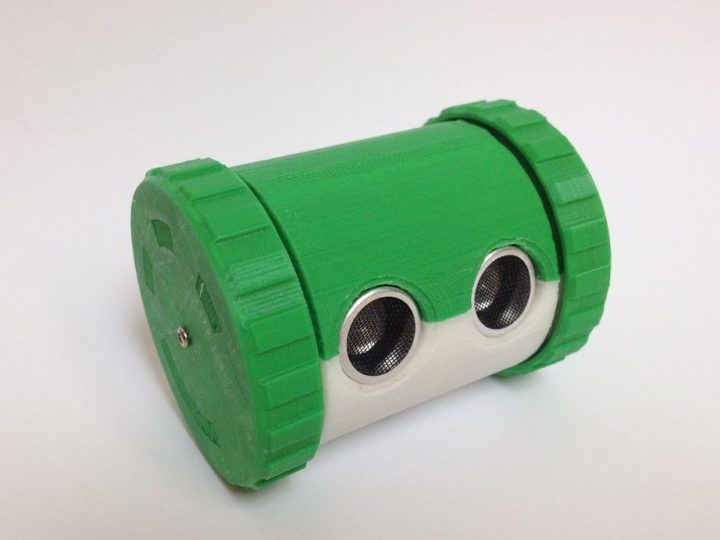
The article will consider an example of creating a legendary robot called "Canbot". The bulk of the details for the robot is printed on a 3D printer. The robot is controlled remotely.
Materials and tools for homemade:
- One Atmel Attiny85 microcontroller;
- two microservices HXT900 or their analogues;
- one 3.7V LiPo battery;
- one infrared receiver at 38kHz;
- ultrasonic transducer type HC-SR04;
- 9x4mm switch or jumper instead;
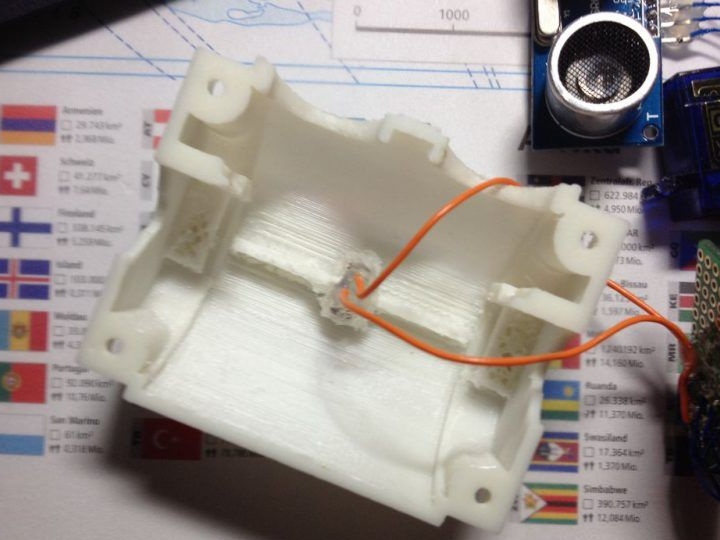
- 3D parts (possible). It will take one top (top.stl), one bottom (bottom.stl) and two wheels (wheel.stl).
Of course, soldering tools, hot glue, screwdrivers, screws, wires and other little things will be needed.
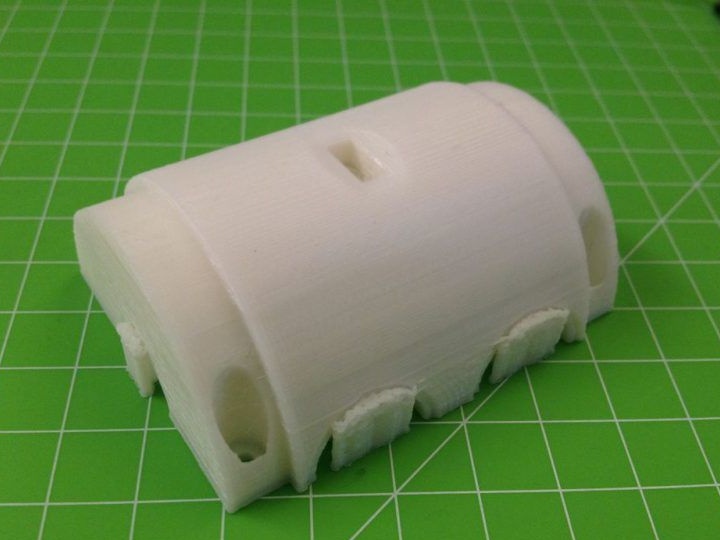

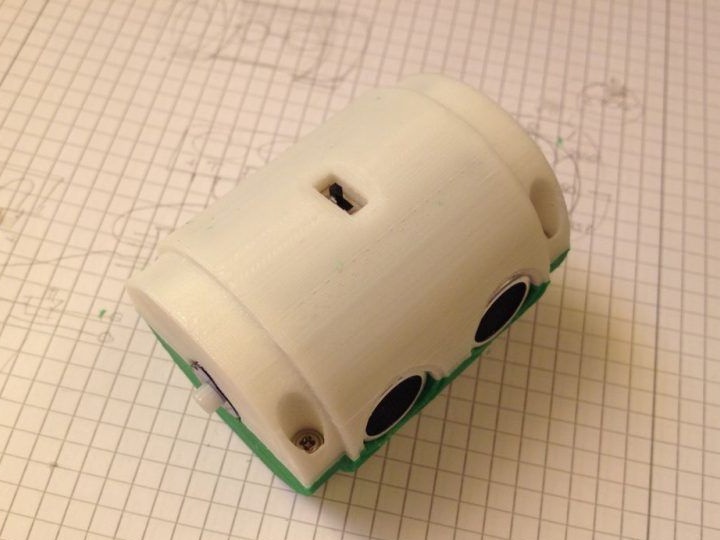
The top and bottom parts will need to be printed flat side down using the “support structures” option. Depending on what type of printer was used, finished parts may need to be cleaned at the end.
The manufacturing process of the robot:
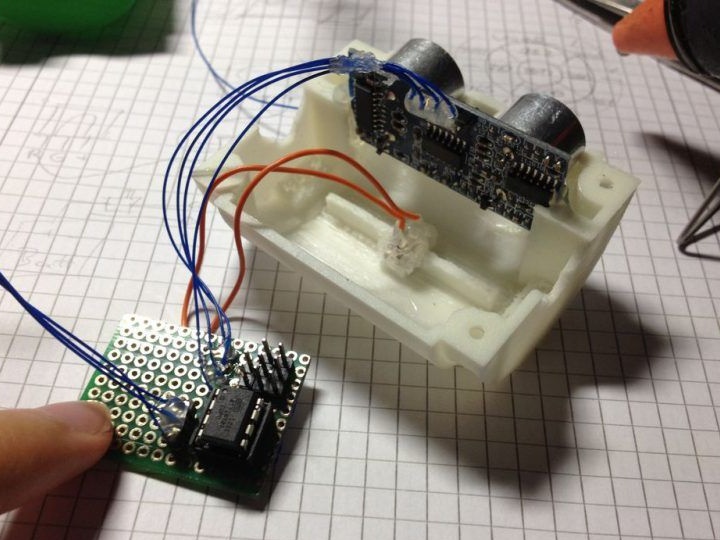
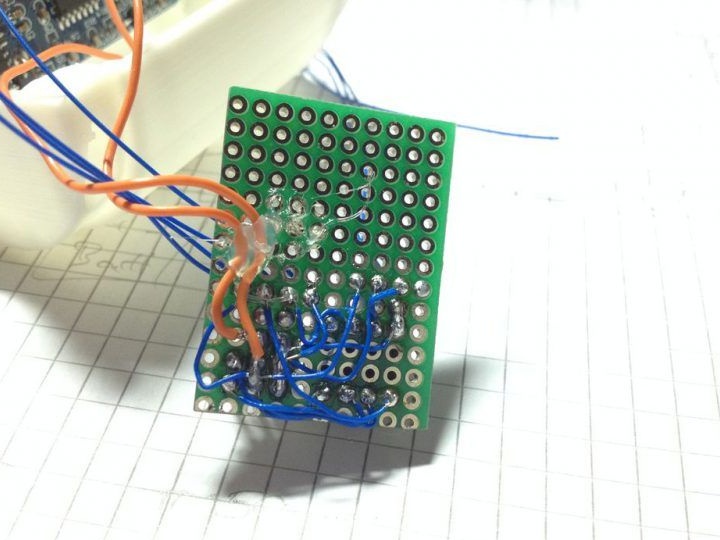
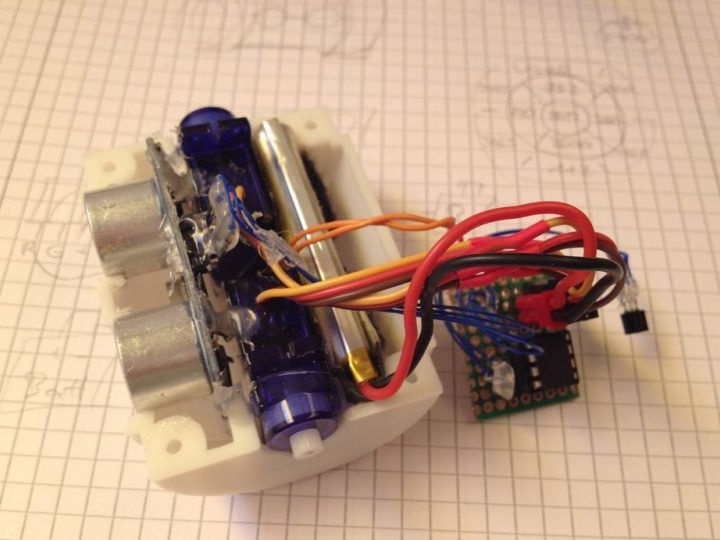
Step one. Electronic part of the robot
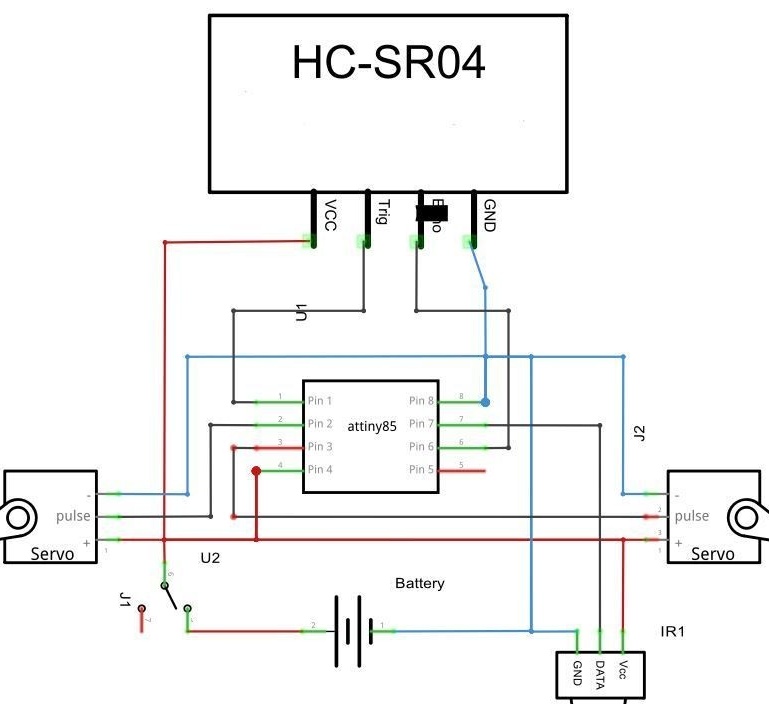
First you need to configure the servos, they need to be converted to continuous rotation. How to do this, there are tons of instructions on the Internet. Well, then all electronic elements will need to be assembled as indicated in the diagram. To assemble the electronic part was convenient, you can take a small piece of a breadboard, as well as thin wires.
Step Two The software part of the robot
If you approach the process of creating a robot with the highest professionalism, then the software part can be written independently. But for this you will need to learn a programming language. In a simpler version, you can download ready-made code and simply upload it to the microcontroller.
According to the author, the best robot receives infrared signals from Sony brand remote controls. In the future, it will be necessary to “reflash” the code part Arduino and output the data through the Serial.print () function. As a result, it will be possible to find out what encoding is on each button.

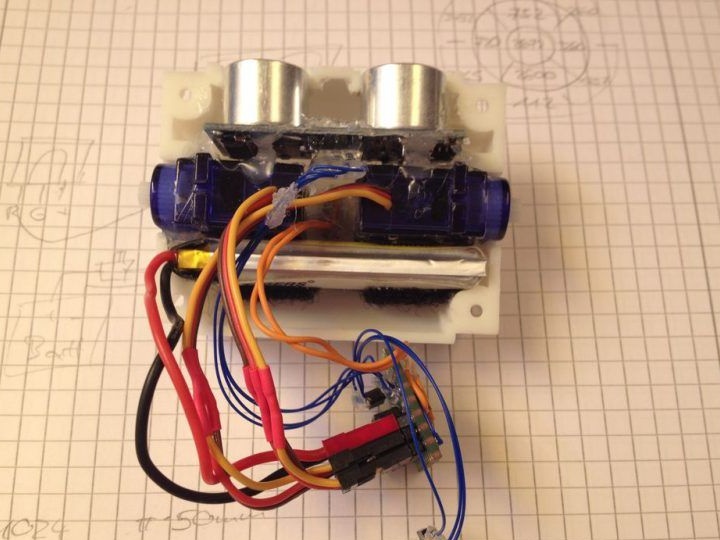
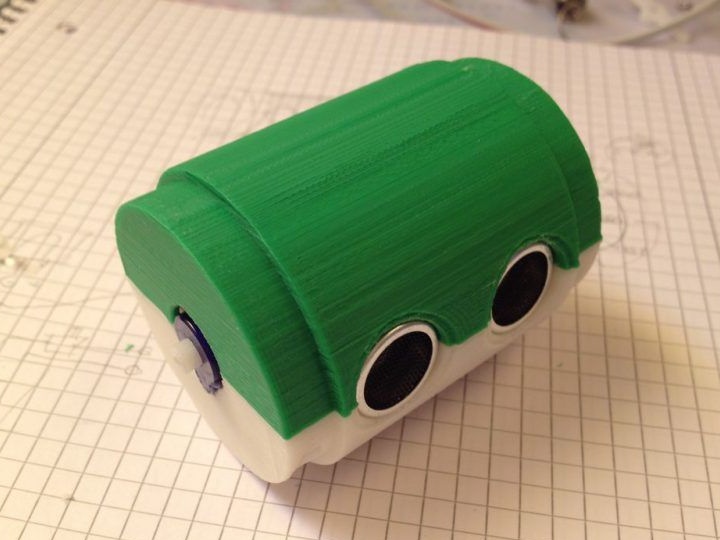
Step Three The final stage. Assemble the robot
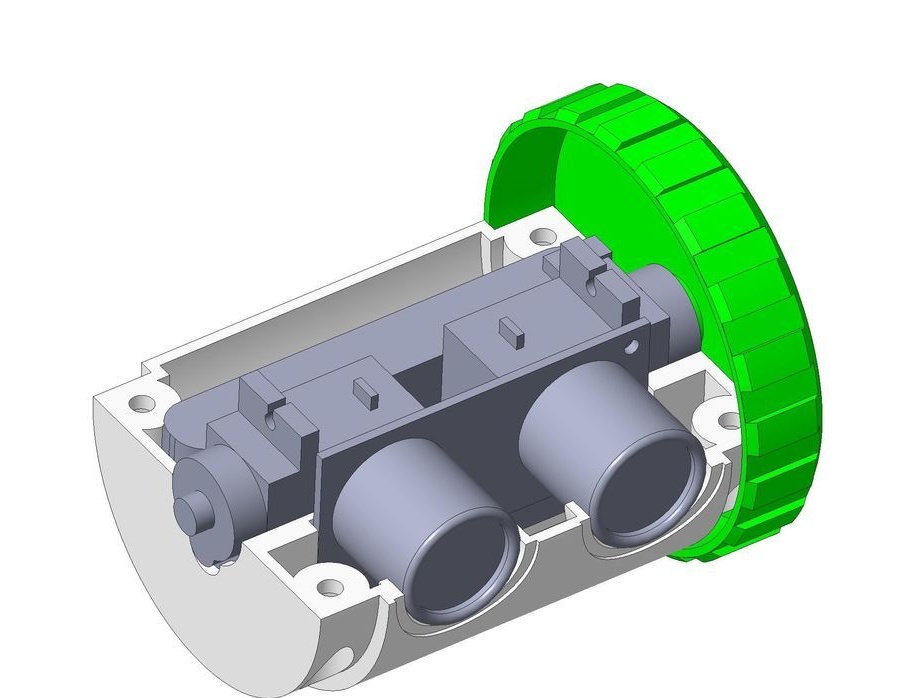
Well, in conclusion, the robot is going. For these purposes, you will need hot glue. With it, you need to fix the wires so that they do not come off when the robot moves.It is also necessary to fix the switch and fix the ultrasonic sensor well. In conclusion, the covers of the robot are connected using four screws, as a result, if necessary, it can be easily disassembled. By the way, screws for servos are perfect for mounting.
That's all, now the robot is almost ready. It remains to install the wheels on the servomotor shafts and you can start testing the robot. You can see in more detail how homemade work on the video.