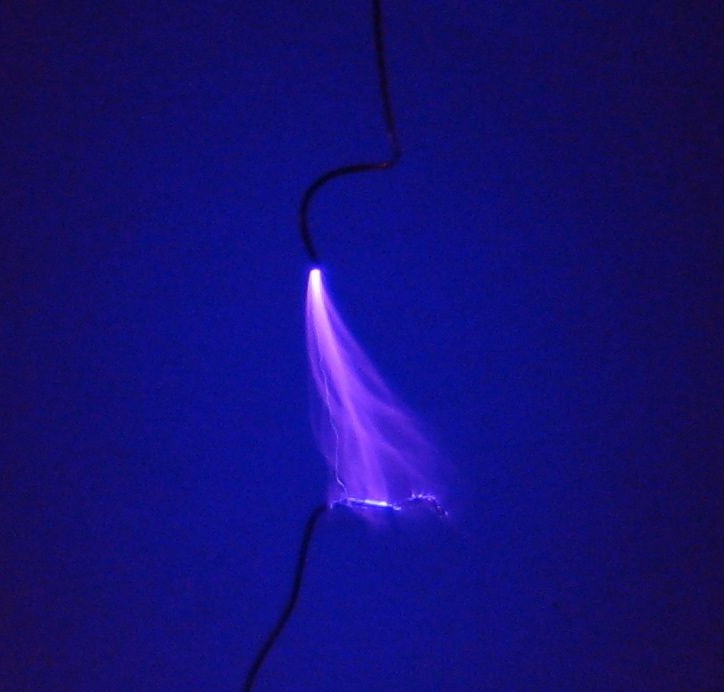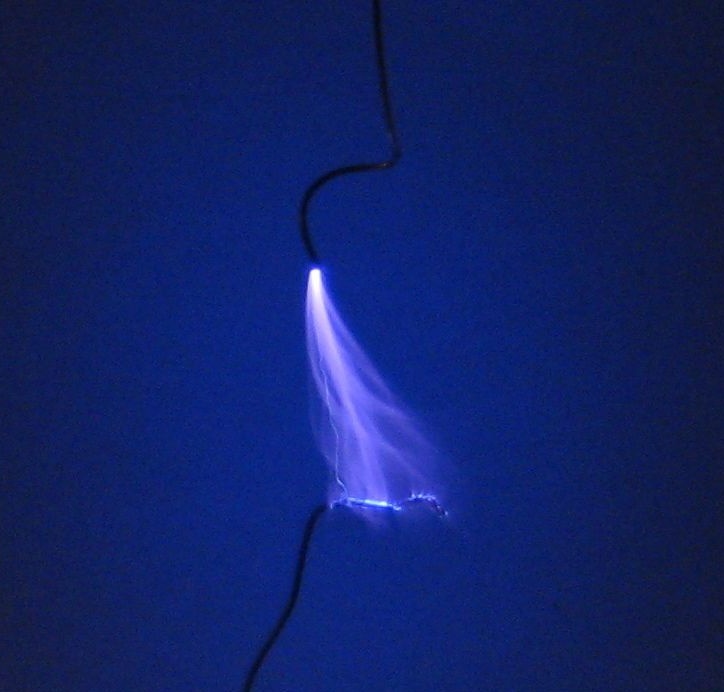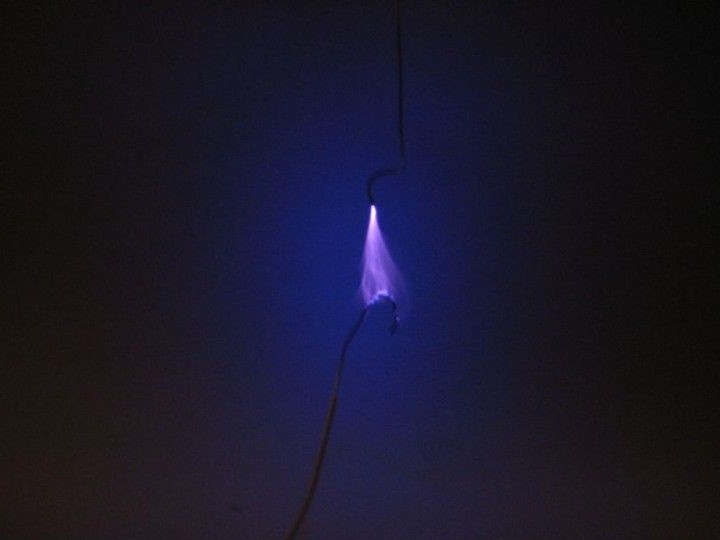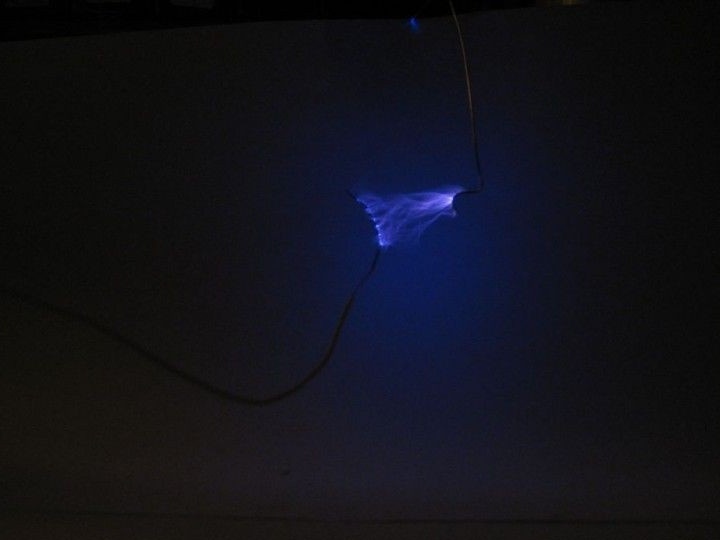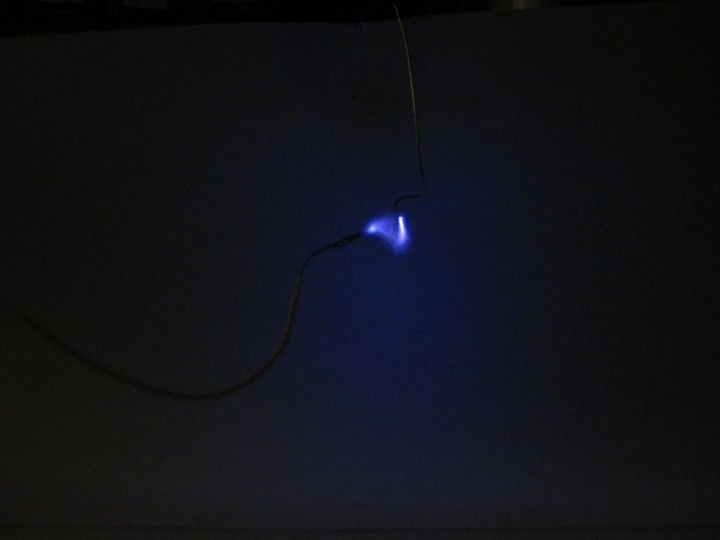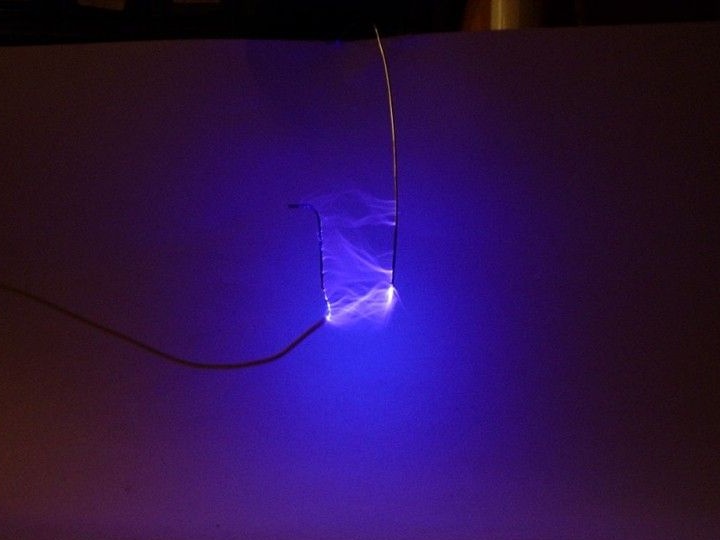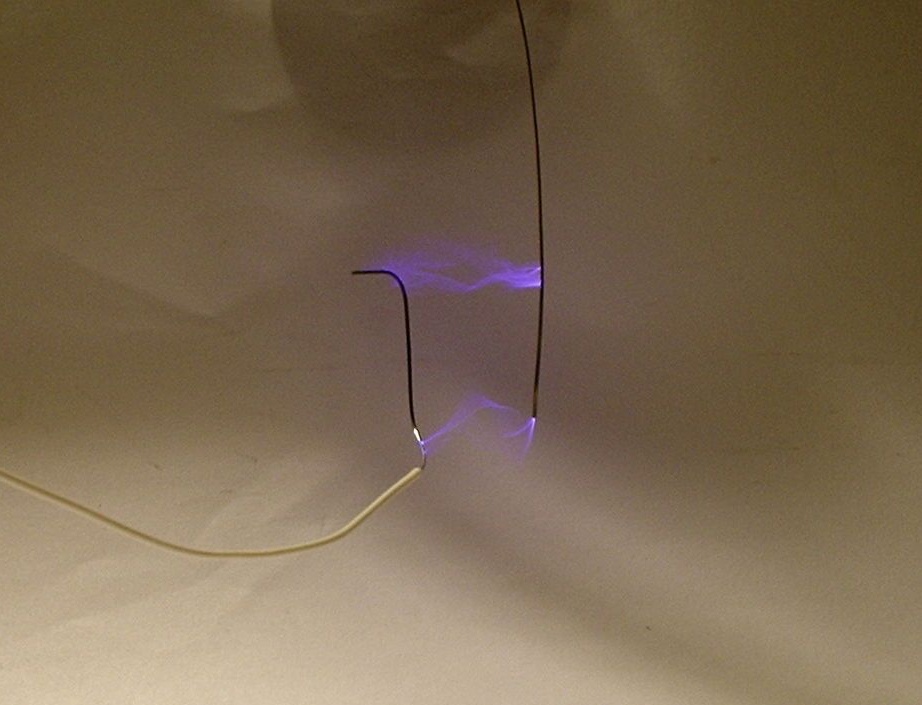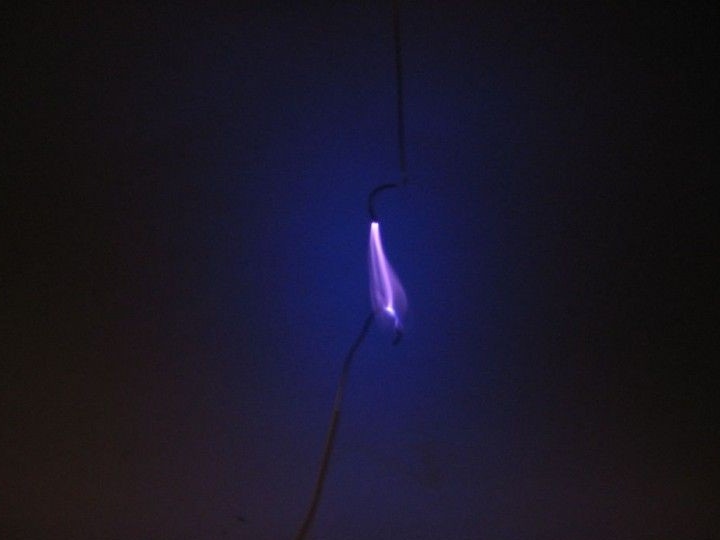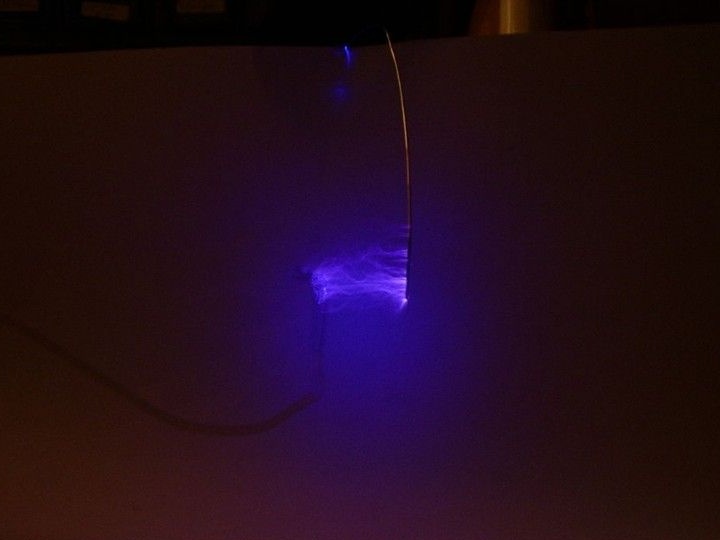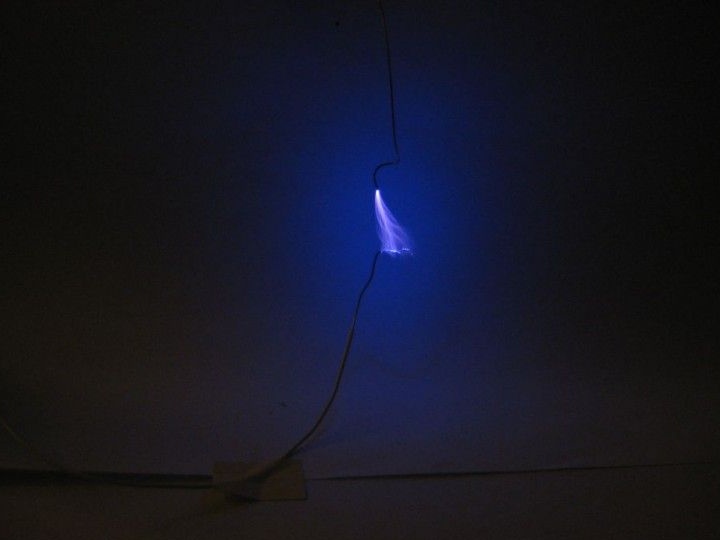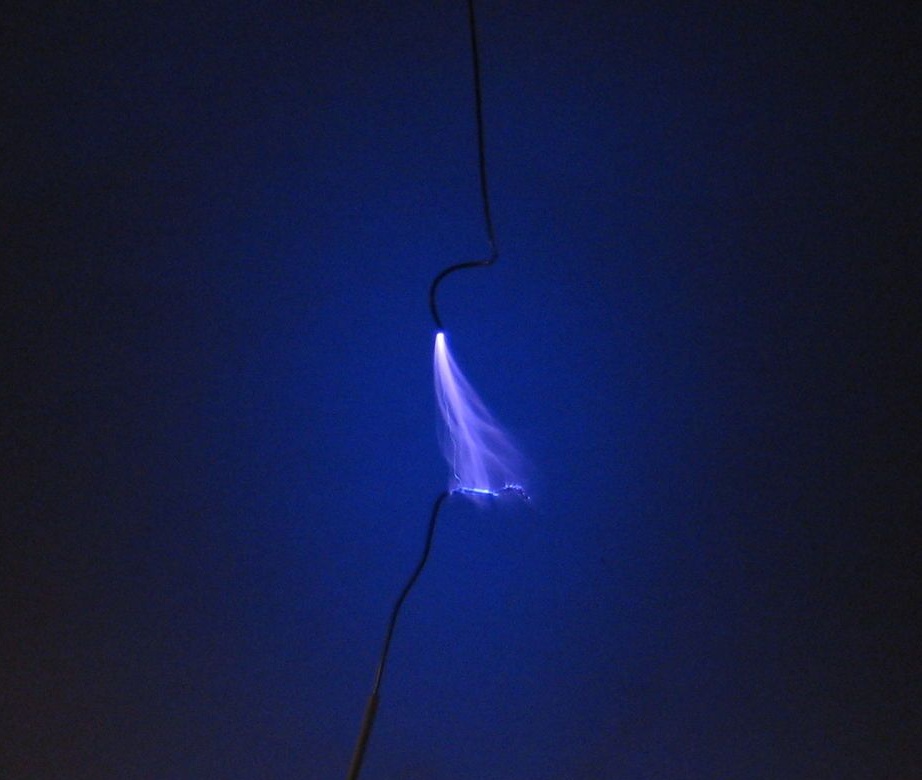
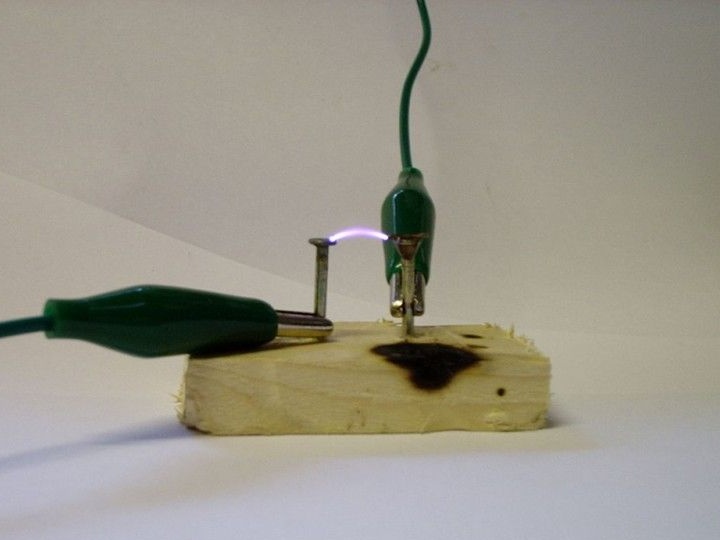
For those who want to do something truly unique and outstanding, we can recommend assembling a “plasma speaker." The essence of the device is that when you connect it to the audio system, it begins to form an electric arc, which will make a sound just like a speaker, but at the same time moving parts (for example, the speaker membrane) are absent. The sound is generated due to the vibrations generated by the electric arc.

In the video you can see how the first prototype works. homemadecollected by the author:
ATTENTION!
This homemade product is considered quite dangerous, since it works at high voltage. Collect and use it with extreme caution. The device can damage the electrical devices that will be near it, and the audio system to which this speaker will be connected is no exception. Also, the device can lead to disruption of the pacemaker and other similar devices.

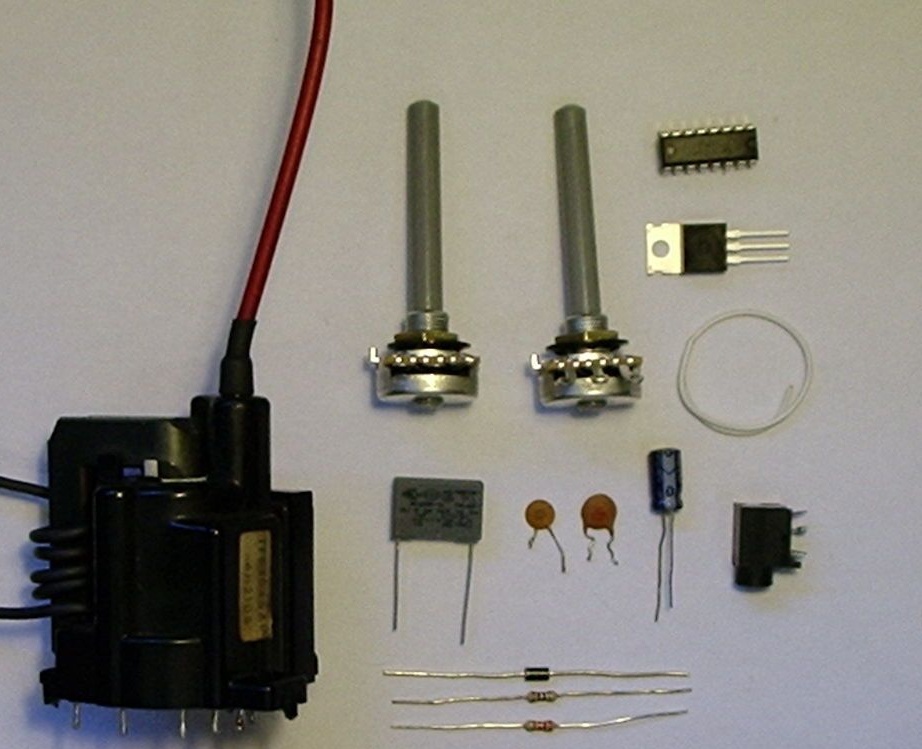
Materials and tools for homemade:
- chip TL494;
- a capacitor 47nF 250V or another with a similar operating voltage;
- an electrolytic capacitor of 200 μF (suitable for 220 μF) with a nominal value of 50V;
- capacitor 10nF 50V;
- capacitor 100nF 50V;
- one resistor per 10 ohms and one at 2.2K ohms (0.25 W);
- diode type UF4007 or another similar one with characteristics 1A / 500V (or more);
- one potentiometer per 10K and one at 22K (0.25 W);
- audio jack;
- MOS transistor type IRF540 or similar;
- wires;
- one large radiator;
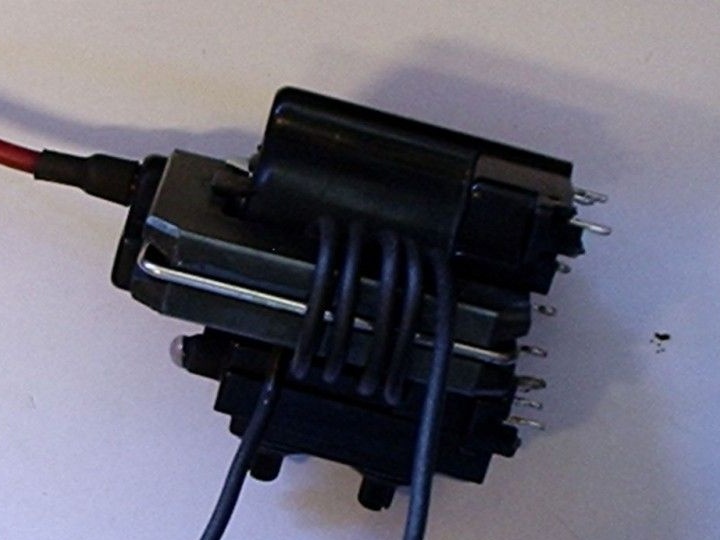
- one line transformer (can be obtained from an old TV or monitor);
- 12V power supply (required for TL494, 9V battery is suitable);
- for a horizontal transformer, a 12-40V power supply is needed;
- printed circuit board;
- bread board.

Of the tools you will need: a soldering iron, wire cutters, pliers, a glue gun, a solder holder, a stripper is not superfluous.
Homemade manufacturing process:
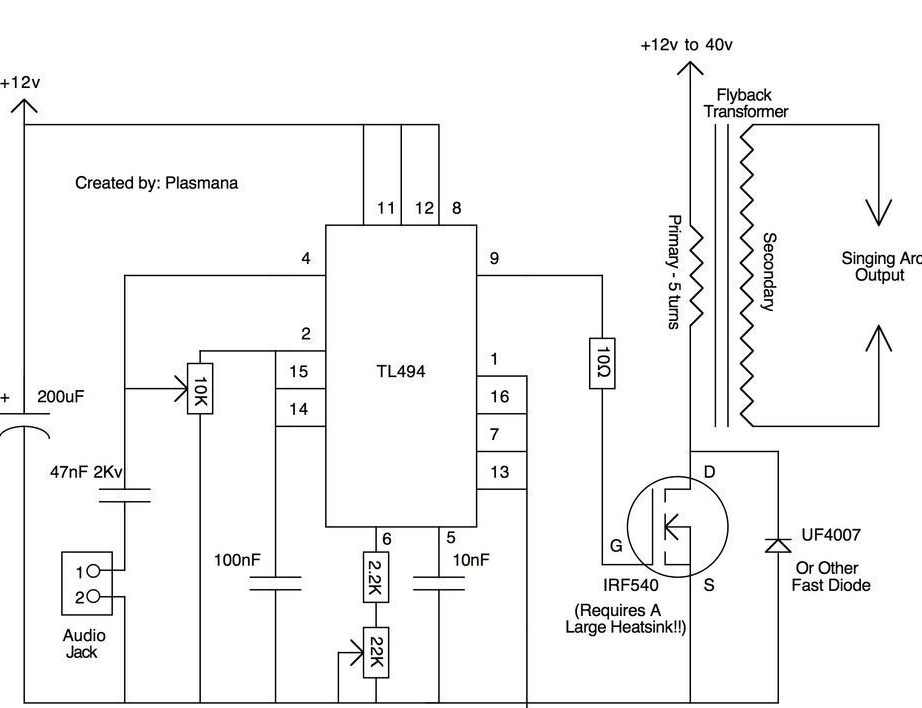
Step one. Electronic homemade scheme
The system has a TL494 chip, it works as a modulator and vibrator. It produces a high frequency from (5KHz to 45KHz), due to which an electric arc is formed. Well, then when the audio signal is supplied, a carrier high frequency begins to be generated, as a result, the electric arc oscillates in two frequencies, that is, from the generator and from the frequency of the audio signal. To filter out noise, a 22K potentiometer is used.As soon as the frequency becomes more than 20 kHz, the human ear can no longer hear it and as a result, only the sound frequency remains.
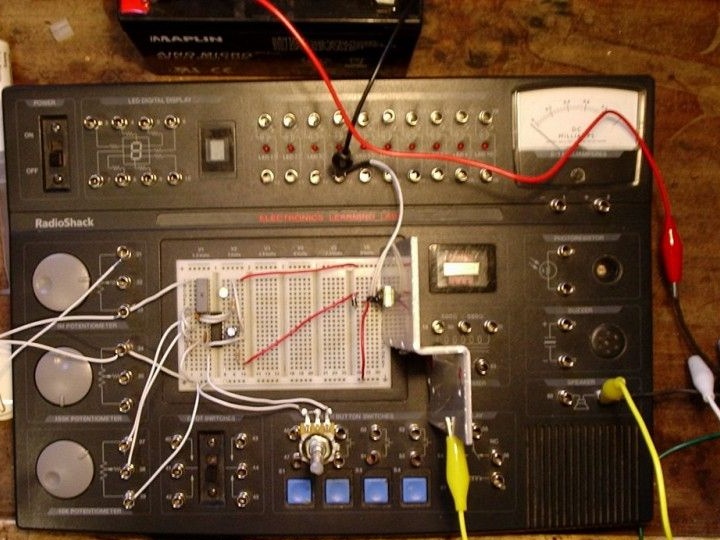
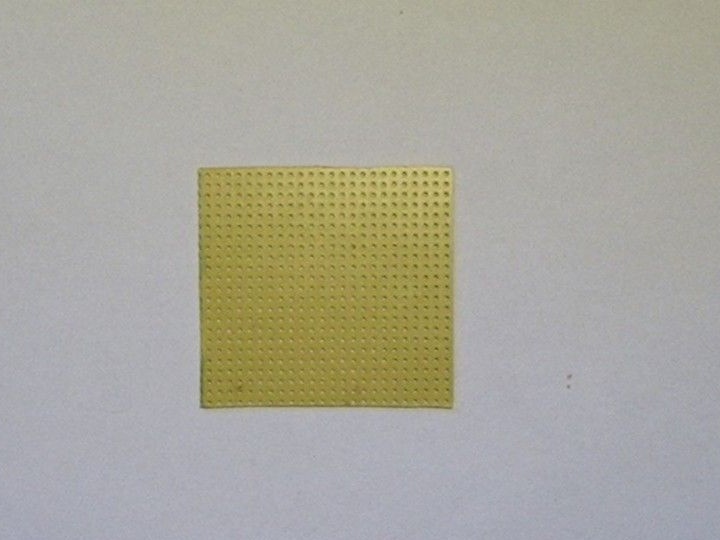
Step Two Assembling the circuit on the breadboard
First, the entire system is recommended to be assembled on a breadboard. This will allow you to decide how then to place the radio parts on the printed circuit board. Also on the breadboard, the system can be brought to perfection by experimenting with the ratings of the components. To assemble the primary coil, the author wrapped 5 turns of a thick single-core copper wire on a ferrite core.
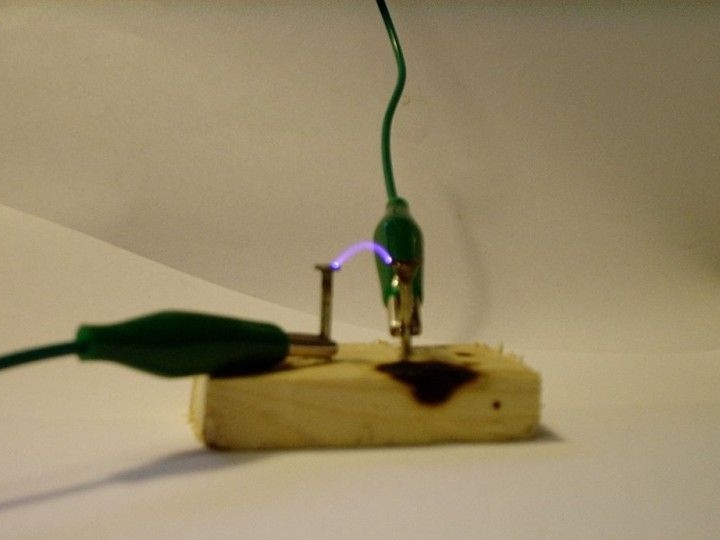
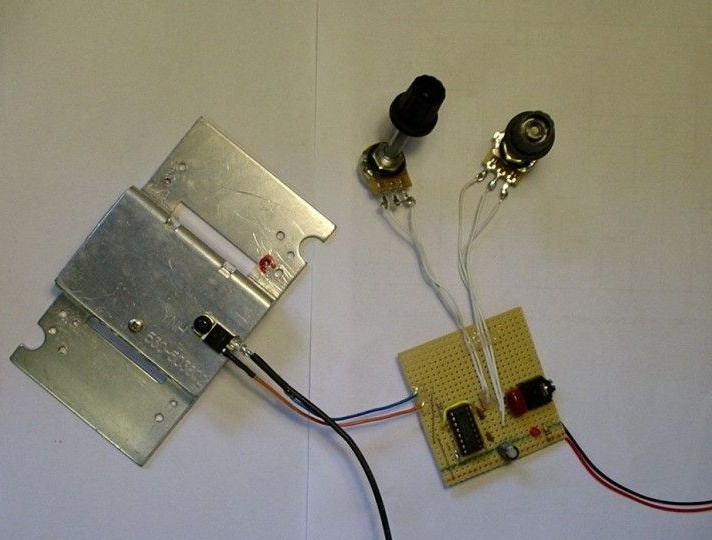
Step Three Testing circuit
After the circuit is assembled, it must be checked for operability. If it so happens that the circuit does not work, you do not need to be upset, because the system is quite complex. It is necessary to return to the circuit again and carefully examine whether everything is connected correctly. The author had a problem in the system, namely, overheating of the MOS transistor. To cool it, I had to make a radiator, but with it the system overheats after three minutes of operation. In general, here you may still have to think about it.


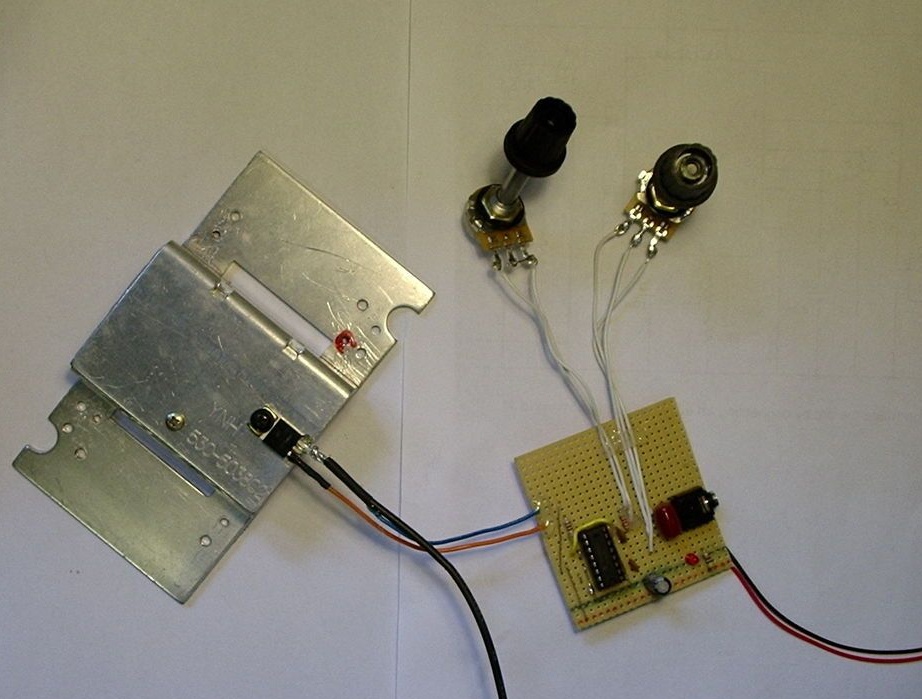
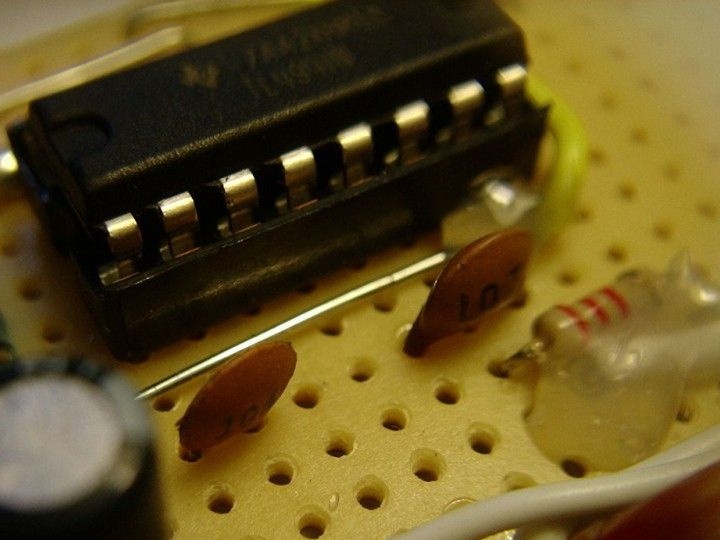
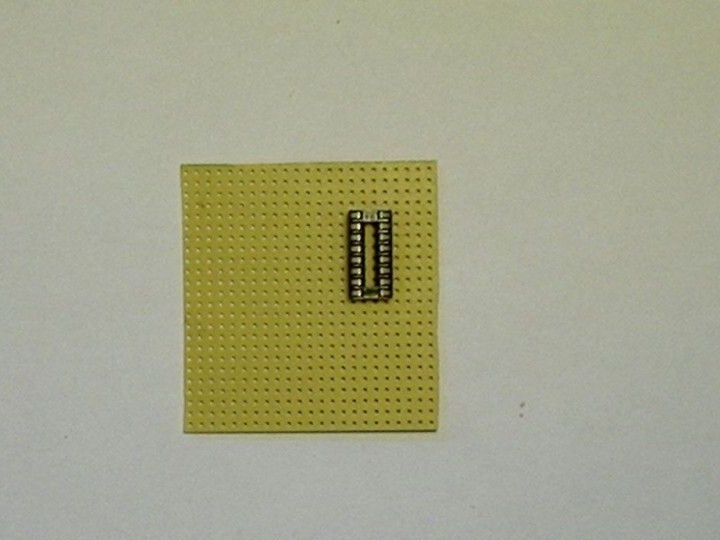
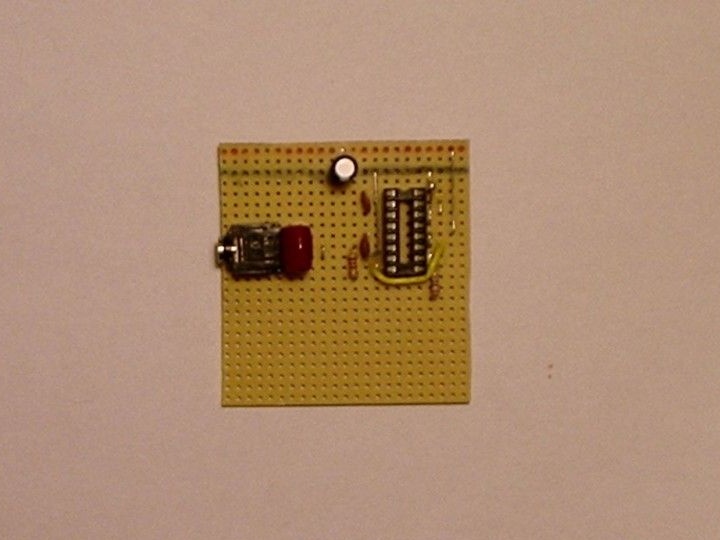
Step Four We solder an electric chain
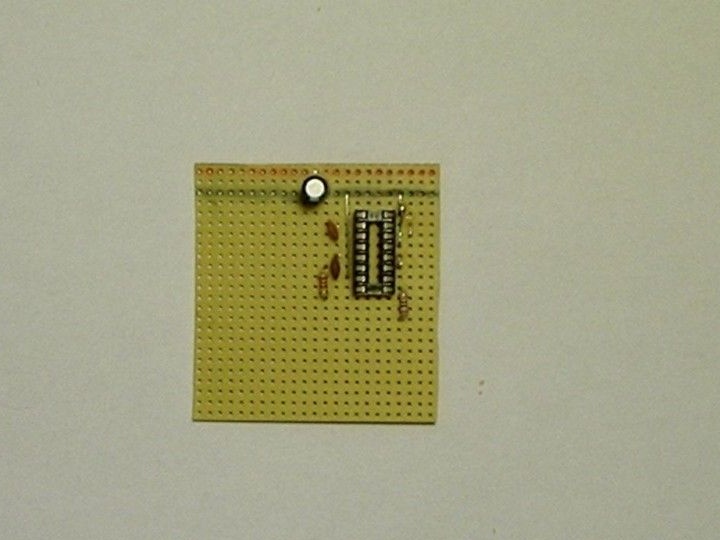
As you can see in the photo, for soldering, the author uses a 16-pin block for TL494. This approach is good because the chip does not overheat when soldering, and if it burns out, it can be easily replaced. Even in the circuit of the TL494 chip, it is recommended to connect an LED so that you can monitor the power supply.
After soldering, you need to make sure that everything is done efficiently and that there are no jumpers between the contacts. In conclusion, the wires must be additionally fixed with hot glue so that they do not come off.
Step Five Final device check
After the final assembly, the system needs to be checked again. If it does not work, you need to carefully inspect the soldering spots. Perhaps somewhere the contacts are poorly soldered or there are jumpers. But if everything is assembled efficiently and strictly according to the scheme, no problems should arise.
In conclusion, it is recommended that all electronics be placed in a housing so as not to damage the homemade product during operation. And it is not safe to use homemade goods in this form.

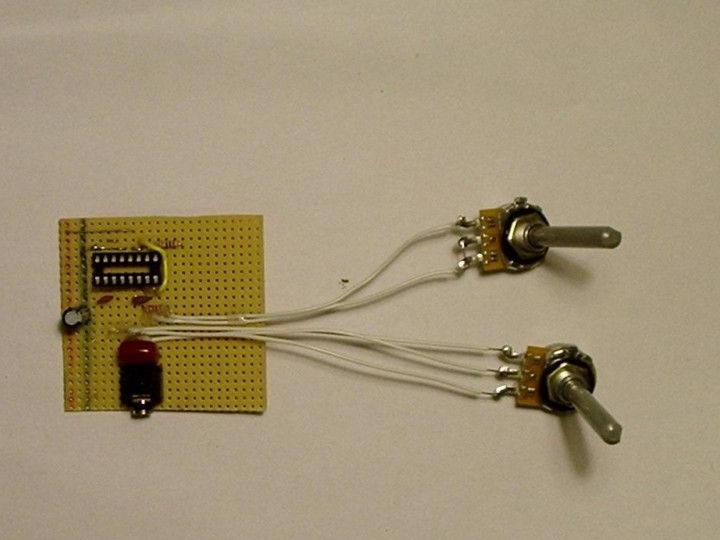
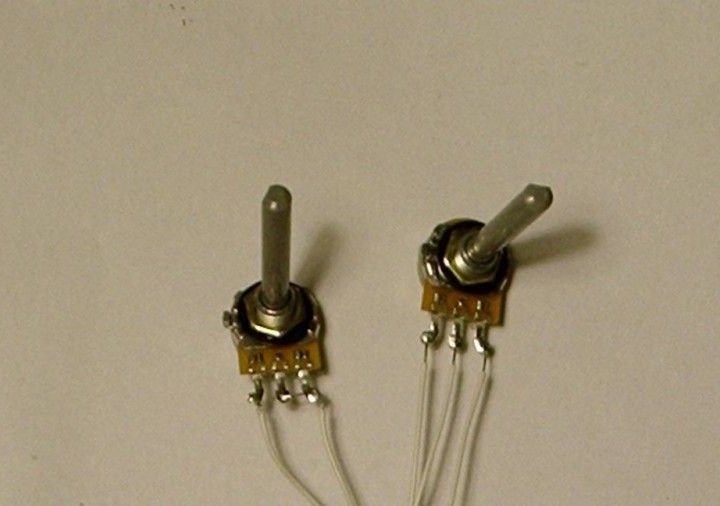
Step Six How to set up homemade
You can control the device using two potentiometers, with the help of 10Kohm the internal vibration frequency of TL494 changes, it is adjustable in the range of 5 kHz - 50 kHz. If you need to play arc music, then using this potentiometer you need to adjust the frequency so as to remove all the noise, in the end the music should be clean.
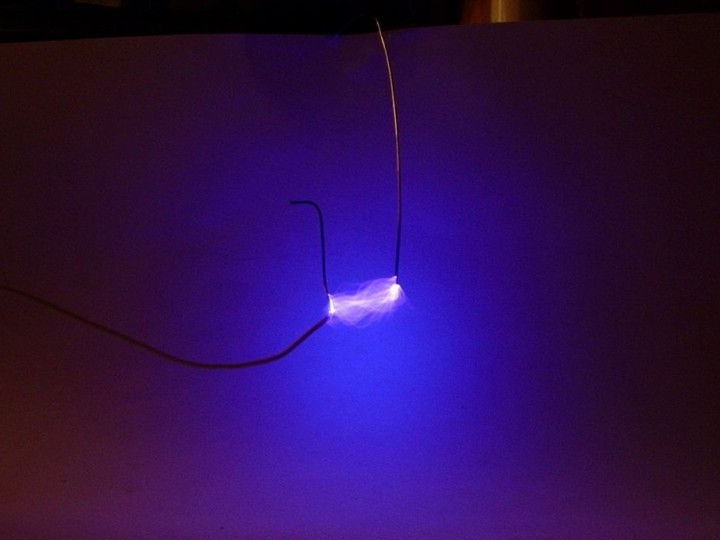
As for the 22KΩ potentiometer, then using it you can control the speaker volume. The louder the speaker plays, the shorter the arc will be.
Since the 12V battery will drain quickly, it is best to power the system from the mains. The author used a computer power supply for these purposes. In parallel with the power supply, a 22,000μF capacitor was added, it smooths out all possible fluctuations in the network. It is important that the current is as direct as possible, otherwise strong noise will form, because of which music may not be heard at all.