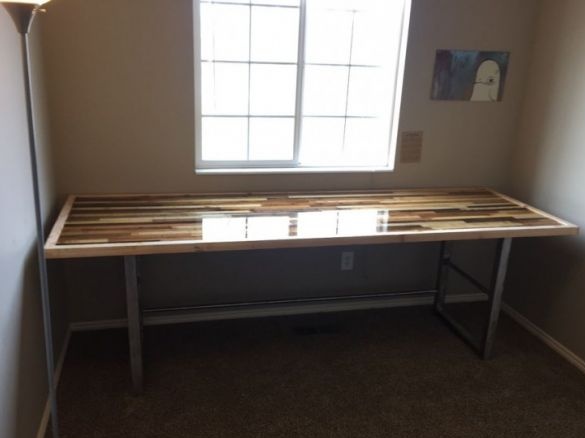
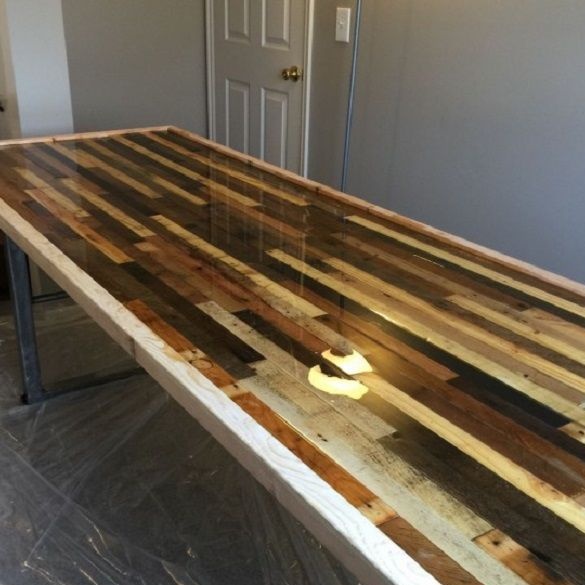
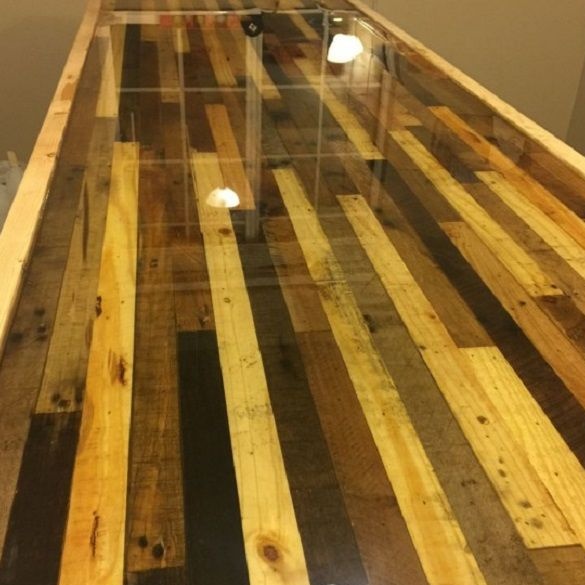
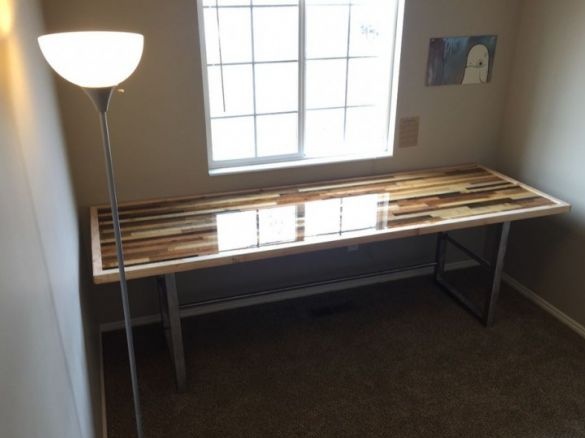
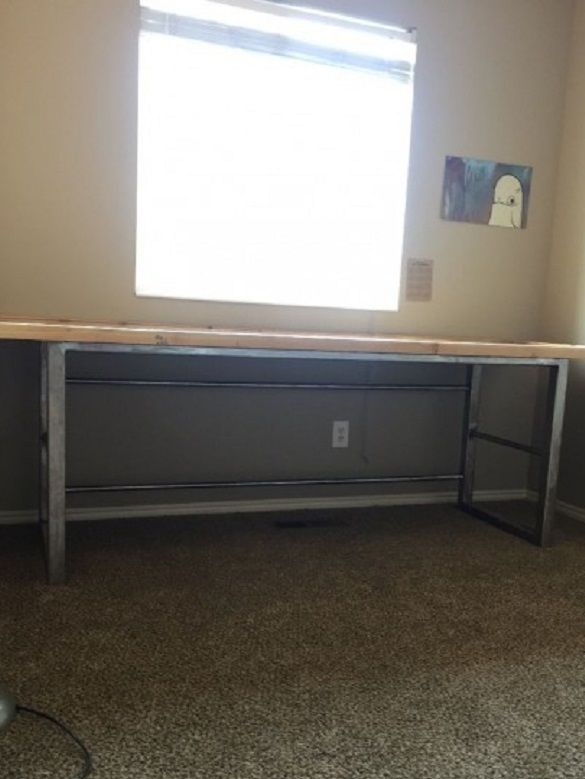
The author of the homemade table left wooden trimmings and pallets, and he decided to make an unusual table out of them. The size of the countertops made by the author was 2.45 by 0.76 m.
Tools and materials:
-Lumber, pallets;
-Plywood;
-Rail;
- Joiner's glue;
Epoxy resin;
-Fasteners;
-Scotch;
-Polyethylene film;
-Square pipe;
- Round pipe;
-Metal strip;
-Paint;
-Putty;
-Sandpaper;
-Welding machine;
-Drill;
-A circular saw;
-Bulgarian;
-Burner;
Pneumatic hammer;
- Clamps;
-Housing;
Step 1: Prepare Lumber
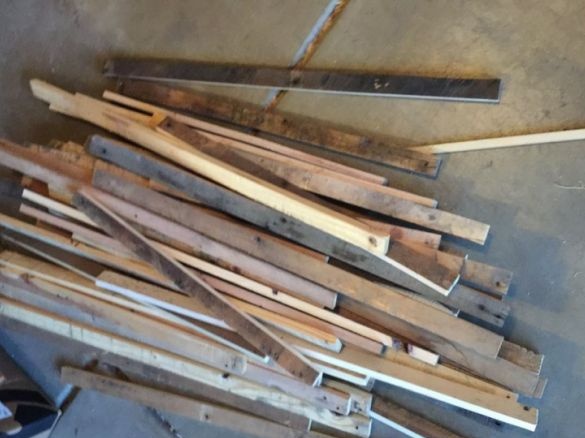
First, the author disassembled his pallets. Selected from them suitable trims. Removed all metal objects from the boards.
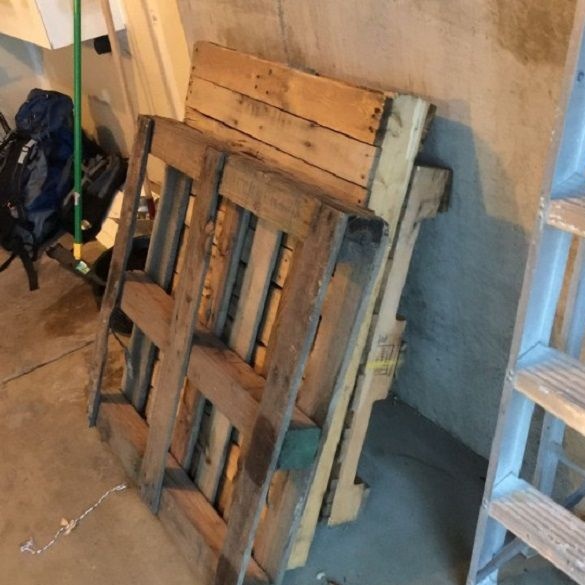
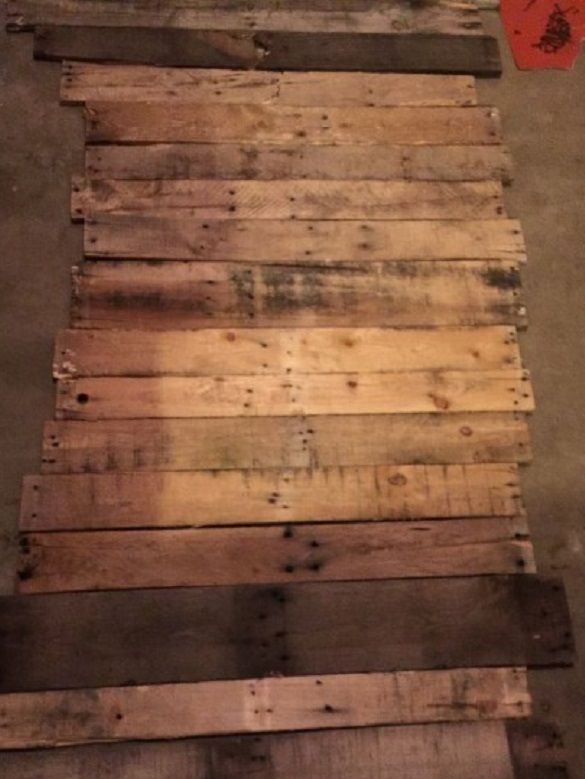
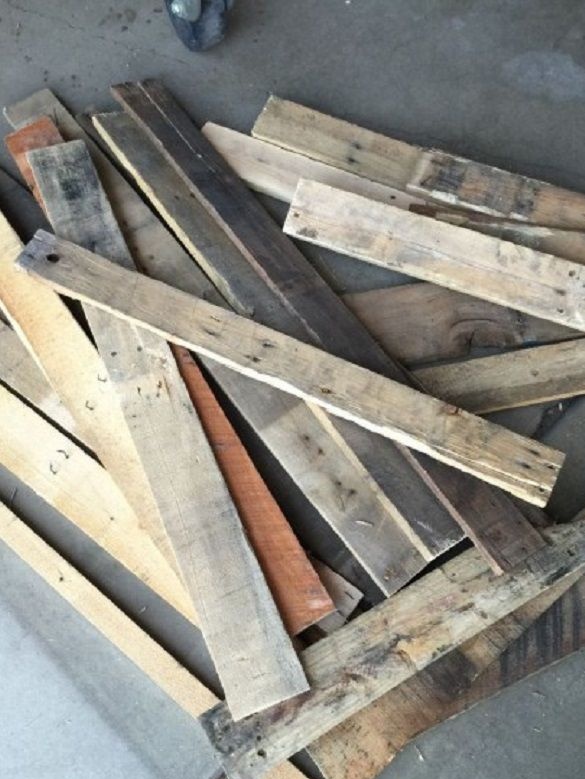
Using a circular saw, I cut 4 cm blanks of various lengths.
Step 2: Making the base of the countertop
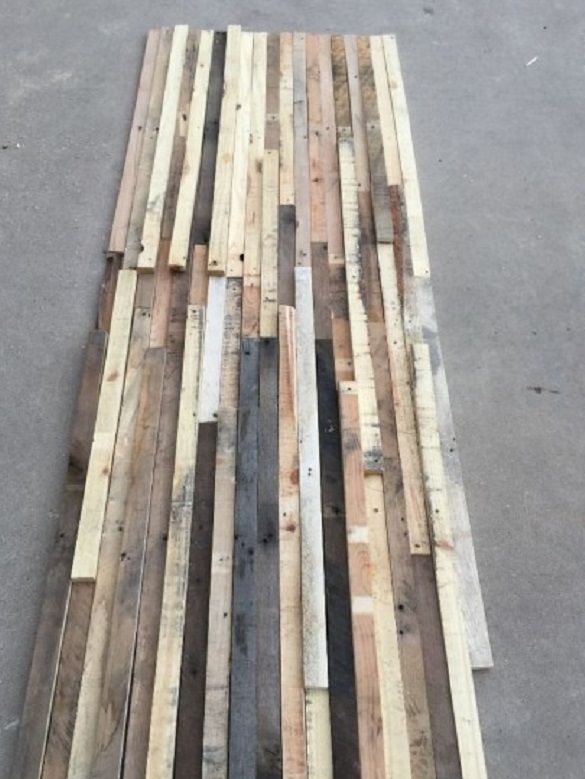
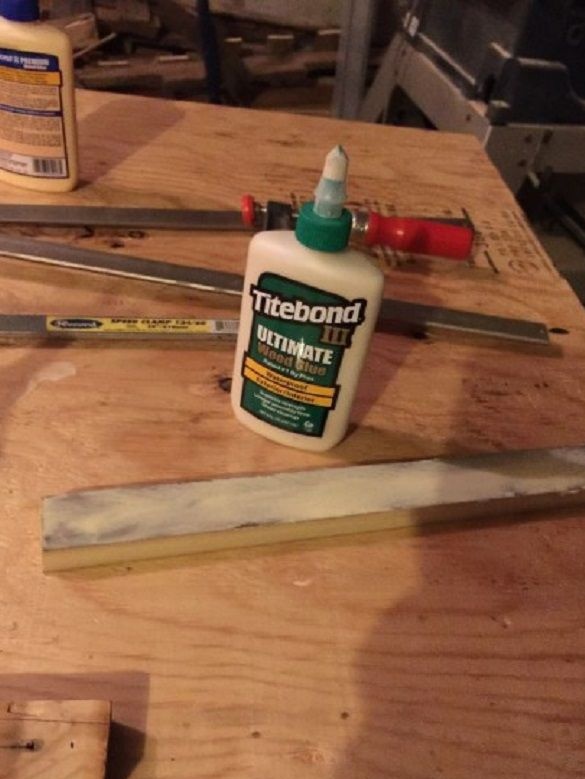
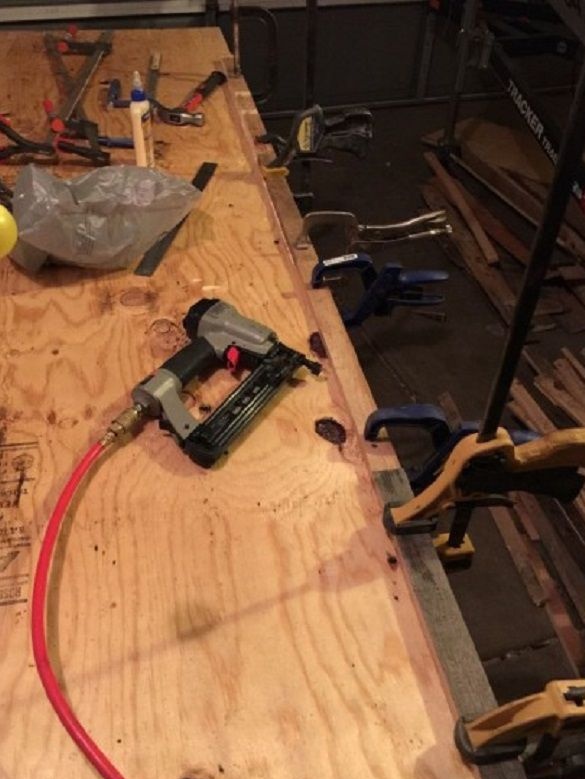
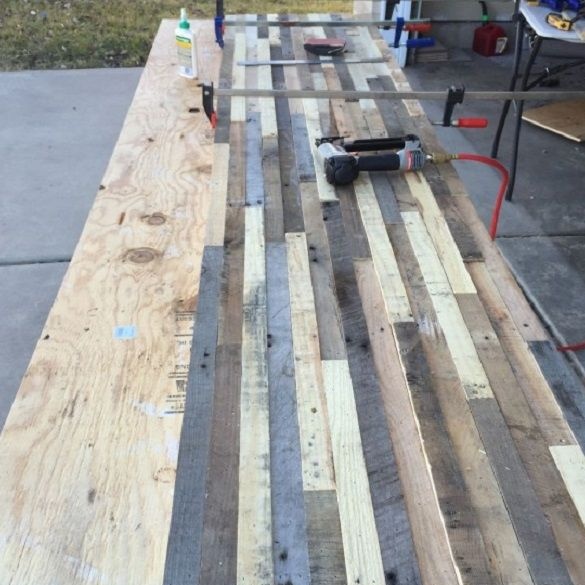
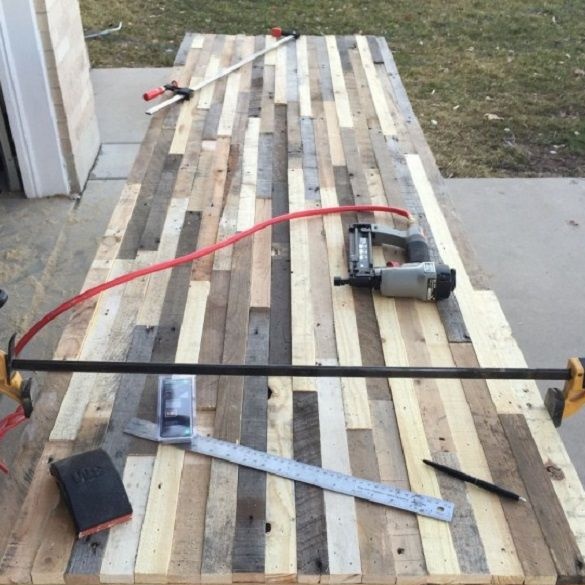
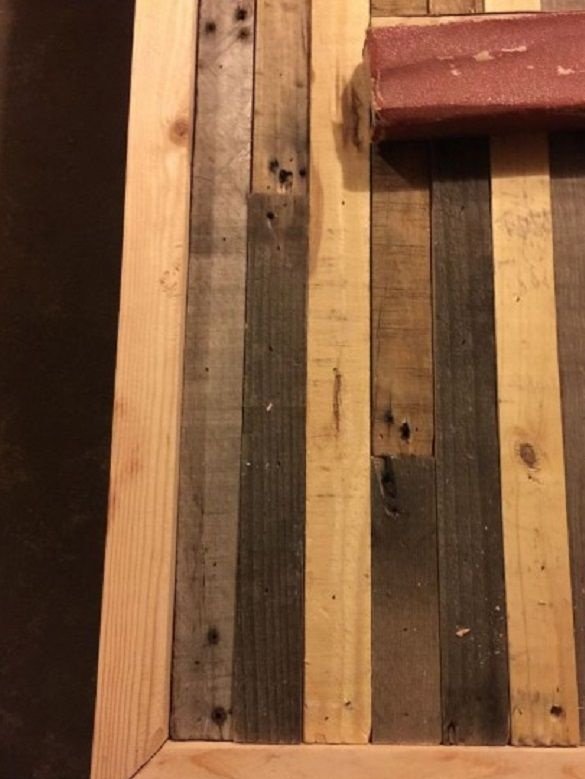
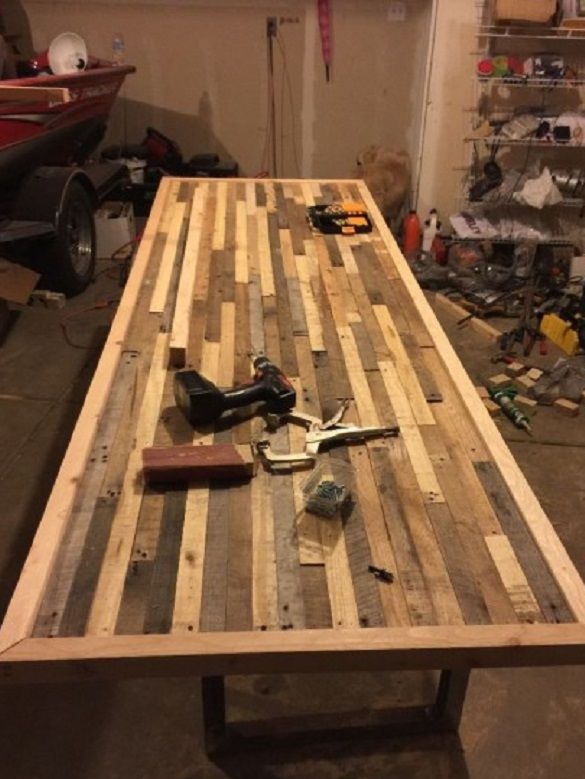
From a plywood sheet, the author cut out a base measuring 245 by 76 cm. Then he glued boards to the table, cut the edges. Boards fixed to plywood with small carnations.
Step 3: table frame
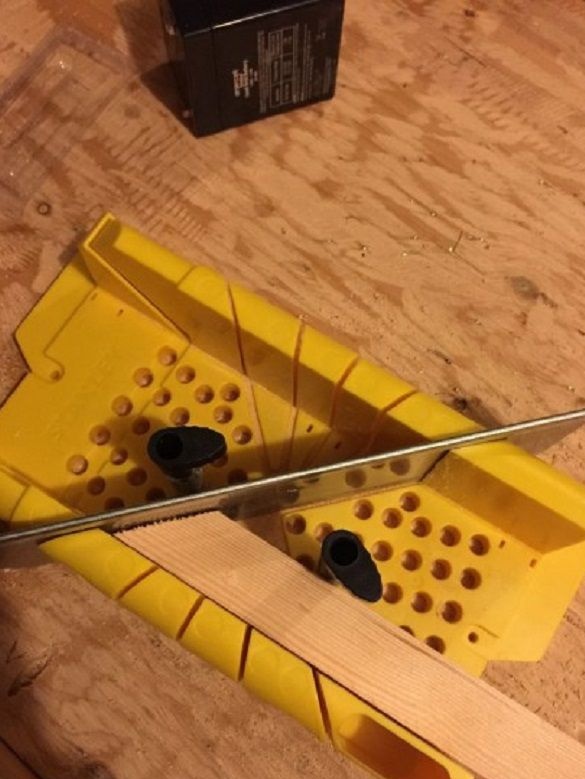
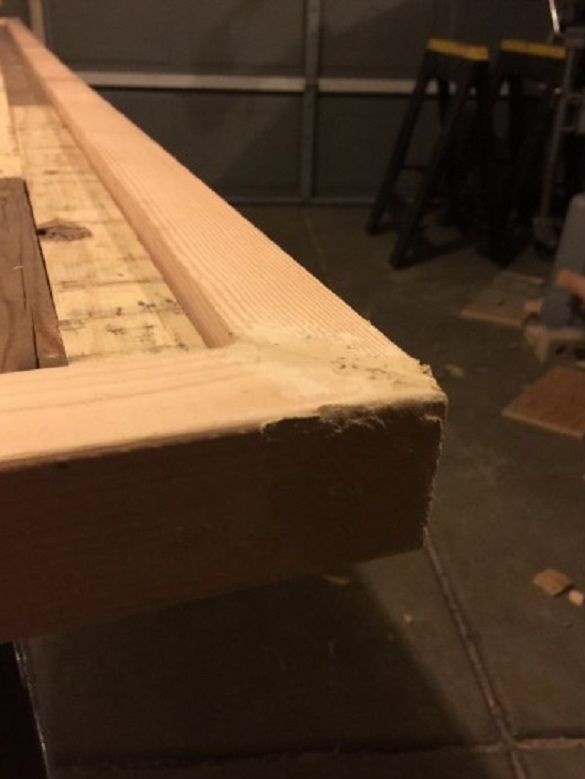
After the glue dries, the author set a frame around the perimeter. For its manufacture, he used a 5 by 5 cm bar. The edge of the frame should be above the plane of the table. I cut two slats 255 cm long and two 86 cm long. Using a miter box I cut the ends of the bar at an angle of 45 degrees.
Turned over the tabletop and drilled a hole at an angle to the plane. To drill holes, the author used a special conductor on the drill, which allows drilling at an angle to the plane.
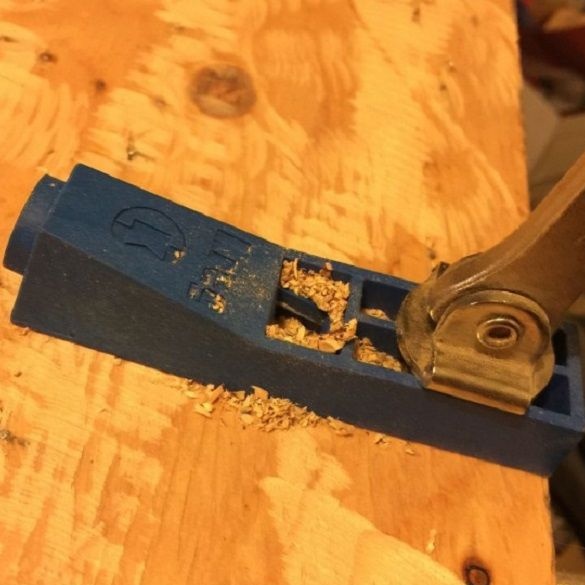
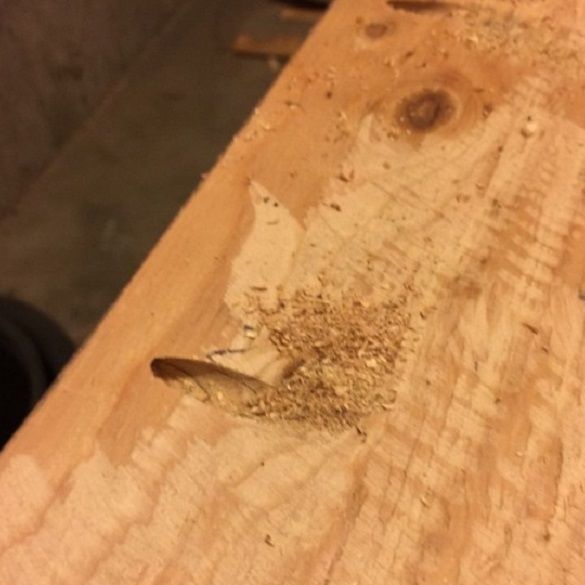
Then he put a bar to the end of the countertop and secured it with screws.
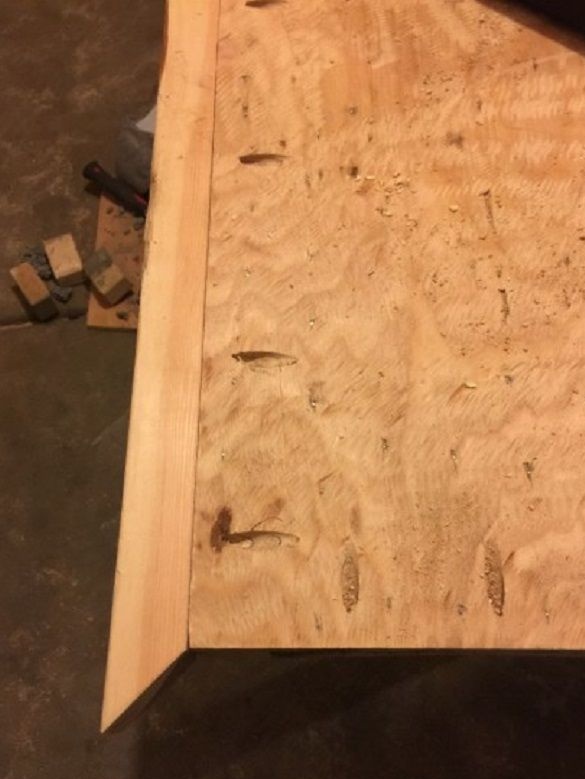
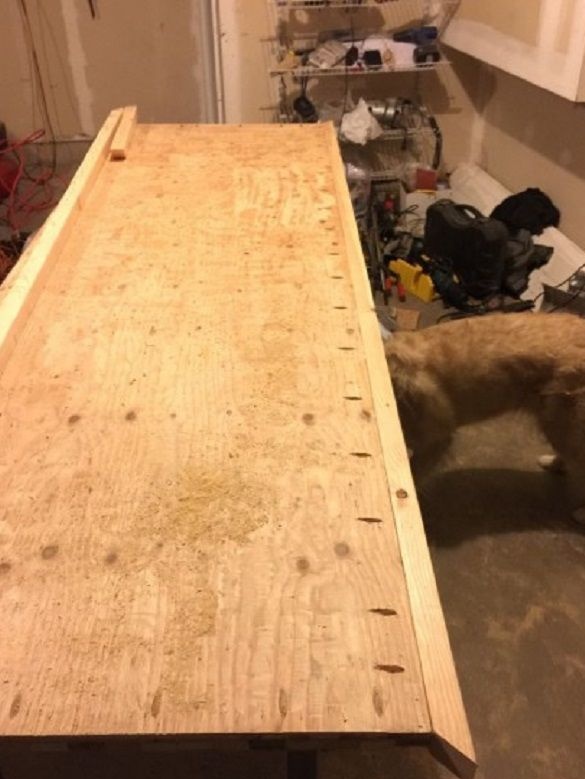
Holes puttied and sanded.
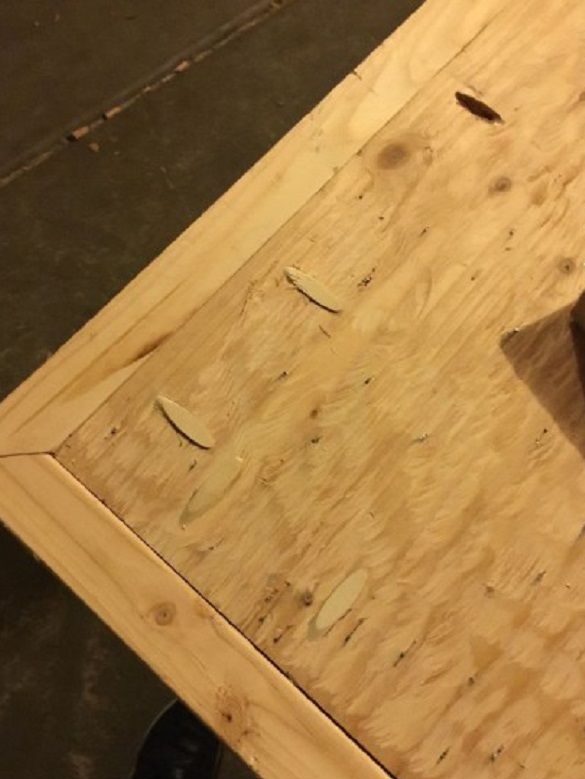
The corners of the frame are fastened with screws.
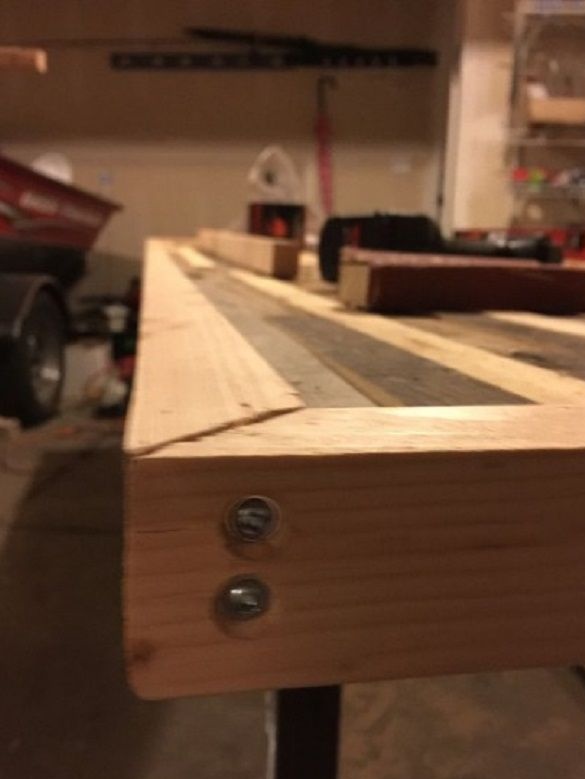
Put the plugs in the holes, putty and sanded them.
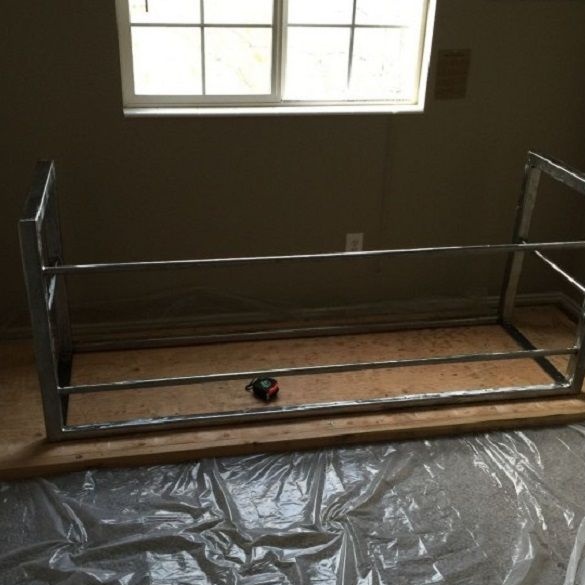
Step 4: Making the table frame
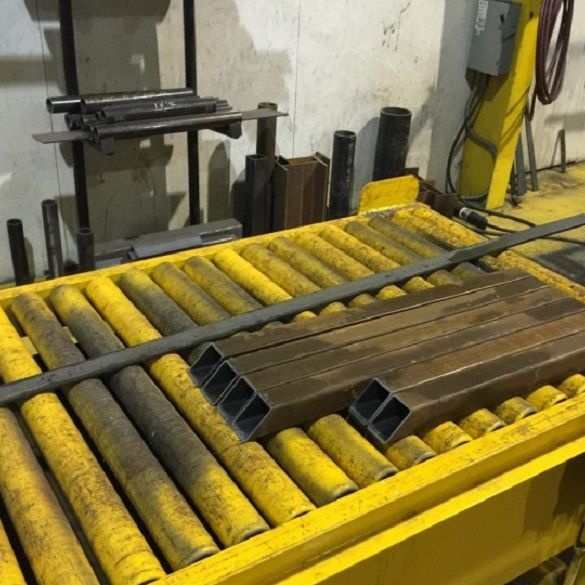
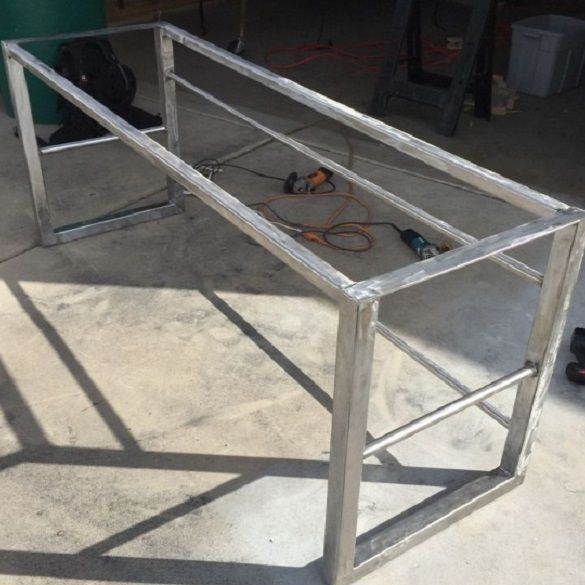
The table frame will have dimensions 180x60x30 cm. It cuts the blanks for two legs from a square pipe 5 by 5 cm.
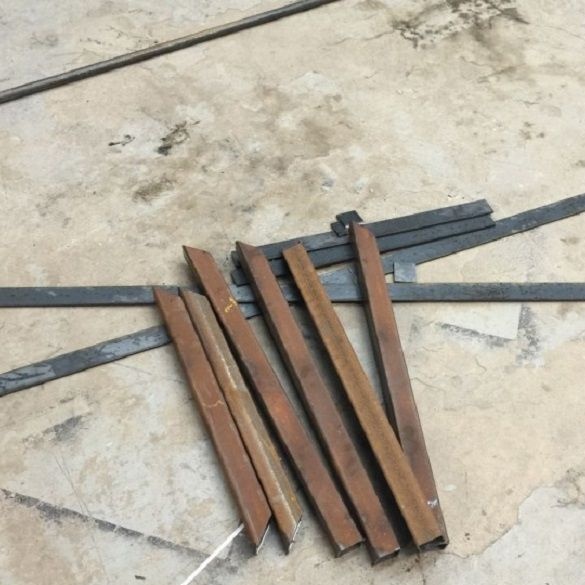
Welds them with the letter P.
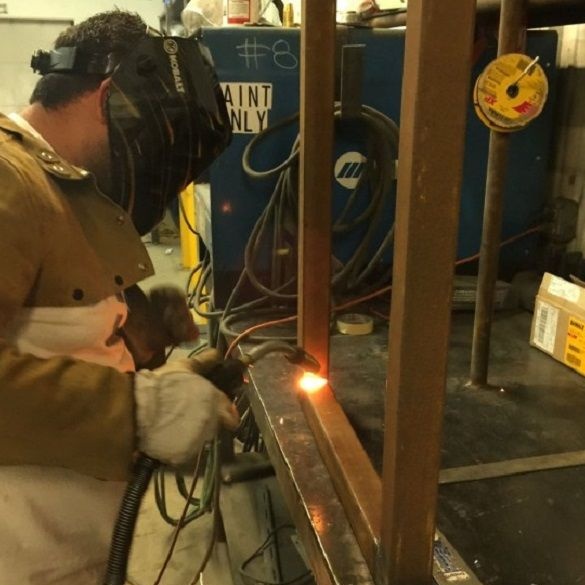
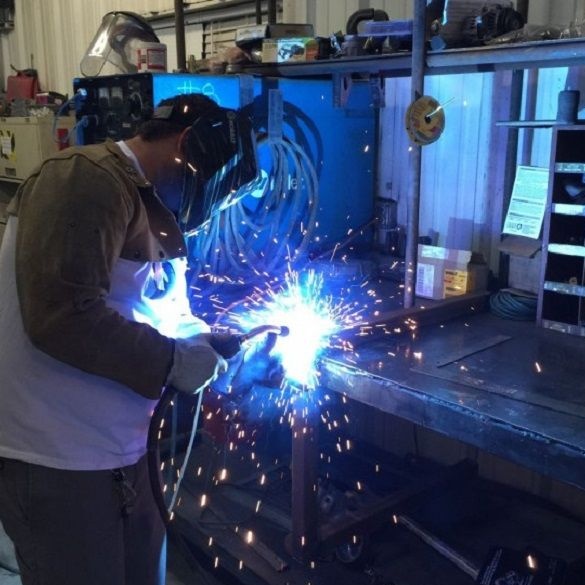
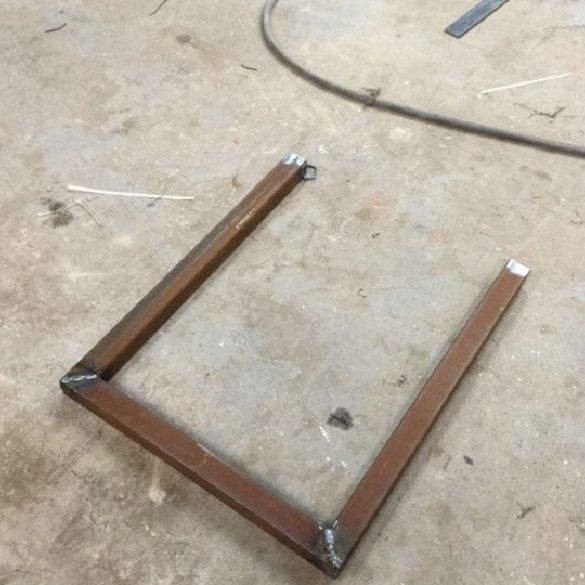
Welds a 50 cm wide strip to the top of the leg.
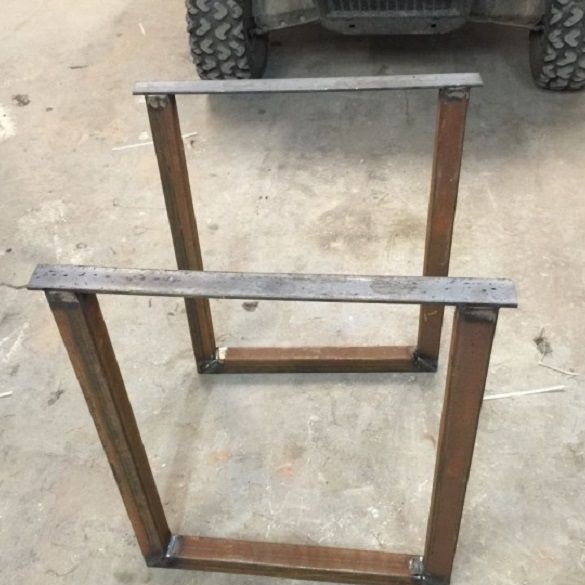
Connects legs with a profile and strengthens a round pipe. Cleans the seams and stains the table frame.
Step 5: Assembling the table
Around the table perimeter drills holes for screws.
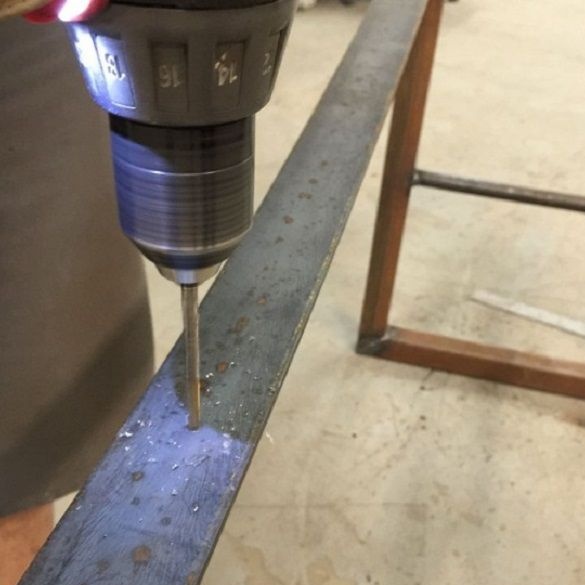
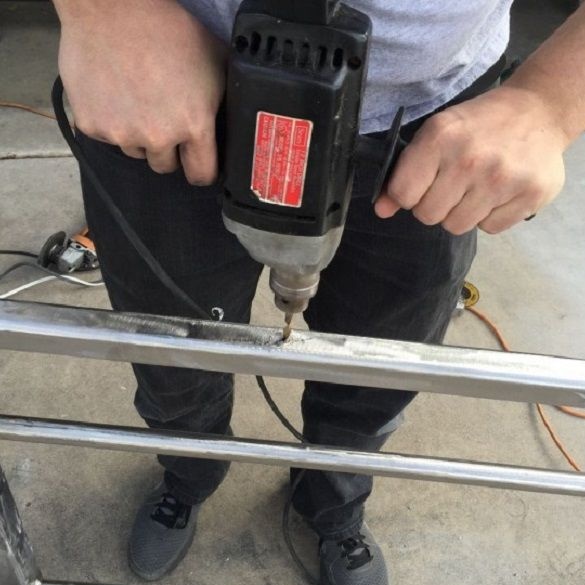
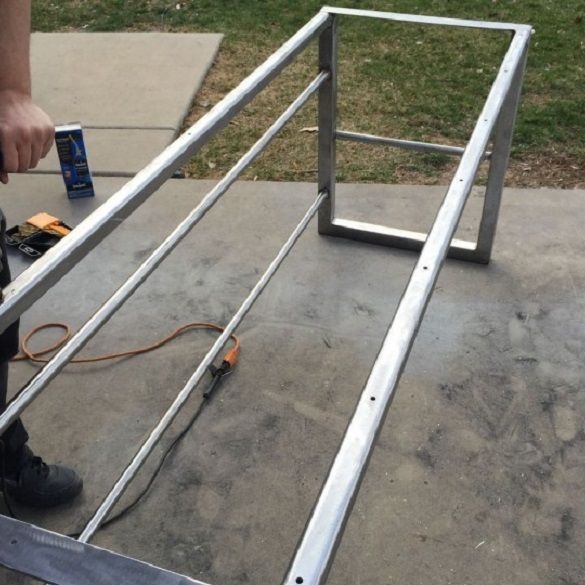
In the strip makes a sweat.
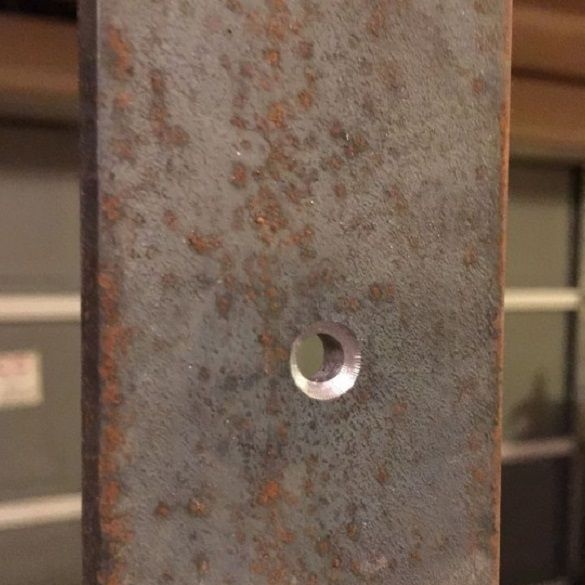
Turns the countertop over and sets the frame in its center. Attaches the countertop to the frame using self-tapping screws.
Step 6: Coating the countertops with epoxy
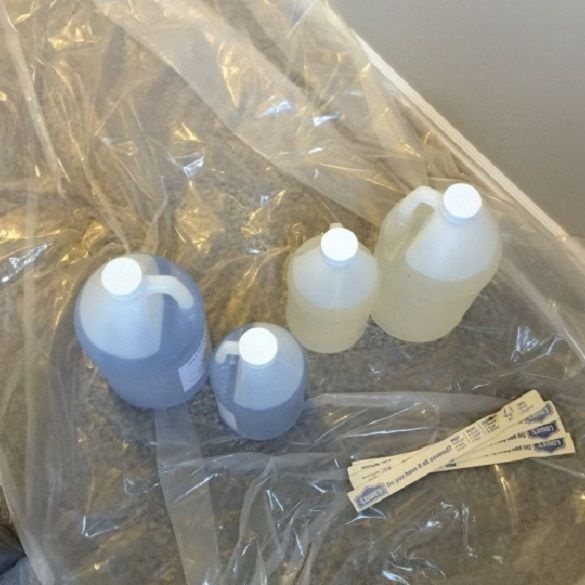
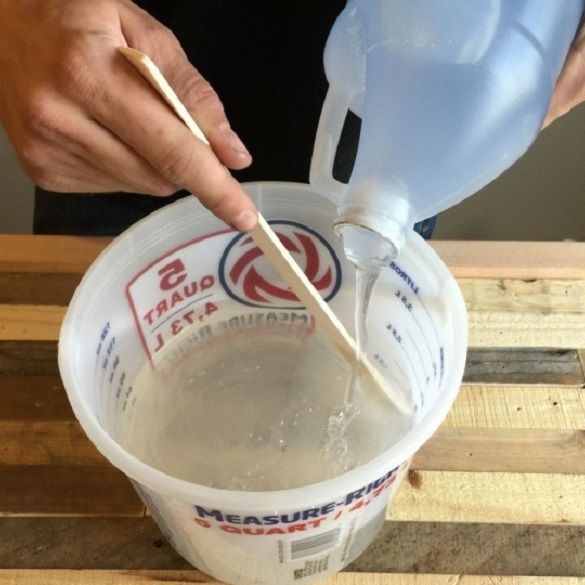
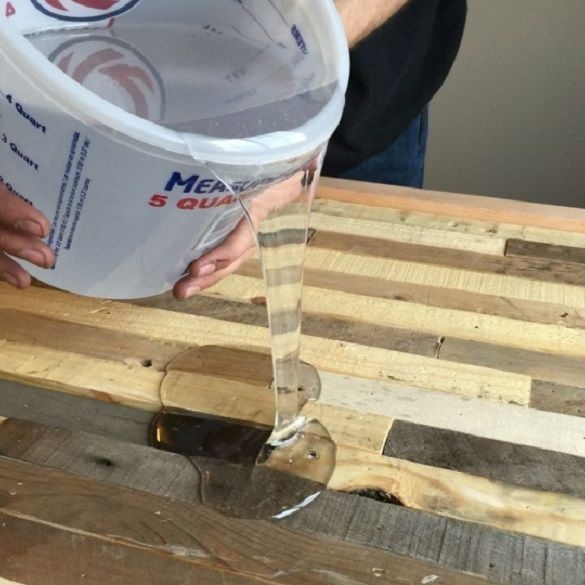
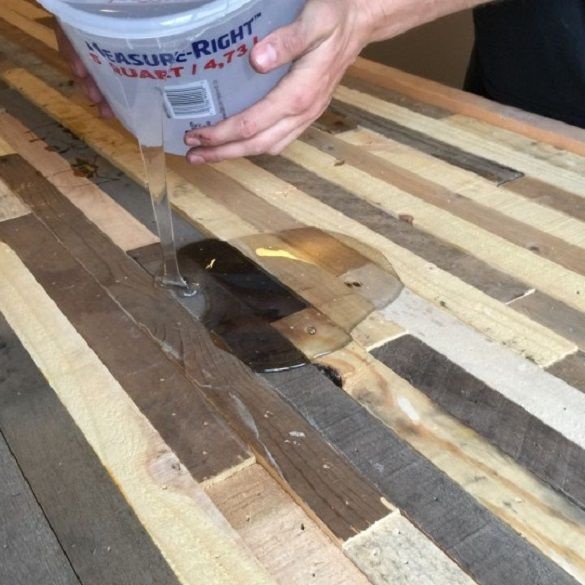
The author took about 23 liters of epoxy to fill the countertops. However, he complied with certain rules.
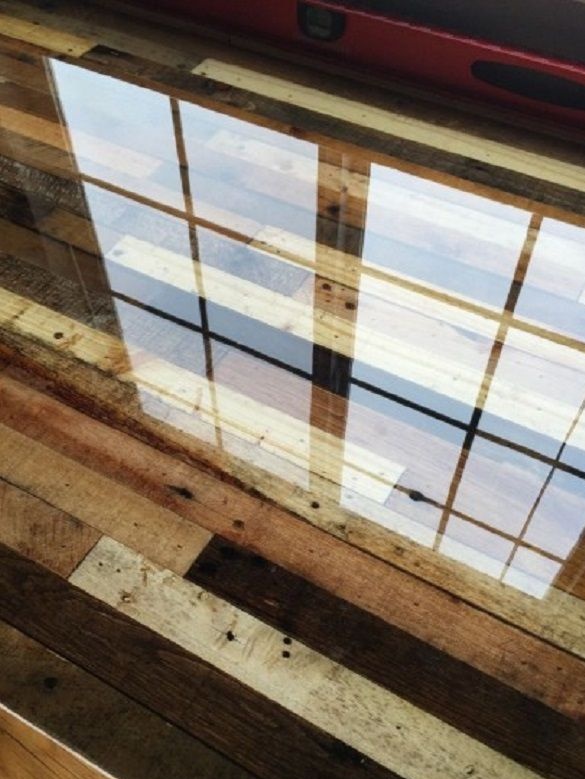
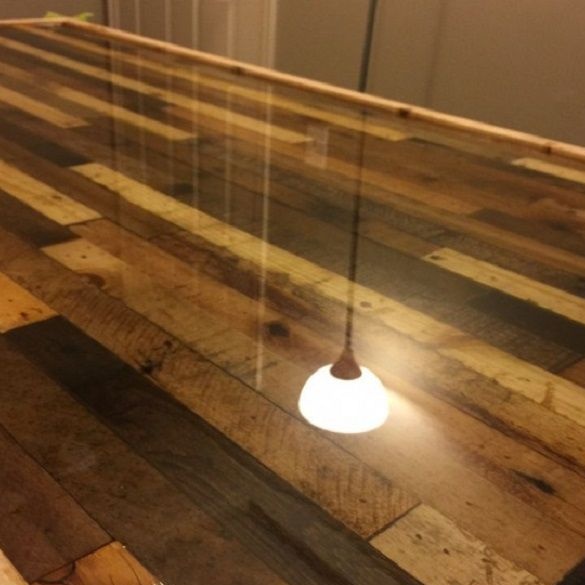
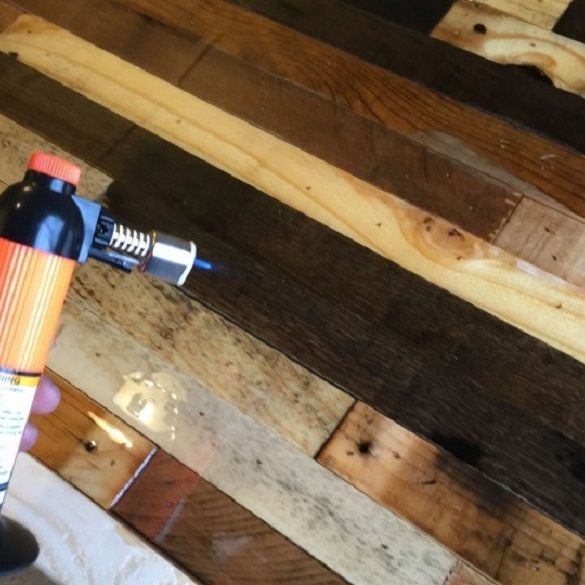
It was poured in a dry, well-ventilated room. The table is level. Under the table, I spread a plastic film to protect the floor. Then he glued all the seams with masking tape. I diluted a certain amount of epoxy and poured it into one layer, carefully filling the voids. Layer thickness no more than 6 mm. In order to avoid bubbles, the resin was thoroughly mixed and filled slowly. The places where the bubbles appeared were heated by the burner until they disappeared. After drying for six hours, removed the adhesive tape and poured another, finish layer. After solidification, removed and polished the streaks.
The original table is ready, you can only envy the author for the good, who managed to realize his plan.

