
This article will discuss the experience of creating two kayaks, as well as some errors when creating them. While in a foreign country, the author decided to try to make a kayak with the help of completely strangers. The main idea was to make the boat quickly and from easily accessible materials using hand tools. The project of the boat was developed by a local master and he started to work.
Tools and materials:
-Plywood sheets;
-Rake, timber;
Epoxy resin;
-Rope;
-Glass cloth;
-Scotch;
- clamps;
-Saw on wood;
The first kayak.
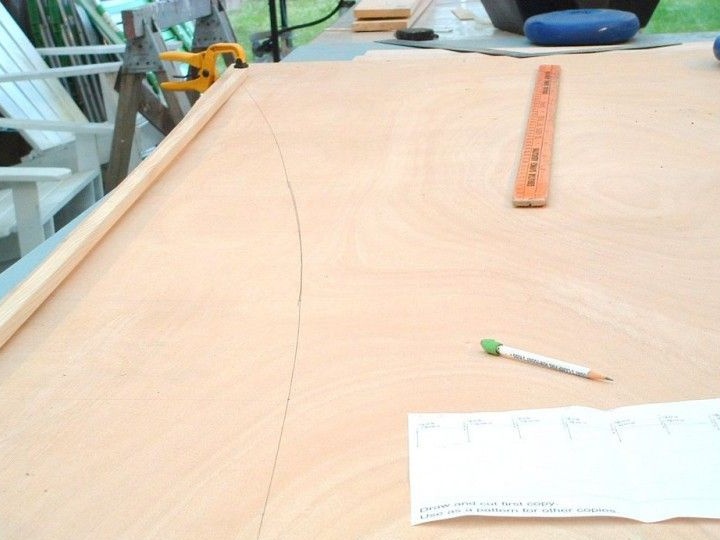
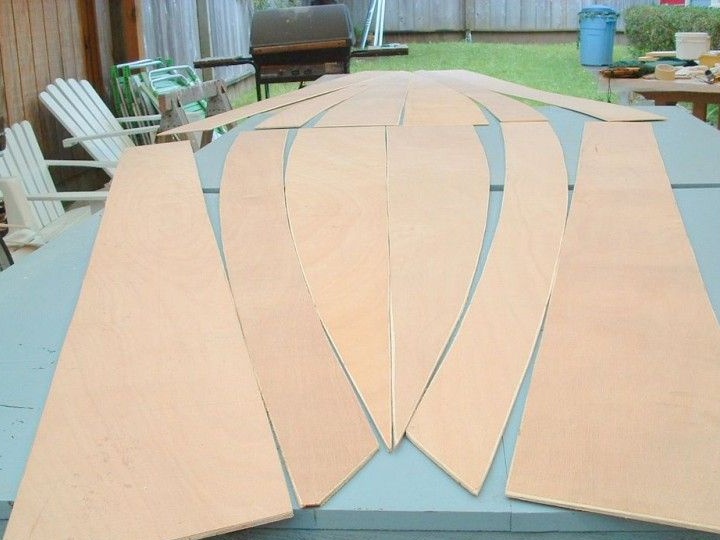
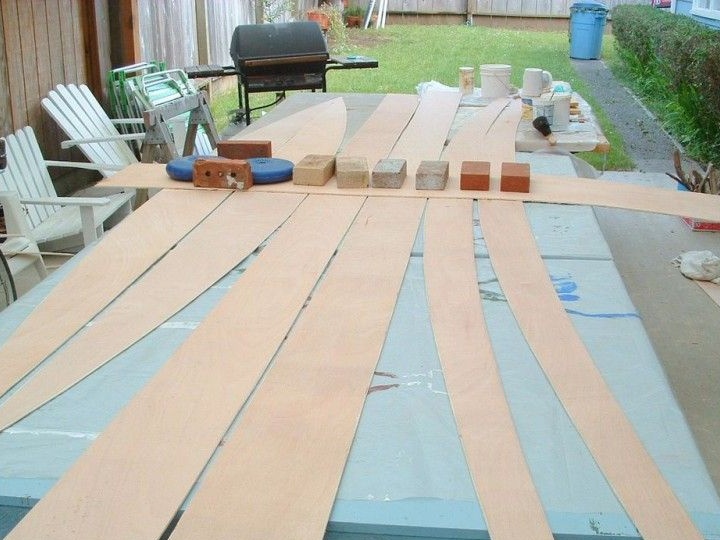
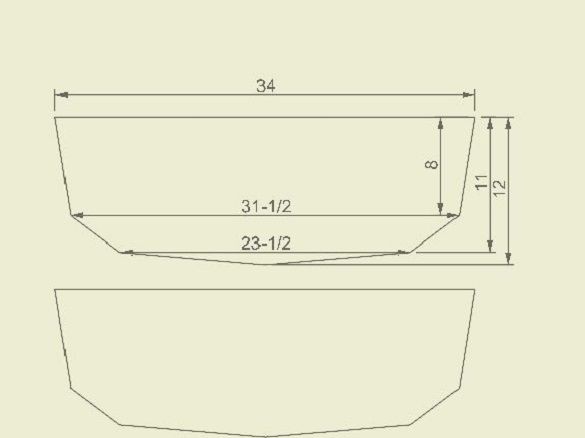
Step 1: Parts Production
On the sheets of plywood made markup according to the drawings. Cut the workpiece with a hand saw.
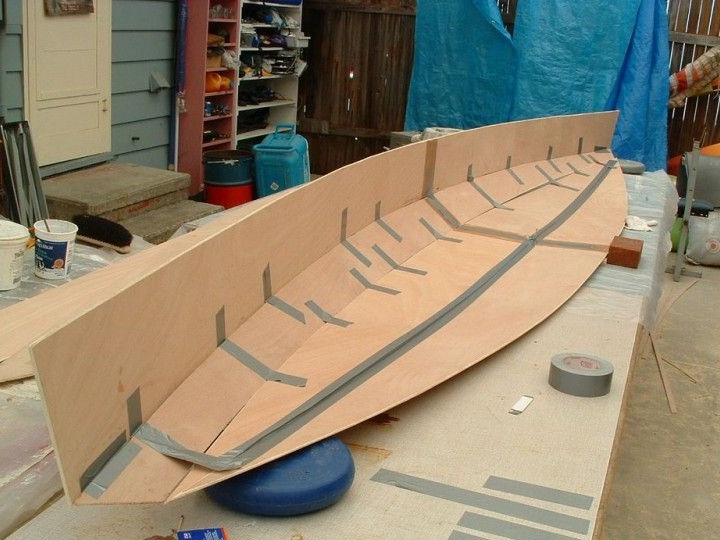
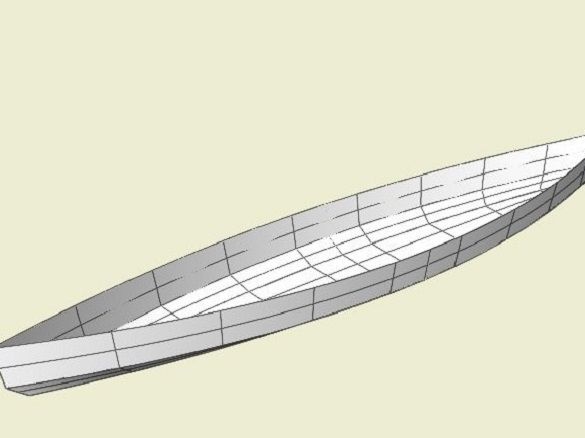
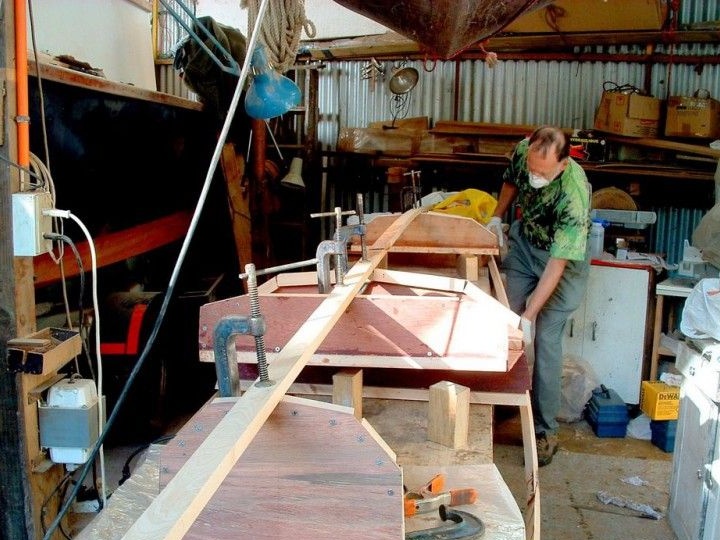
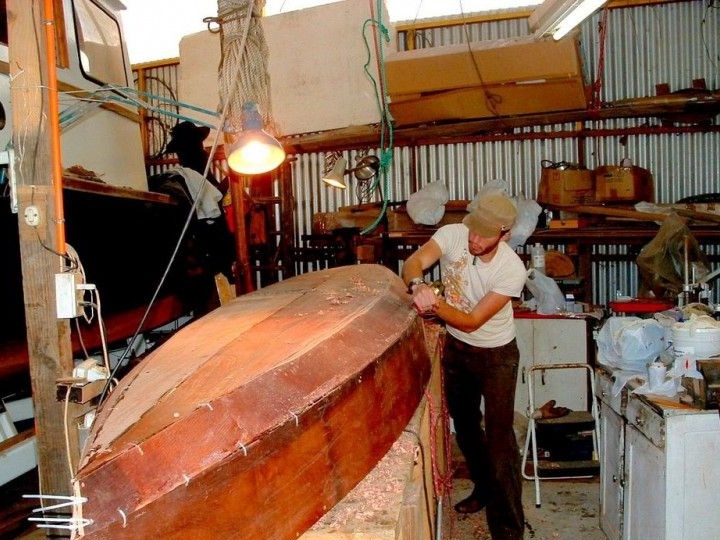
Step 2: Build a boat
At first, the author tested several types of epoxy resin and insulating material before finding the perfect combination.

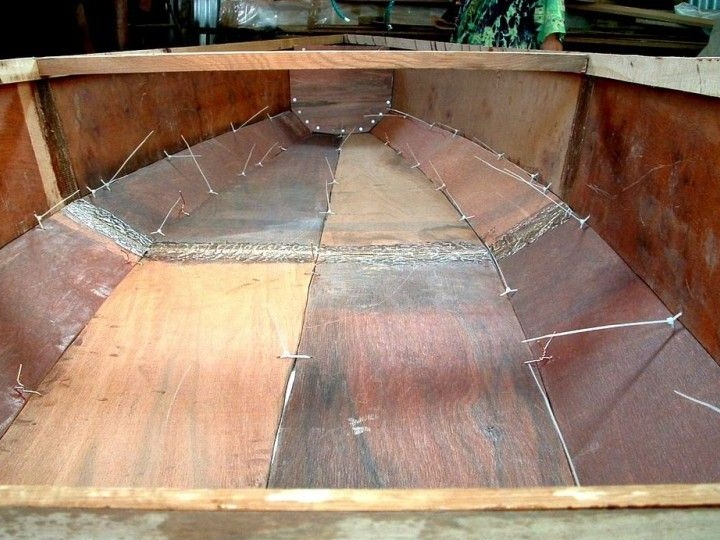
When assembling the boat to fix the parts, the author first used adhesive tape. But the tape does not hold well and I had to fasten the parts with wire.
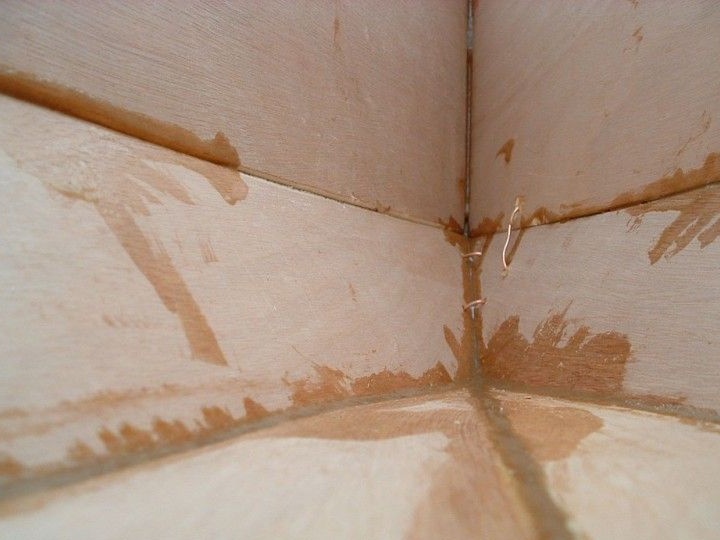
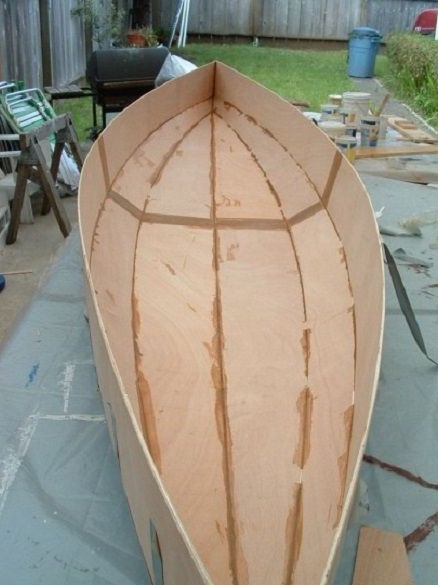
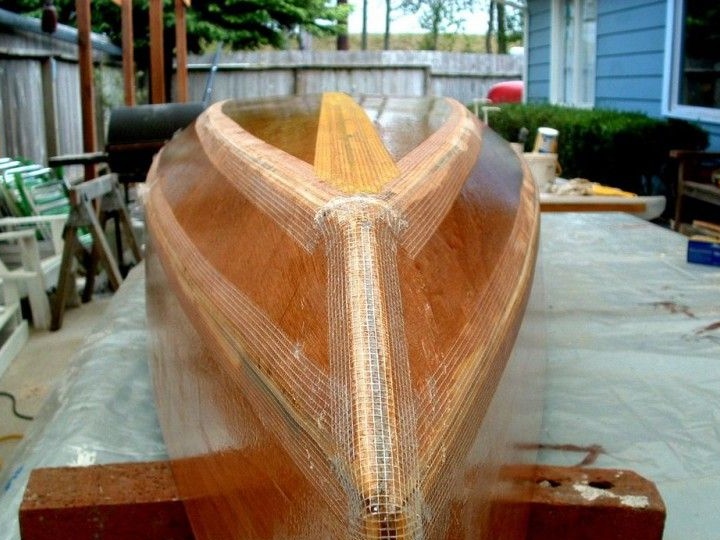
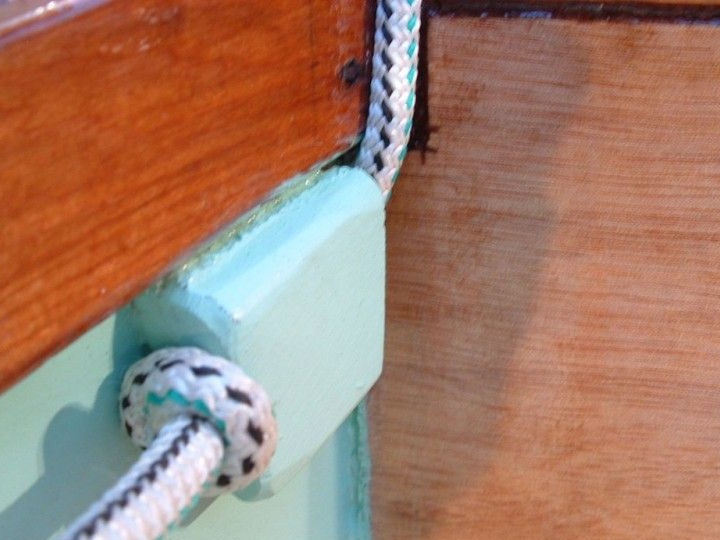
To prevent the epoxy from flowing into the butt joints, a fiberglass tape was glued to the joints. After the resin had set, the tape was removed. Joints were coated in several layers with sawdust epoxy. The boat was also covered with resin in several layers.
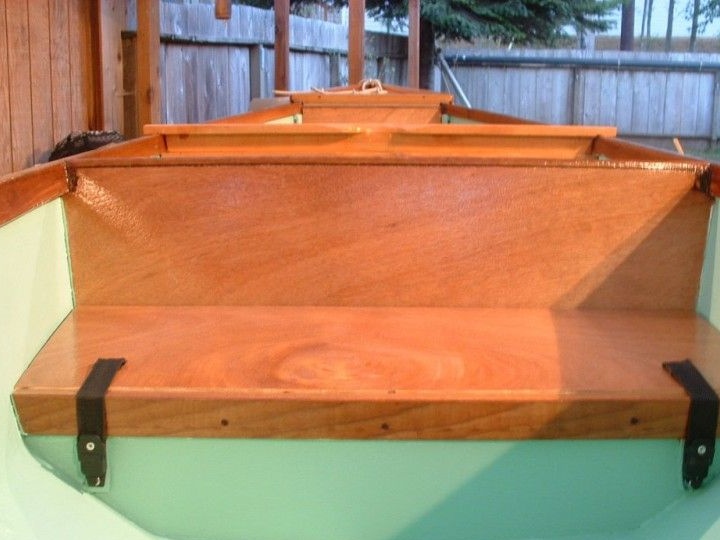
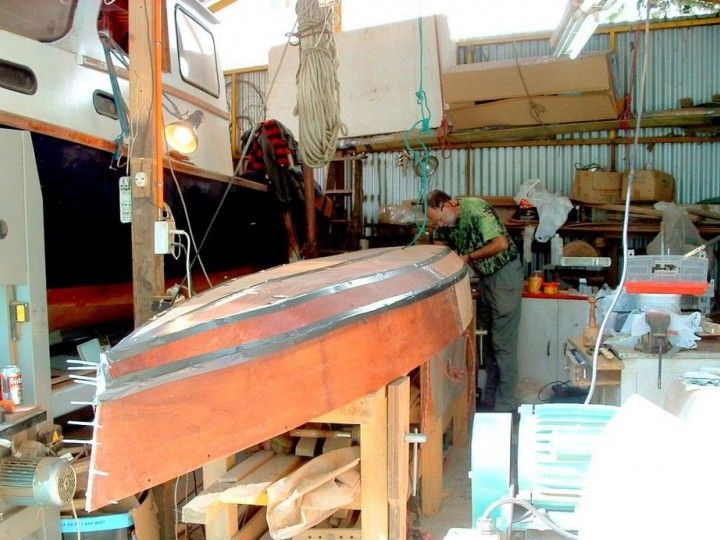
Step 3: Installing the seats and the beam
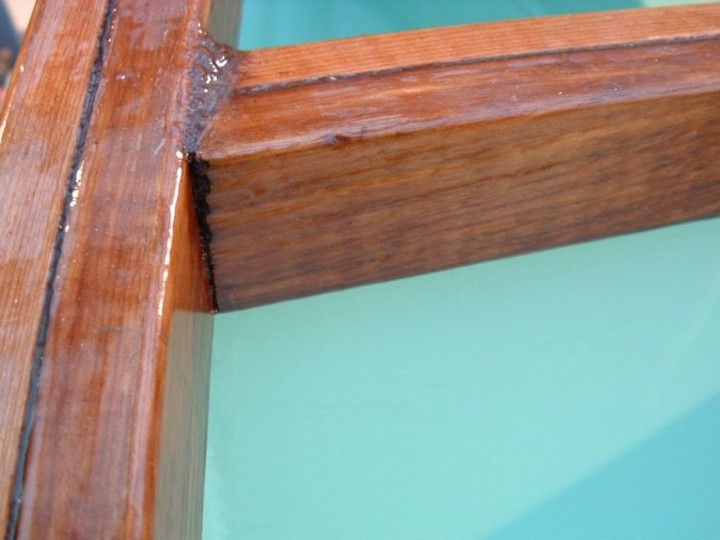
On the upper edge of the boat, the author, for reinforcement, glued a beam. Fabricated and installed seats. Seats and timber were also fixed with epoxy.
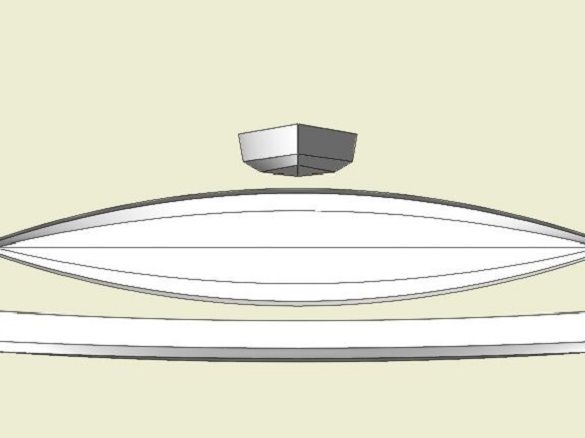
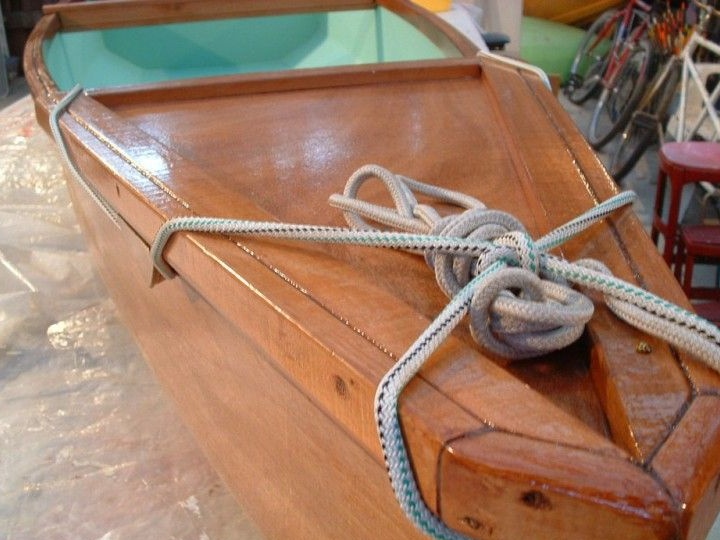
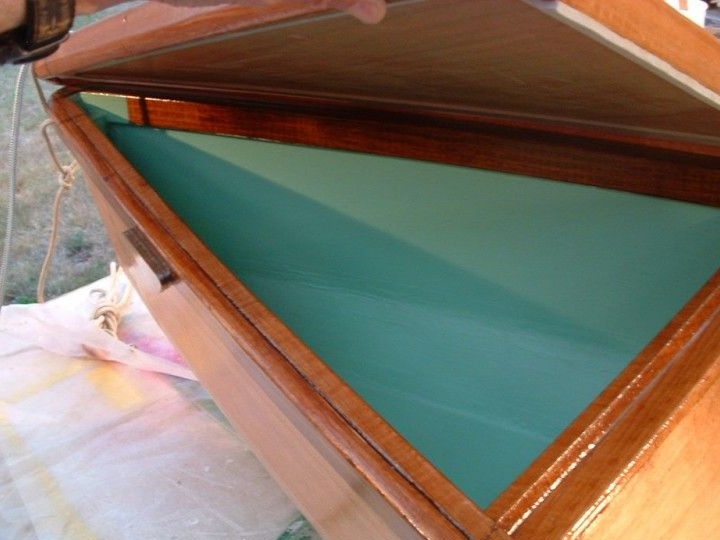
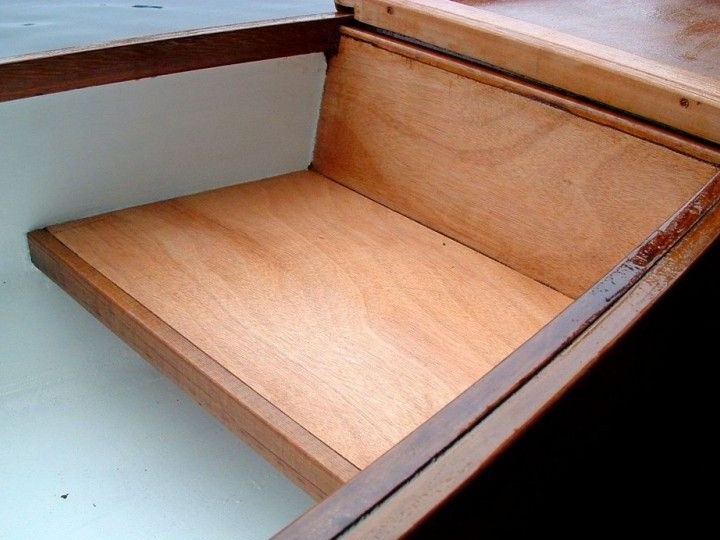
Step 4: Drawer
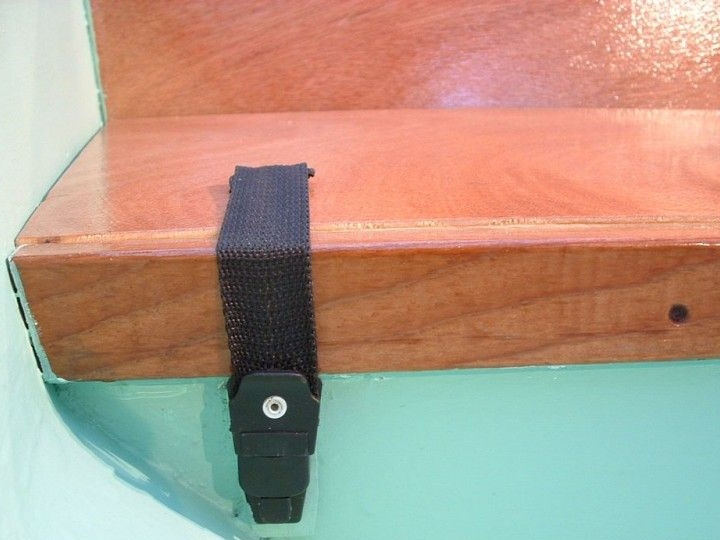
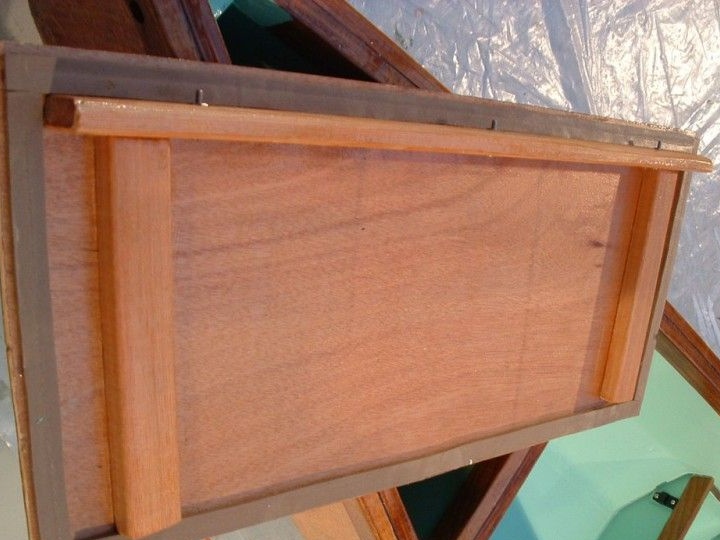
At the back of the kayak, the author made a waterproof box. The lid of the box was fixed with a rope.
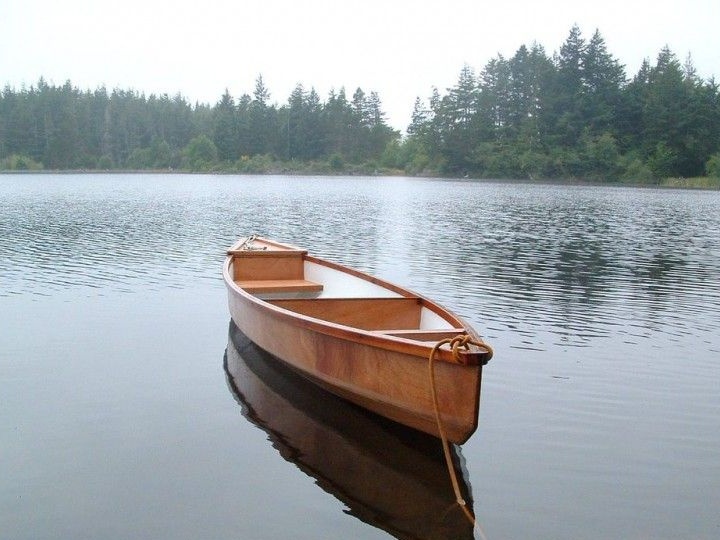
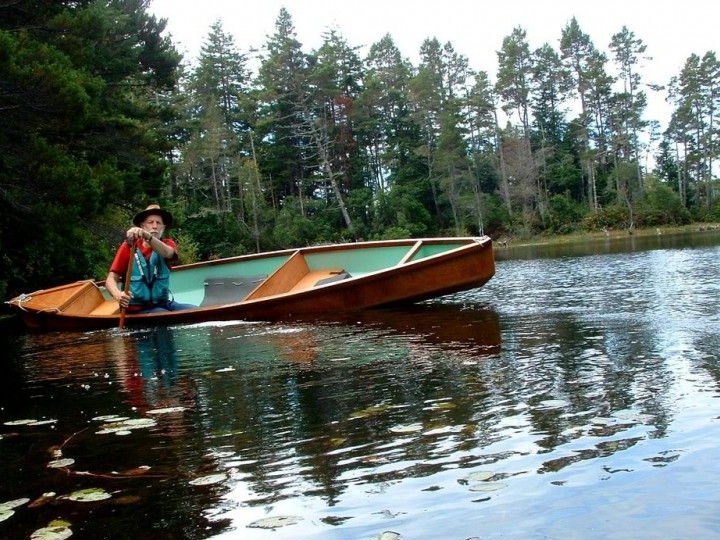
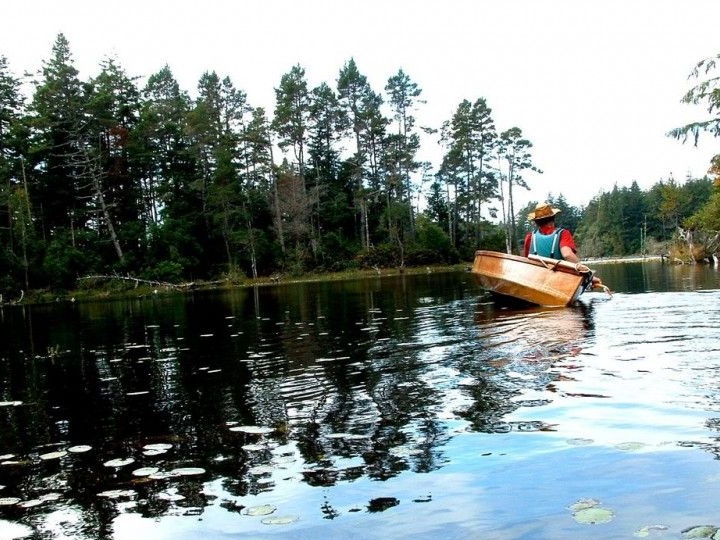
Step 5: Launch
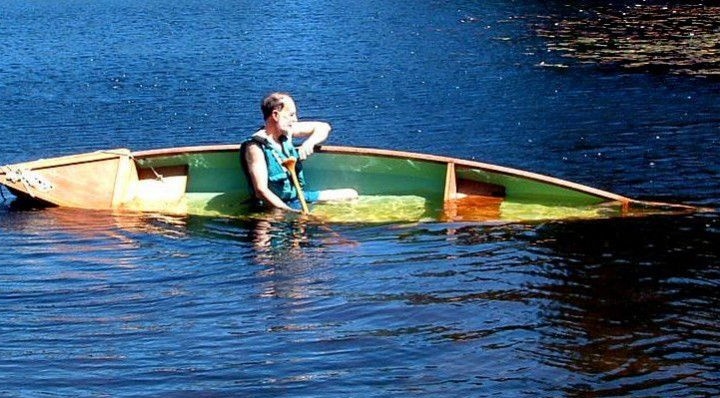
During the tests, the kayak showed its survivability. Kayaking is more complicated than a regular boat, it is necessary to balance. But even a water-filled kayak remained afloat.
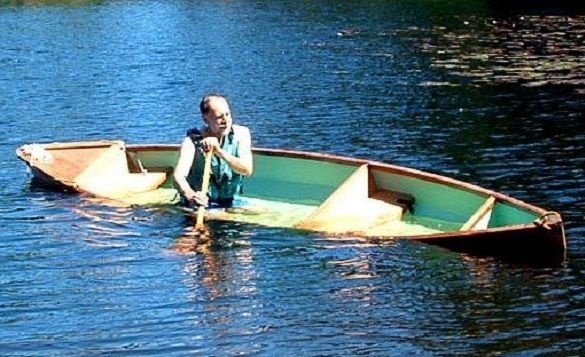
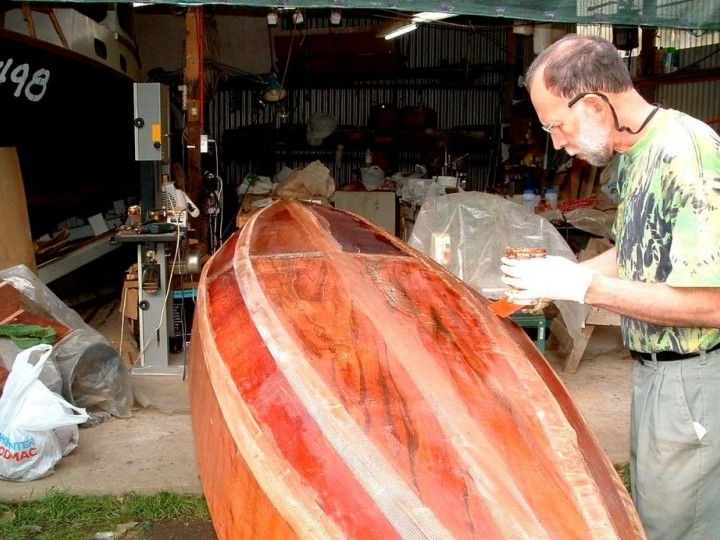
The second kayak.
The author built a second kayak while in Chile. With the help of local residents who provided the room and the tool, the author began to manufacture kayaks.
In the manufacture of the second kayak, other drawings were used.
First, the details were cut. Then, taking into account previous experience, the parts were screed on plastic clamps and the seams were coated with epoxy.
To protect against the leakage of epoxy, adhesive tape was used instead of fiberglass.
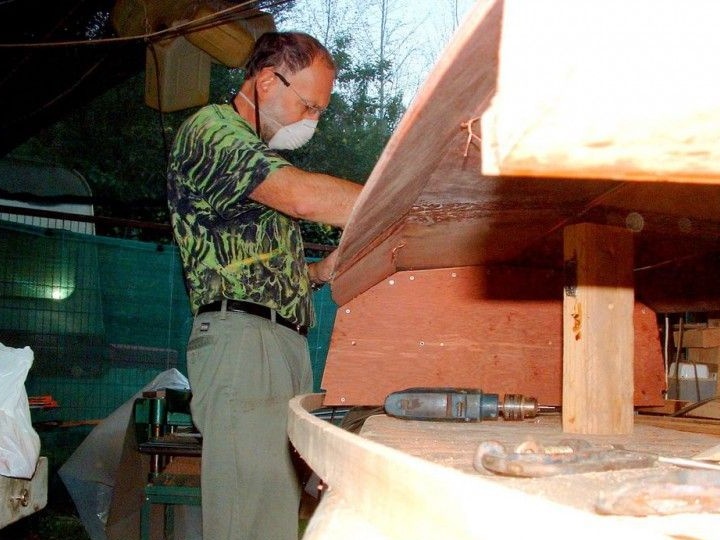
After applying the resin to the seams from the inside and solidifying it, the adhesive tape and screeds were removed. External seams are also treated with epoxy.
Seats installed.
For the manufacture of this model, the author had two sheets of plywood. Kayak trials have shown that it is more stable than the first model and it’s easier to manage.

Author homemade He was satisfied with the boat and most importantly he found out that even in a foreign country you can do a lot if you find like-minded people.