Conceiving repair, many of us plan only to “refresh” the interior of a room or home by re-painting wallpaper. However, in the process, getting into the excitement and realizing that wallpaper alone cannot be dispensed with, more thorough repairs are taken. In such cases, one of the most popular issues that must be addressed is the question of moving higher / lower or adding new outlets. This will be discussed in the article below.
Let's start with the theory. There are several types of electrical wiring in houses, namely: open, for example, wiring located on top of the wall and hidden in special boxes, and hidden, located inside the wall in gates or in voids.
Today we will focus on hidden wiring as one that is more convenient and does not spoil the interior of the room.
Owners of Soviet apartments can “boast” of the minimum number of outlets, which today, due to the sharply increased number of electrical appliances, is clearly not enough, which means that the topic of adding or moving outlets will be very useful.
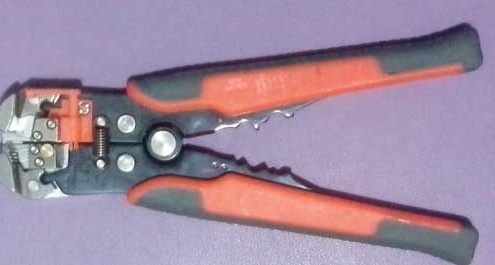
So, to transfer or add an outlet, we need: a special shtorez or grinder, a puncher or an electric drill, a crown for drilling in concrete and a building level. In addition, a tool for cutting them is needed to work with wires; if it is absent, it is easy to replace it with an ordinary sharp knife.

Also, do not forget to take care of the materials in advance; choose and buy the required number of cables, sockets and mounting boxes. As for the choice of cable, it is necessary to be guided by the following rule: if the wiring in your apartment is old aluminum, then the cable you need should also be made of aluminum; if the wiring is modern copper, then choose a cable from copper. In addition, remember that in old apartments the wiring is made without grounding, the cable is respectively two-wire, which means it makes sense to buy a two-wire cable, without unnecessarily overpaying for the third core.With sockets, the above rule also applies: if the wiring is two-wire, then the socket should be purchased with the appropriate one, without grounding contact.
And finally, before starting work, we remind you: all the work of transferring and adding outlets must be done BEFORE the final decoration of the walls (plaster, wallpapering or painting) so as not to spoil the appearance of the walls.
Having prepared for work, we begin installation of the outlet itself.
Consider the option of adding a new outlet.
First you need to make a marking of the location of the new outlet and the place where the cable will be laid on the wall, completing it with an ordinary pencil.

Next, you need to cut out a special groove for the cable, the so-called "shtrob", and drill a hole for the future outlet with a crown on concrete.


After laying the cable in the wall and fixing it with special plastic dowels, we install a wall socket in the hole cut out in the wall and plaster the stroba and the place around the wall socket. As for the mixture for plastering, the most suitable option in this case would be mixtures with the addition of gypsum, or regular alabaster.

After waiting for the mixture to completely dry, you can proceed to decorate the walls and install the sockets themselves.

The next option will be of interest to those who wish not to add a new outlet, but to transfer an existing outlet lower to the floor.
There are several options for solving this problem: a complete replacement of the old cable with a new one or extension of the old cable with a new one.
In the first case, the working procedure is as follows: it is necessary to disassemble the old outlet, dismantle the old cable all the way to the junction box and lay the new cable from there, performing such laying according to the technology described above.
The second option is similar to the first, and involves connecting a new cable to the old one by connecting them; further work is carried out in the same way as in the previous case.
But what if you need to move the outlet not lower, but higher? - you ask. No problems.
In this case, it is necessary to dismantle part of the old cable to the location of the new outlet and cut it off, then make a hole for the new box using a crown and a drill, and install the box with the outlet.
So we examined the main issues that arise when transferring or adding new outlets. Good luck with your work.
