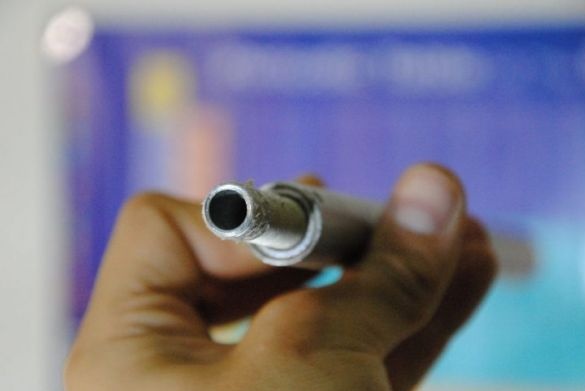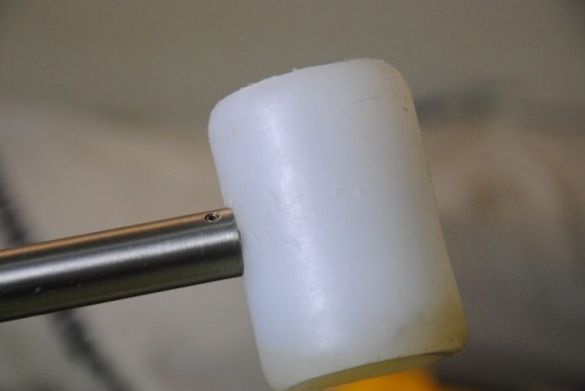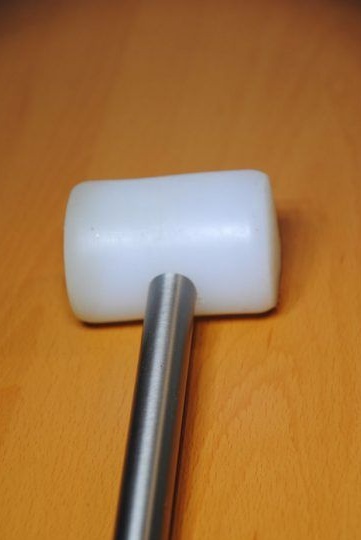
Greetings to readers of all fans to craft. This article will talk about how to independently, do it yourself make an analogue of a rubber mallet, one that is used in the neurologist’s office. Of course, you can buy a similar hammer in a specialized medical store, but instead of wasting time looking for such a store with this tool, the author suggests spending this time on its independent manufacture. In addition, you are likely to be able to significantly save, as the materials that are needed to make a hammer are pretty cheap. In addition, the manufacturing process is quite simple and does not take much time.
Before starting work, it is necessary to collect all the necessary materials to create an analogue of a rubber hammer from the neurologist’s office and prepare the necessary tools:
Material List:
-4 sticks of hot glue (30 cm long and 11 mm in diameter)
-Some amount of water
- Steel rod with thread at the end
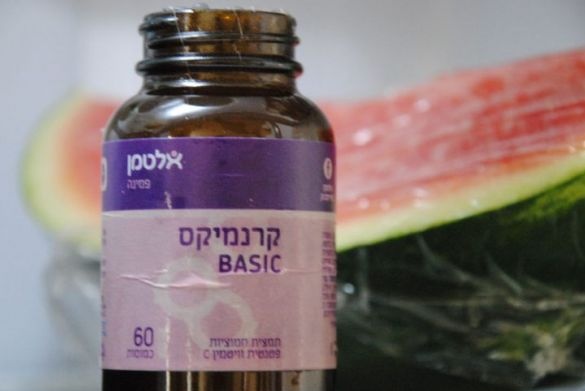
- The glass bottle from the tablets, its diameter will correspond to the size of the top of the hammer, so you need to select based on this parameter.
-Soap
a pair of plastic bags
-Glass glass
Tools required:
-Glue glue gun
-Wooden vise
- Drill with a diameter of 10 mm
-Universal knife
-Hammer
As well as electrical appliances:
-Microwave
-Refrigerator
-Drill
Work must be carried out strictly in a ventilated or well-ventilated area. When working with you need to wear leather gloves, as well as safety glasses.
Estimated cost of materials about $ 2.5
No special skills are required for work.
The manufacturing time is about 3 hours, most of which had to wait for the glue to cool.
Consider a detailed description of the manufacturing process of an analogue of a rubber malleus:
Step one: Heating a glass of water
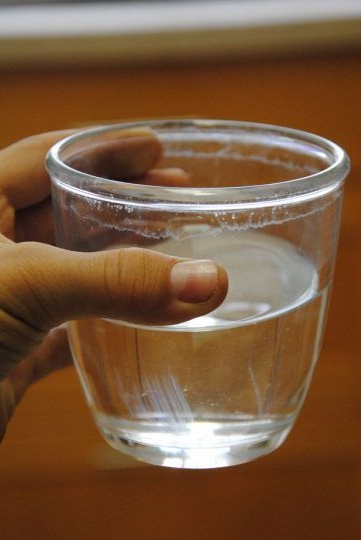
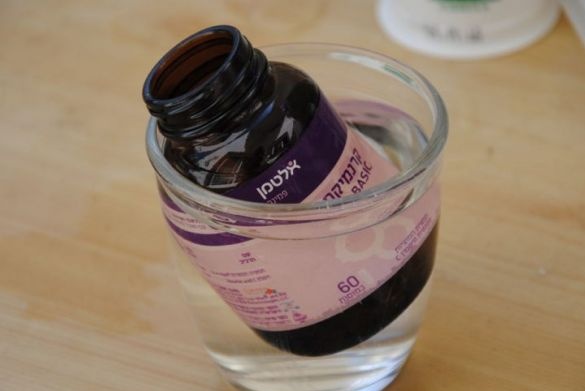
First you need to heat a glass of water. This will protect the glass from cracking, as in the future it will experience some temperature changes. In the next step, hot glue will be poured into the jar. Therefore, if the jar is cold, then it is likely that due to a sharp jump in temperature, it will crack and glue will pour out through the crack. And this is very undesirable.Also, pre-heating the jar will allow the glue to cool more slowly, and it will have time to evenly distribute throughout the jar.
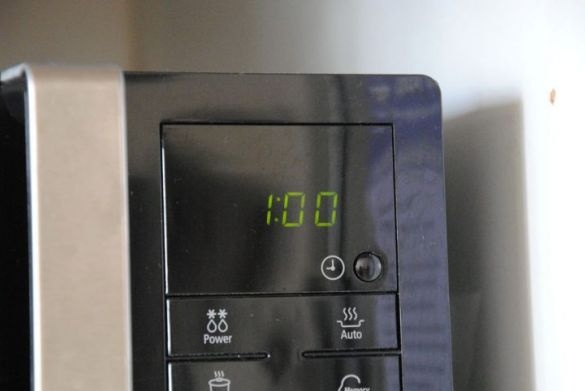
Therefore, the author put a glass of water in the microwave for a couple of minutes, although you can use a teapot or saucepan for the same purpose.
Then a bubble was immersed in a glass of water. This must be done slowly and smoothly to avoid cracks.
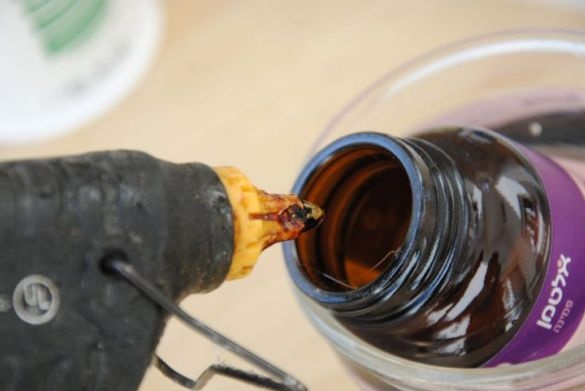
Step Two: Pouring hot glue into a glass bottle
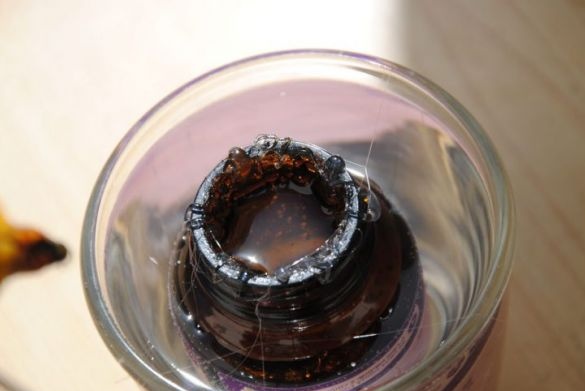
Then the heated glue was poured into the prepared vial. In this process, it is important to ensure that water does not get inside the bubble, otherwise the assurances for the hammer will turn out to be in the wrong shape.
Step Three: Cooling glue.
After the glue has been poured into the bubble, it must be cooled to harden. You just need to leave the glass with a glue bubble on the table for one hour. After an hour, when it cools down and becomes slightly warm, you can place the vial in the refrigerator, this will significantly accelerate the hardening of the hot melt adhesive.
Fourth step: get the workpiece.
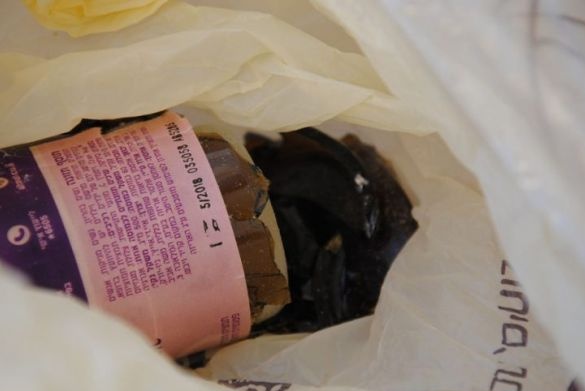
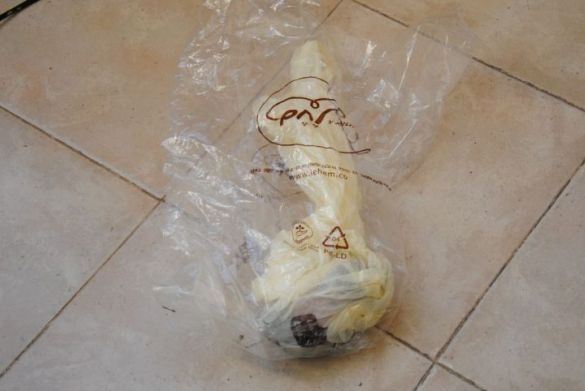
When the glue has completely cooled, an absolutely cold bubble will help you understand this, you will need to get the workpiece out of the bubble. To do this, the author wrapped the bottle in several plastic bags so that the fragments would not fly apart, and broke the bottle, throwing it on the floor. It was not so easy to break the bubble; the author threw it five times.
It is highly recommended that you wear safety glasses when you break the bubble; additional safety precautions will not hurt.
Fifth step: cleaning the workpiece.
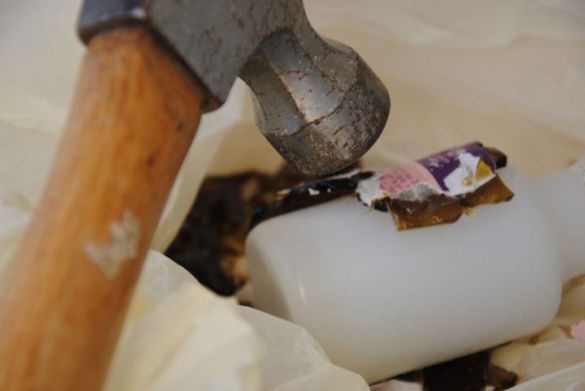
In this case, the glass of the bubble adhered rather strongly to the glue blank, so I had to tinker a bit with the cleaning. When working with glass fragments, the author advises using leather gloves so as not to get hurt. The remaining glass was removed with a conventional hammer.
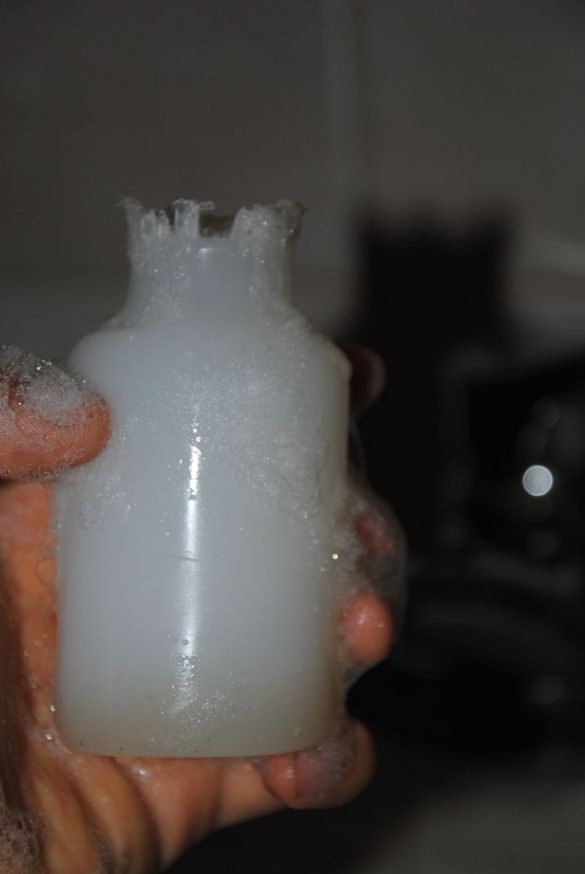
Sixth step: washing the workpiece from glue.
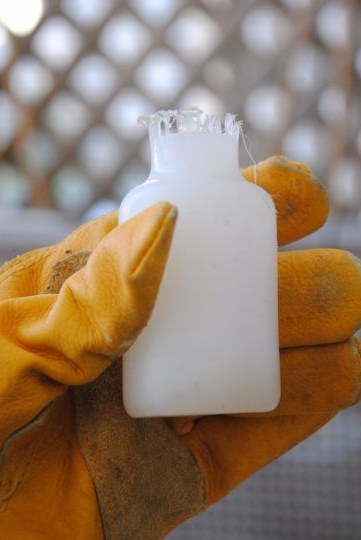
Nevertheless, small pieces of glass or dirt could remain on the workpiece, so it would be better to rinse it under running water. For best effect, wash the workpiece with soap several times, and then wipe it dry with a towel.
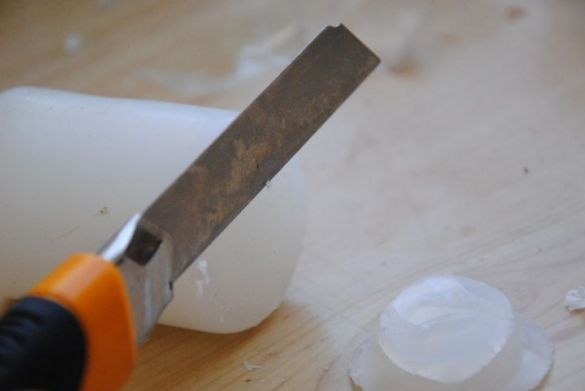
Seventh step: Correction of the shape of the workpiece.
Since the bubble has a neck, the workpiece from hot-melt adhesive is not symmetrical. Excess influx was removed with a universal knife. As a result, a symmetrical neat blank was obtained for the completion of a malleus.
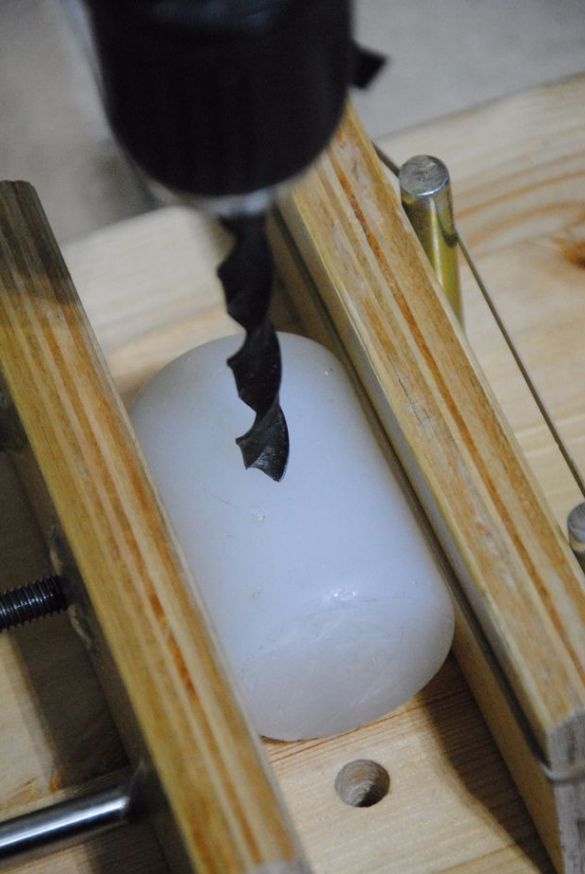
Step Eight: Drilling a hole and securing the handle.
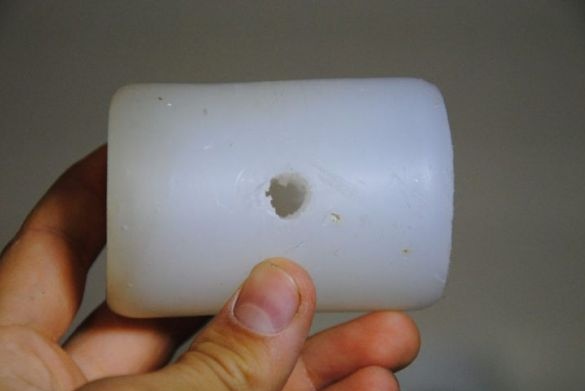
To assemble the hammer, it is necessary to attach the catch to the handle. To fix the handle, you need to make a hole in the glue blank. In order not to damage the assumption during drilling, it is better to fix the workpiece in a wooden vise. After the assumption was securely fixed, the author drilled a hole for the handle about two centimeters deep into the workpiece. Then a handle was screwed into this hole.
Thus, an analogue of a rubber hammer, ready for use, was obtained.

