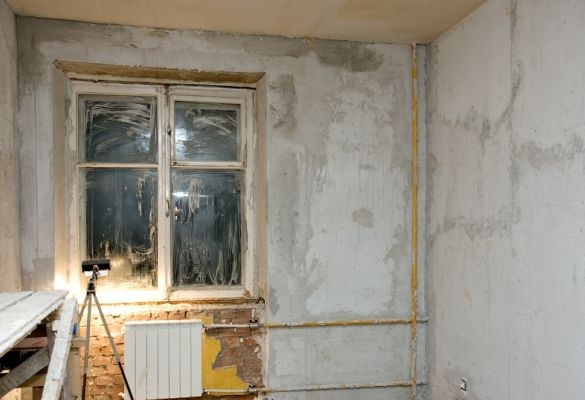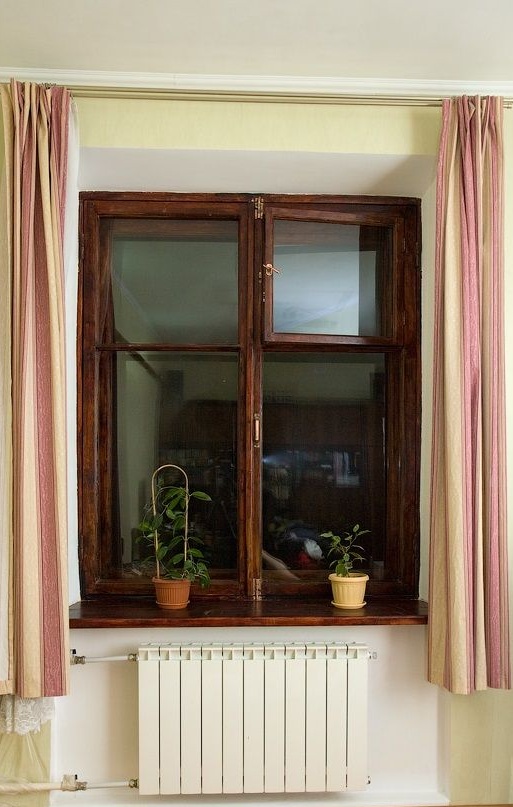
Sooner or later, the moment comes when the windows in our house or apartment begin to wear out, which leads to the leakage of water during rain, drying out of the wings and the appearance of cracks and chips in them. And although it seems that there is only one way out - purchase new metal-plastic windows instead of the old wooden ones, do not rush. Just a few days of leisurely work and your old wooden windows will shine with new colors and will serve you for more than one year.
So, the restoration of old wooden windows ... Despite the apparent complexity of the work, in this process there is nothing that could not be done on your own, be patient and familiar with the theory. And if this article does not reward you with patience, then the author will share his knowledge now.
First, let's decide what kind of tools and materials we need. For restoration of old windows, prepare: a building hair dryer, a grinder, several brushes, a wood stain and wood varnish, ordinary wooden glazing beads instead of old ones, a window seal and accessories, glass (if necessary), several grinding wheels for working with wood.
Small tools, such as brushes, are probably on your household; if they are not available, they can easily be purchased at any hardware store. As for the "more serious" tools, such as a grinder and a building hair dryer, given the rather high cost of the latter, we recommend renting them from friends or acquaintances.
Work begins with the dismantling of old windows. Remove the flaps by unscrewing the old bolts. If the bolts are rusted, we help ourselves with a lubricant from rust, but if it does not help, then we carefully drill the unfit bolts with a small metal drill.
After the sash is removed, it is necessary to inspect them. If they are loosened, we disassemble them and, glued with special glue, collect them back to dry completely.
Next, you need to disassemble the window, removing all the fittings from it, dismantle the glazing beads holding the glass, and remove the glass. A little advice: as a rule, glazing beads fail first, decaying from moisture, so we put the old glazing beads aside; in the future we will replace the old glazing beads with new ones.
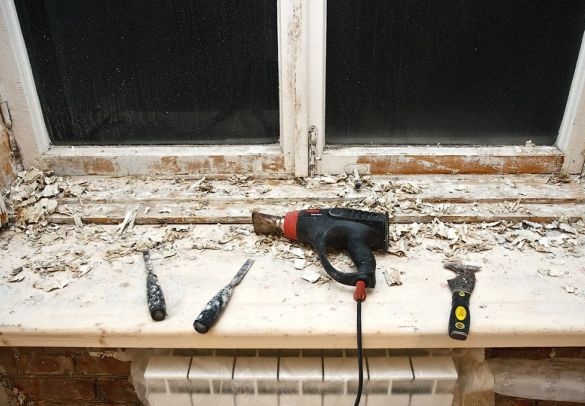
Having disassembled the window, we proceed to clean it from layers of old paint. To do this, we heat the surface of the tree with a construction hairdryer and remove the heated paint layer with a spatula.There are several nuances that must be taken into account: first, the putty knife should be slightly dull so as not to scratch it when working with wood; secondly, you should not keep the hair dryer over one section of the window for too long, this is fraught with damage to wood. Please note that you can also remove the paint with grinding wheels, however, such circles will quickly clog with the remnants of the old paint, which means they will fail faster.
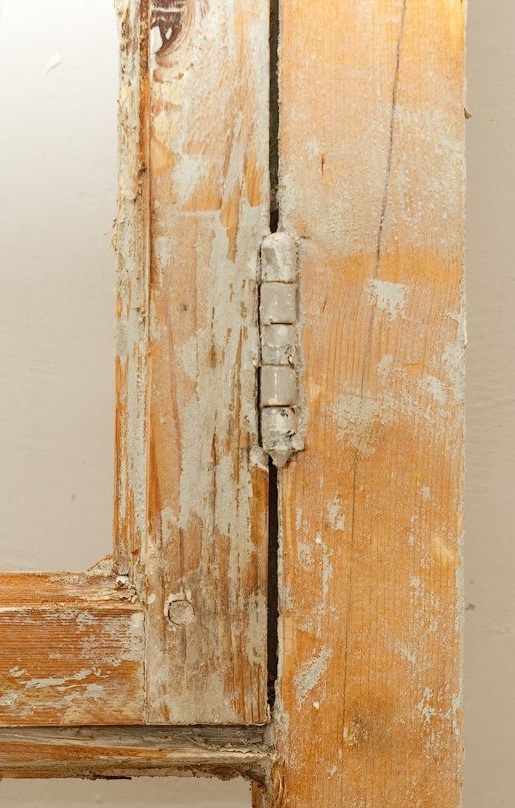
Having removed most of the old paint, we proceed to grinding the wood. To do this, carefully clean the surface of the window from paint and level it; Further, with the help of first coarse, and then fine nozzles, we grind the window. Hard-to-reach sections of windows, for example, corners at the joints, are processed manually with sandpaper.
Having properly prepared the surface of the windows, we are taken for glazing beads. To do this, from the previously purchased glazing beads we cut the workpieces of the length we need and use a thin drill to drill holes in them at the points of nail attachment. Do not ignore this step, without preliminary drilling the glazing beads can crack at the moment of nailing into them.
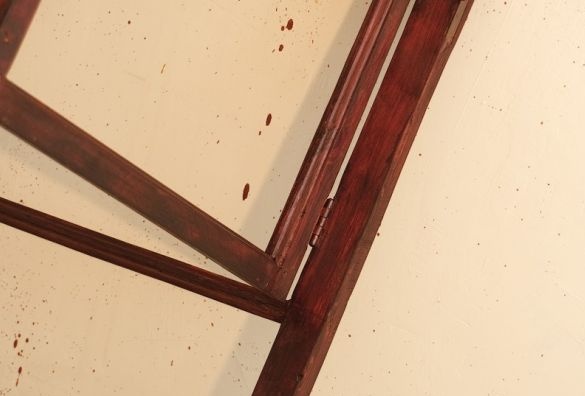
Next, go to the paintwork. We process the surface of the windows and prepared glazing beads with stain.
After all parts of the windows have dried, cover them with several layers of varnish, allowing each layer to dry completely.
Next, we collect all the parts of the windows together and install our windows in place. In this case, you can change the sequence of actions, first collecting the windows, and then covering them with varnish. In this case, the glass must be protected from varnish spray with masking tape.
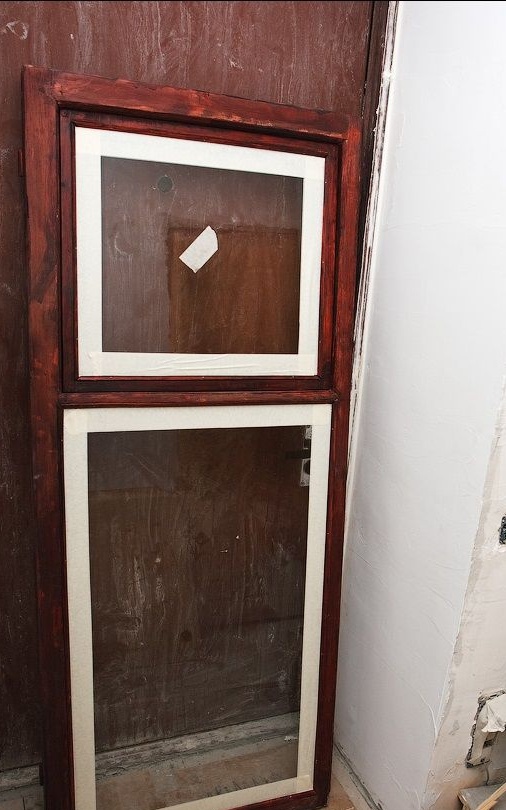
As for glazing beads, the option of painting them after installation on windows is not suitable, since glazing beads with varnish from the inside will not work after installation.

The main work with the restoration of the windows is completed, and therefore it is time to say a few words about their insulation.
Window insulation is carried out in order to reduce heat loss in the apartment; in addition, properly insulated windows provide a denser closure and prevents drafts in your apartment.
How to insulate windows? There are several options: insulation with a special adhesive tape or with a rubber sealant that is inserted into specially made grooves in the "body" of the window.
The first case is more budgetary, does not require much effort in terms of installation; however, it is also less durable.
As for the second option, such a heater is certainly more reliable and durable, but more costly and requires special skills and tools for installation; installing it may not be possible for a person who has never done anything like this before.
Based on the foregoing, we recommend using the first option, which although not so reliable and durable, however, it will not bring you any trouble during the installation process and will protect your home from the cold for several years.

