
In this article, you can learn about how do it yourself You can collect the simple turn signals for a bicycle. This will be especially useful for those who constantly cycle around the city. After all, showing with your hands the direction of rotation can not always be convenient, and sometimes it’s not safe, since you have to steer with one hand, and attention is reduced.
The author has collected his homemade of the three flashlights that I found at home. In order not to come up with a separate scheme for flashing lights, it is best to purchase ready-made, the cheapest “emergency lights” for a bicycle. If you do with the most budget option, then you can assemble a simple circuit on a flashing LED.
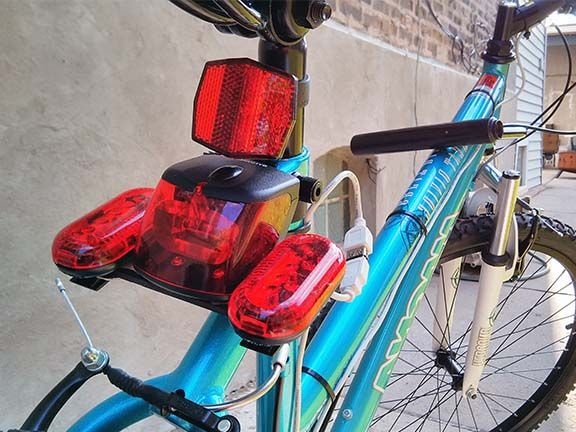
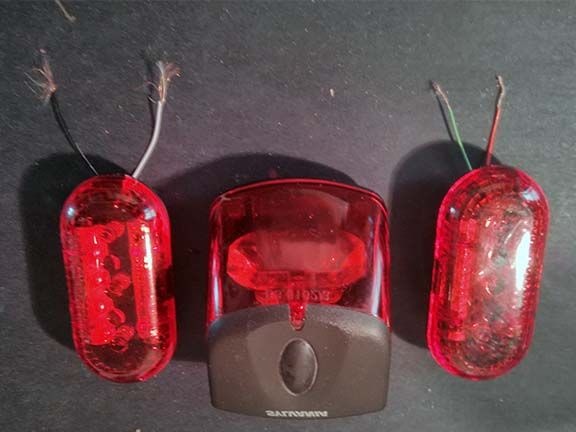
Surely here many were interested in the question - why are three lanterns used. The fact is that on a bicycle the lights are located at a small distance from each other, when compared with auto. In this regard, you need to somehow navigate where the center is. Here, as a center that burns continuously, the author decided to use one more lamp.
Materials and tools for homemade:
- Three bicycle emergency lights;
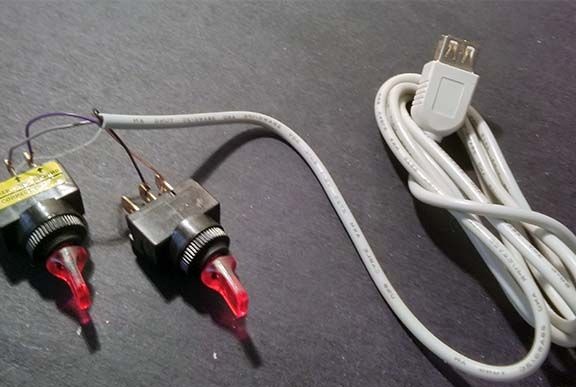
- two toggle switches for turning on;
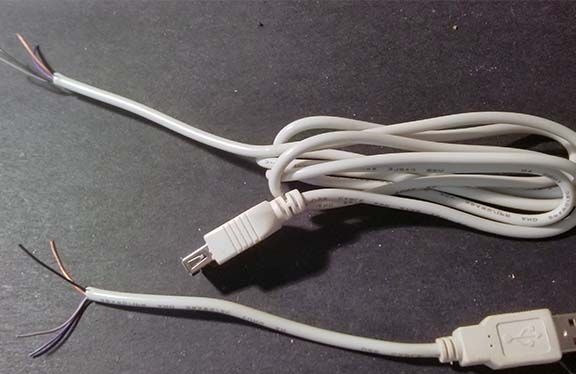
- USB cable (the author has a length of 1.83 meters);
- clamps, wires and other little things.
The process of creating homemade:
Step one. How to choose the right lights
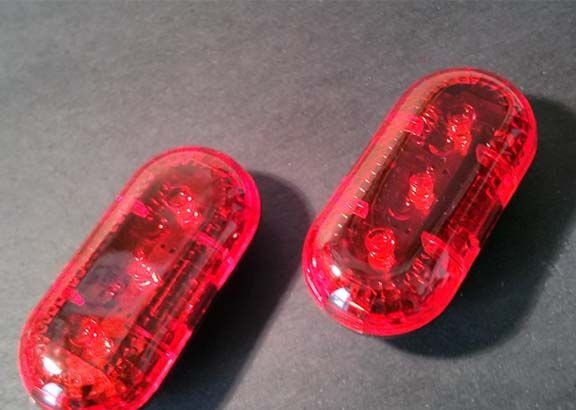
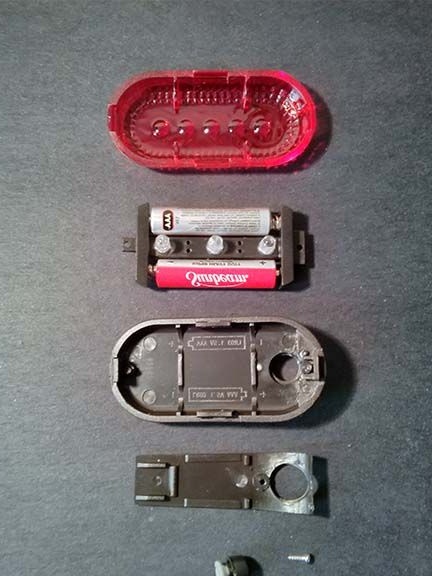
You will need to buy the most ordinary and cheap bicycle emergency lights. The simpler the design, the better. Two flashers with three LEDs and one button to turn off are perfect. As the central lamp, you can choose any to your taste.
Step Two Flashing lights preparation
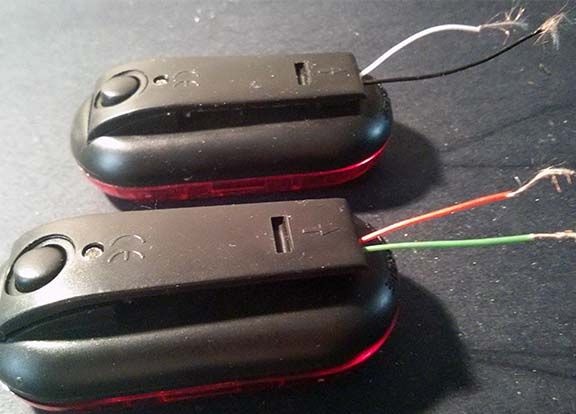
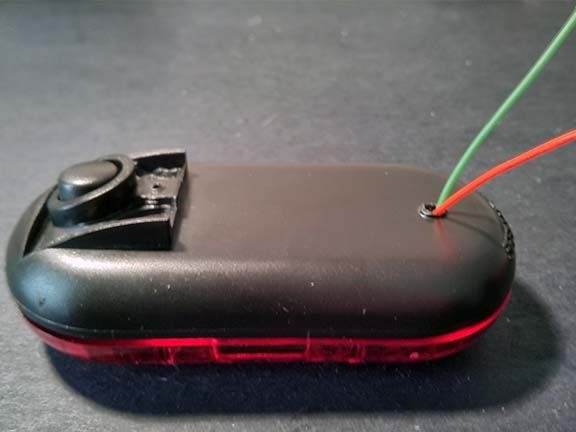
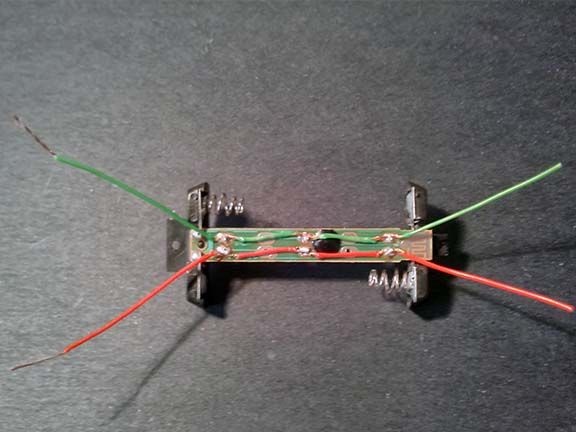
Now the emergency lights need to be prepared, namely, to learn how to turn them on using the toggle switch. For these purposes, emergency lights need to be disassembled. Next, you need to find two wires that go to the flasher switch. These wires need to be extended and flashers brought out. When the wires are shorted, the flasher should turn on. It is advisable to fix the place where the wires exit the emergency lamp with hot glue. If everything is done correctly, you can proceed to the next step.
Step Three Connection of flashing lights
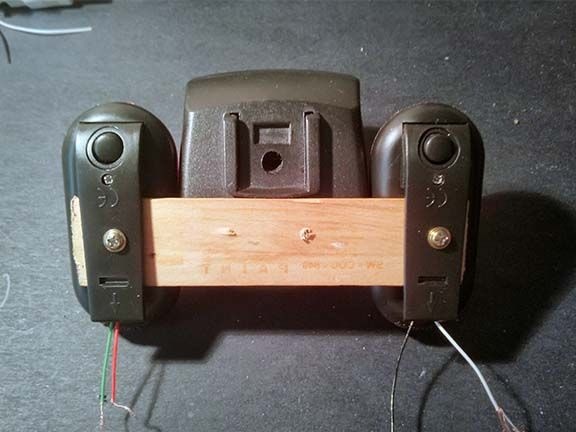
To connect the flashing lights, the author decided to use a USB cable. But first, all three flashing lights need to be combined into one design, for this purpose a piece of plywood or other similar material is suitable. The easiest way to stick the lights with hot glue.
Then you can connect the lights, as you know, the USB cable has four wires, with two wires going to each lamp. The connection points need to be wrapped with electrical tape, and it is best to use heat shrink. In conclusion, the wire must be securely attached to the base of the structure, that is, to plywood or board, depending on what was used. You can use a stapler, for maximum reliability, it will not be superfluous to drip hot glue on top.
Step Four The final stage of assembly
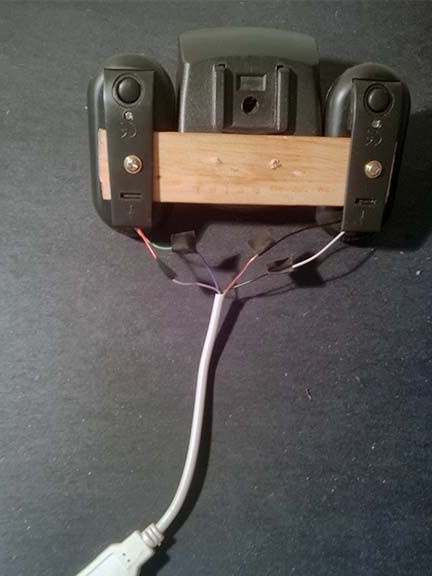
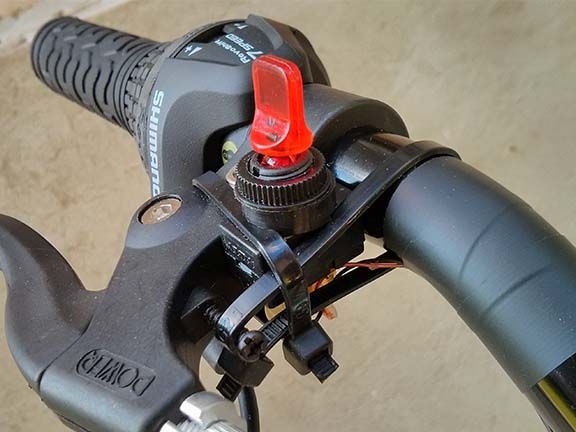
Next, you need to set the turn signals switches. There should be two, one on each side. The switches must be convenient so that the turn can be turned on quickly and without much effort. Also, they must be waterproof, since when the water gets in, the turn signals can turn on spontaneously. Of course, the right turn signal is connected to the right switch, and the left to the left.
To connect, the author again uses a USB cable with a female connector, or vice versa. Subsequently, to combine the entire system together, you need to connect the USB cables. However, for these purposes, the usual four-wire wire is also suitable. After that, the system can be tested.
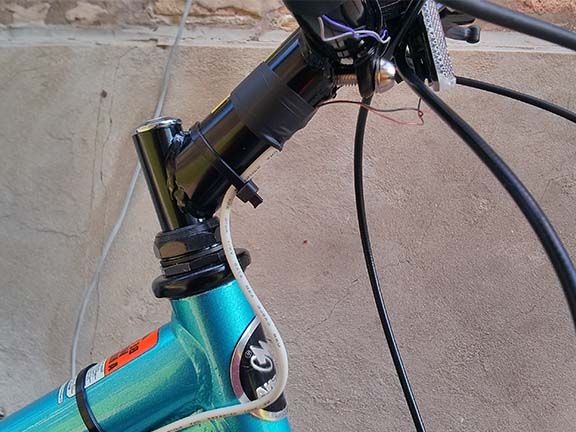
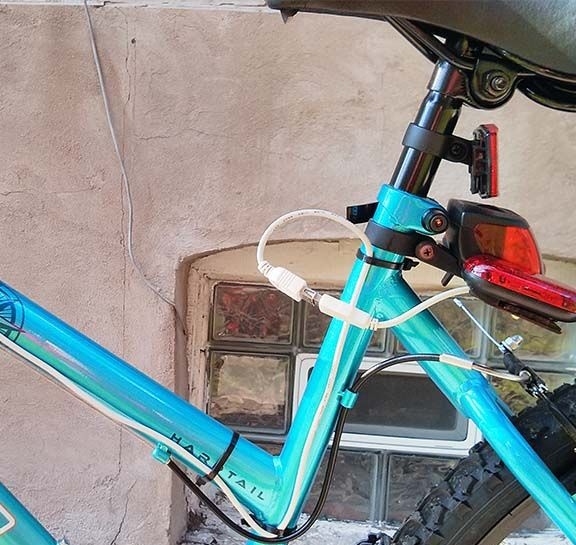
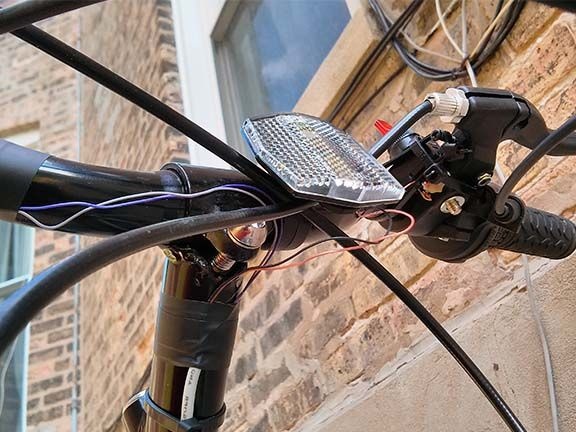
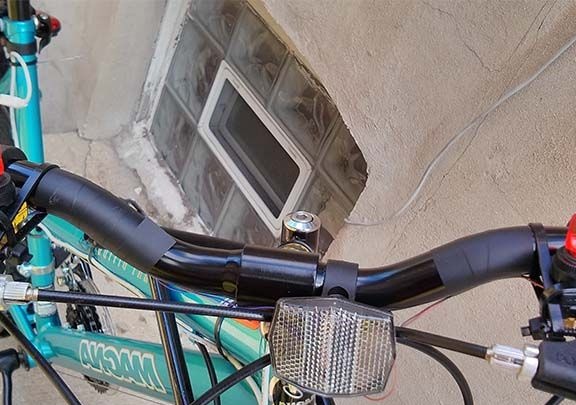
If everything works correctly, now it remains to lay the wire on the frame. The length and method of laying can be different, it all depends on the model of the bike. The author had a cable length of 1.83 m. It is important to understand that the wire in the steering wheel area should not be too tight, otherwise it will break off when turning. The wire can also be secured to the frame using plastic clamps. Do not tighten the clamps over the brake cables, otherwise they can be pulled.
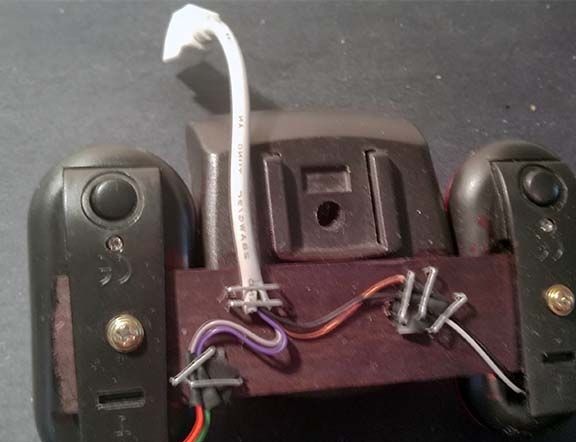
The author secured the switches using clamps and electrical tape. The switches were borrowed from an old toy keyboard.
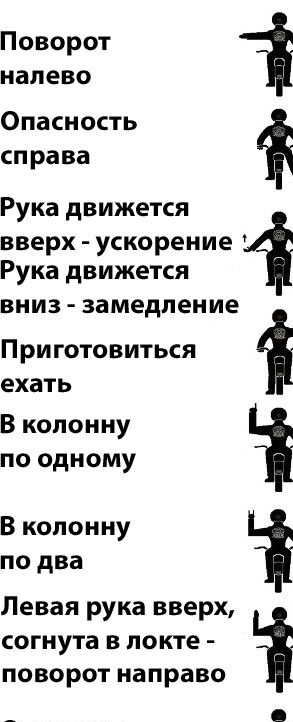
For those who decided to continue to use the classic signals of a cyclist, the picture below will be useful.
It is important not to forget that such turn signals are not a guarantee that the cyclist will see and respond to his signals. In any case, you need to be careful on the road. According to the author, such a signal is not too bright, so during the day it will most likely not be visible, so you still need to signal with your hands at this time of day. The flasher turned out to be removable, so that if necessary, it can always be quickly disconnected.
Even if necessary, such emergency lights can be fixed in front of the bike.