
The author of this project writes that the idea came to him when he noticed that there are no big differences between the rotor of an alternating motor and the rotor of a constant motor.
In his opinion, the difference between them is only in their size.
List of tools used in the project:
drilling machine, screwdriver, welding machine, knife, silicone.
Material List:
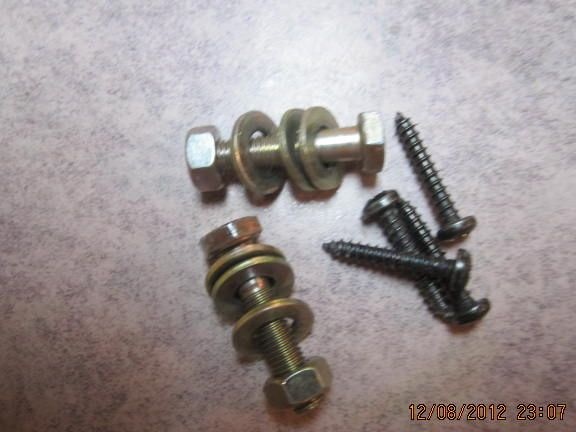
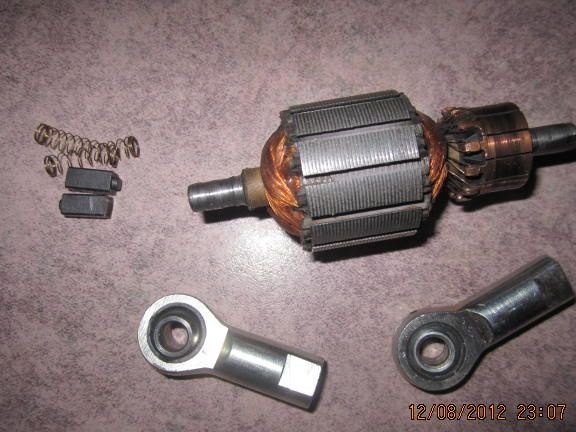
Plastic block (Size will vary depending on the size of the motor coil), AC rotor, 4 magnets, 2 brushes and springs (make sure they fit your rotor), sheet metal, square tube, washers, bolts, screws, bearings holders.
Step 1 :Making the bed.
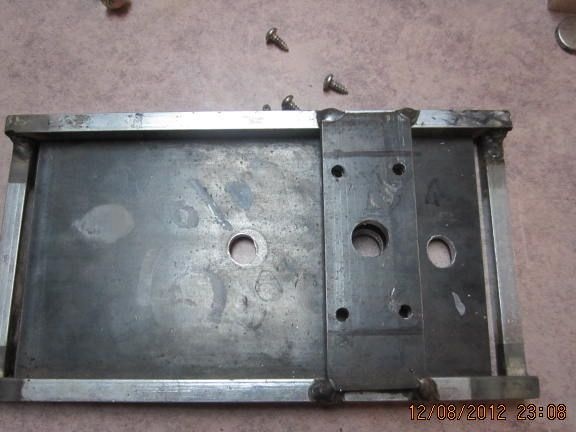
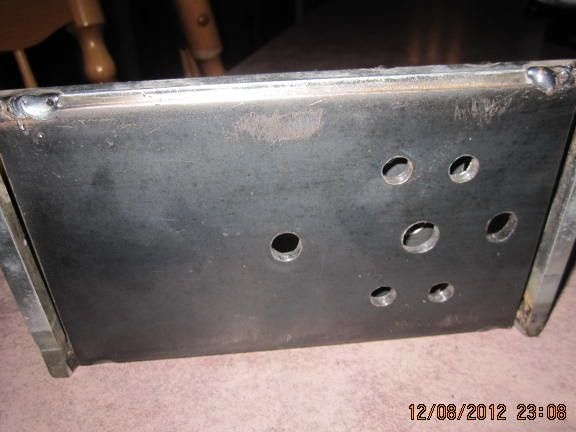
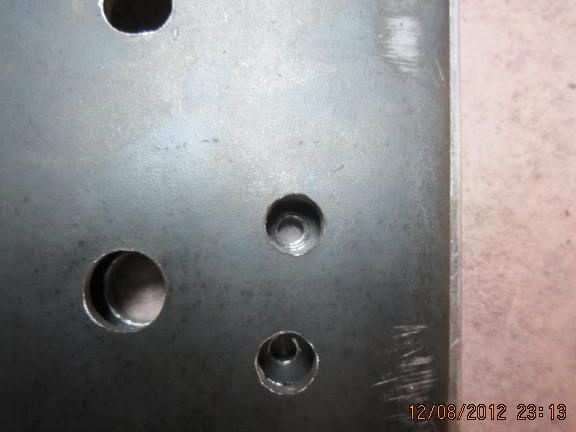

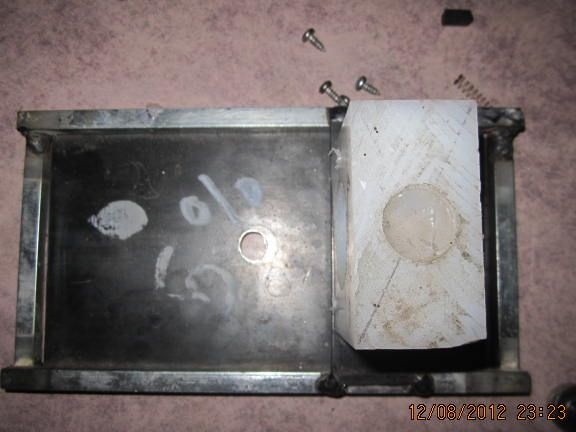
The bed and holes are made according to the size of the rotor and block that is available in your presence.
Step 2: Drilling a block and making holders for brushes.
[center]
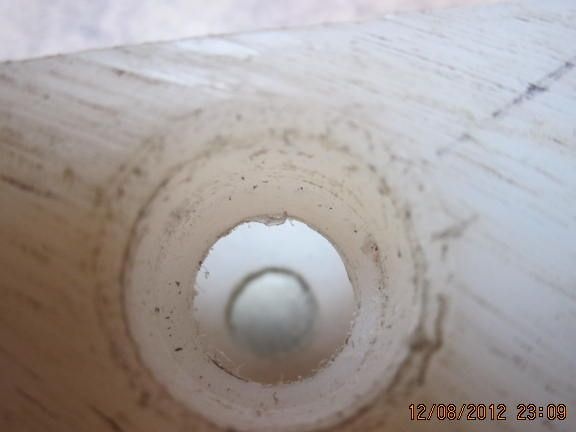
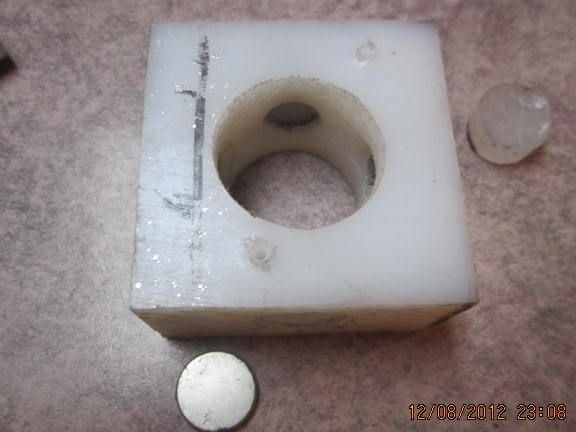
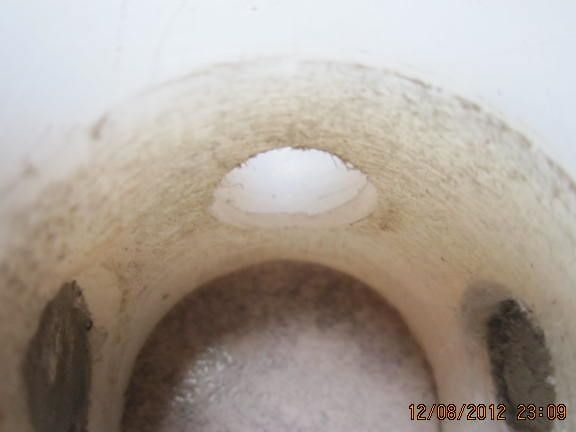
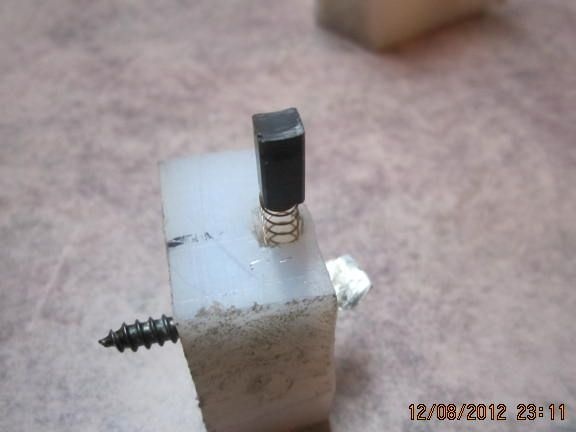
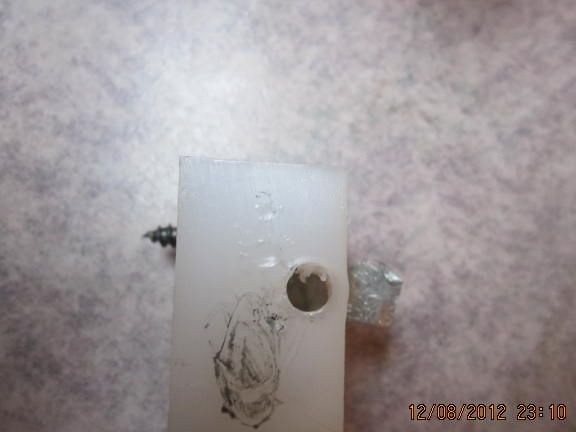
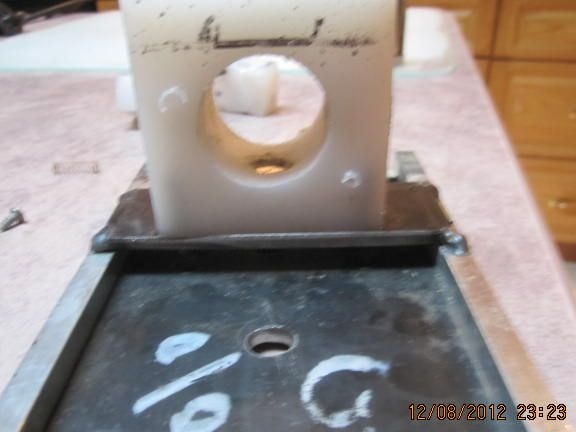
We drill five holes in the block - one in the center for the rotor (the gap between the rotor and the block wall is 2 mm) and four on the sides for magnets.
Step 3:Installation of magnets in the block.
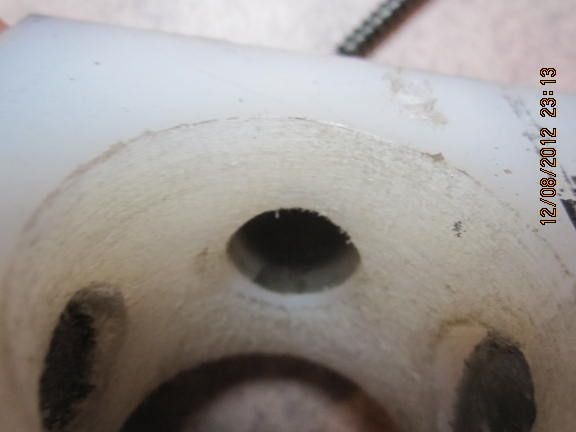
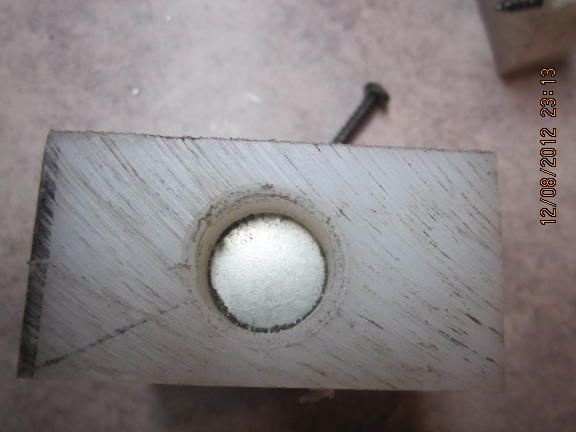
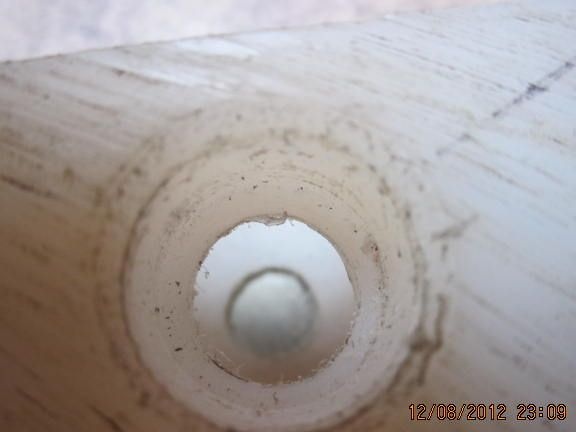
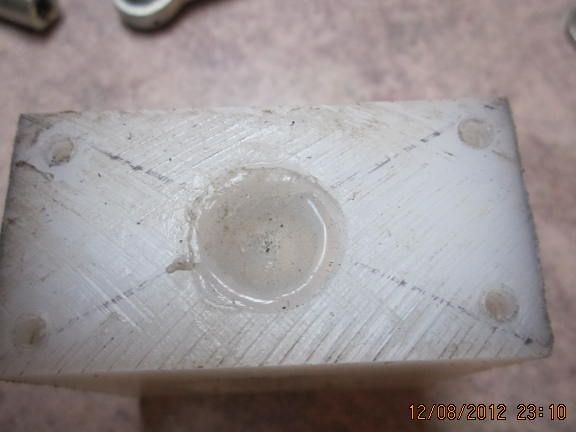
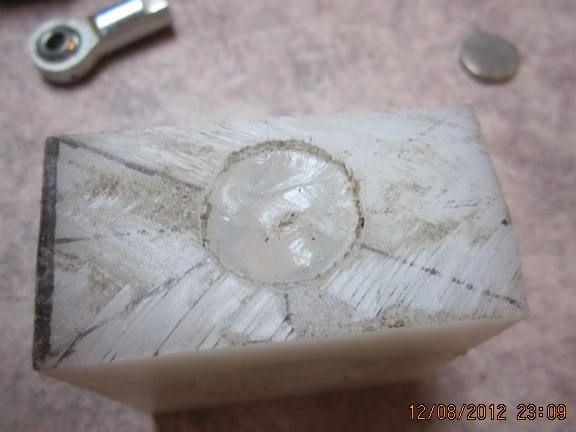
Install the magnets in the holes + - + -.
Step 4: Installation of all components on the bed.
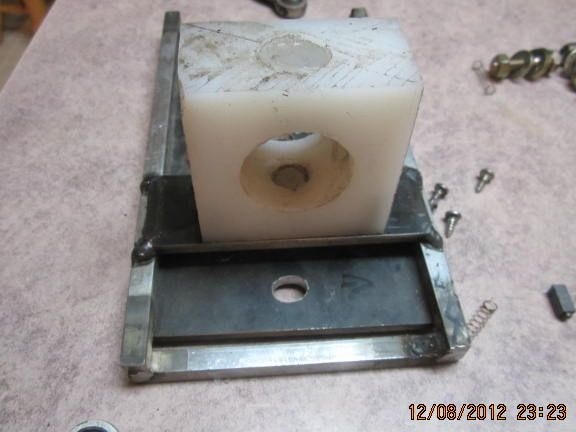
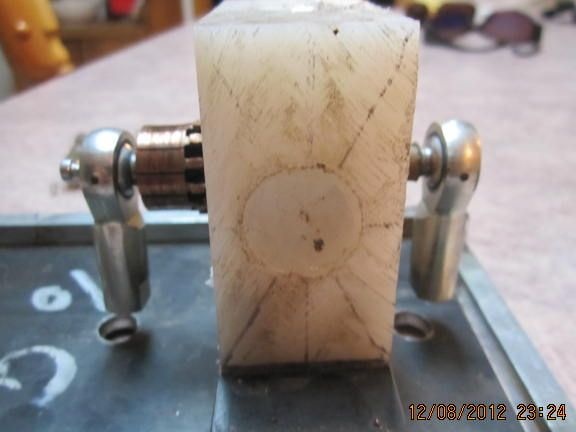
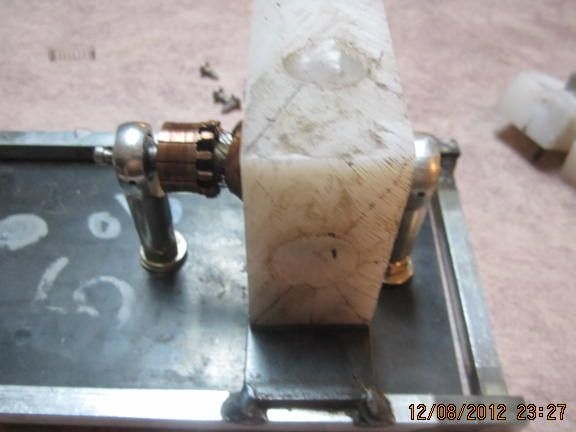
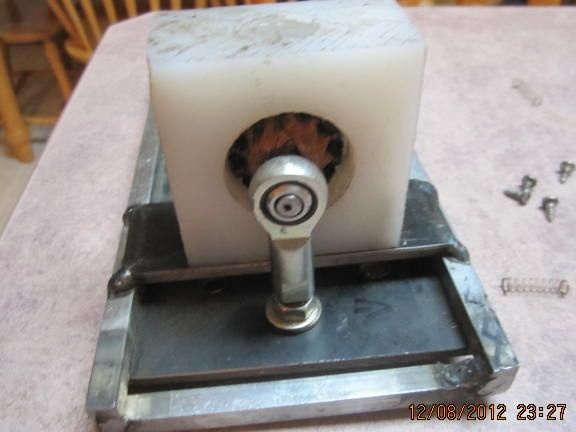
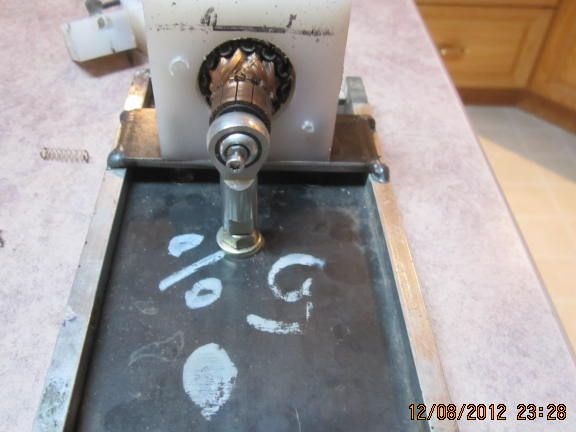
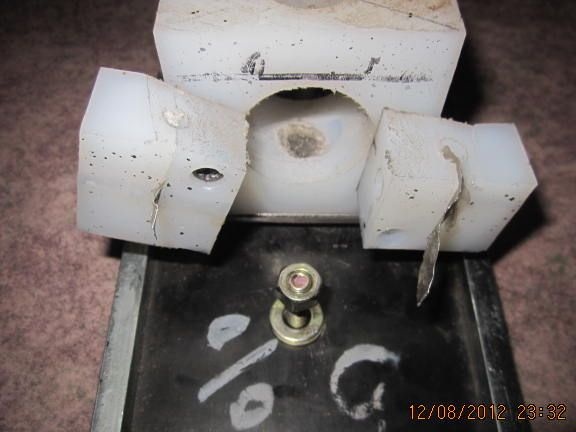
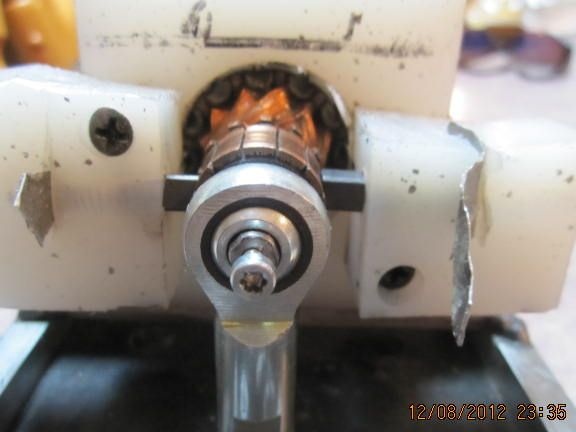
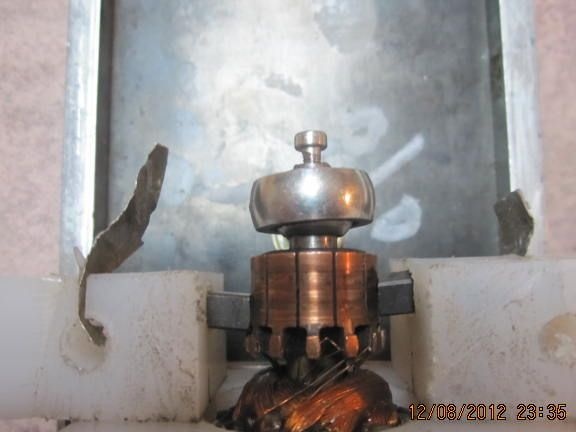
When installing the rotor, do not forget to center it relative to the block. Eliminate all friction of the rotor with the block that will arise during the assembly process.
