Greetings to all readers of this wonderful site. It is obvious that among many lovers homemade there are people who often work with wood or wooden structures, that is, carpenters. Anyone, even the most novice carpenter, will not be useless with such a tool as a bench vise. They can perfectly serve to firmly fix the workpiece or part on which you will work, thus increasing the accuracy and reliability of the work. That is why in this article you can familiarize yourself with step-by-step instructions for making a bench vise made of plywood and metal. The author made them himself, do it yourself using only his skills and tools.
To create a wooden bench vise, a huge variety of different tools were used, almost everything that the author had available. That is, literally everything was used: from a hammer to various machines and a welding machine. Many of the tools are replaceable, so there is no particular reason to write the entire list, it all depends on what tools are in your arsenal. Inventiveness is a very important skill for the settlers of our sites. But do not forget about caution!
But the materials that served as the basis for creating a bench vise are worth listing, especially since there are not so many:
- plywood sheet 30 mm thick
- plywood sheet 20 mm thick
- metal rod with thread M27
- nuts, washers, nails, screws, furniture bolts
- bars made of oak, cherry
- a strip of metal 4 mm thick and 6 mm wide
Now we turn to a detailed description of the method of creating a wooden bench vice, which was used by the author.
Step one: preparation of the necessary materials and their processing for further use in the construction of a vise.
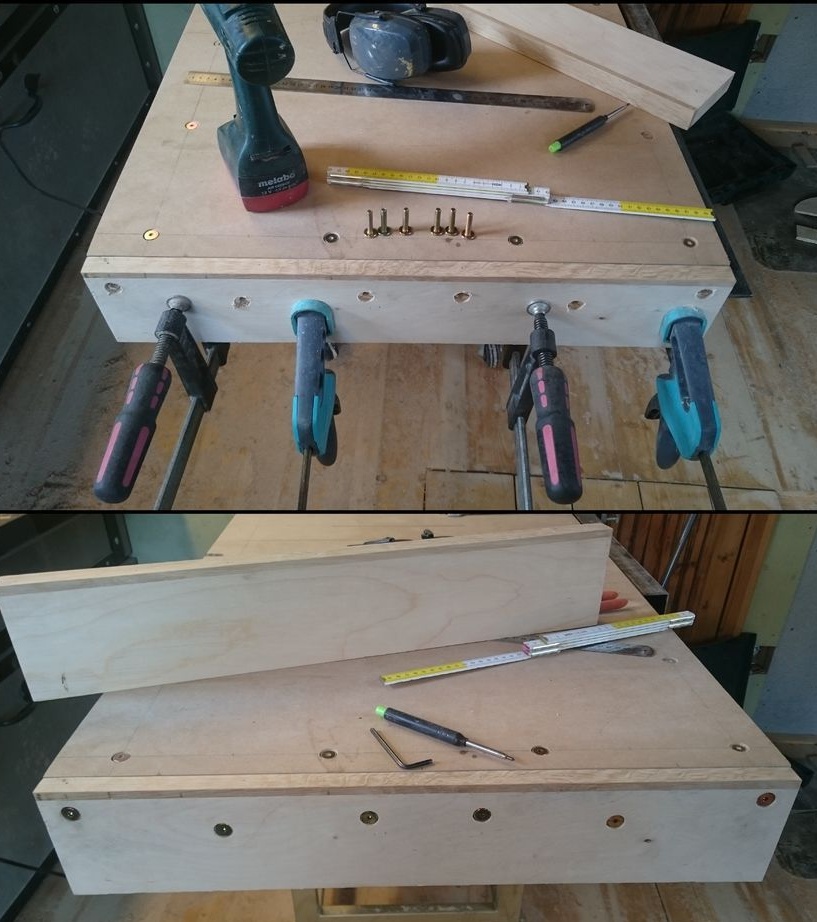
The first steps the author decided to prepare a sheet of plywood, which will serve as a blank for the vise. A plywood sheet was taken and trimmed according to the required dimensions.
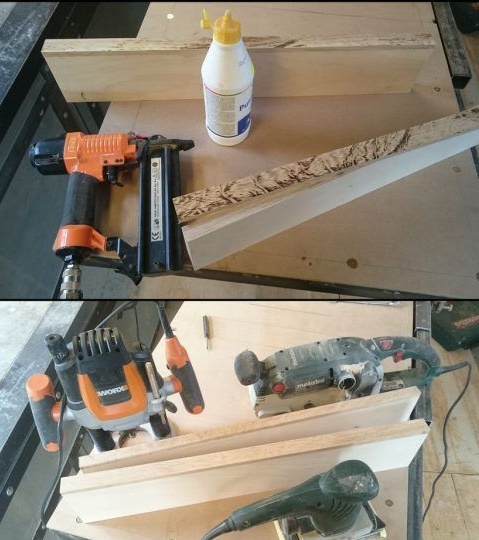
In total, two blanks were made, one of which was 20 mm thick, and the second 30 mm. Then a pair of oak strips were also cut out, each strip being 10 mm thick. These strips need to be attached to the upper edge of the jaws, glued, nailed or screwed with screws, at your discretion. This action will provide better stability, as well as a more pleasant appearance of the product. After that, it is necessary to remove excess materials and sand the wooden part of the structure.
Then, a blank of 20 mm thick plywood sheet was attached to the table due to a couple of furniture bolts.
Step Two: Work on the device mechanism
Further, the author took up work on the very mechanism of a vise.
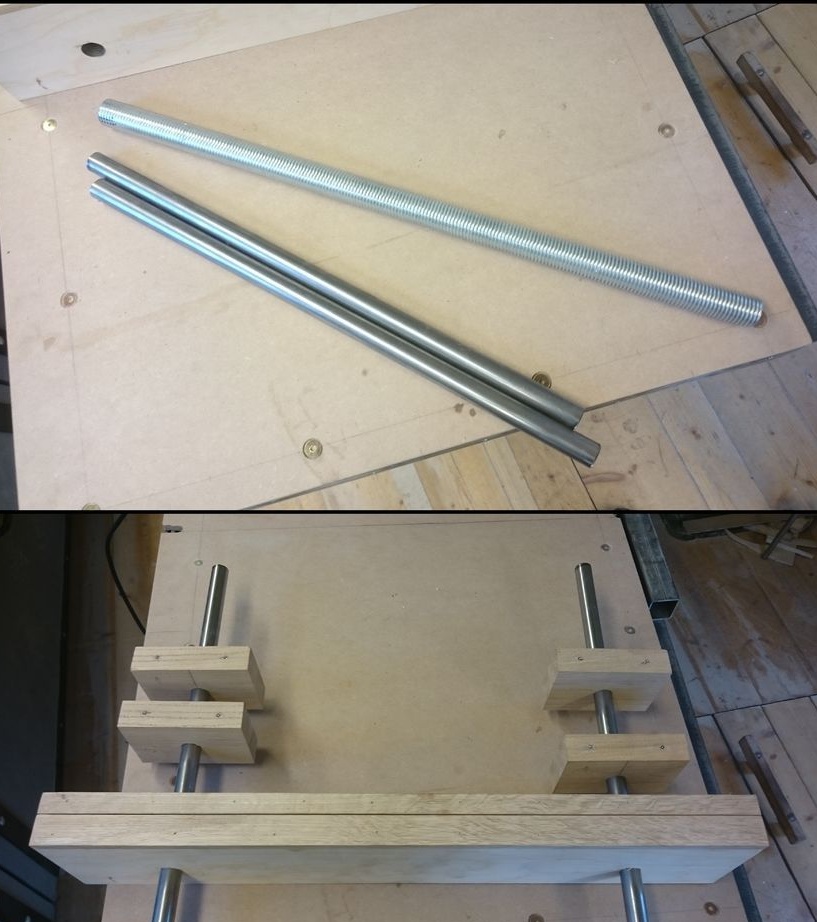
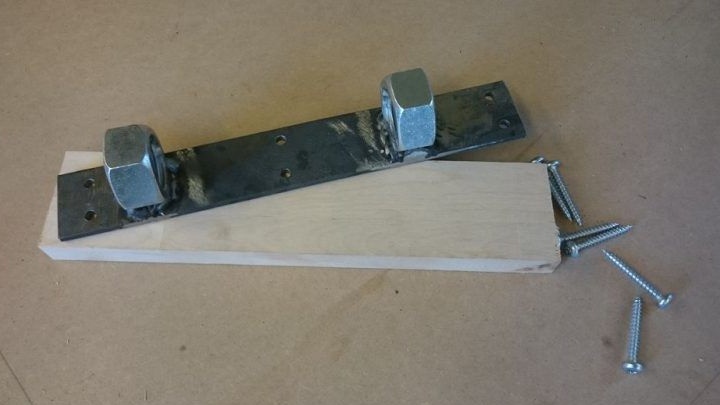
For this, a metal 20 mm rod with M27 thread was purchased, and in addition a couple of washers and nuts. A strip of metal 6 mm wide and 4 mm thick was also purchased. All these materials can be easily purchased at specialized or even construction stores in the city. In fact, these are all the metal parts that will be needed to create a vise mechanism.
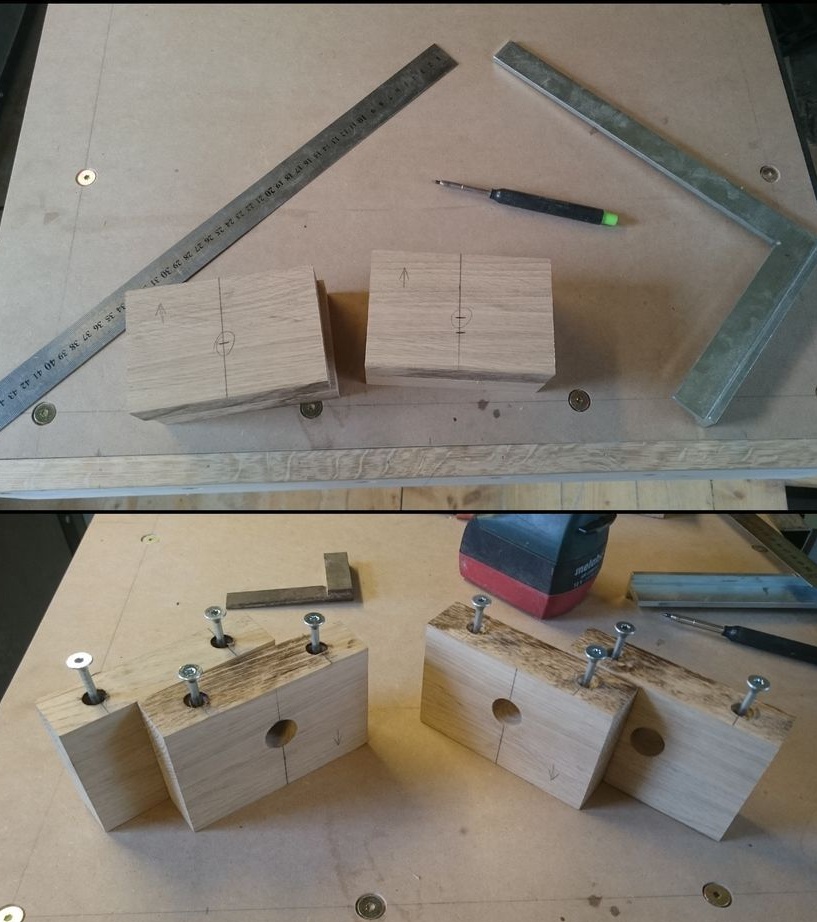
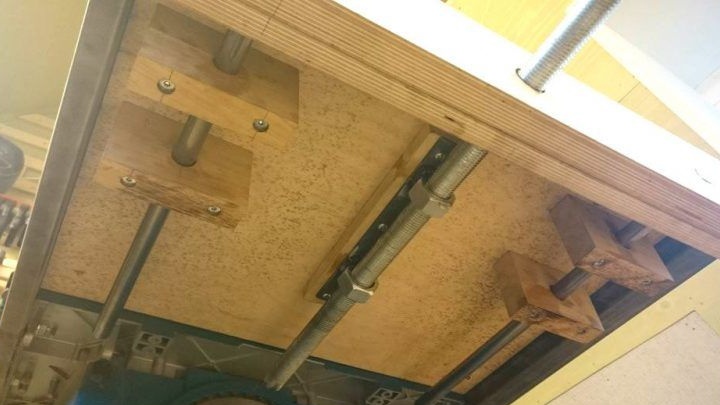
To simplify the work on creating the main element of the mechanism, the author used oak bars as guides. The photographs show that for a threaded rod, a pair of nuts were welded to a flat metal billet, which it was decided to attach under the table with screws.
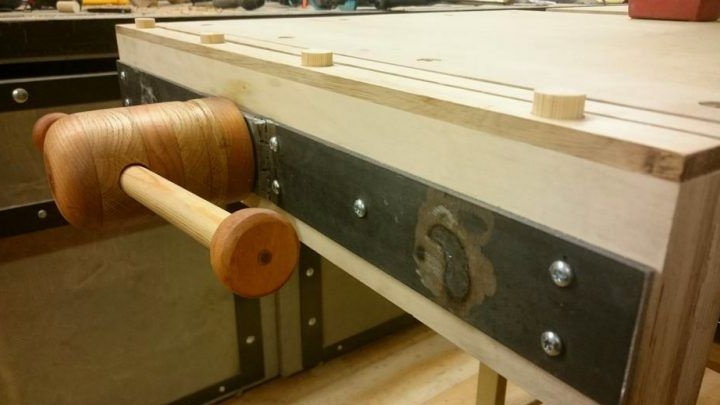
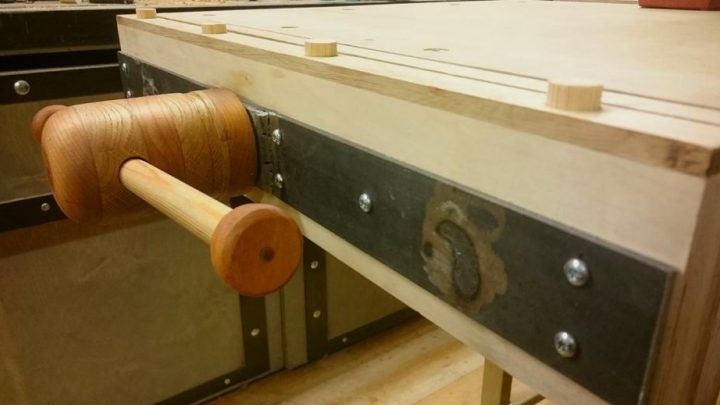
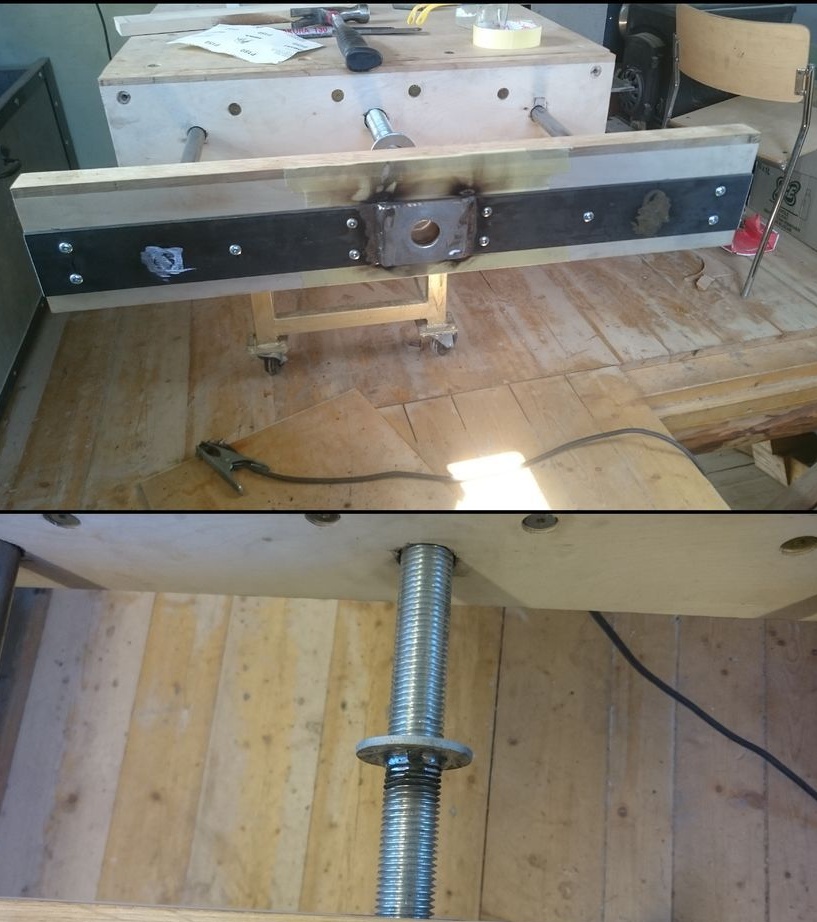
To provide additional stability for the entire vise design, the author decided to add the very flat blank mentioned earlier on the outer jaw of the vise element.
The most important thing in working on the vise mechanism is to arrange all the elements of this mechanism in such a way that they are all necessarily on exactly one line. Otherwise, the vise will not work, or will, but not qualitatively.
In order for the outer sponge to move and move with each rotation of the rod, a washer was welded to it. Without such a refinement, the sponge will be stationary, and it will be necessary to press it and move it manually, and so everything becomes more automated.
Step Three: Lathe Processing
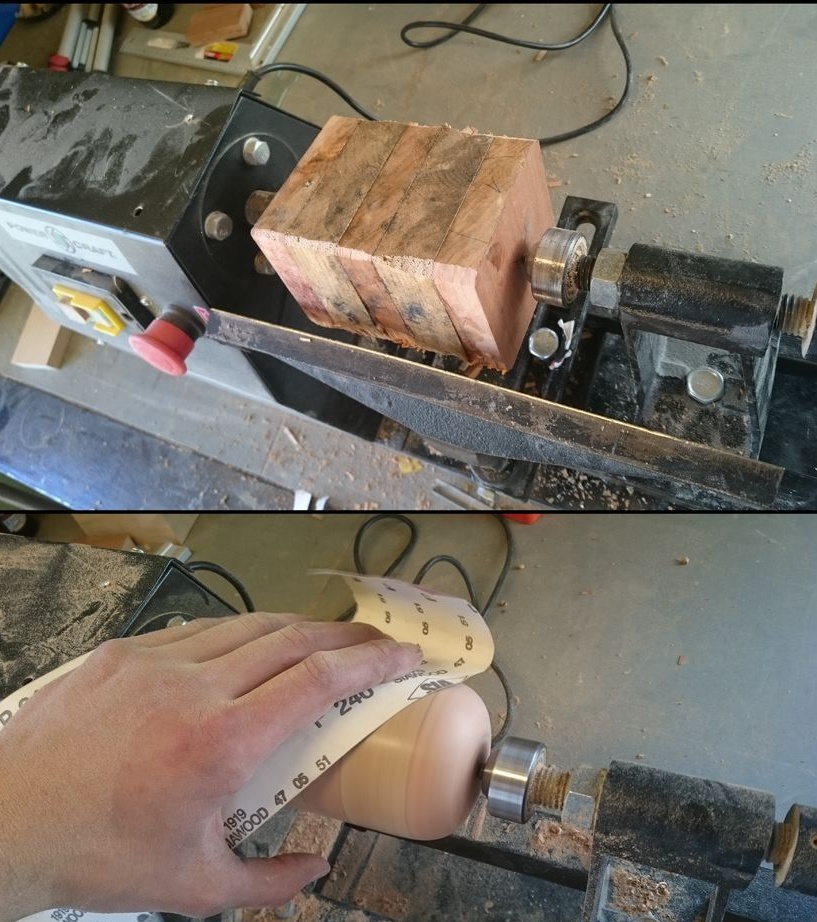
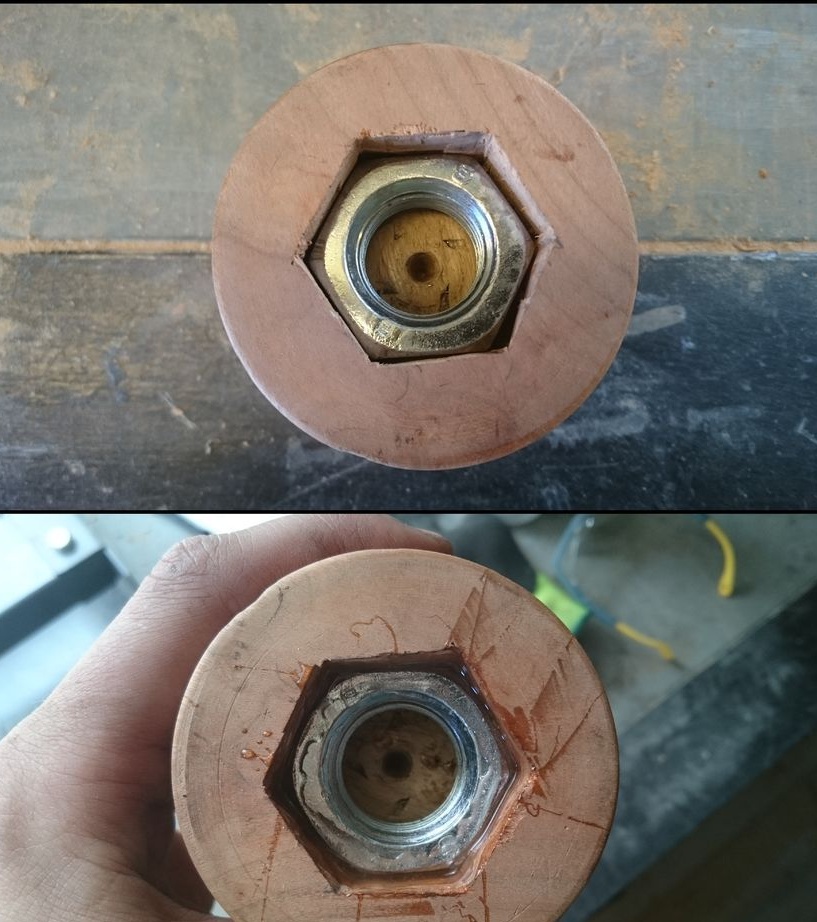
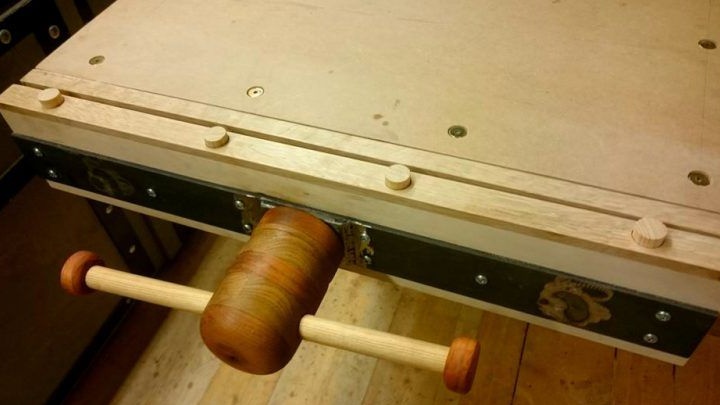
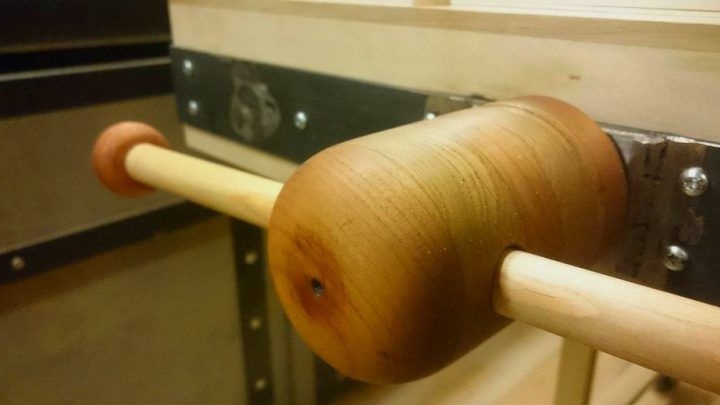
For the rotating head of the vise mechanism, the author glued several pieces of cherry and oak wood. Then these blanks were given the necessary shape on a lathe. You can see all this in photos. As you can see, the result was quite acceptable. Then, using a chisel, recesses were made in the workpiece under the nut. Next, a hole with a diameter of 20 mm was drilled on a drilling machine, which will be adapted to the handle of a vice. The drilling was not accurate enough, so the hole turned out slightly at an angle, this is a mistake, but not so critical as to redo it all over again, the author considered.
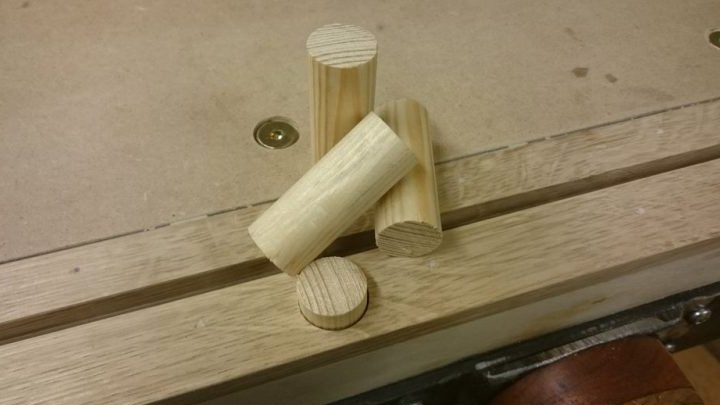
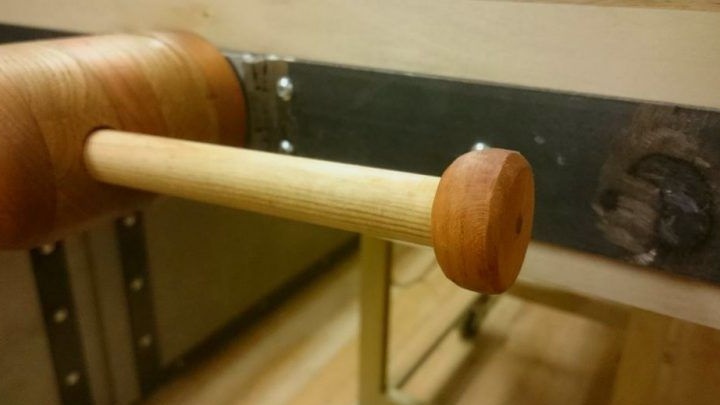
Therefore, despite such an error, it was decided to install the handle in the hole made. The handle itself looks like a pin made of spruce wood, which has at its ends a kind of stub made of cherry wood. These caps are used to prevent the pin-handle from falling out. After assembly, the handle was treated with drying oil.
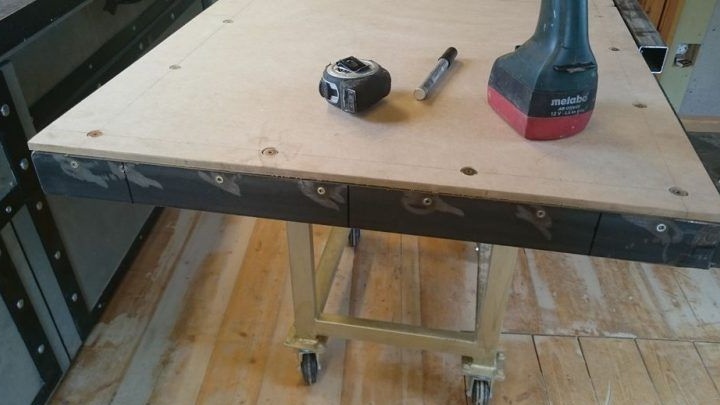
30 mm deep holes were drilled on the outer sponge, into which stops for mounting on a carpentry bench will be installed. For this, plywood 30 mm thick was used for the outer jaw of a vice. But since a single row will not provide the necessary stability for the structure on a carpentry bench, the author decided to make several more holes in the table. But this must be done already at the very final stage, since all the mechanical parts of the vice that will be located under the table must be taken into account.
Step Four: Shut Down.
After the vise was fully assembled, the author proceeded to finishing work.
A flat blank was painted, and also drying oil was applied to the sponges. Minor errors were finalized and the vise was adjusted and fixed on a carpentry bench.
As a result, we got such wooden vices that are useful for various works that require a clear fixation of wooden parts.