
Unicycle is called unicycle bicycles. For its assembly, the author decided to use an old bicycle. Unicycles come in several forms, with direct transmission and chain. When using direct transmission, the front fork acts as the basis, and when using the chain, the rear triangle is used. The author decided to assemble a unicycle based on a chain drive, what happened to him, we read further.
Materials and tools for homemade:
- old bike;
- a key to remove the steering wheel (6 mm hexagon);
- adjustable wrench to remove the plug;
- spanner 15 (under the wheel nuts);
- everything you need to remove the connecting rods;
- vise (for stretching the fork);
- a hacksaw for metal or another tool to cut the frame;
- file (semicircular);
- tools for opening the circuit;
- welding.
The process of making a unicycle:
Step one. We get the necessary elements
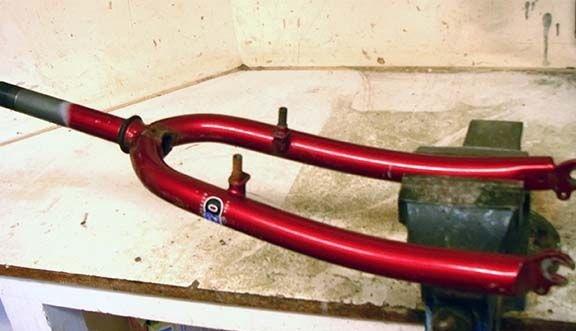
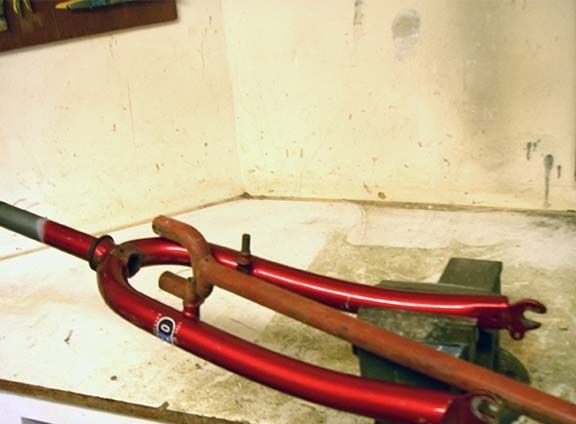
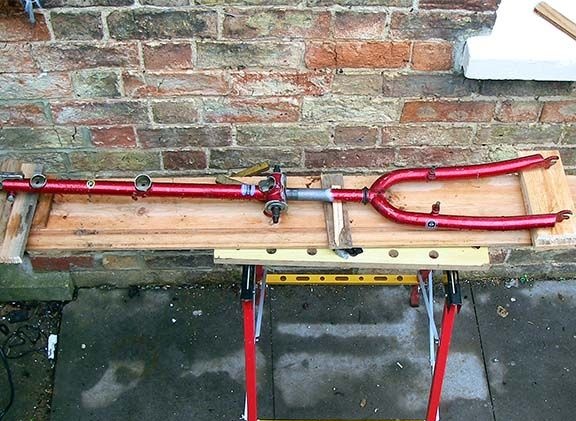
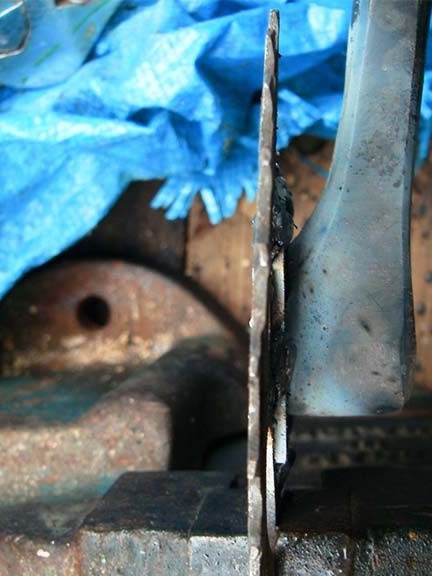
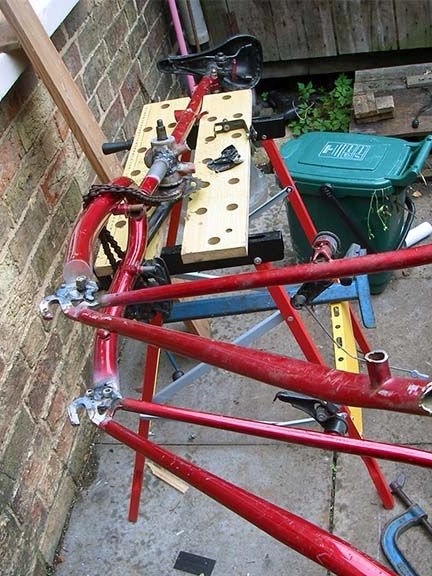
First, the bike will have to be disassembled, and in some places cut up to get the necessary elements. The first step is to remove the plug, it must be clamped in a vice. Then a large lever is taken (scrap is suitable) and with it the fork expands to 130 mm. This is done so that the rear wheel can enter it.
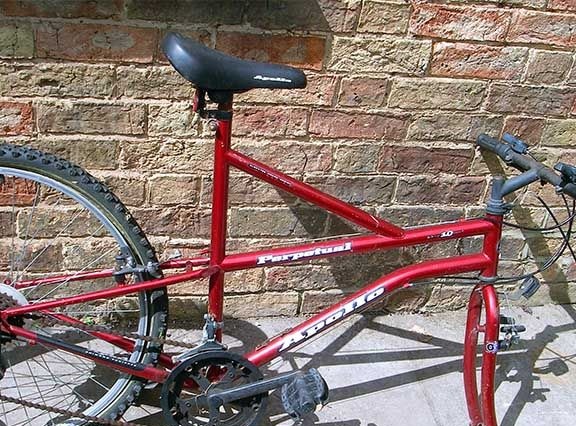
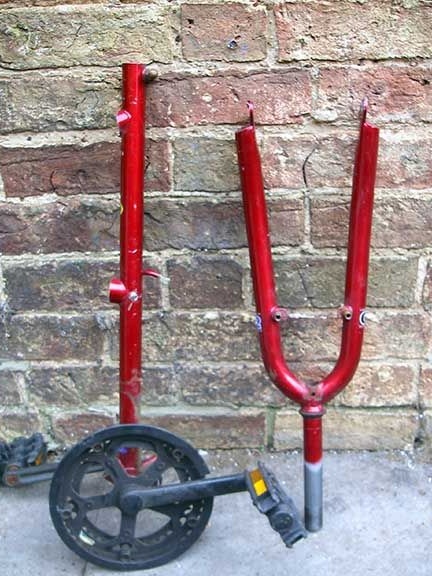
Then you need to work as a grinder or hacksaw. All the excess should be cut off from the carriage, only the pipe on which the seat is located should remain. More details will be cleaned later. As a result, two parts should be obtained, of which in the future a unicycle will be assembled.
Step Two We prepare elements for welding
At the first stage, two elements of the bicycle frame simply need to be interconnected.

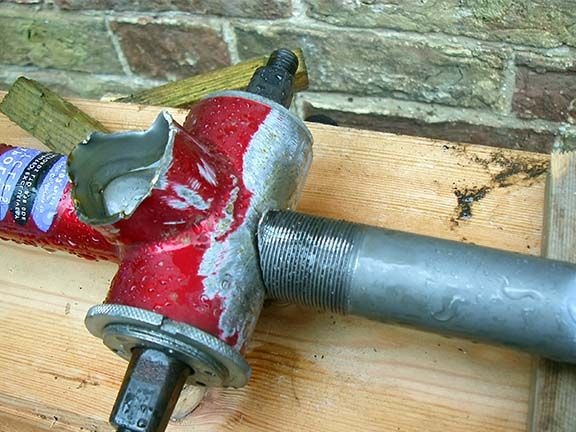
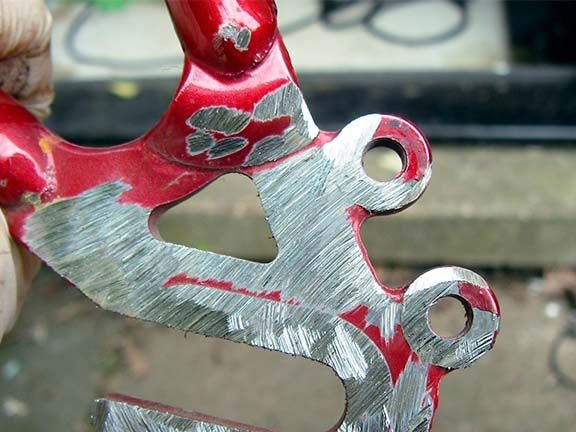
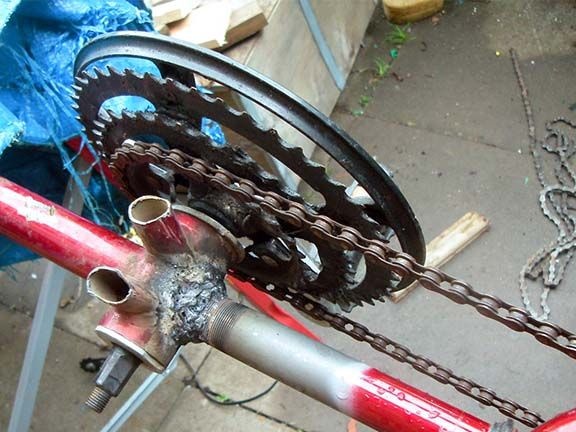
First you need to clean the paint from the carriage.
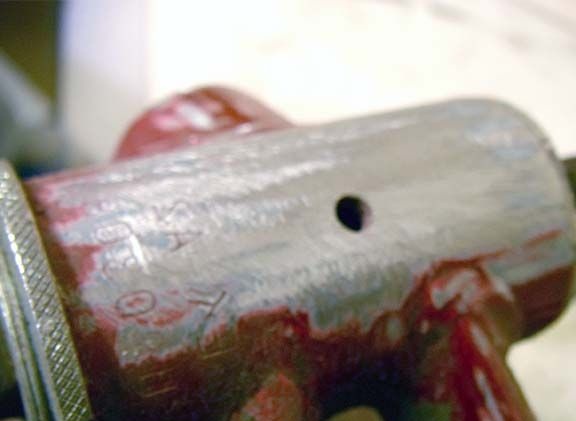
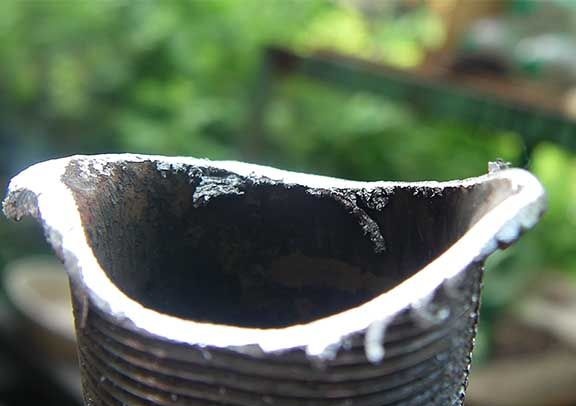
Next, a semicircular file is taken and with it you need to cut a nest in the upper part of the pipe so that it fits in diameter to the carriage.
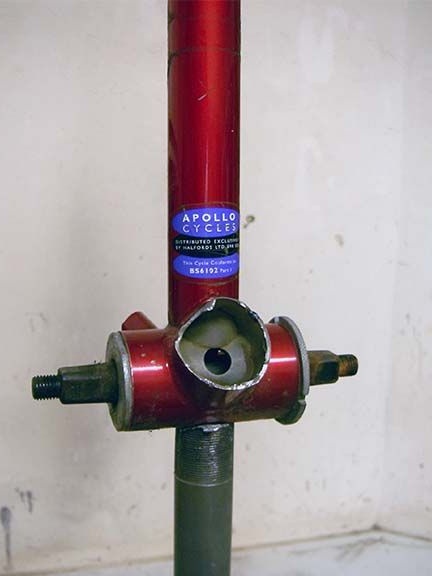
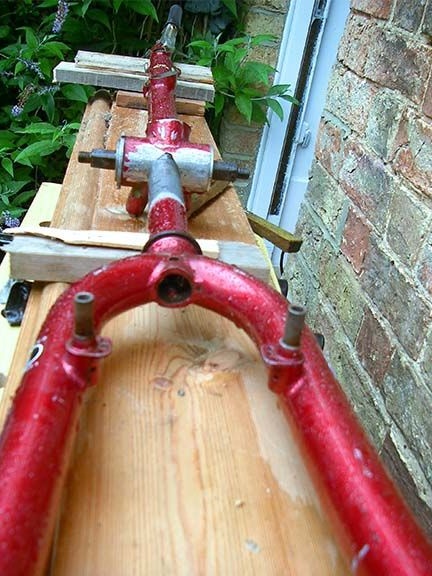
Now two axles need to be combined with each other, they should be at the same level relative to the axis of the wheel. As a result, the chain line should be straight.
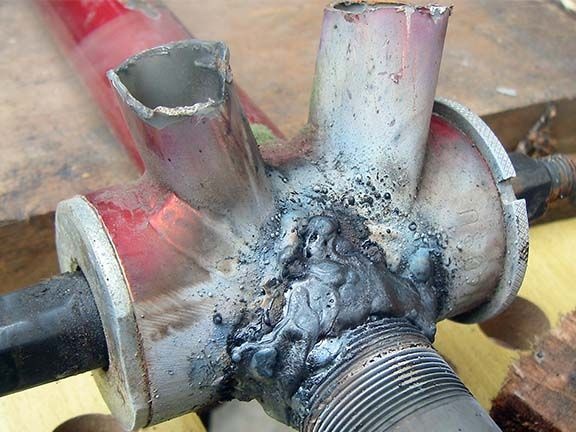
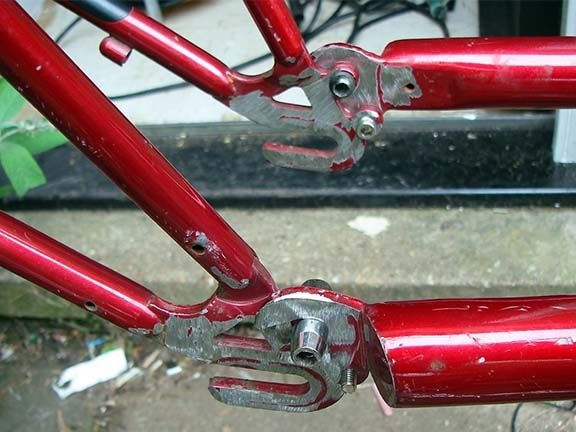
Step Three Welding work
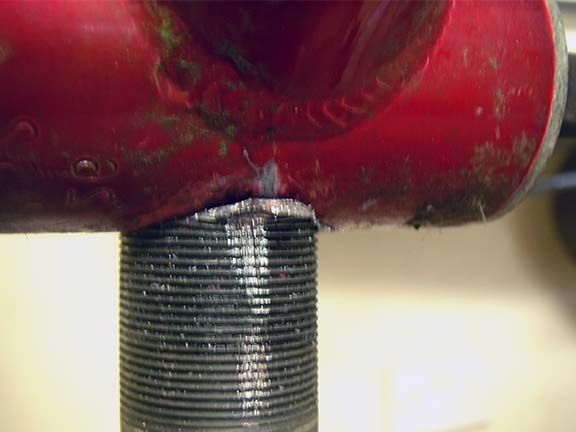
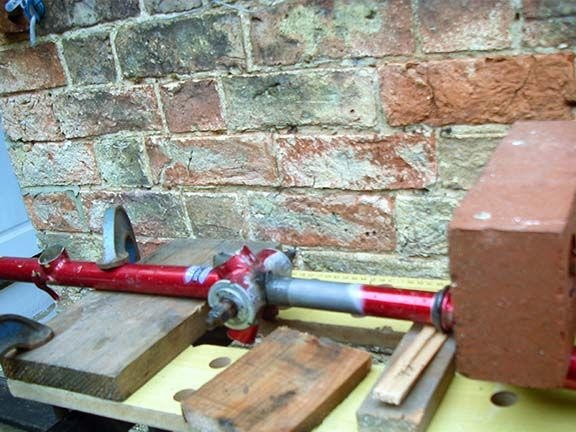
Before proceeding with the welding of elements, they must be carefully fixed at the same level using bricks and clamps.
The author was welding with ordinary electric arc welding, although it is not very suitable for such purposes. She is best at brewing holes.
As a result, the elements were neatly welded together.
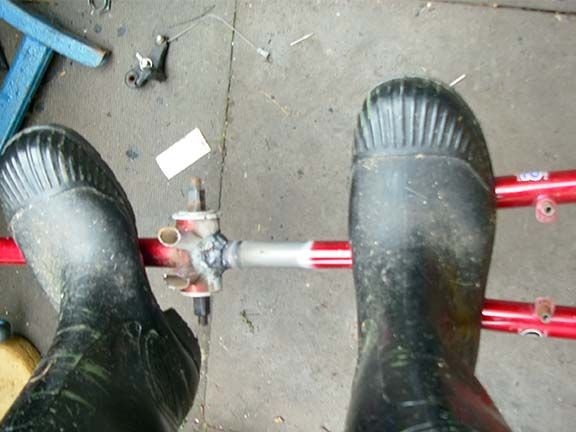
After that, you need to check the structure for strength, for this the author stood on the structure in the center, it immediately fell apart.To re-weld the parts, I had to work again with a file.
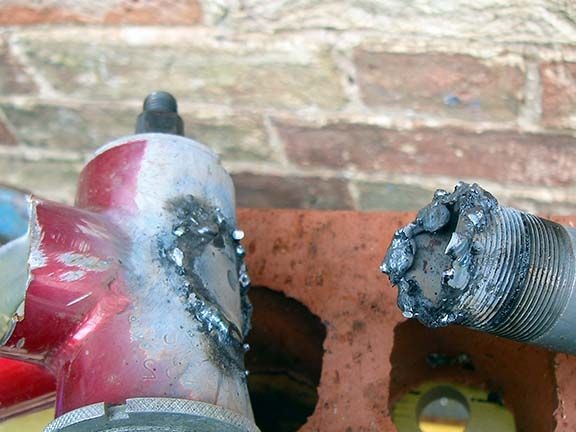
On the second welding attempt, good structural strength was achieved.
Step Four Asterisk manufacturing (optional)
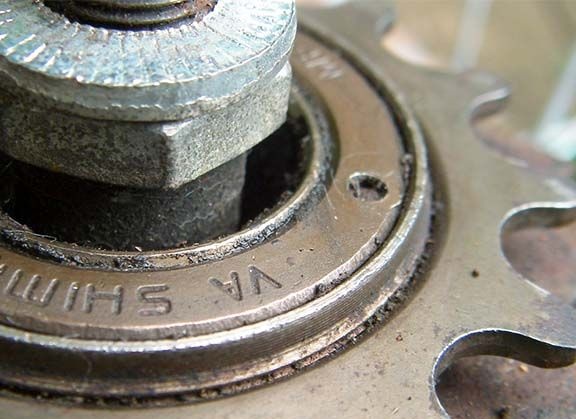
To make a fixed gear, both unicycle sprockets must have the same number of teeth. Otherwise, riding such a bike will be very difficult.
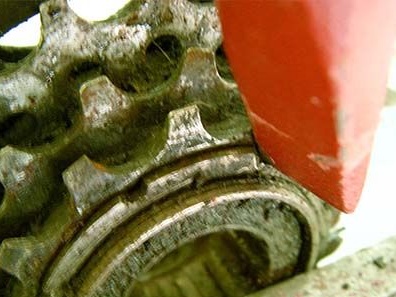
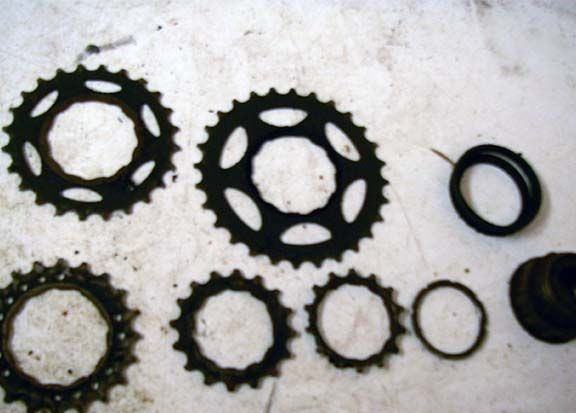
On most mountain bikes, the rear largest sprocket has 28 teeth, while the smallest front one also has 28 teeth, resulting in an ideal design that does not require major modifications. The author had only two stars in front, so I had to suffer a little.
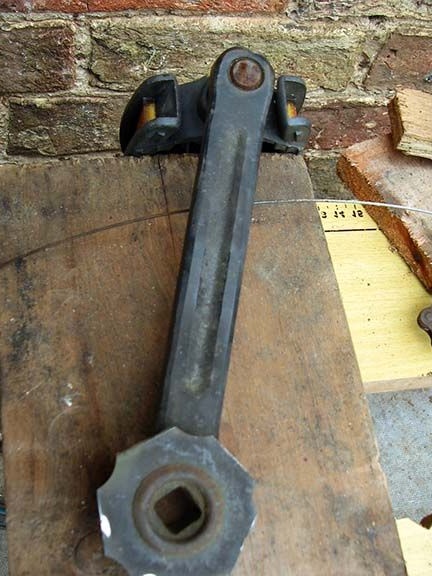
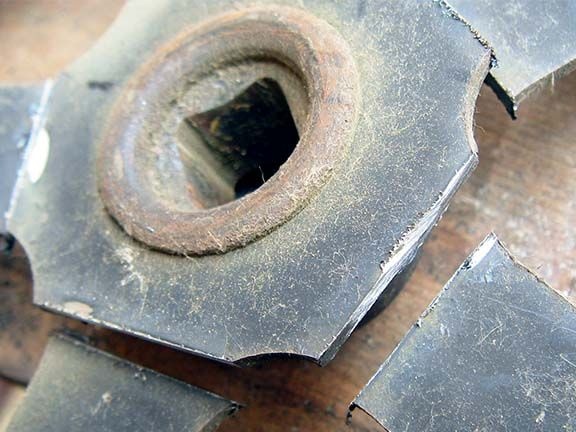
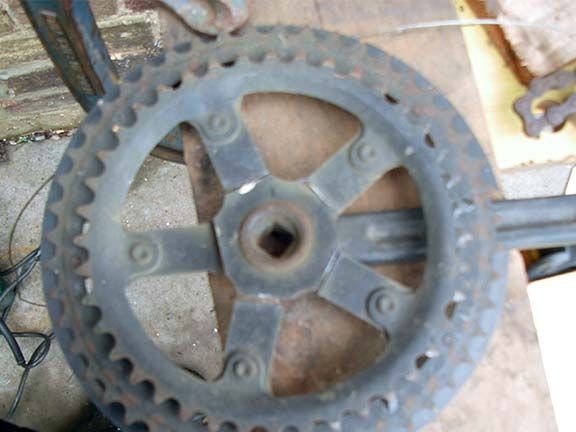
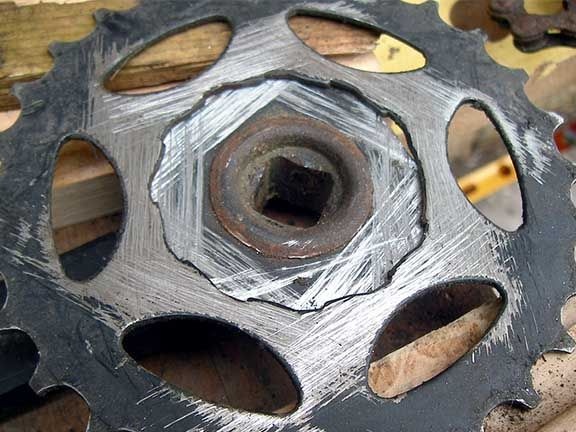
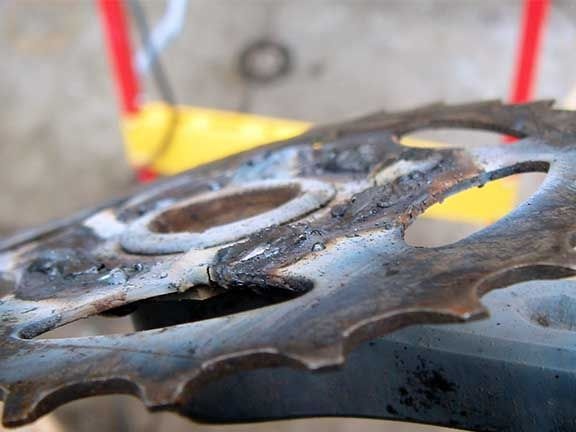
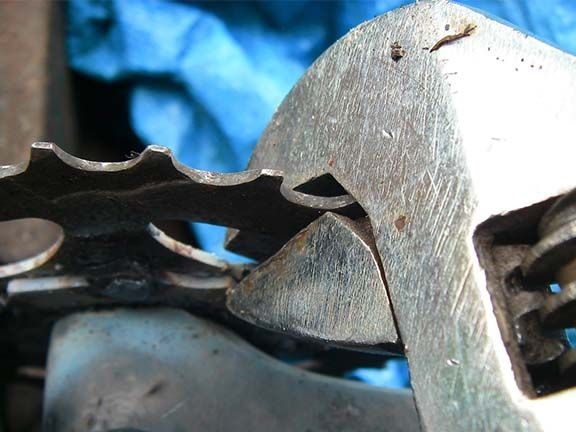
As a result, the largest rear sprocket was removed from another bicycle and welded to the connecting rod. When welding, there is a deformation disk, the author struggled with this using an adjustable wrench.
Step Five How to make a fixed gear
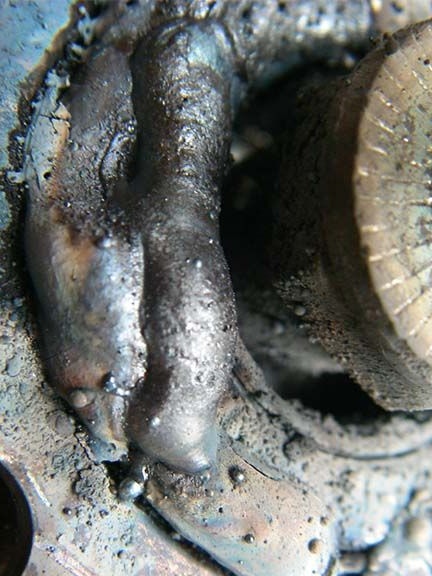
The unicycle differs from ordinary bicycles in that it does not have a rattle. To block it, the author used welding. But there are more accurate ways to do this.
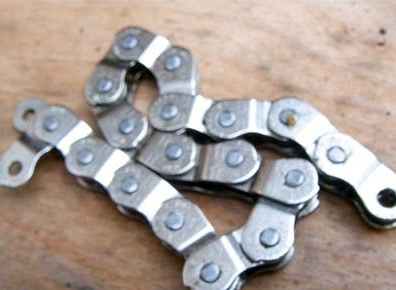
Step Six We establish a chain
The chain will need to be shortened, but the author turned out so that the size turned out to be inaccurate by half the link. In such a design, even half of the link can play a key role, the chain will either be poorly stretched or it will not be possible to establish it at all.

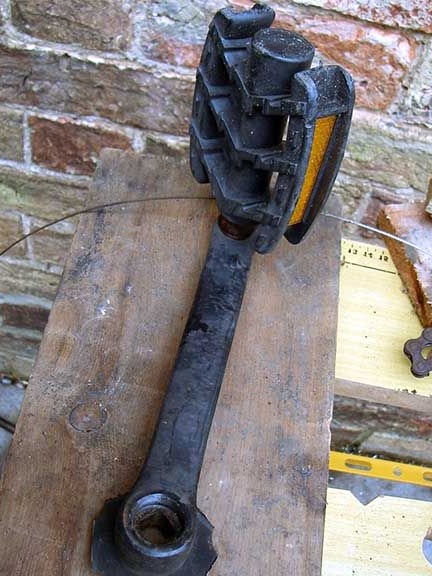
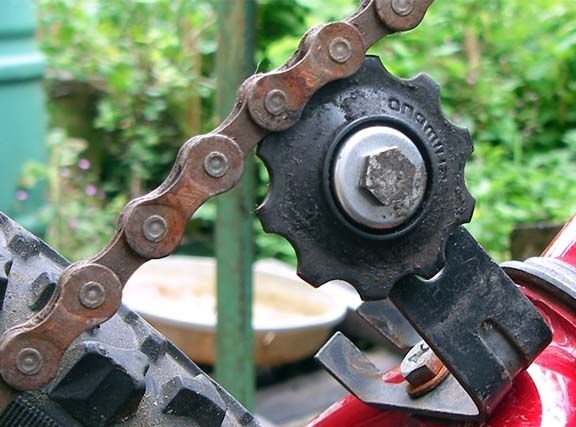
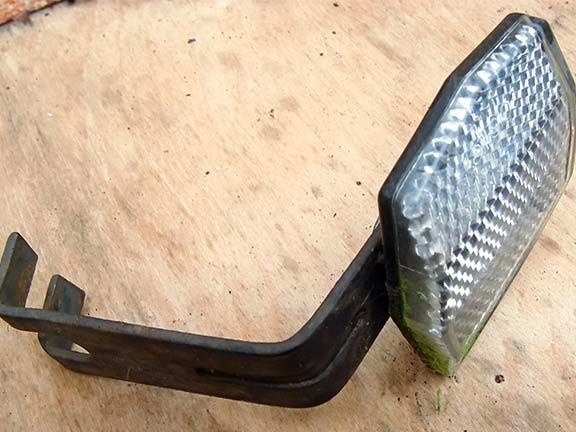
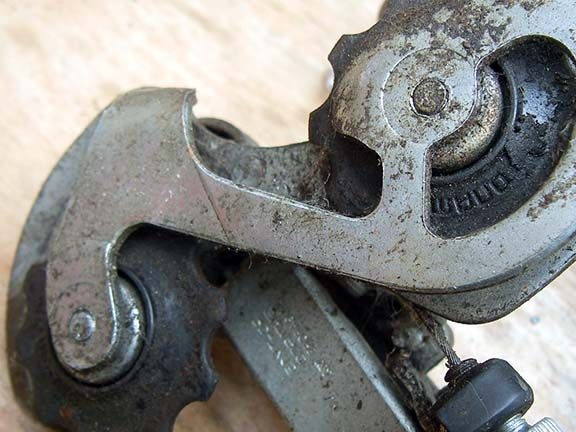
The author tried to make a tensioner based on the old gear selector and reflector mount, but this design did not work. Any attempts to stabilize the chain led to the fact that she flew.
As a result, it was necessary to redo the front fork so that the chain could be pulled.
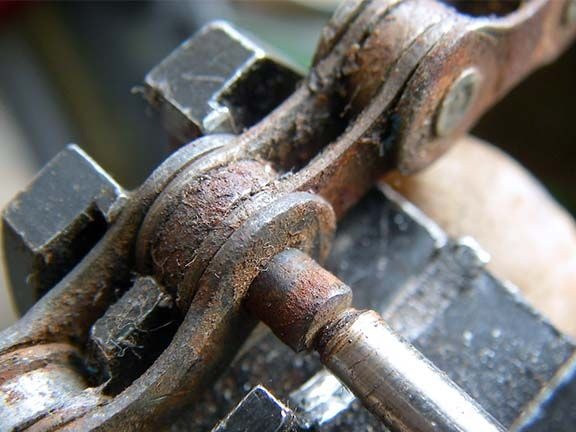
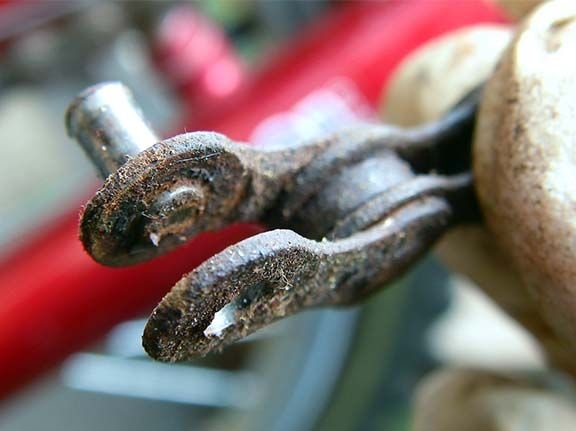
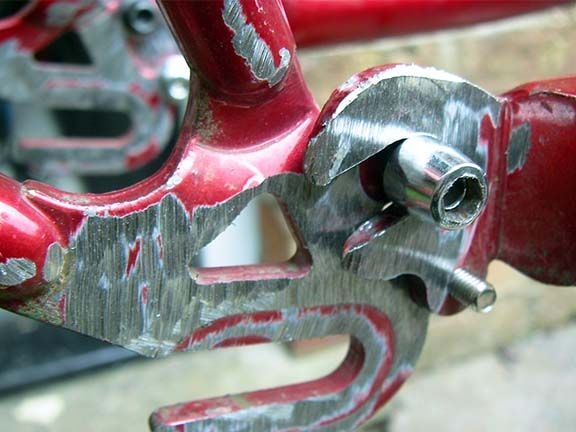
Seventh step. Create an adjustable dropout
So that the chain could be pulled, the author decided to install dropouts on the front fork from the rear fork. In order to securely fix them to the frame before welding, the author used bots with nuts. Then they are welded together with bolts to the frame.
Step Eight. The final stage. Homemade testing
Despite the good chain tension, the author still continued to fly off the chain. The reason for this was never found. This was probably due to the deformation of the star, or maybe the teeth on different stars did not match. In general, the problem was solved by installing a new leading star on 28 teeth from an old bicycle.
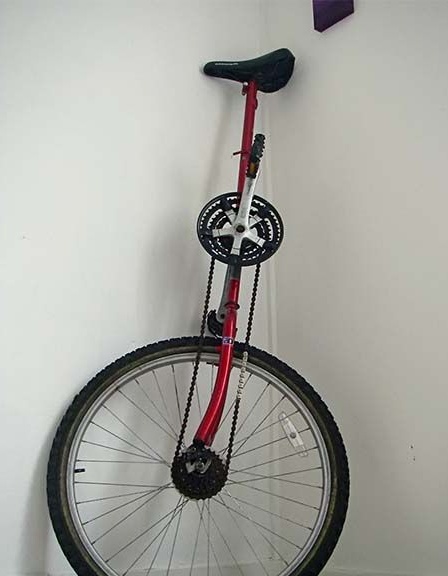
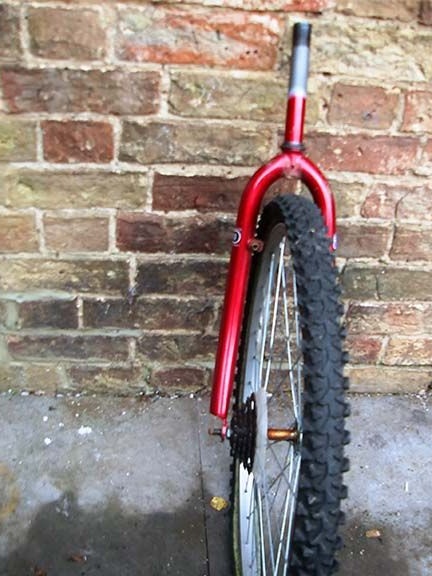
According to the author, the unicycle turned out to be quite working and lived up to expectations. Of course, this transport is quite dangerous and the most unpleasant is to fall forward. The author, when testing, almost fell on his back. He explained this by not suitable type of seat for this type of transport.