Today, the creation of any things and objects more and more prevails. do it yourself, because it seems to someone too expensive to pay for things that a person with straight arms can do very well himself, and many times better than factory designs. People engaged in creativity, almost all things try to do themselves.
So our author has been fond of simpank and modding for more than a year, during this time he gained enough experience to open his own small business, and to do unique things to order, i.e. Master’s passion slowly flowed into the source of income).
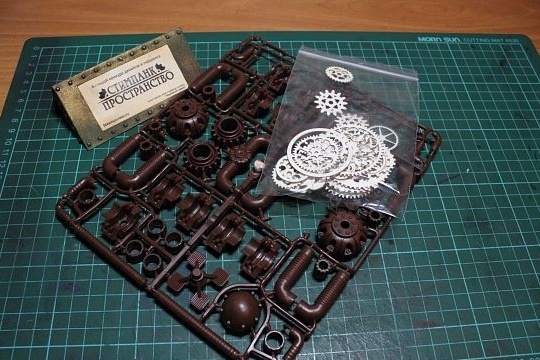
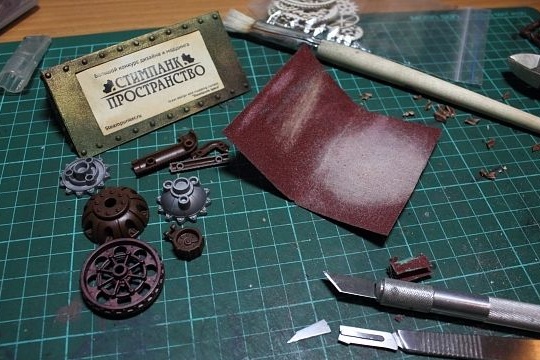
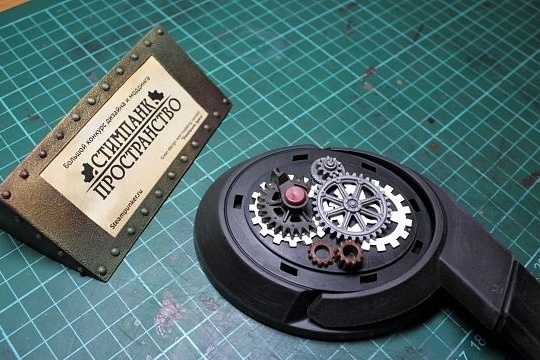
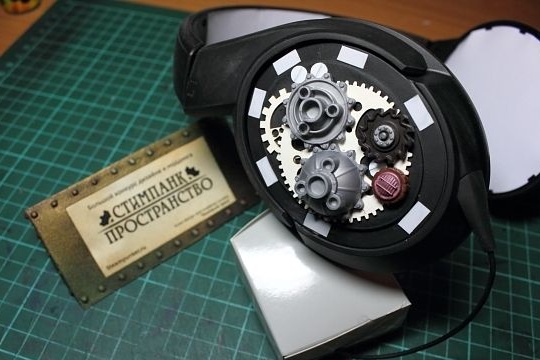
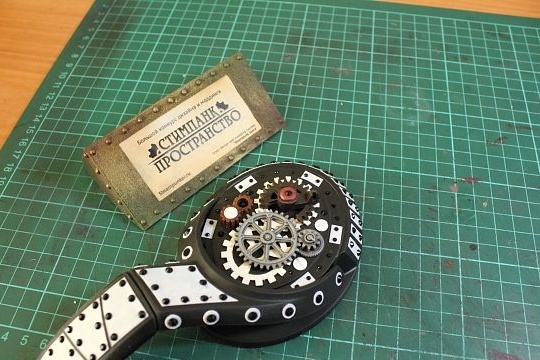
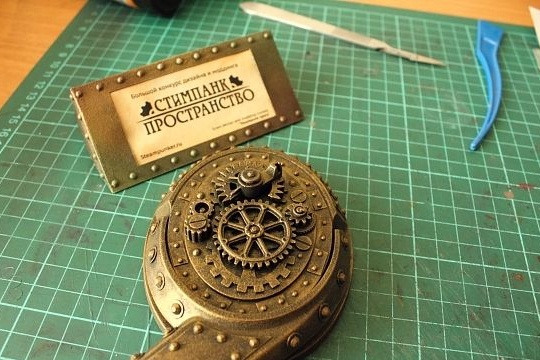
The author uses plastic in his products, cutting various elements out of it, and also buys model gears, nuts and more.
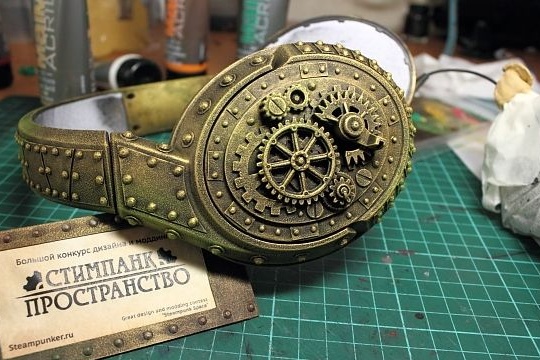
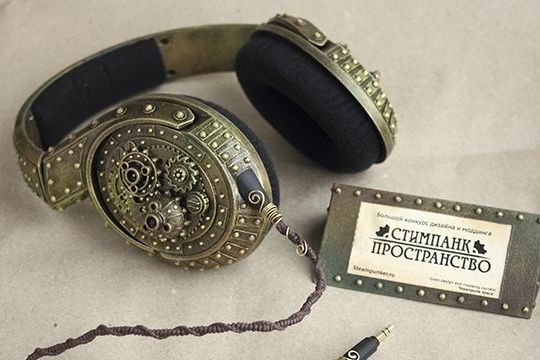
Using this lightweight material, he is very good at adjusting to steampunk, as is known, the masters of this area do not recognize materials other than brass and copper.
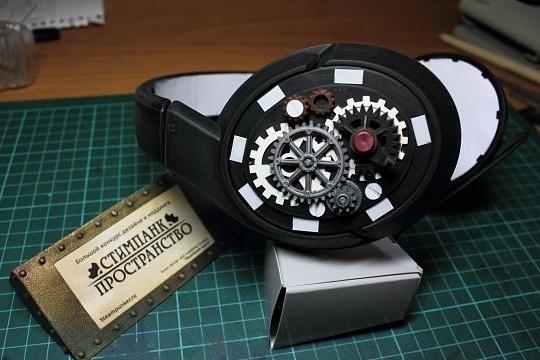
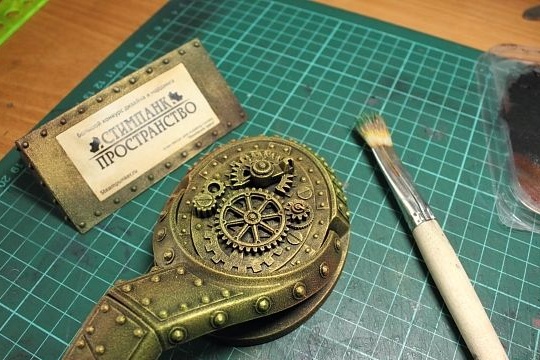
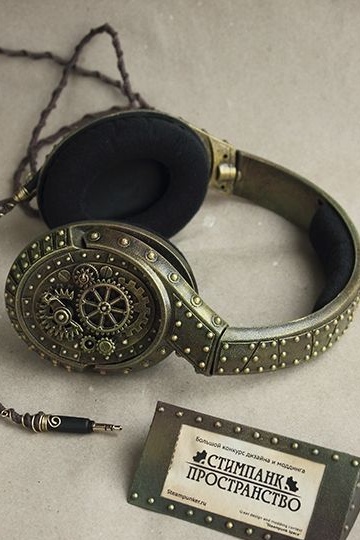
How did the master manage to create such a unique thing in this style, without using noble metals, and in order to make everything intelligibly clear, you should look at the photo report prepared by the author, as well as get acquainted with the list of necessary materials and tools.
Materials
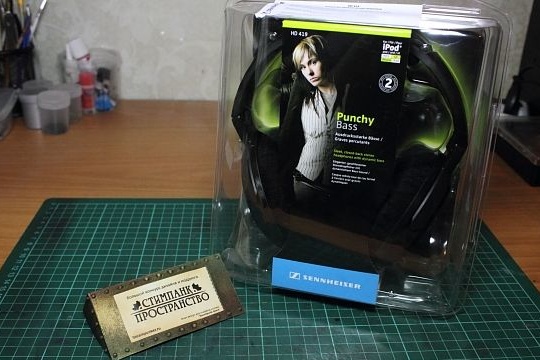
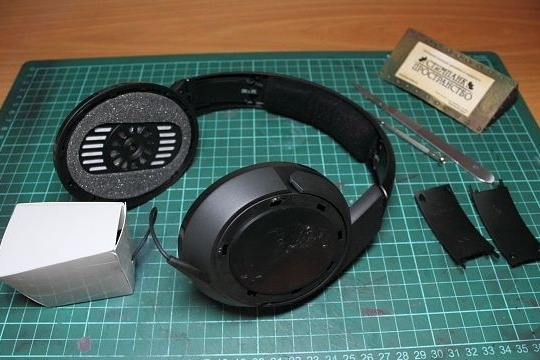
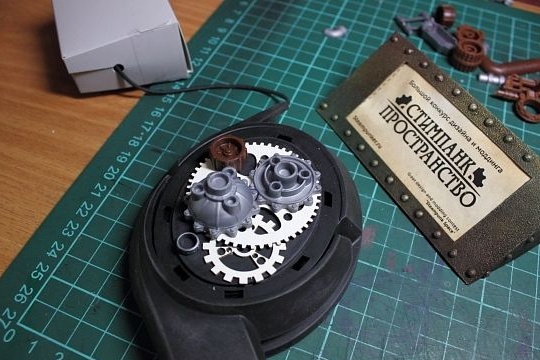
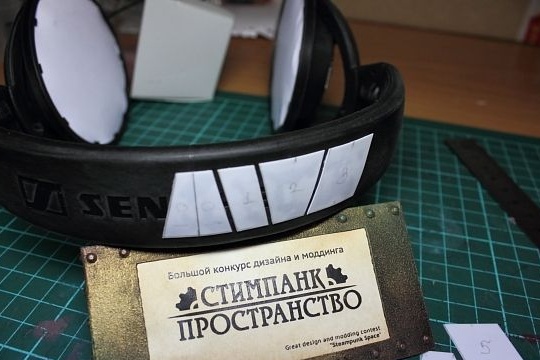
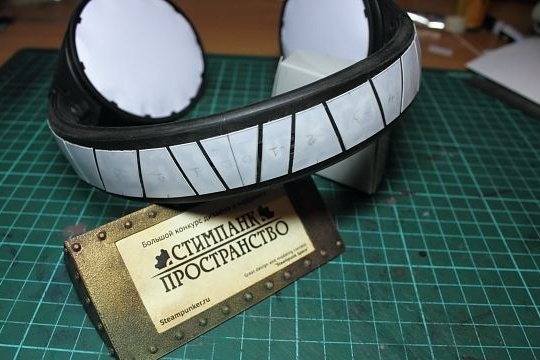
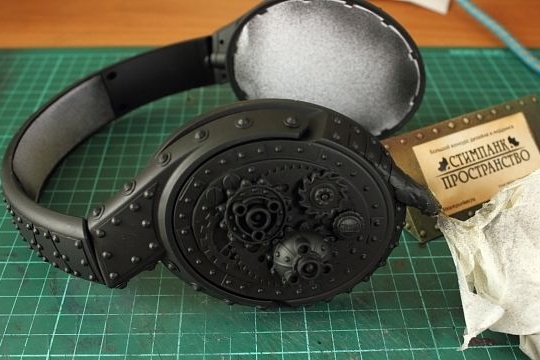
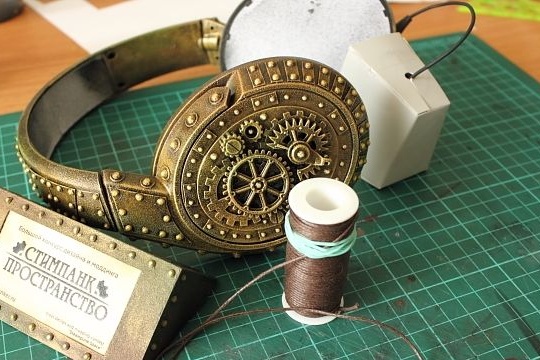
1) headphones
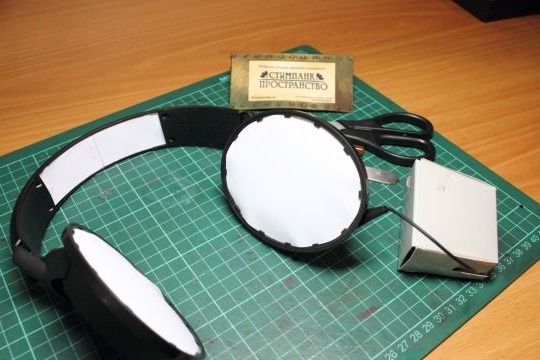
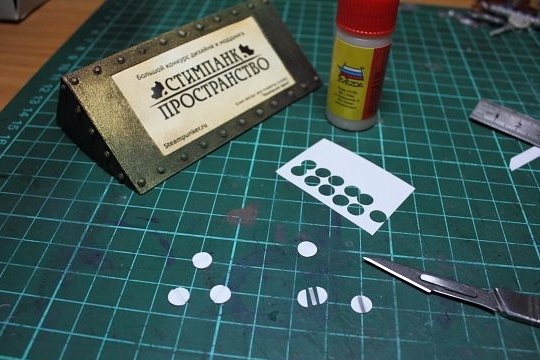
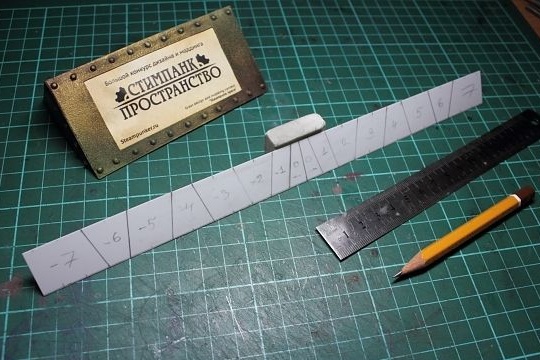
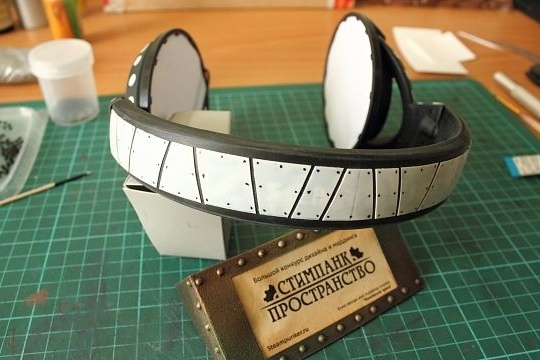
2) sheet plastic
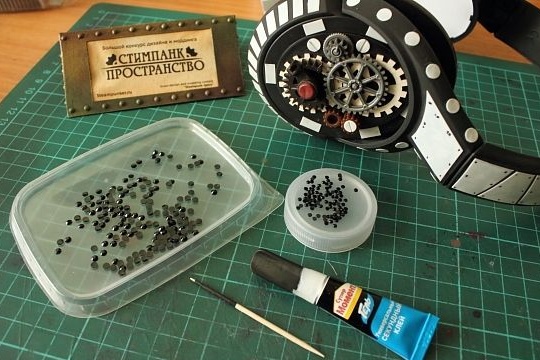
3) set "Young Technician"
4) glue
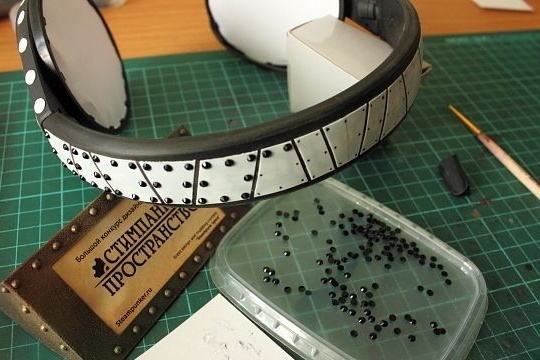
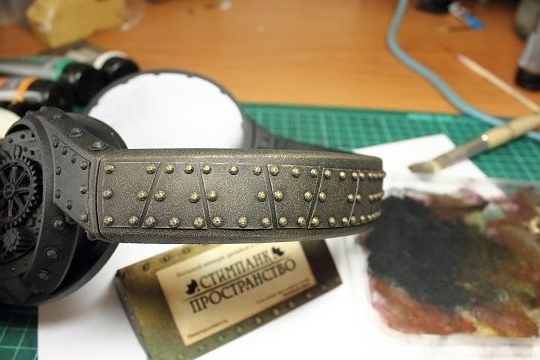
5) rhinestones
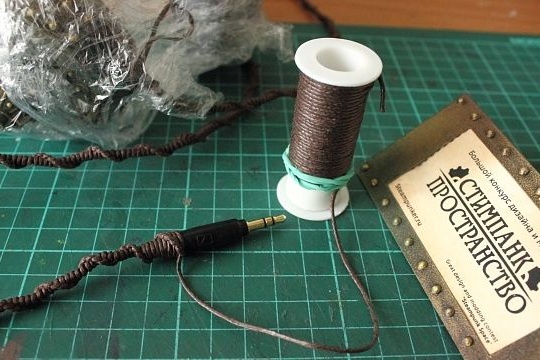
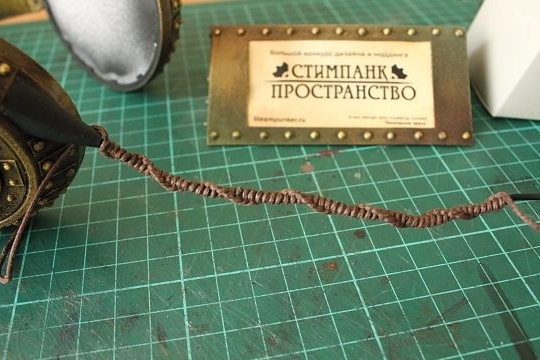
6) wire
7) waxed thread
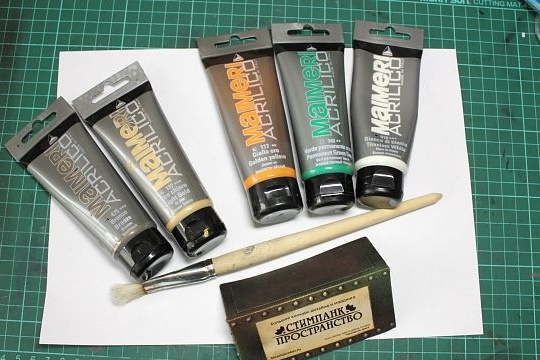
8) paint
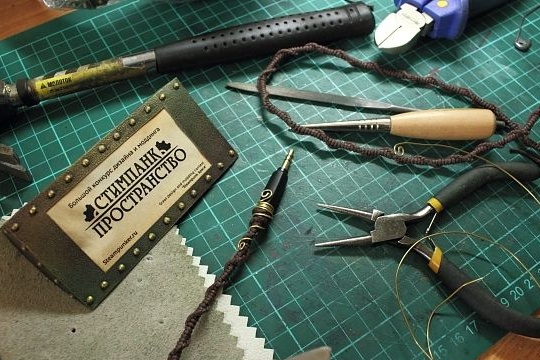
Instruments
1) scalpel
2) brush
3) hole punch
4) toothpick
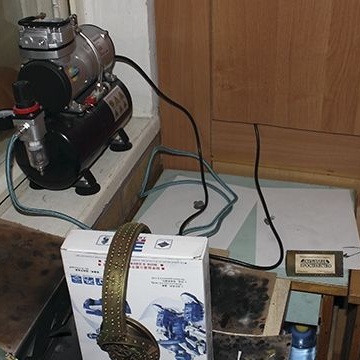
5) airbrush
And so the first thing the author takes is headphones.