
The project will allow you to equip your bike electric motor. According to the author, the necessary spare parts will cost only $ 100, but to collect such homemade only those who are well versed in electronics, mechanics and in general loves and knows how to craft something. You can assemble such an electric bike in a couple of months, at least the author took so much time.
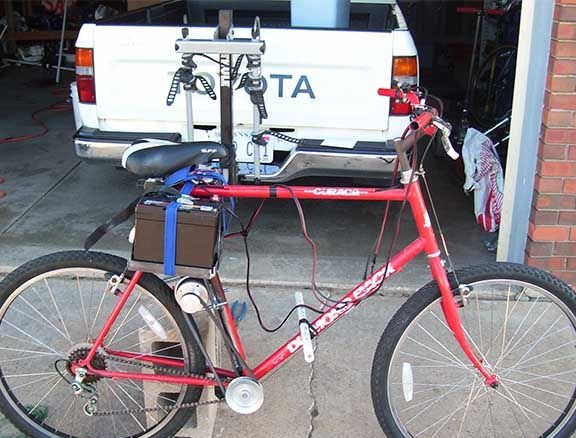
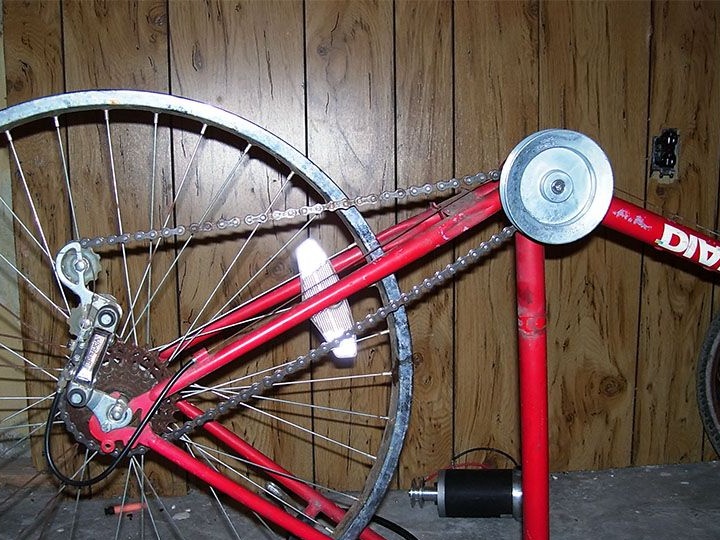
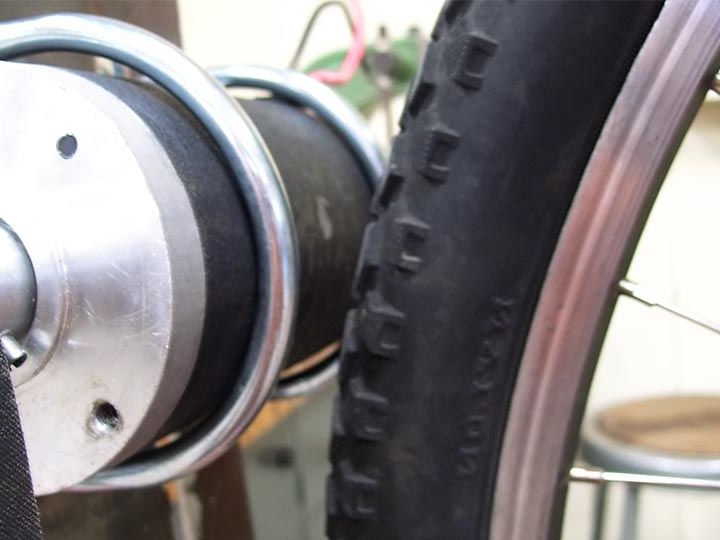
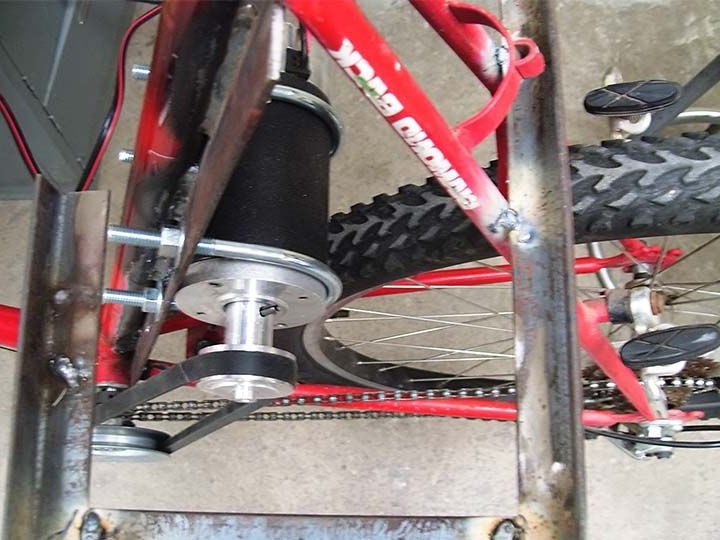
The author used pulleys and a belt as transmitting units. Torque from the engine is transmitted to the carriage (where the connecting rods with pedals were previously located), and then, through the native bicycle chain and the rear sprocket, the torque is transmitted to the rear wheel. If the entire structure will be assembled efficiently and exactly as the author did, then on such a bicycle it will be possible to accelerate to 64 kilometers per hour.
DIY materials and tools
Instruments
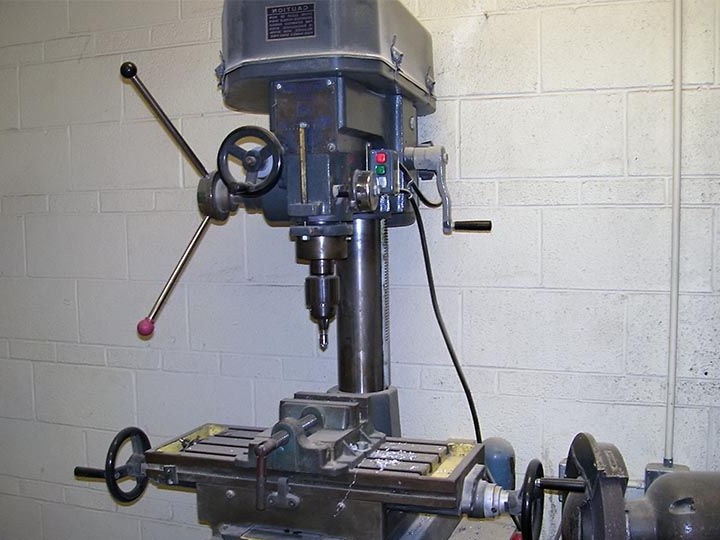
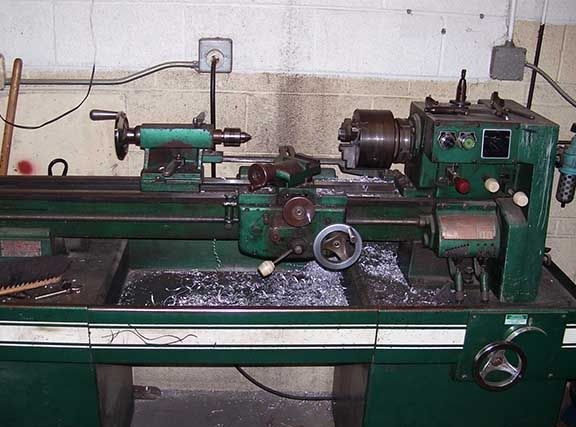
1. A lathe is required.
2. The welding machine.
3. The main working tool, such as a vise, pliers, hacksaws and so on.
4. Caliper (need a big one).
5. The key to remove the ratchet.
6. Tools for disassembling the chain.
7. Grinding machine.
8. A tool for cutting metal (hydraulic scissors "Piranha", suitable acetylene torch and more).
As an additional tool, a V-shaped block, a surface grinding machine, dies and taps, a mill will be needed.
Materials (not including the obvious):
- metal corner;
- V-belt;
- two pulleys under the V-belt, one on 4 ", and the second on 1" (they can be bought);
- steel round blank (diameter 0.5 "- 1");
- 9-tooth ANSI # 40 sprocket.
All sizes directly depend on the size of the bike and the desired speed.
A few words about the bike and engine
We’ll start the bike first; finding it today is easy. For these purposes, an old bike is quite suitable, which you can buy for little money. It is best for the bike to have as many gears as possible. This will allow you to switch when driving and testing for optimal engine operating conditions. This will allow you to drive economically and quickly.
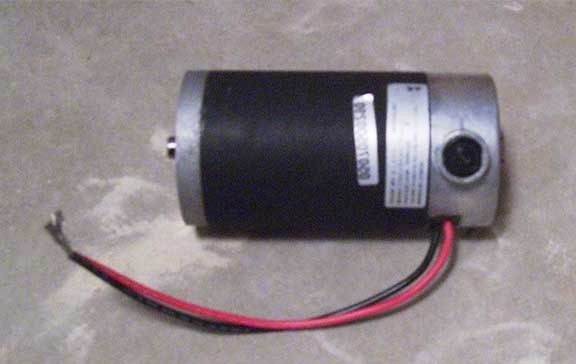
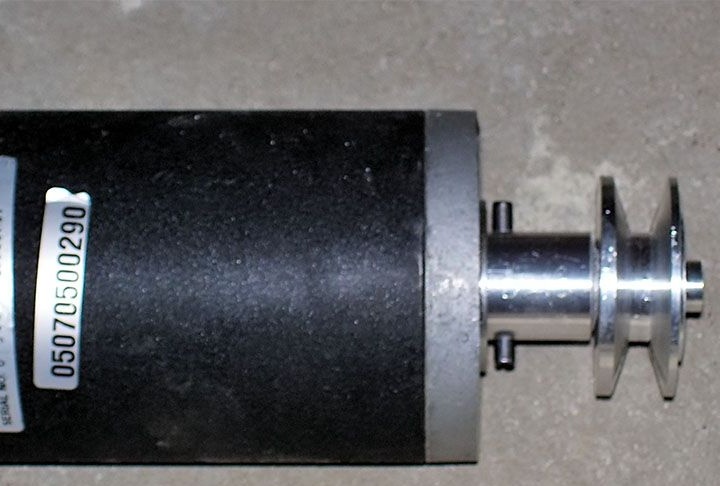
As for the electric motor, the old wheel with the electric motor, which the author had, is well suited for these purposes.If one is not available, then a suitable power unit can be found in old motorized wheelchairs. There are batteries here that will also be needed for homemade work.
Homemade assembly process:
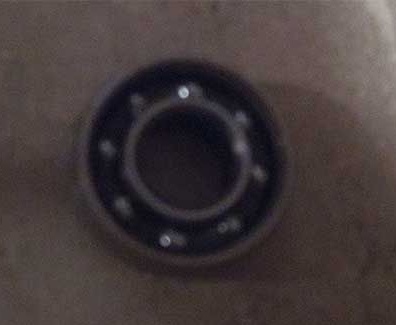
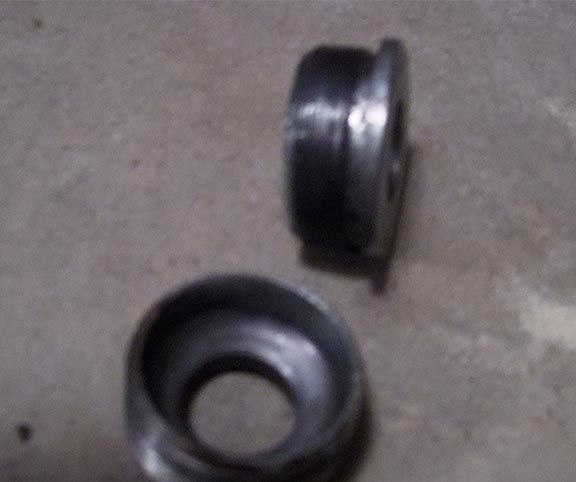
Step one. Making the outer ring of the bearing
The author already had the outer ring of the bearing on the bicycle, so it was not necessary to make it. You can make it yourself, but it is not necessary to make a thread, it can be screwed to the carriage with screws.
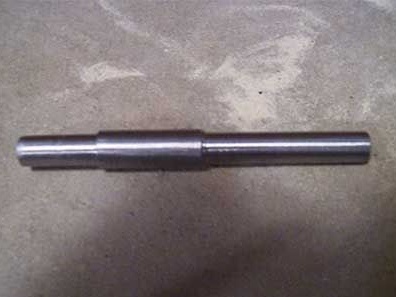
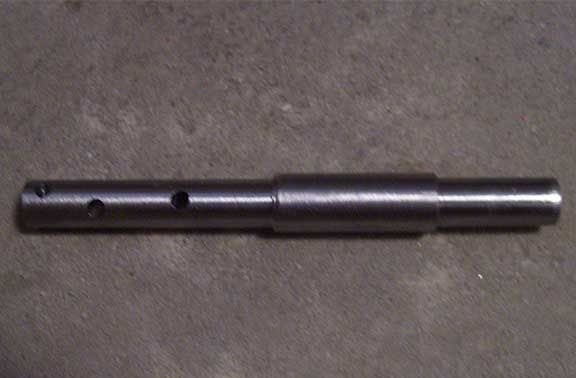
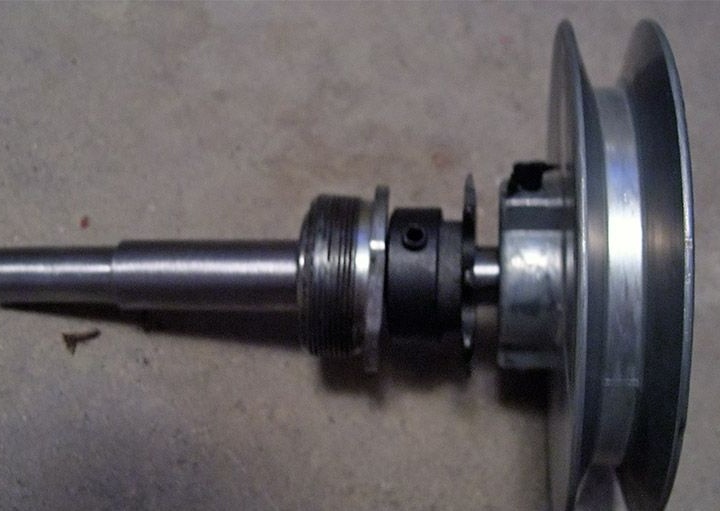
Step Two Intermediate shaft and sprocket
The dimensions of the countershaft for each bike are different. This element is machined on a lathe. A small sprocket is mounted on the countershaft, which transmits movement from the shaft to the rear wheel via a bicycle chain.
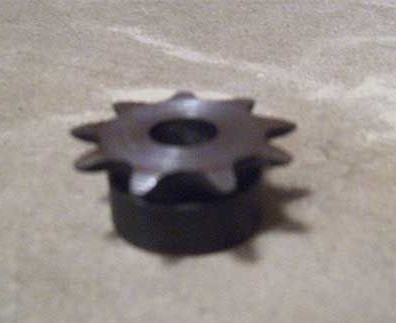
It is possible that the purchased sprocket will not fit the bicycle chain due to its wide width, in which case it will have to be grinded. It is also important to choose the sprocket pitch so that it matches the chain pitch.
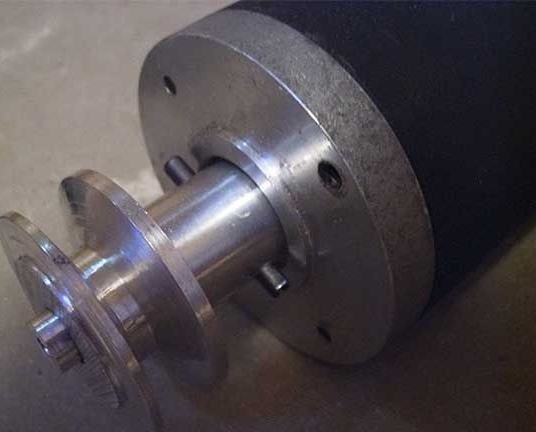
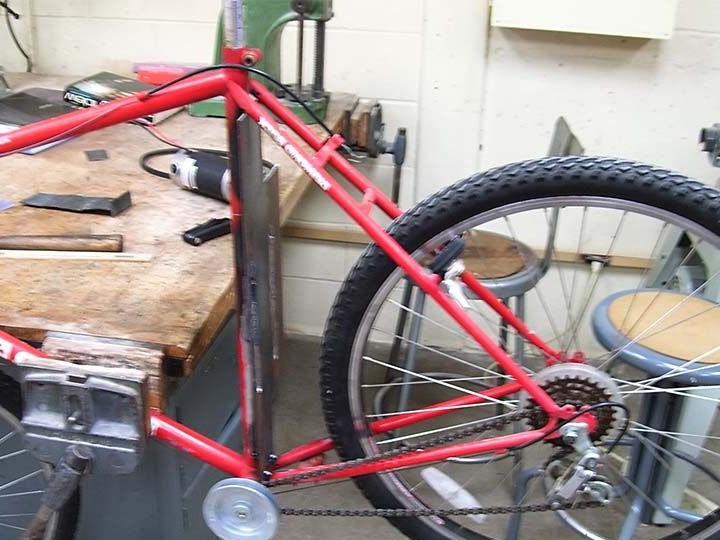
Step Three Drive pulley
The drive pulley is located directly on the engine. The pulley can be machined from an aluminum billet or purchased ready-made. It is also possible that it will be possible to find an engine with a pulley. The easiest way to buy a ready-made pulley of the right size. The main task here is to install it on the axis of the engine.
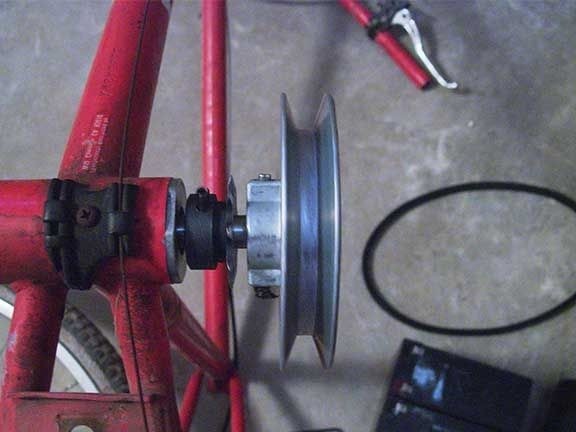
Step Four We assemble the intermediate shaft
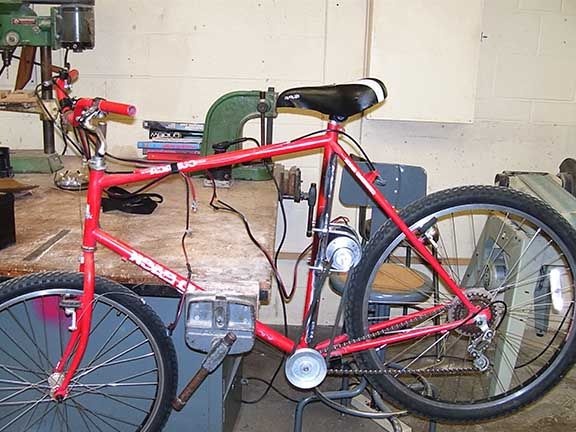
At this stage, the intermediate shaft is assembled and installed. On it is an asterisk that transmits movement from the shaft to the rear wheel through a chain, as well as a pulley that is connected to the engine using a belt drive.
To assemble this entire structure, you will need to purchase a set of screws and cylindrical pins.
Step Five Chain drive
Since the large drive sprocket will be replaced by another, much smaller, the chain will have to be shortened. For this, the circuit is opened, the desired length is measured, a pair of links are removed and assembled back. If there is no lock on the chain, then you may have to cut it, then a chain lock is used to connect.
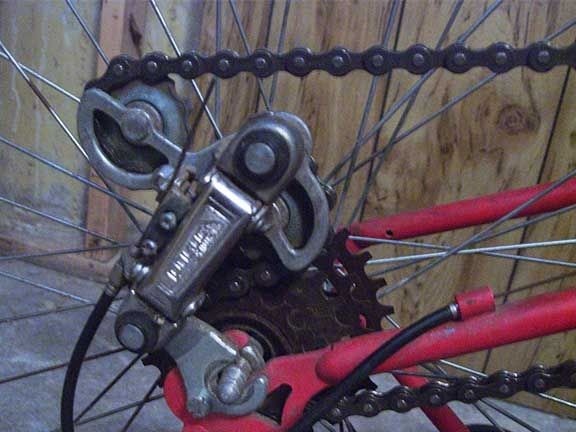
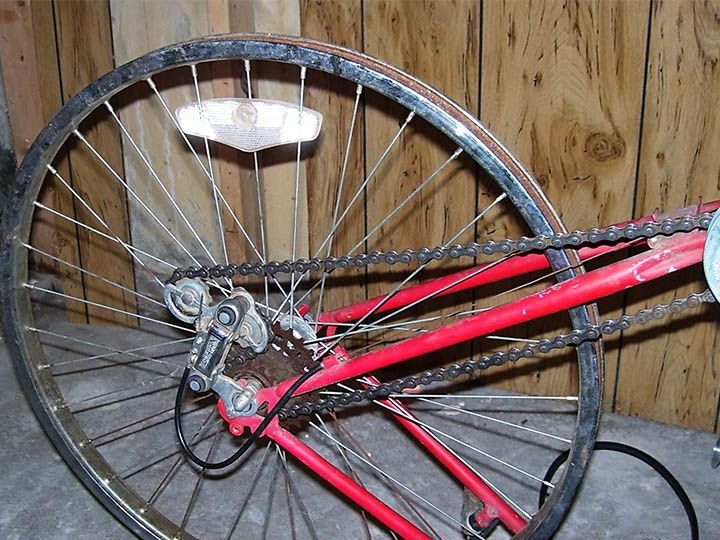
After assembling the structure, the bicycle must be turned upside down with a wheel and scrolled over the intermediate shaft. This should check if the chain is flying off the bicycle. If so, then perhaps the drive sprocket on the shaft is attached crookedly, has the wrong pitch or is too wide. There should also be no wedging, otherwise the battery will drain much faster.
Step Six Engine preparation and installation
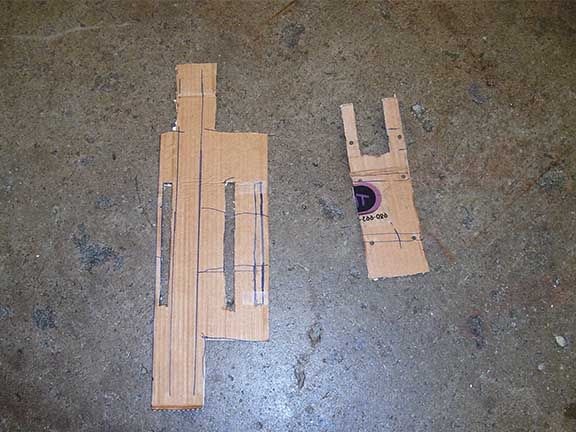
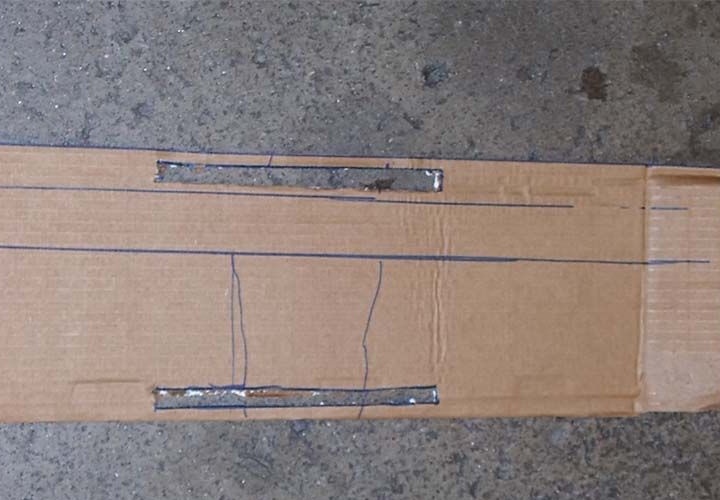
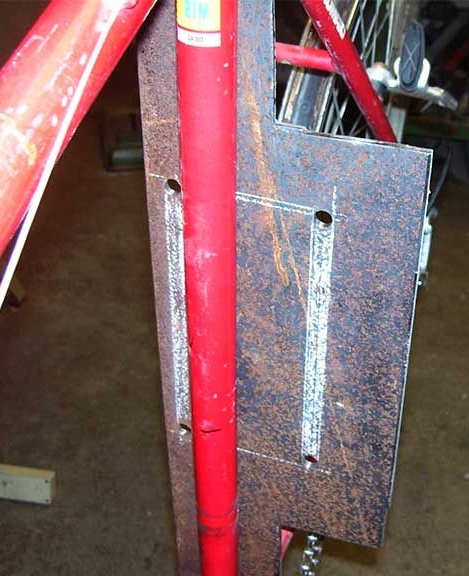
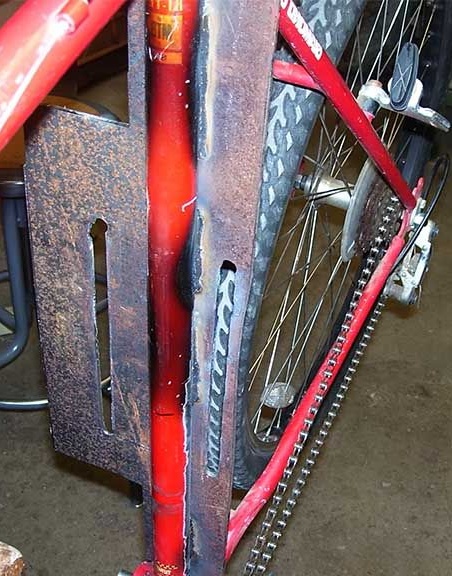
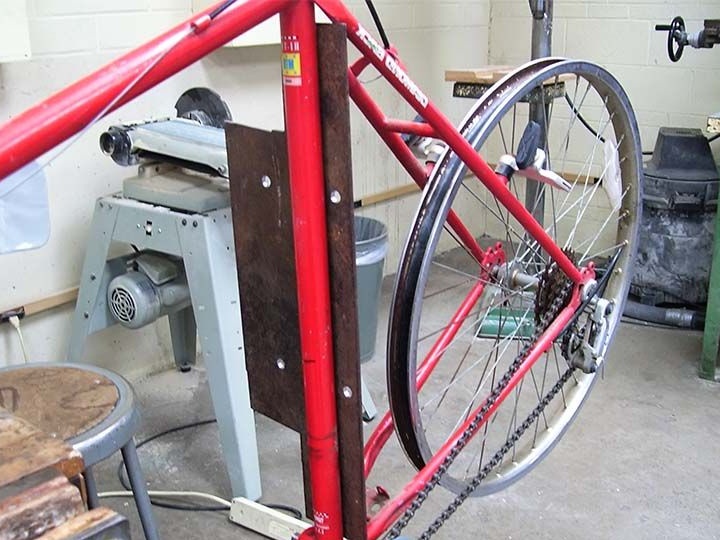
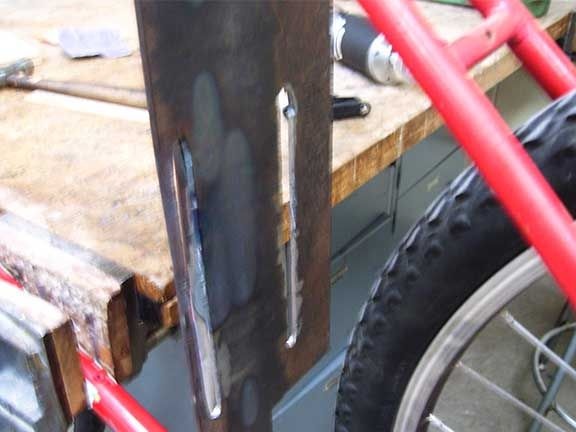
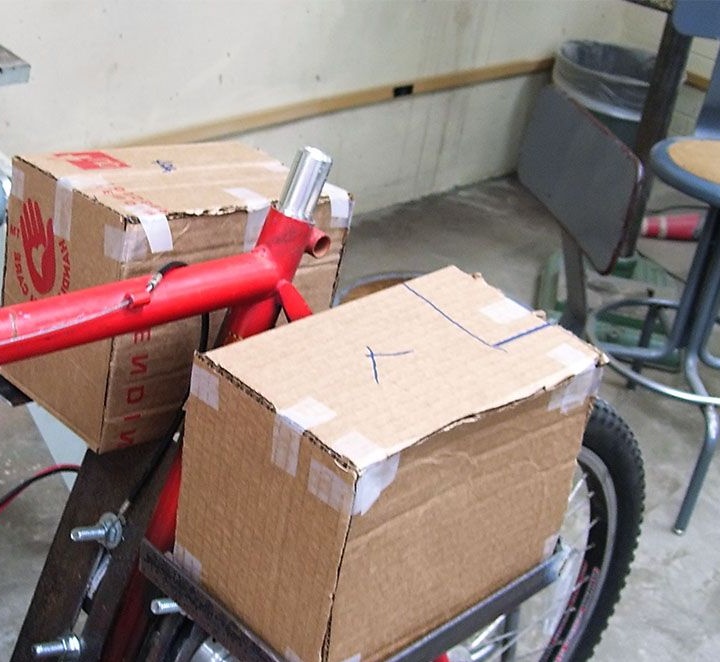
The engine is mounted on a bicycle using a special bracket that is cut from a steel sheet and then welded to the bicycle frame. First you need to make a cardboard layout, this will determine how and where the engine will be installed, as well as batteries and other equipment. The author recommends installing the engine behind the seat post.
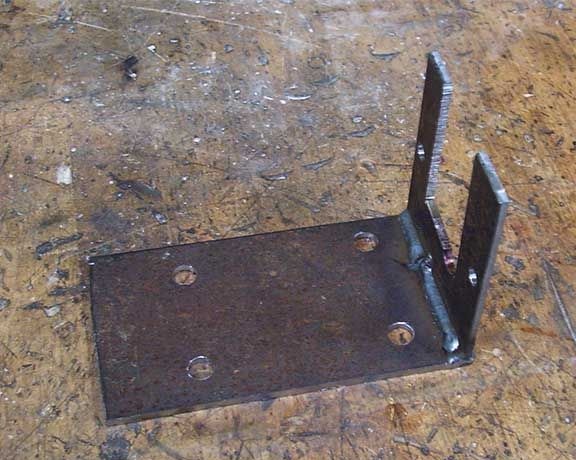
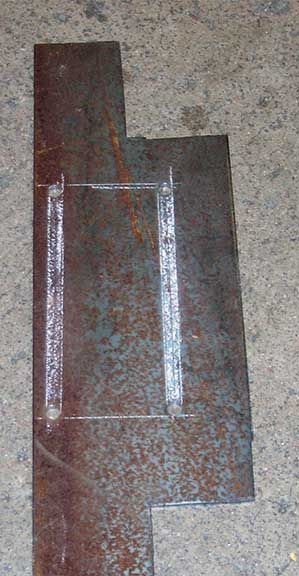
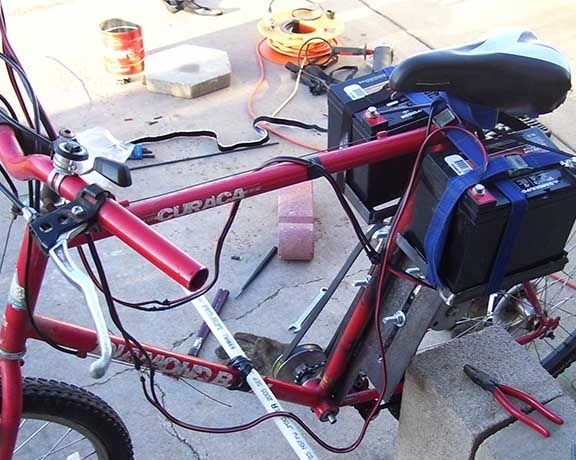
The engine is attached to the plate with two U-bolts, which are tightened on the other side of the plate with four nuts. Here you need to adhere to the minimum clearances between the engine and the bolts, and also drill holes for them with a minimum clearance. Otherwise, the engine may shift when driving.
Further, the author connects each two holes with each other using slots, they are needed so that you can pull the belt, lifting the engine.
Seventh step. Assembling a belt drive
Everything is simple here, you need to tighten the belt on two pulleys and then raise the engine up, subsequently tightening the nuts well. When driving, the belt will gradually stretch, so the belt will need to be periodically tightened.
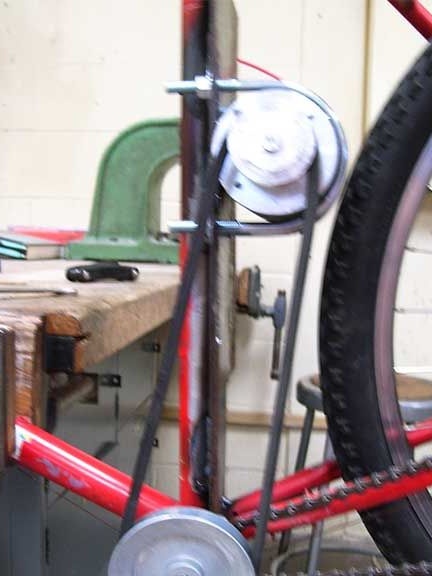
After that, you need to check the bike again without load, first turning on the lowest gear. The engine turns on at maximum speed, while making sure that the pulley is spinning and the engine is securely fastened. Then you need to gradually increase the transmission and see if everything works correctly.
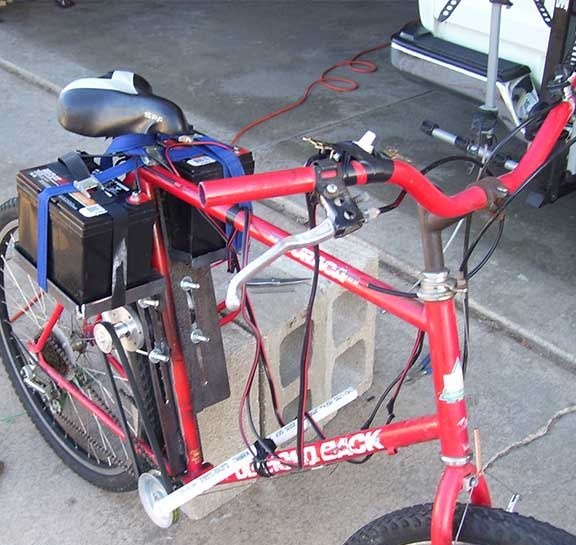
Step Eight. Battery Installation
The author uses classic batteries, so to speak, "large and weighty." First, you need to make a cardboard battery layout to determine where to install it.It is best to install it at the back and as low as possible to the ground. This will reduce the center of gravity, making the bike more stable and improve traction on the rear wheel.
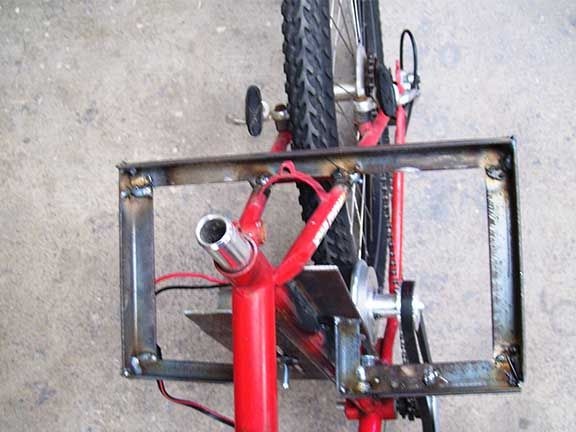
Well, then in the right place, a pallet from a steel corner is welded to the size of the battery. This is where the battery is installed later. The pallet needs to be welded well and it should be strong enough, since vibrations will also be added to the weight of the battery when driving.
Conclusion
As for the electrical circuit, there are no tricked out controllers here; it consists entirely of an engine, a battery and a switch. Speeds are switched using a standard bicycle cassette. In most cases, today there are rear cassettes with 7 stars, which will give 7 speeds on an electric bike.
If the engine is too weak and the bike does not ride under load, you will have to experiment with the gear ratio or change the motor to a more powerful one.