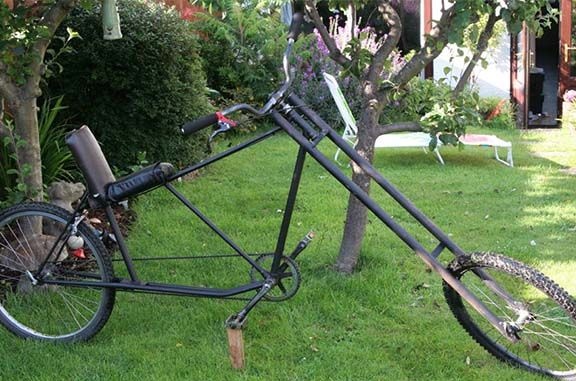
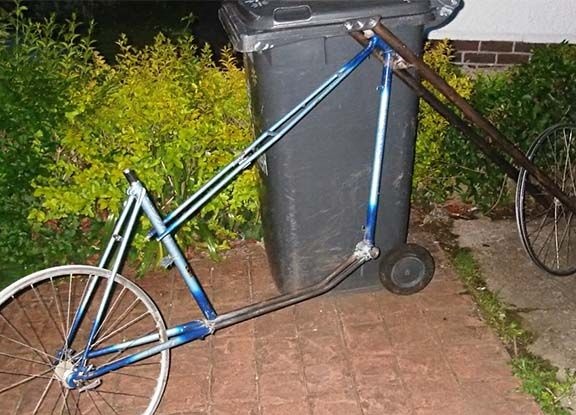
For those who are interested in creating a bike chopper, you can recommend this project. Homemade assembled with minimal cost and using the maximum number of parts from old of bicycles.
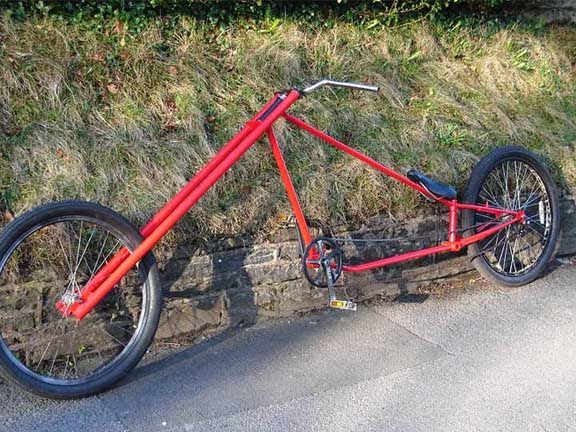
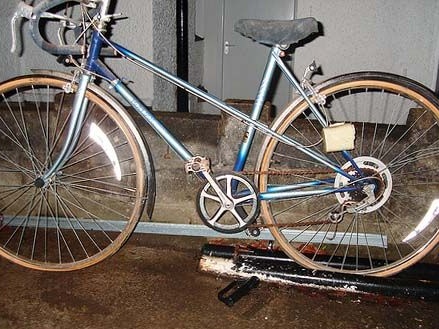
As a basis for homemade work, the author took an old women's racing bike Wisp Raleigh, which is already over 25 years old. The result was a very good and stylish cruiser.
Materials and tools for homemade:
- welding machine;
- bike donor;
- pipes made of steel (forks are made of them, they must be strong and must not bend under load);
- steel pipes for lengthening the frame elements (They should be larger or smaller in diameter from those pipes used in the bicycle frame. This will allow them to be connected to each other more qualitatively and reliably);
- several steel sheets with a thickness of 1.4 mm (needed to create plates for the cruiser);
- bicycle chains (Since the frame will become significantly longer, the native chain will no longer fit. The way out of this situation is to connect two chains together);
- pipe bending machine (will be needed if you need to radically change the angles of the frame).
Chopper manufacturing process:
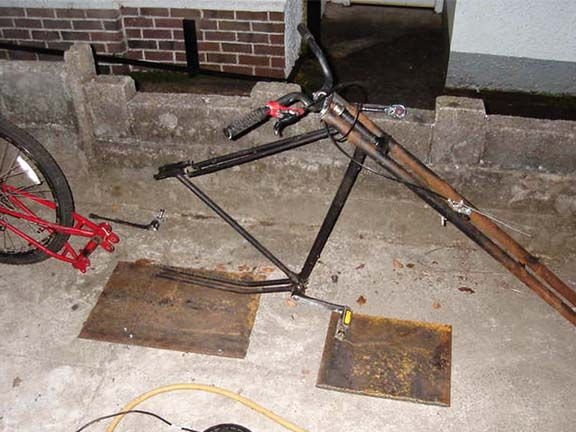
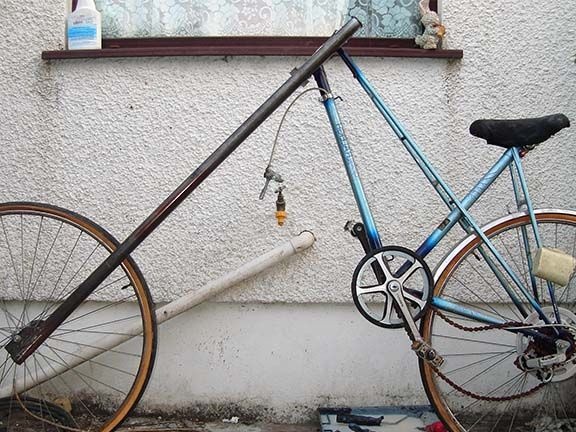
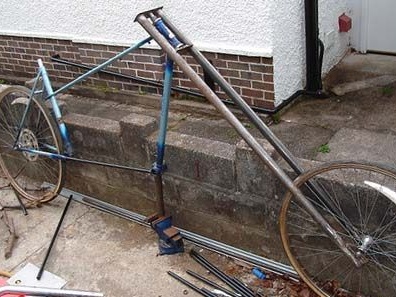
Step one. Putting the front fork
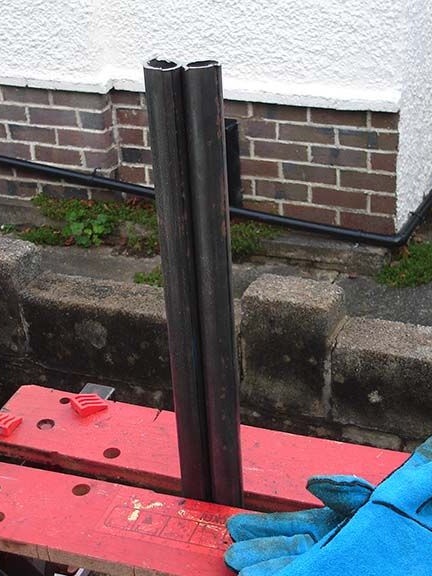
To make the front fork, you need two strong steel pipes. When riding, a considerable load will act on them, so they should not bend.
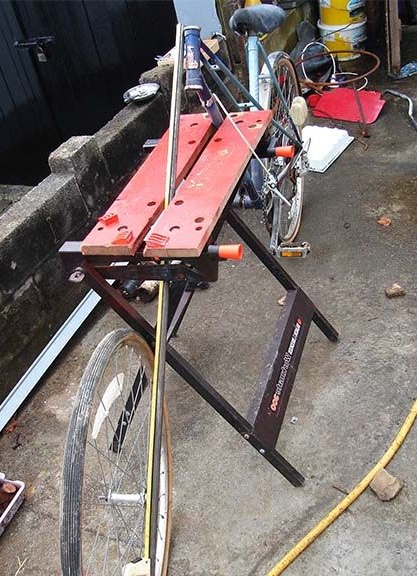
To select the desired length, the bicycle is installed in the required position, the old fork and handlebar must be removed. The author sets the bike on a bench, while the distance from the top of the steering column to the front axle of the bike was 1.22 meters.
In conclusion, the pipes must be carefully aligned in length and cleaned of contaminants.
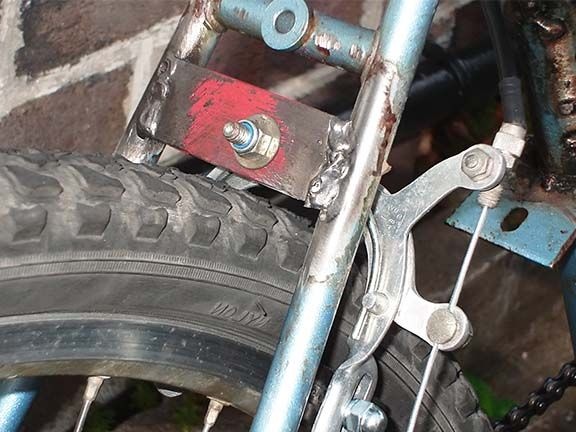
Step Two Dropout Production
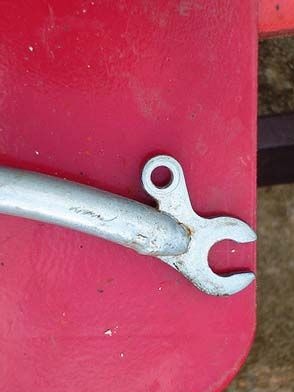
So that you can screw the wheel to a future fork, you will need to make two brackets for the axle. They must be durable, because if this is not the case, the wheel may come off while driving and a dangerous situation will occur.
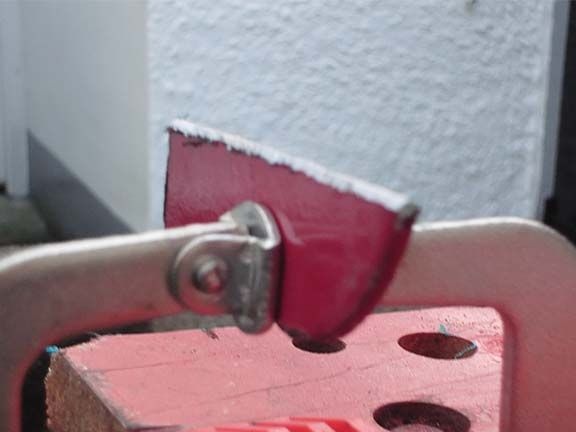
To make dropouts, steel plates with a thickness of 3 mm or more are suitable. From them, using a grinding machine, you need to cut workpieces of the required length, and then make cuts for the axle by analogy with a factory bicycle fork. Seats should not have a large gap between the axis, the gap should be as small as possible.
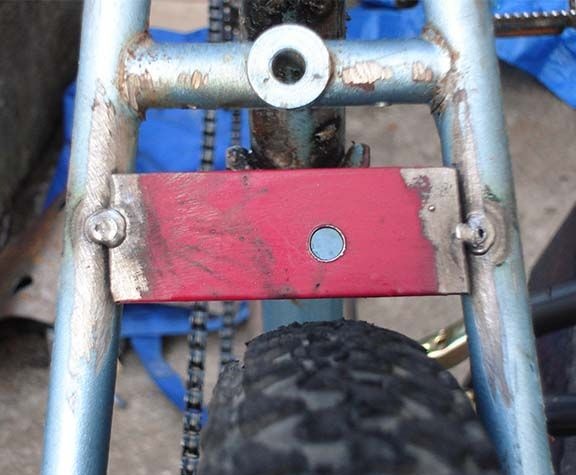
In conclusion, the dropouts are processed with sandpaper or on a grinding machine and adjusted to the pipes, at the same stage the places of their installation are determined.
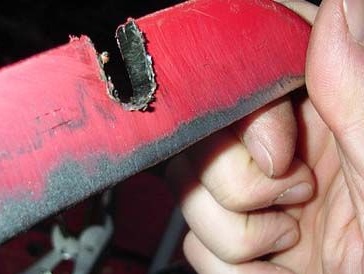
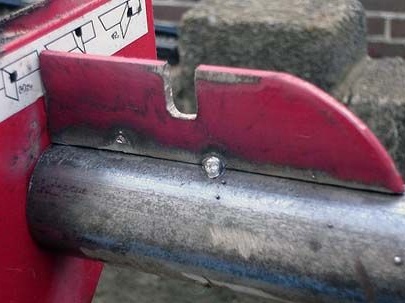
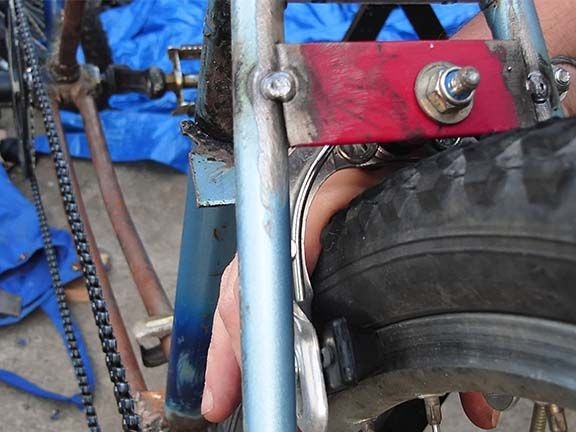
When the dropouts are made, they can be welded to the pipes. To fix the plate on the pipe, the author used a magnet. There is one caveat here, dropouts need to be welded not to the center of the pipe, but to one of the edges. Otherwise, the wheel may cling to the fork after installation.
After all work, you need to make sure that the dropouts are welded securely.
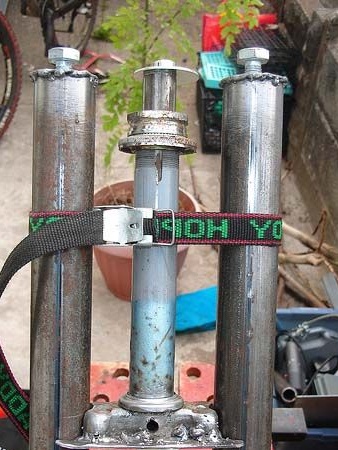
Step Three Making a fork top
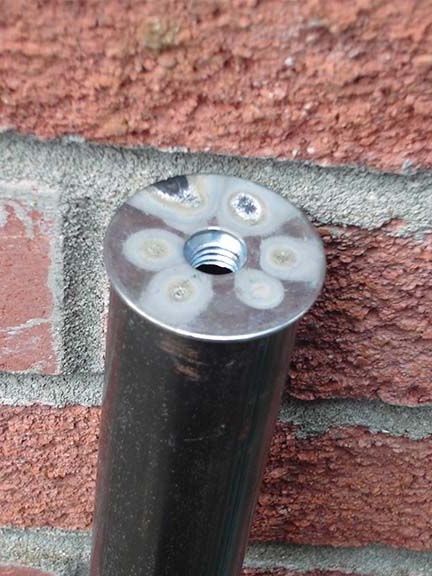
After two pipes with dropouts are ready, you can proceed to create the upper part of the plug. At the top of the plug you need to create a thread, it is easiest to solve this problem by welding a bolt with a plug.
For such work several bolts, nuts and washers will be needed. For these purposes, a pack of M10 bolts was purchased, as well as a pair of inexpensive M10 washers with a diameter of 10 mm. Such a kit will not cost expensive and can be found in any hardware store.
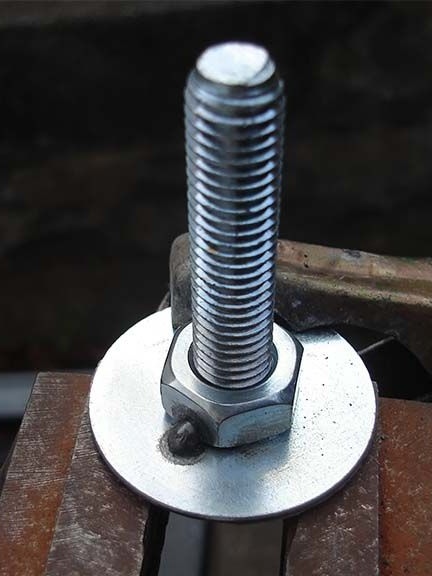
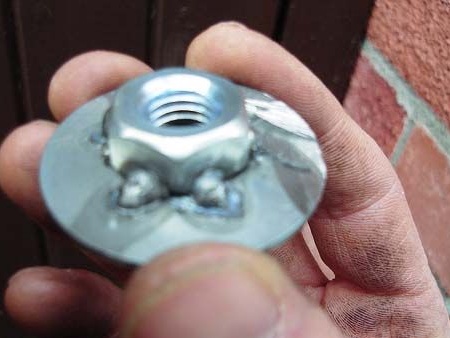
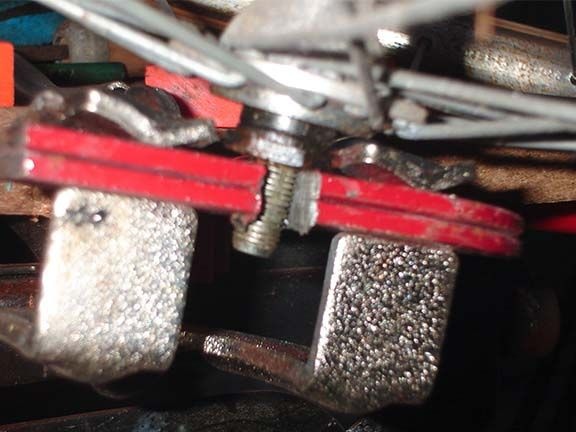
It is necessary to assemble the bolt, washer and nut, and then weld each face of the nut to the washer. Then the washer is placed on the top of the fork with the nut down and securely welded to the pipe. Thus, on the upper part of the plug, a strong mount is formed in which a bolt can be screwed.
We continue to create a fork ...
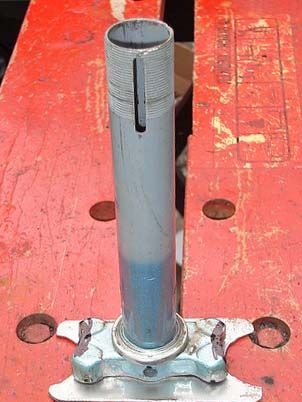
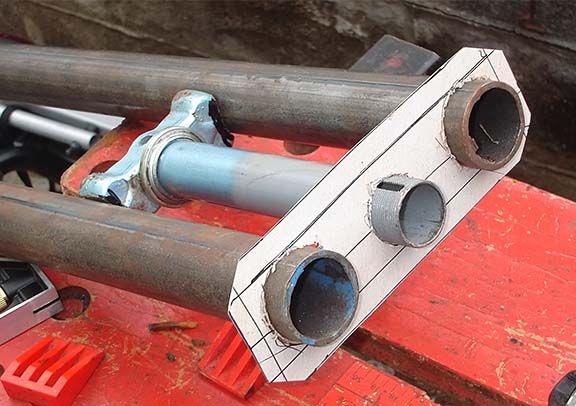
Now you need to cut off the legs from the old fork, in the end the base should come out as flat as possible. After that, you can begin to create a crown template, which will connect all three pipes to each other. For the manufacture of the template will need cardboard. After the template is ready, it is applied to the steel sheet, circled and then the necessary workpiece is cut. In conclusion, the fabricated base plate is welded to the crown. Before welding, it is advisable to screw the wheel to the fork to determine if all measurements were correct.
Removal
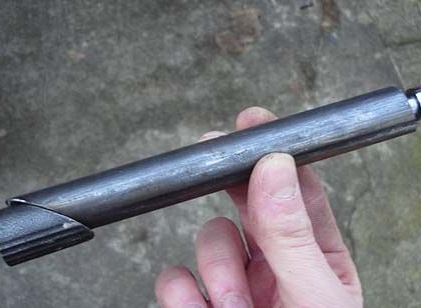
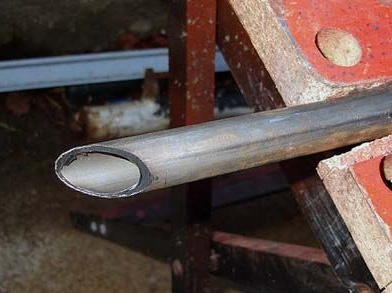
Also at this stage it will be necessary to make a take-out, for this you can cut off the upper part of the existing take-out. The author decided to make a takeaway from scratch. A pipe was found whose diameter perfectly corresponded to the inner diameter of the plug stem. One end of the pipe must be cut off at an angle of 45 degrees using a grinding machine, how exactly, can be seen in the photo.
And finally, the pipe must be shortened so that it fits under the wedge and stem bolt.
If all the elements are perfectly fitted, now all you need to assemble and weld the crown to the fork. The author for this purpose fixes the structure with a belt. But it is best for these purposes to ask for help and an assistant, if any.
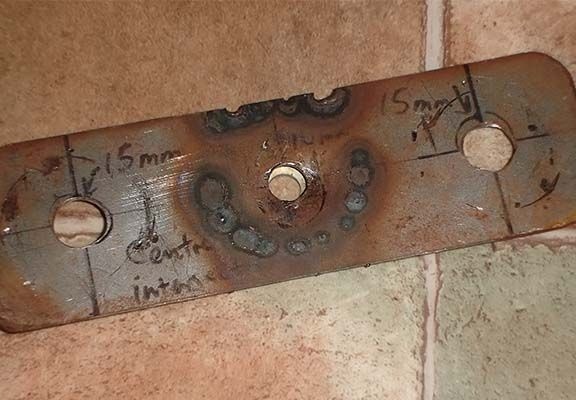
To completely tighten everything, for the top of the fork you will need to make a plate with three holes, one in the center and two on the sides for the fork screws. After that, the plug can be assembled and the work process can be considered completed.

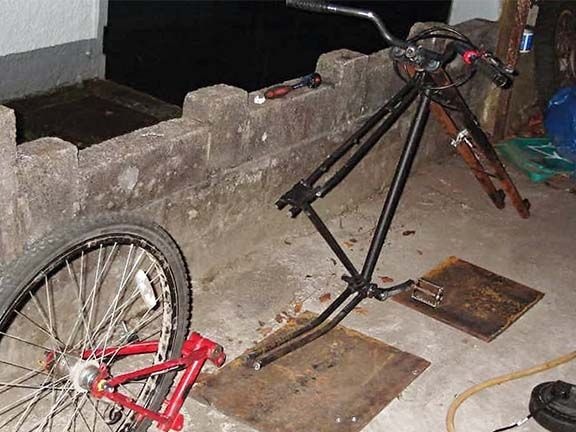
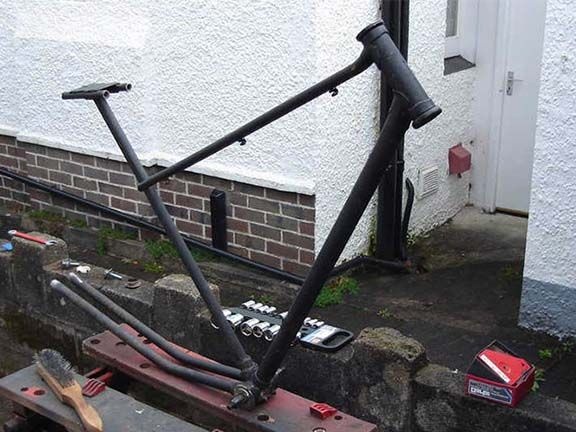
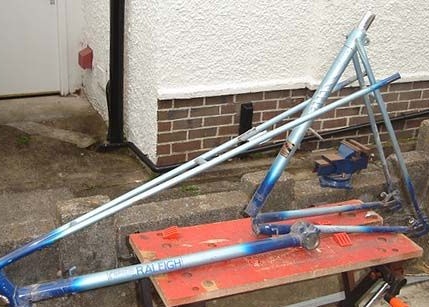
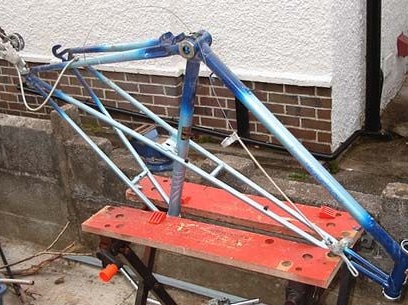
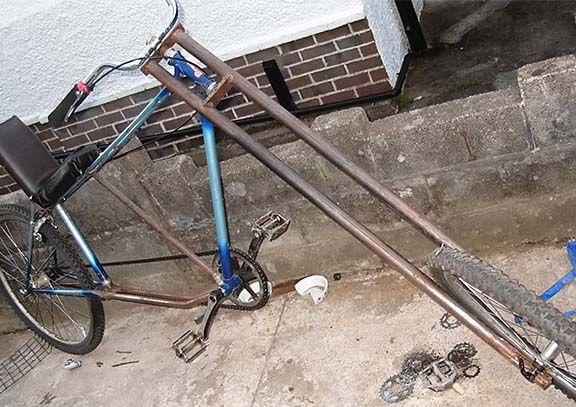
Step Four Chopper Frame
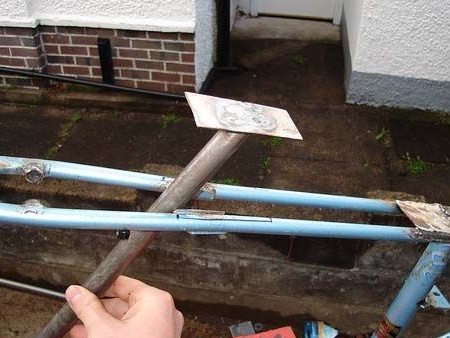
The bicycle frame will have to be lengthened, for this it must first be cut in strategic places. Here it all depends on what kind of frame design the master wants to get. At first, you need to create a layout for the future frame.
When measuring the frame, you need to install the wheels to figure out how high the frame should be from the road. It is also important to consider the length of the connecting rods, since when driving with too low a frame they can cling to the ground.
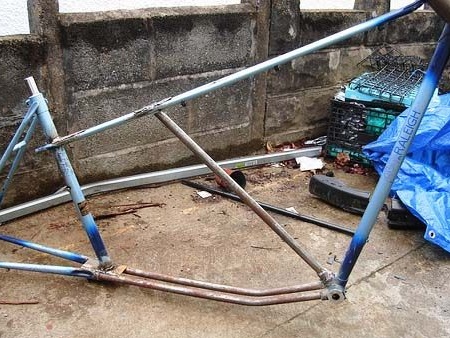
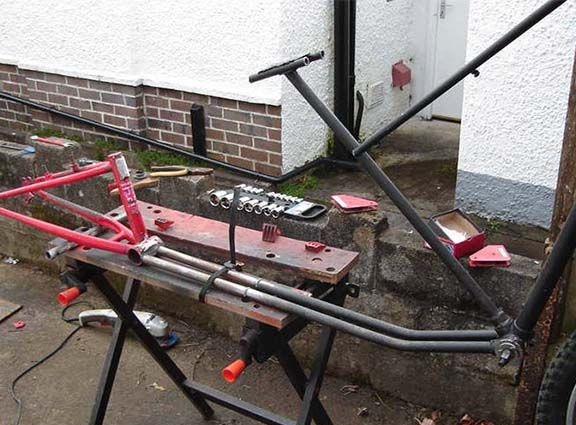
Where it is difficult to weld the pipes, the author uses metal plates to connect. First, it makes a template out of cardboard, and then you can easily cut the necessary part on it.
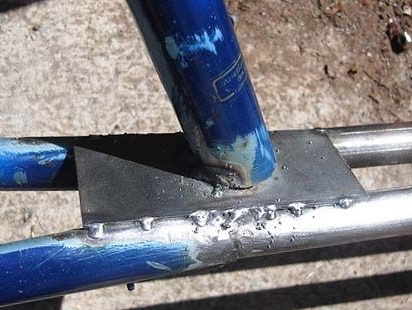

During the assembly process, it is also important not to forget about the strength of the frame. After all, the longer the bike, the greater the load will act on the bike in the center of the frame. It is this place that needs to be further strengthened.
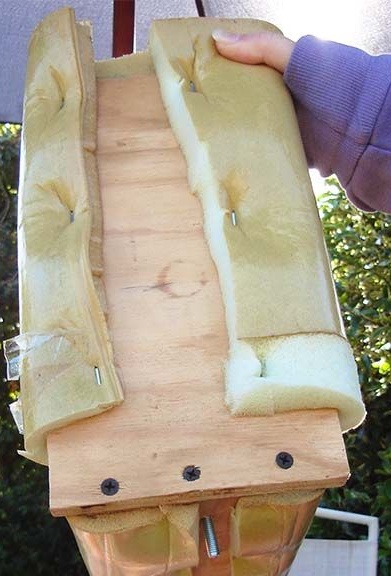
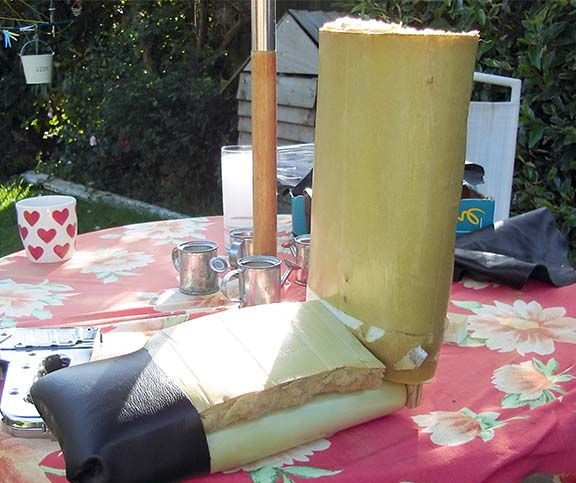
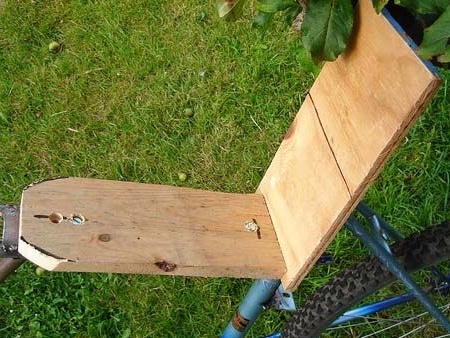
Step Five Chopper Saddle
The saddle is assembled from ordinary boards.For softness it is sheathed with foam rubber or other upholstery material.
Step Six Chopper wheel
The steering wheel for the chopper is selected individually, it all depends on the preferences of the master. You can install the old steering wheel, you can make the most new, or pick up the finished one from another bike.


Seventh step. Brake system
Of course, the brake system will need to be redone, first of all, it will be necessary to lengthen the cables if the brakes are manual. If the brakes are foot, then there should not be any problems.
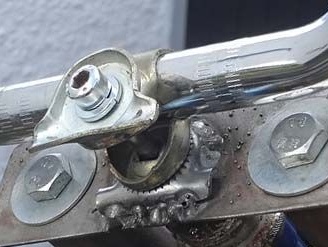
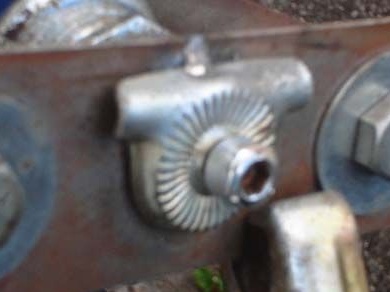
Step Eight. Final build phase
Since the author decided to abandon the existing gearshift system, a single-speed adapter was installed on the rear wheel.
After the test run, the bike can be disassembled again, prepared for painting and finally painted.
In the future, the author decided to modify the bike a little more. Here is a photo of the process and the result.