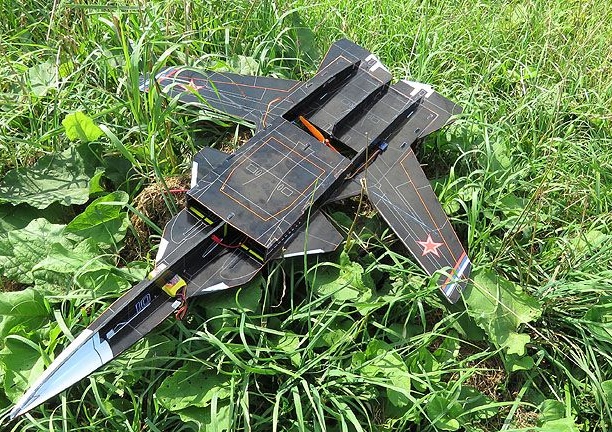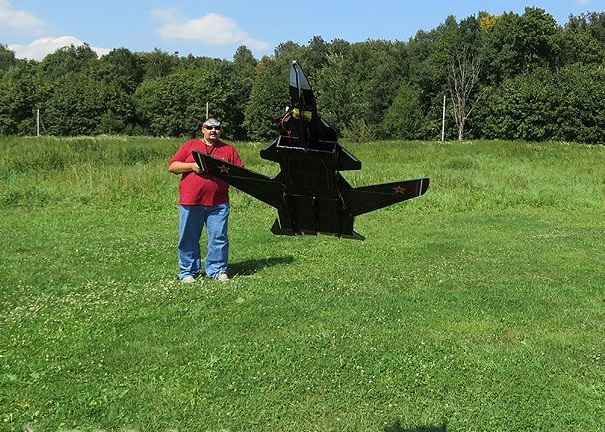
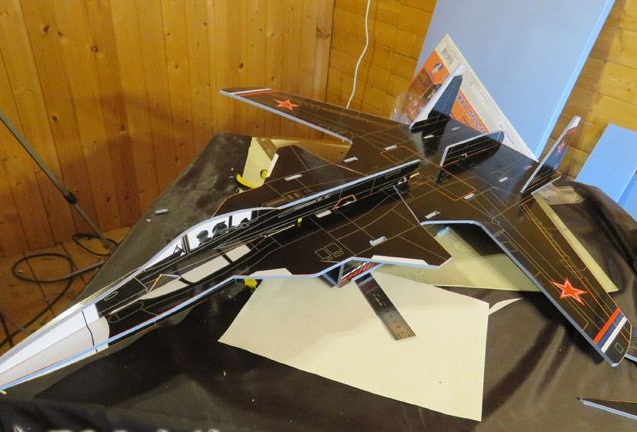
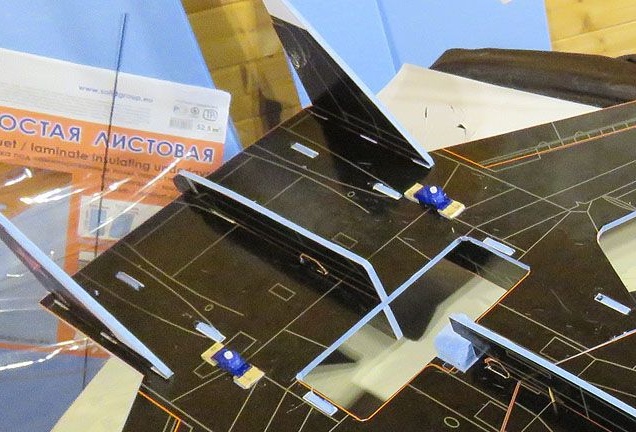
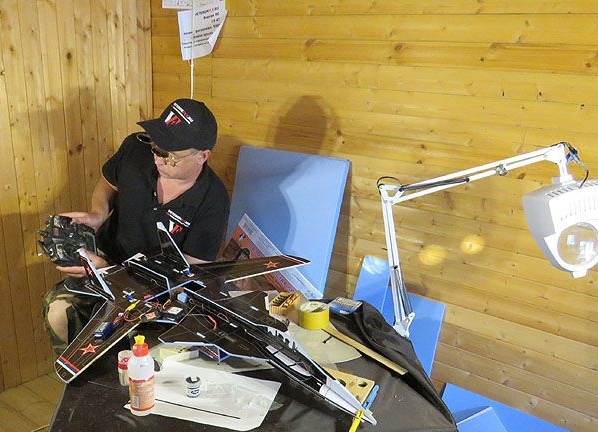
The article will consider an example of creating a flying model of the SU-47 aircraft. Its feature is that the wing of this aircraft is located on the contrary, but, nevertheless, model flies fine. The model is assembled simply, as a basis, a depron (foam board) is used.
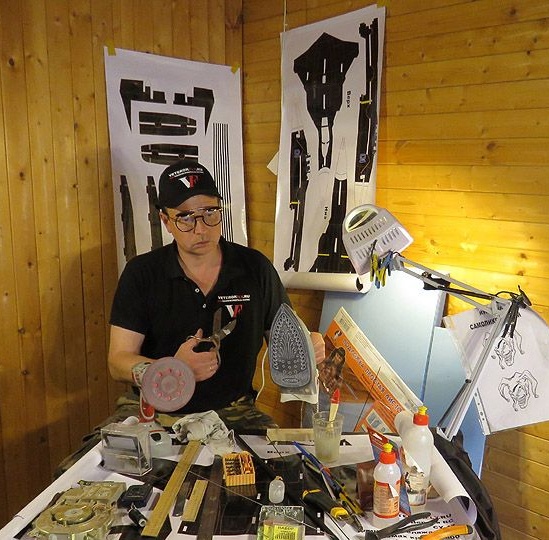
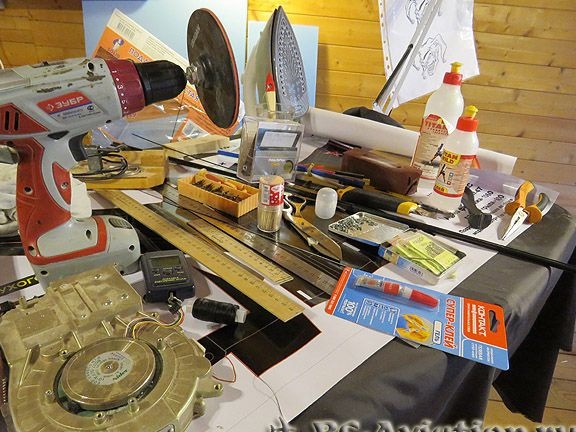
Materials and tools for homemade:
- depron;
- servomotors;
- Super glue;
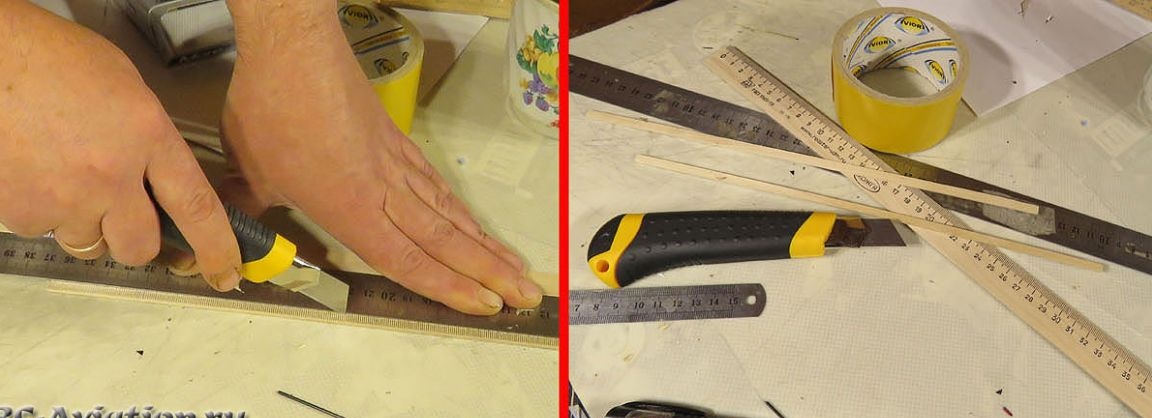
- stationery knife;
- pencil, ruler and other measuring instruments;
- iron;
- file;
- engine and propeller;
- source of power;
- electronics;
- adhesive for foam board (Titanium);
- soldering iron;
- drill;
- screws;
- paint and more.
Model manufacturing process:
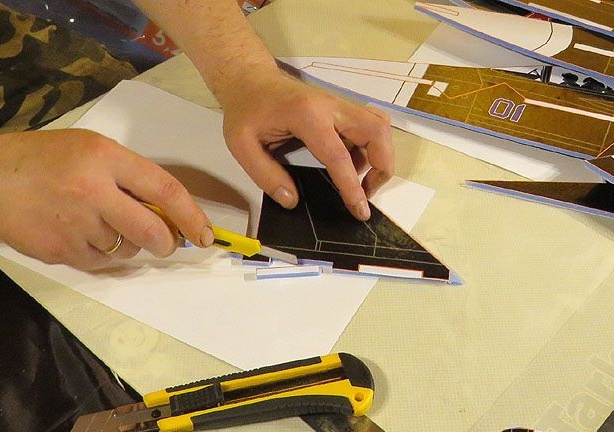
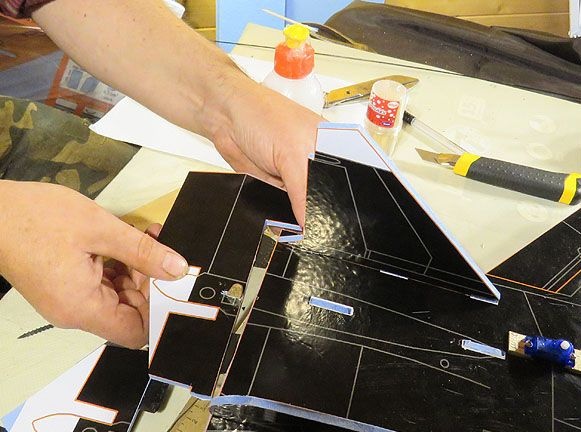
Step one. Cut the necessary elements
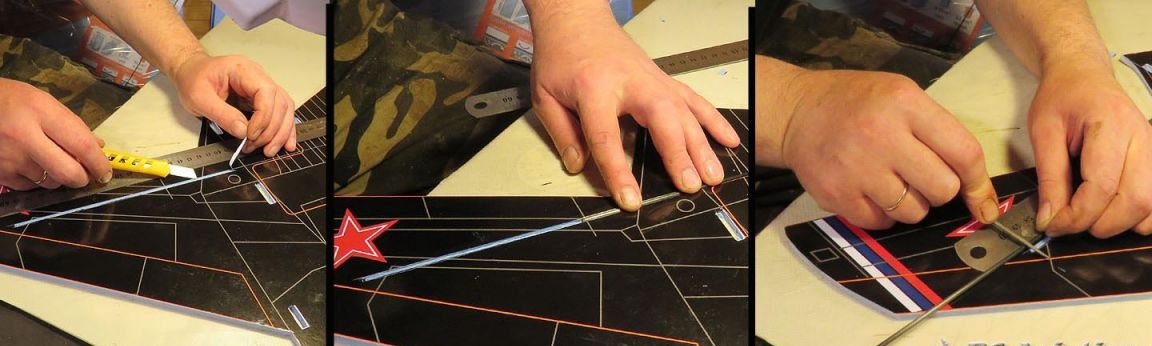
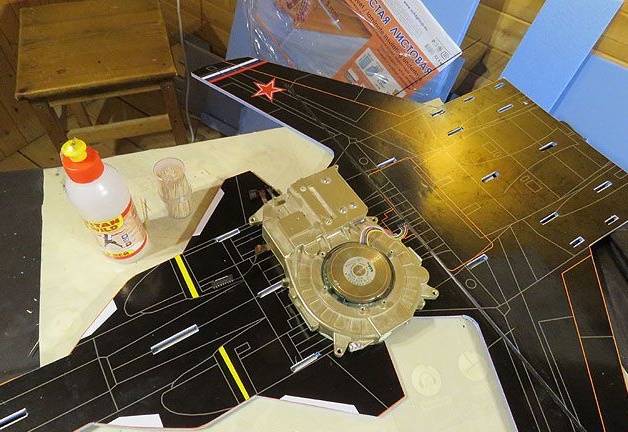
First, sticker templates are glued to the depron, by which the elements of the aircraft model are then cut out. You need to cut in the orange line with a clerical knife. To stick the sticker, the depron must be moistened with soapy water, while the sticker will slide on the surface and it is convenient to center it. After determining the location of the sticker, soap solution is expelled from under it, and it adheres to the material.
In order for the sticker to firmly adhere, it must be pressed down with a weight; for these purposes, the author uses a hard drive from a computer.


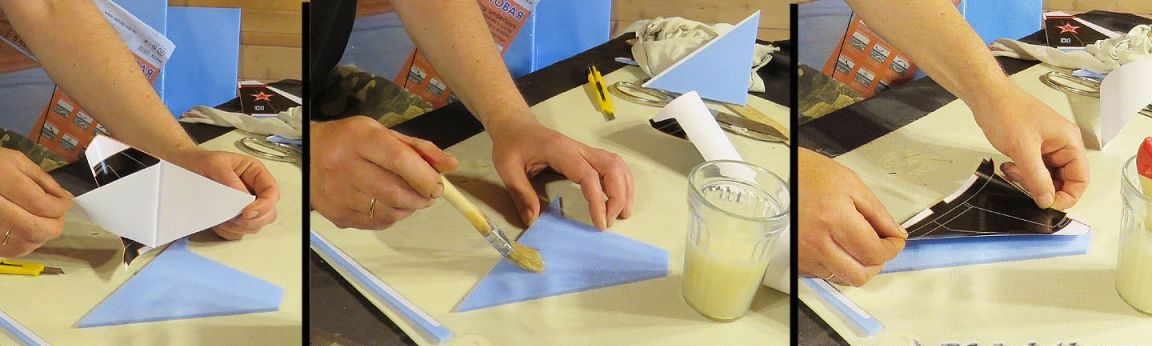
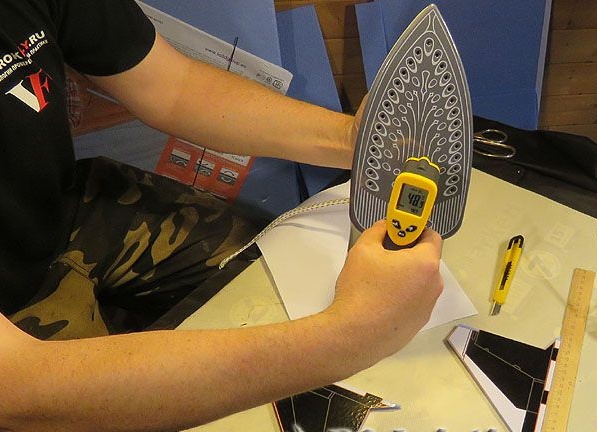
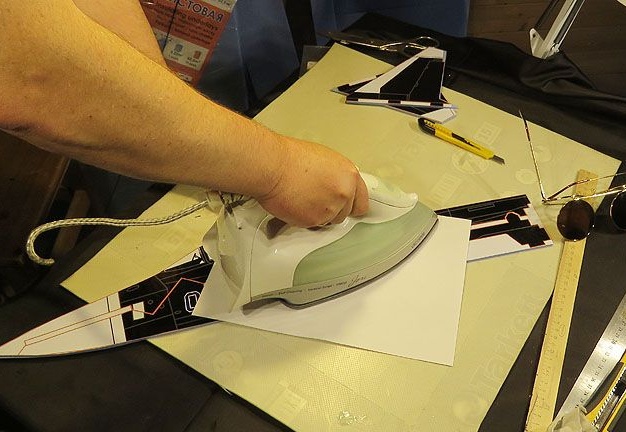
In order for the film to fit as tightly and reliably as possible to the foam, it must be ironed with an iron. The temperature of the iron differs in area, in the center it is about 70-80 degrees, and closer to the edge about 49 degrees.
The author stroked through a sheet of paper, periodically measuring the temperature of the iron. The temperature regime should be kept within 50-80 degrees. After the parts are ironed, you can cut the workpiece further.
The fuselage and wings of an airplane are the largest parts.
Spikes and holes for them need to be cut out as carefully as possible. You need to work with a very sharp knife.
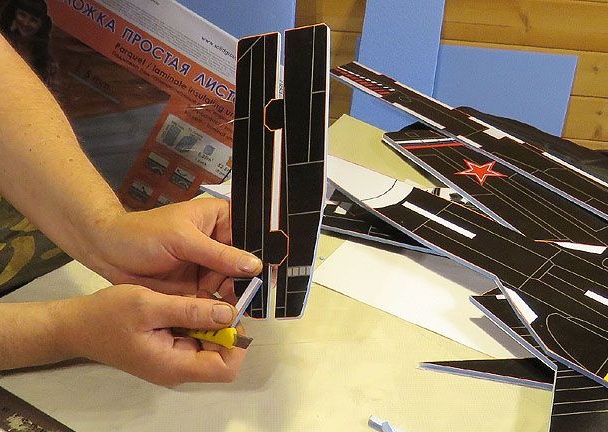
A pair of blanks must be cut symmetrically "in half", you need to cut along the orange lines.
Now the details can be tried on. If something does not fit, the elements need to be adjusted to each other.

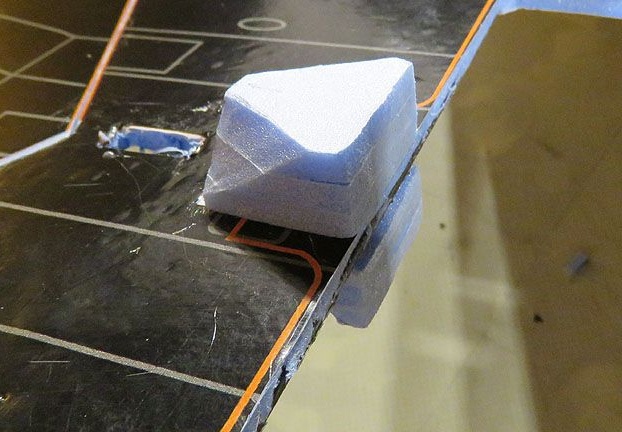
To further strengthen the wing, the author glues a carbon fiber tube 3 mm thick. To do this, from the lower side of the wing, you need to cut a strip 3 mm wide and cut the depron to the middle. Then the tube is pressed into the material and a depression forms under it. The length can be noted with a file. The author obtained a tube length of 60 cm.
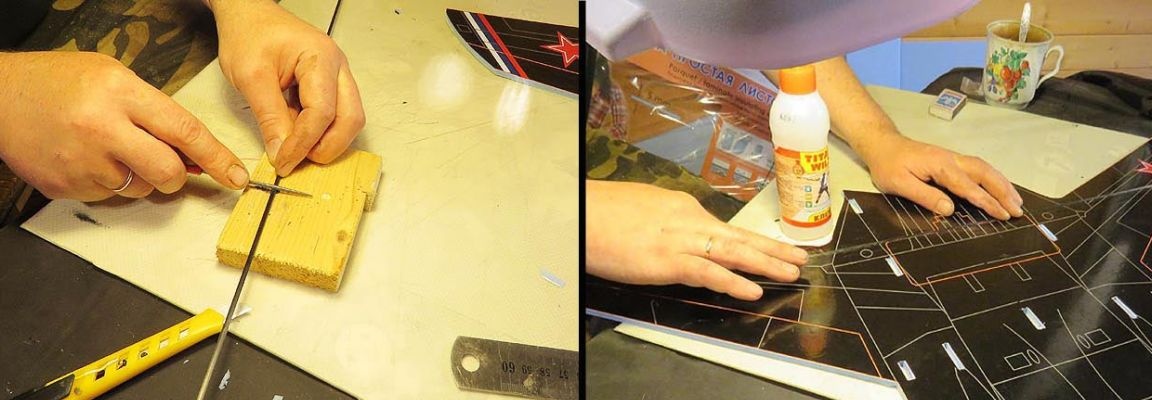
Then the tube is cut with the file to the desired length and with the help of glue Titan is installed in the prepared place. Excess glue that will be squeezed out during installation must not be forgotten to remove. As a result, the black tube should merge with the wing together.
[center]
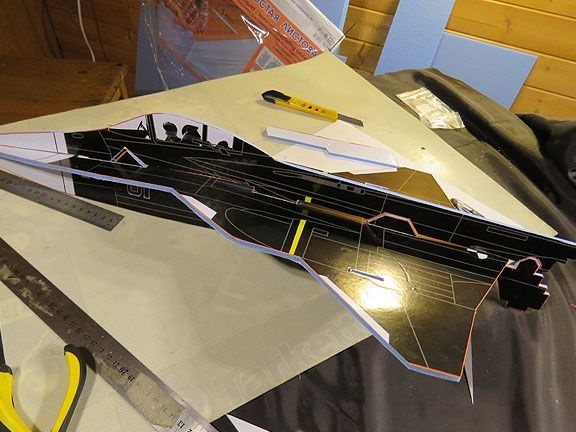
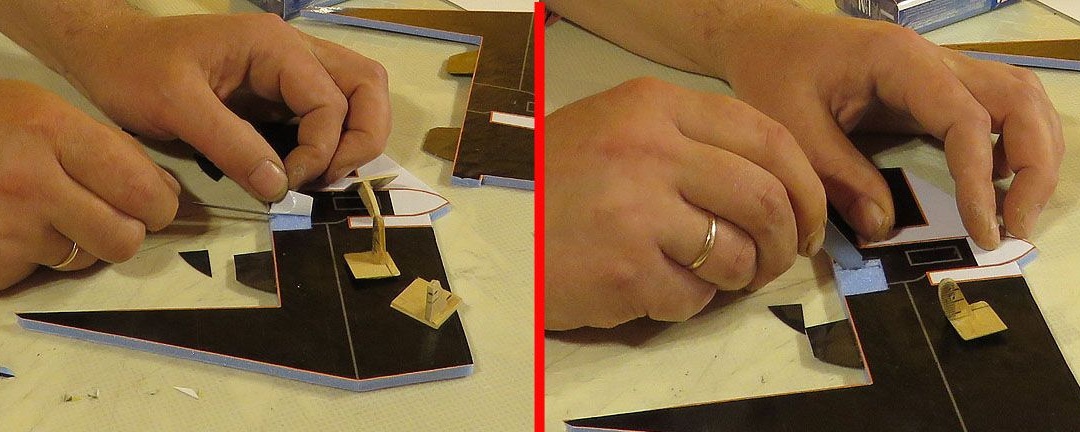
Then comes the final fitting. Now you need to finally make sure that all the elements are fitted to each other. Well, then you can proceed to the final assembly.

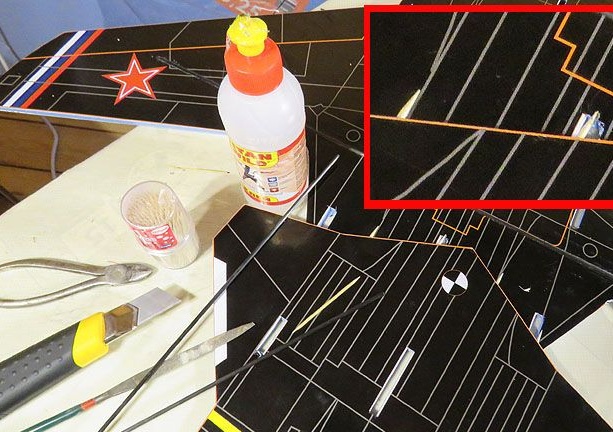
The assembly is assembled from the joints of the two parts of the fuselage, they need to be glued together with toothpicks. To make the structure stick together evenly, the fuselage can be placed under the load. After gluing, the author decided to further strengthen the structure by installing two carbon tubes. They were glued along the fuselage in such a way that they blocked the docking point.
The author also crashed into ailerons loops. They were made from a flexible floppy disk.
Step Two Model assembly
The model is assembled with glue.
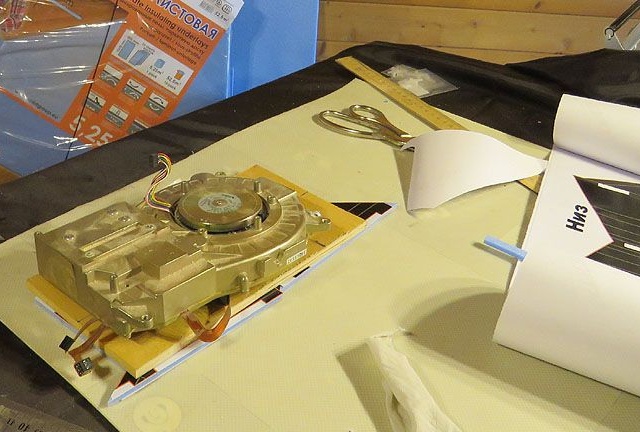
It is necessary to make a hole for the VMG, and also for fixing the engine you need to glue a couple of squares from three layers of the ceiling. The film is cut off.
The base under the motor mount is glued symmetrically on top and bottom. The engine on the engine mount is glued to the base by the author.
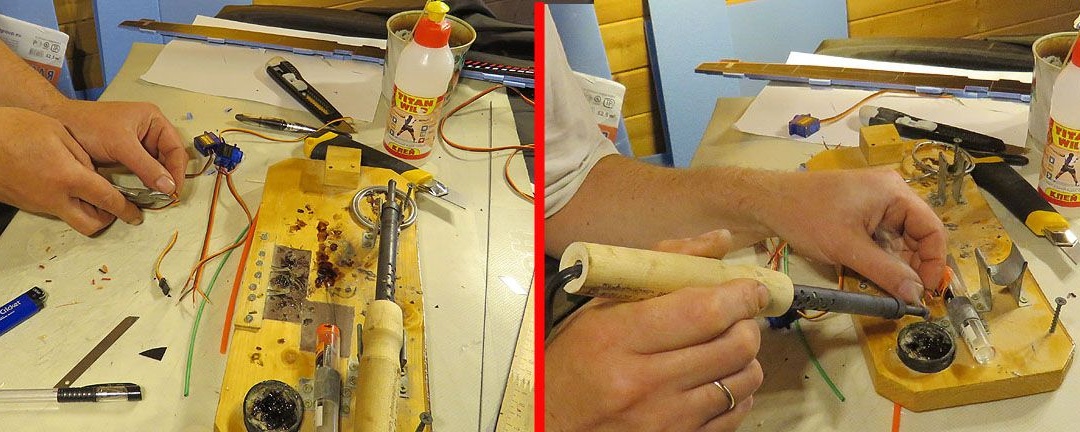
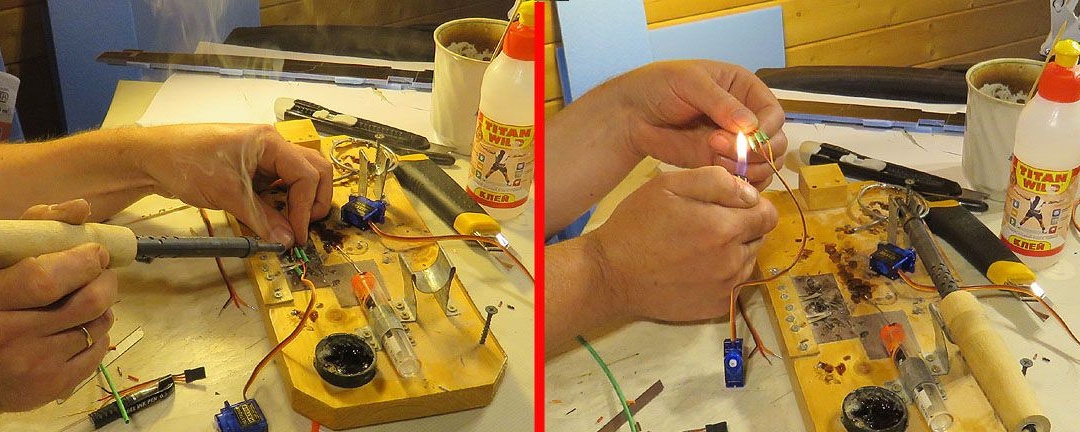
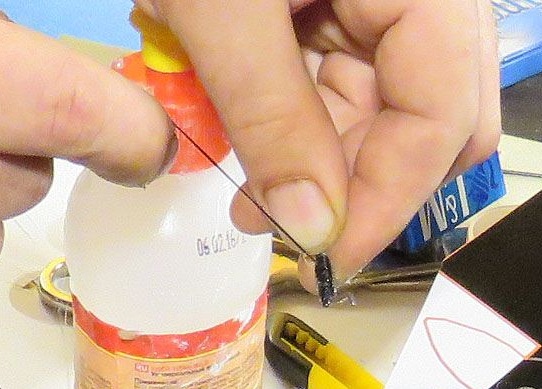
Since the wires of the servomotors of the author were short, it was decided to increase them by 20 centimeters.
A 20-centimeter insert is soldered into the model, while it is important not to forget to wear insulating heat shrink. After warming the heat shrink with a lighter, the servos can be installed in their places.
Servos on ailerons cut symmetrically at a distance of 18 cm from the rear of the fuselage. Under the servo you need to cut a hole. To be able to screw the screws, squares are made under them from a wooden ruler. They stick to the drone, for this, at the installation site, you need to remove the film.
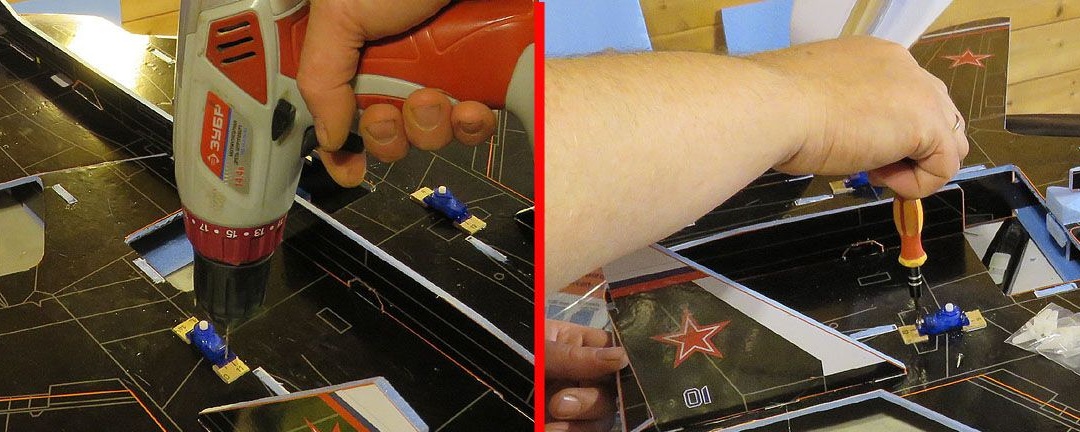
Once the glue has set, you can drill holes and screw in screws.
For the manufacture of wild boars for ailerons, a wooden ruler was used. They need to be cut along the servo installation line. Under the vertical part you need to make a slot.
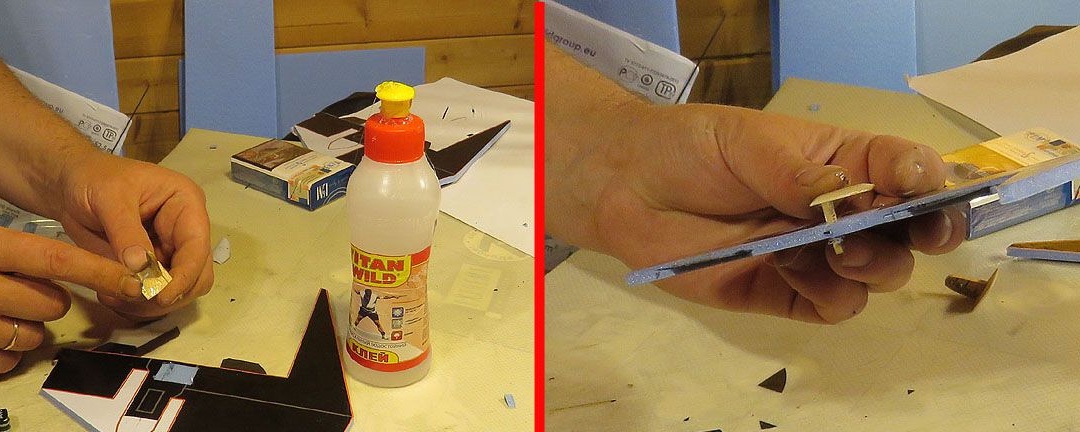
Then the platform is greased with glue, and the boar is installed in the slot. The platform is pressed to the depressor for an hour, then it will be possible to proceed with the installation of rods and ailerons.
To hang ailerons, in the back of the fuselage you need slots for loops. They are smeared with glue and then loops are inserted into them. After an hour, when the glue sets, you can hang the traction.
Traction author makes unregulated. At the end of the carbon rod, a metal hook is made, which is thrown on the servo, then the required length is measured through the opening of the boar. On the other hand, a hook is also attached, it is fixed with threads and glue.
As for the wings, their leading edges are strengthened by slats, which are made of a wooden ruler, this greatly strengthened the wing. To facilitate this process, carbon fiber tubes or other similar materials can be used instead of rail. After grinding the rail, it adheres to the leading edge of the wing.
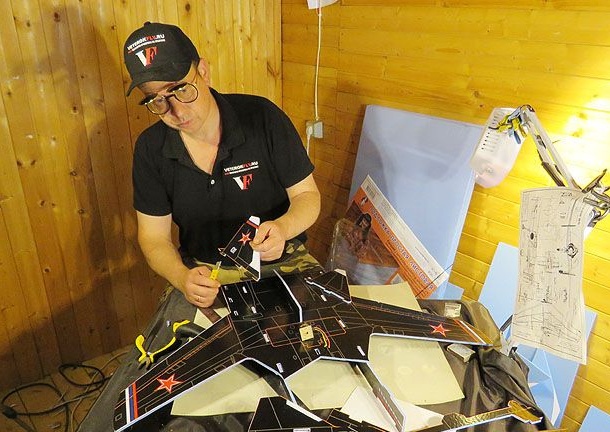
Step Three Final build process
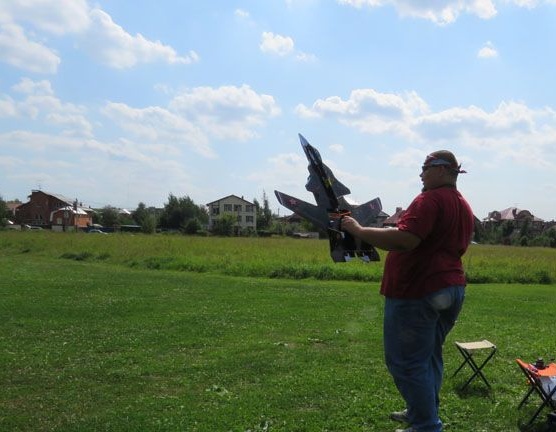
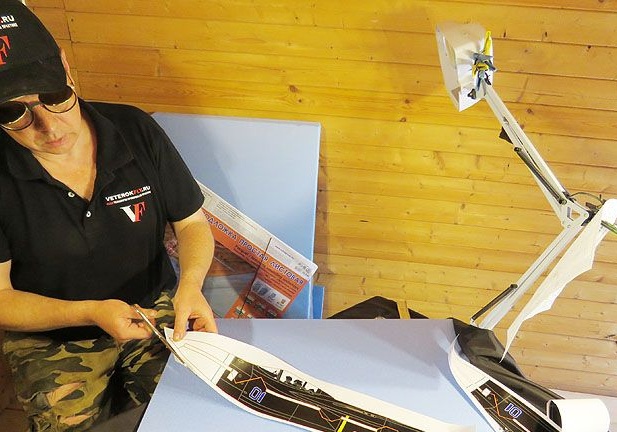
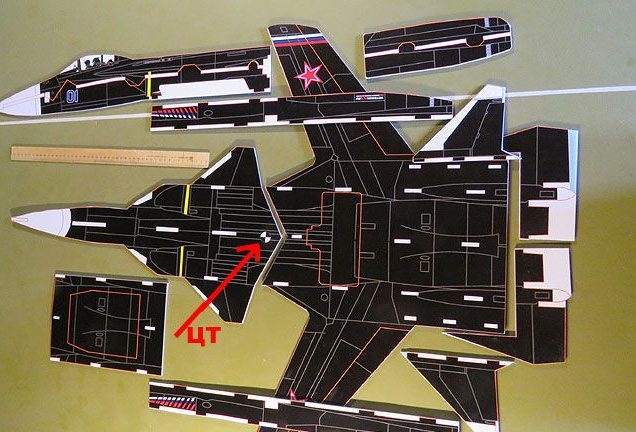
After everything is assembled, the engine is installed and the rods are hung, you can proceed with the installation of electronics. After connecting, you need to check whether the engines react correctly to commands from the remote control. If all is well, then you need to correctly set the center of gravity, it changes by moving the battery along the plane.
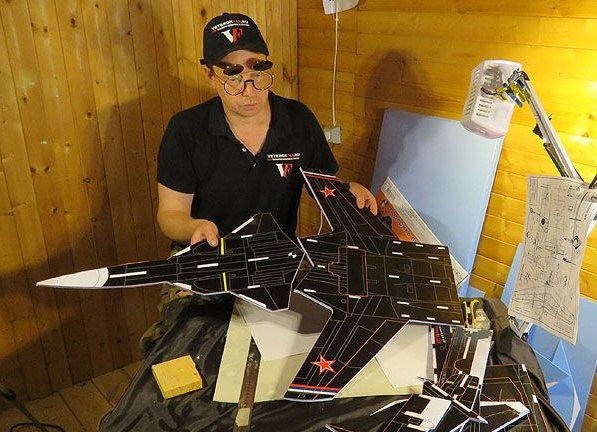
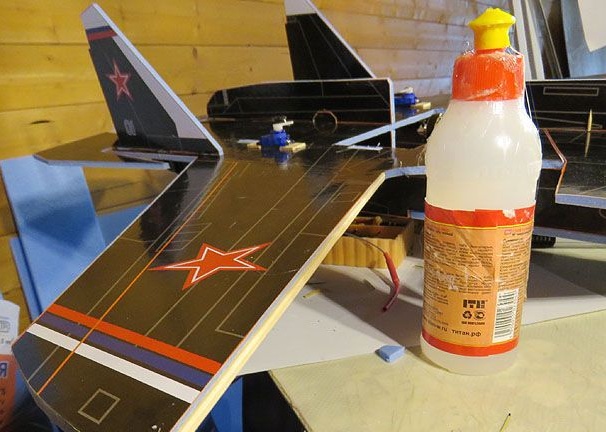
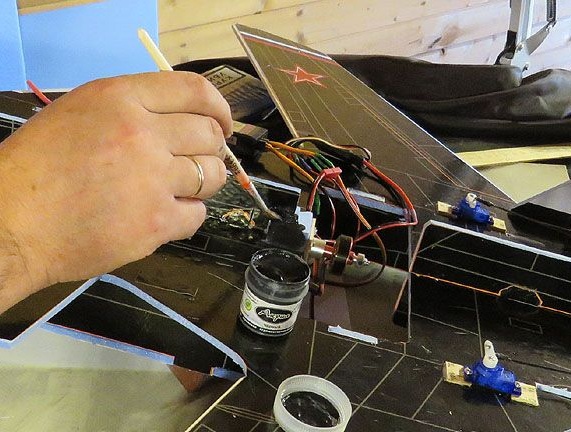
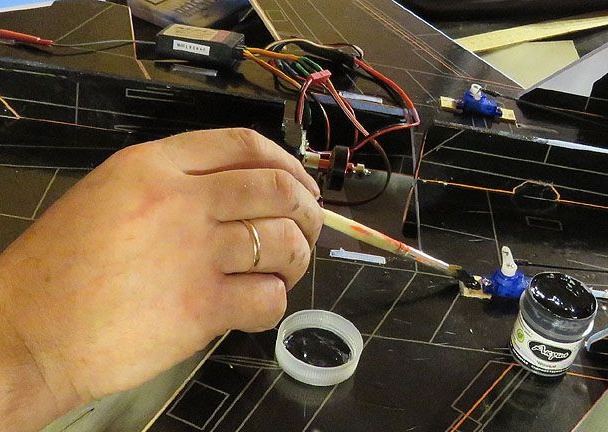
In conclusion, the model is tinted with acrylic paint in the necessary places.

The total weight of the homemade product was 360 grams with a 610 mA battery. Servo motors on the model cost 9 grams each, and the main motor rotates the screw up to 3000 rpm, the screw is used 6X3.