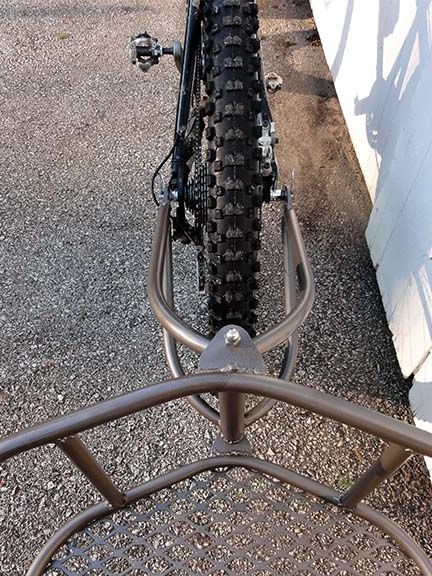
Nowadays, this type of transport such as a bicycle is becoming more and more popular, because it is very environmentally friendly and does not consume more than one type of energy carrier) Also, this transport is quite convenient in urban conditions, traffic jams and traffic jams often occur to the extent of congestion on roads and highways, and this problem is not terrible for a bicycle).
With ease and health benefits you can get to the place of work, or go to the store for groceries, and in the evening take a walk in the park.
Recently, it has also been fashionable among athletic youth to carry out cycling trips over short or long distances.
But in order to travel with a bicycle it is necessary to take basic necessities, a tool, a tent, a sleeping bag, like that, like little things, but a decent load is put into a backpack and it’s hard to put everything back, and if you push everything back while riding, it will quickly get tired. So what to do with this problem? The answer is simple, you need trailer.
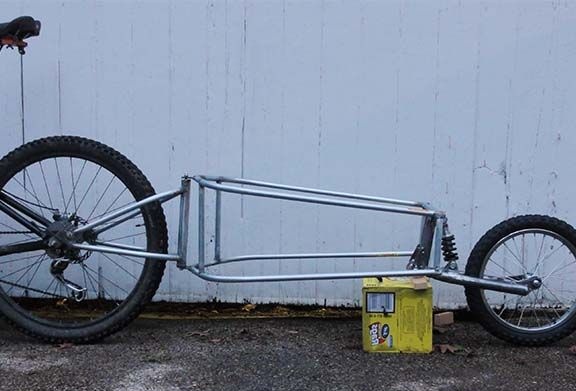
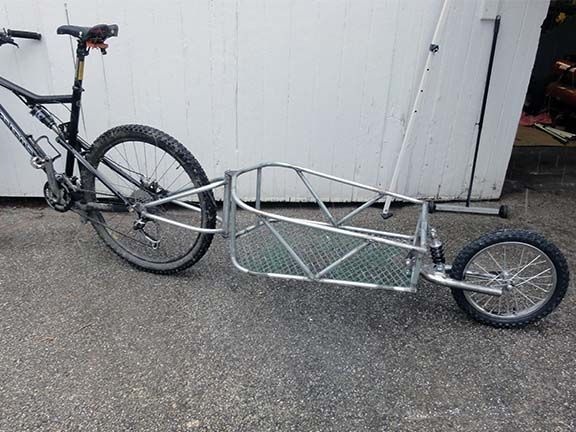
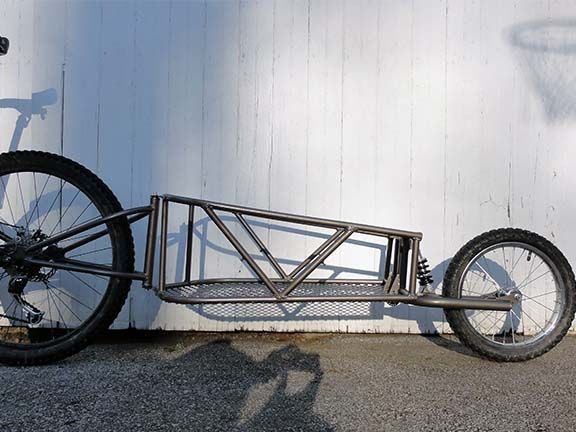
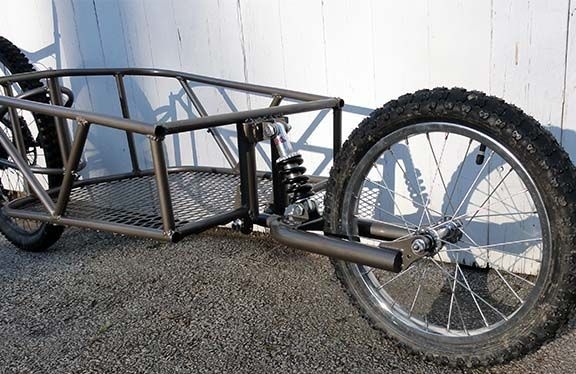
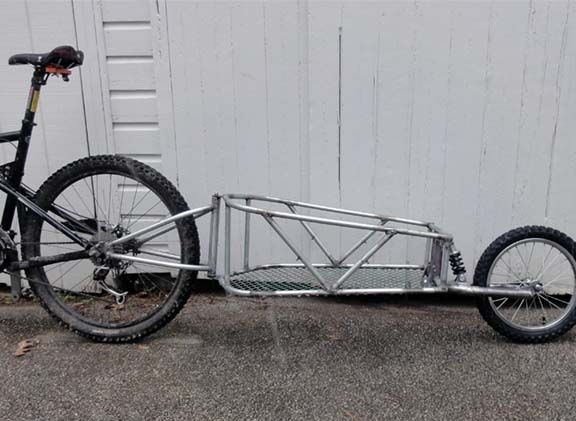
For traveling, it is better to use a trailer with one wheel, because it follows the track of a bicycle, and is very convenient on narrow trails and in urban conditions is also good.
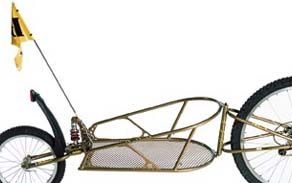
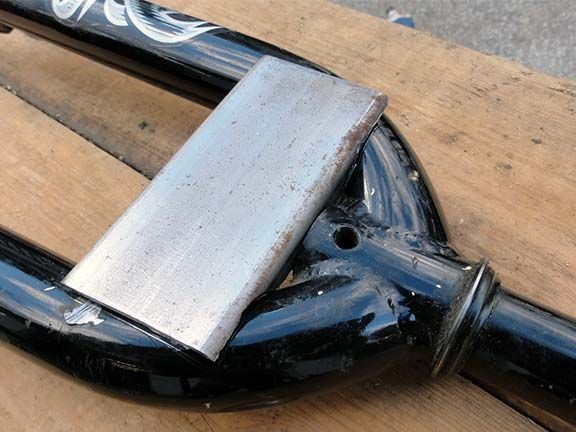
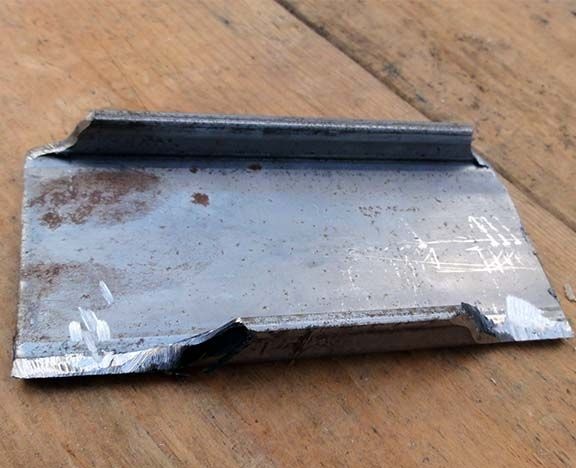
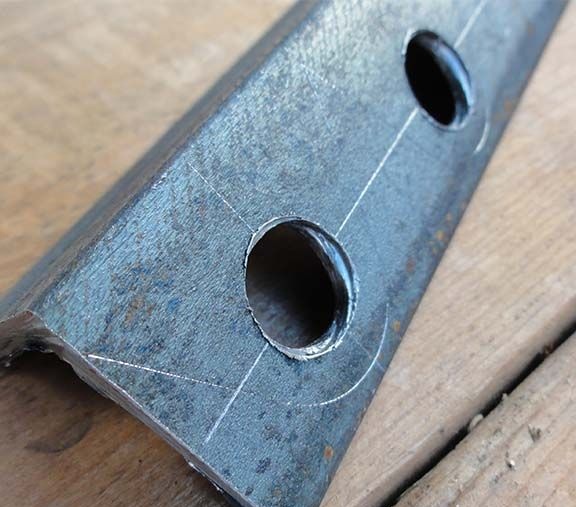
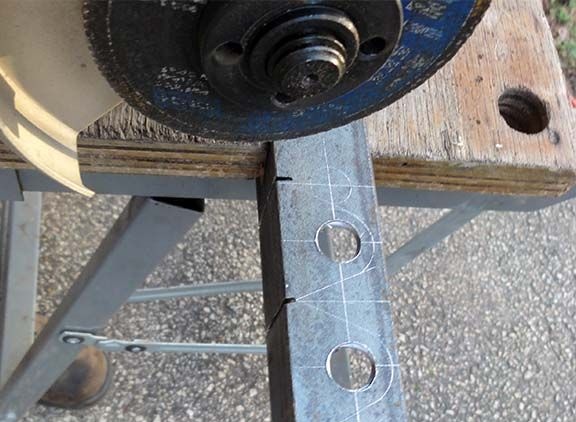
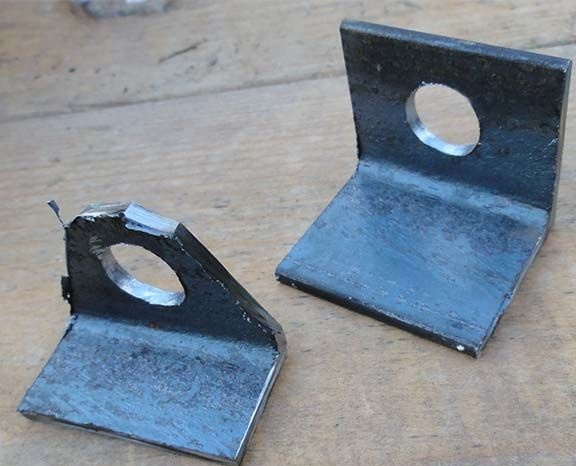
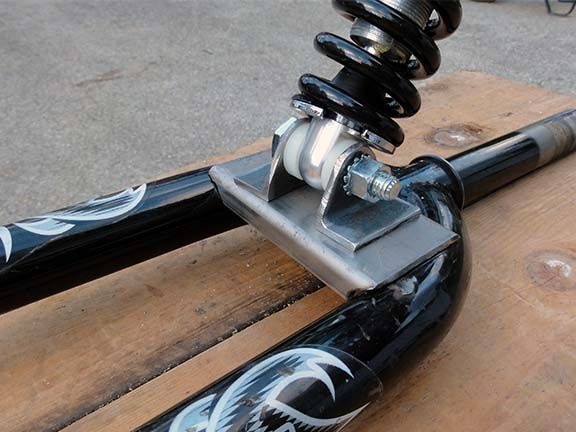
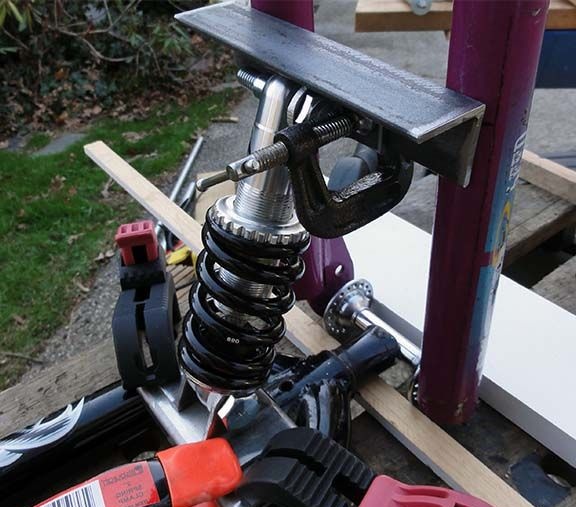
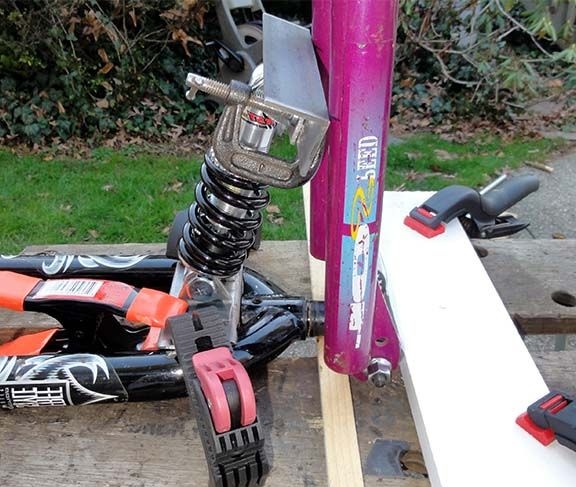
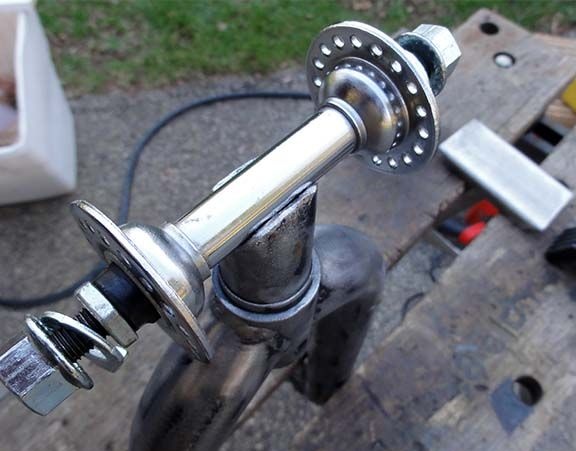
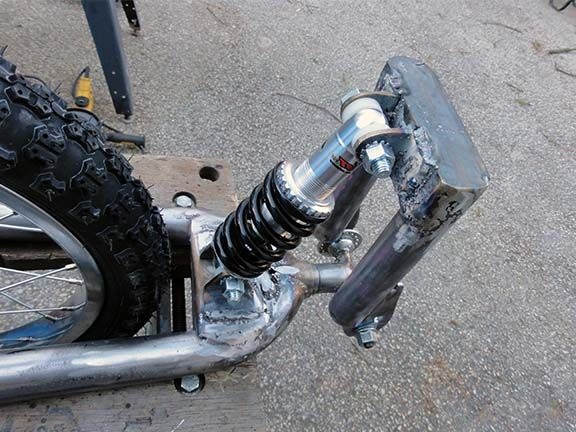
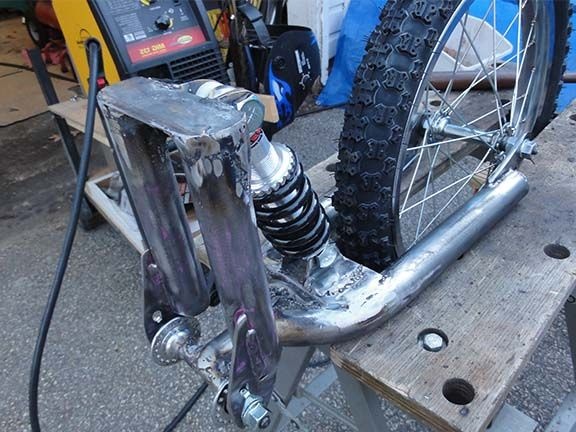
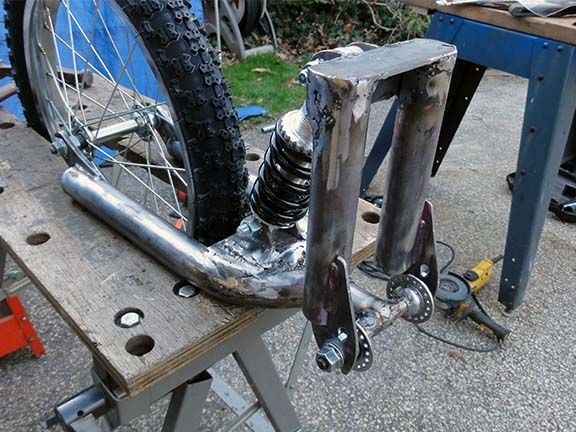
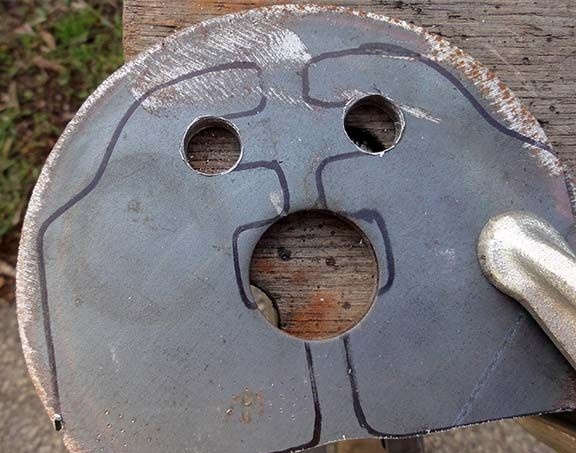
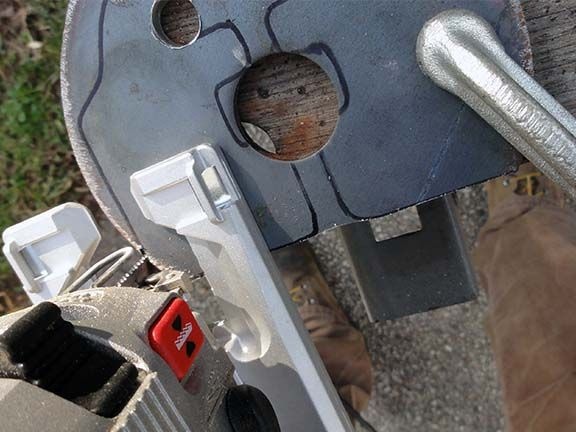
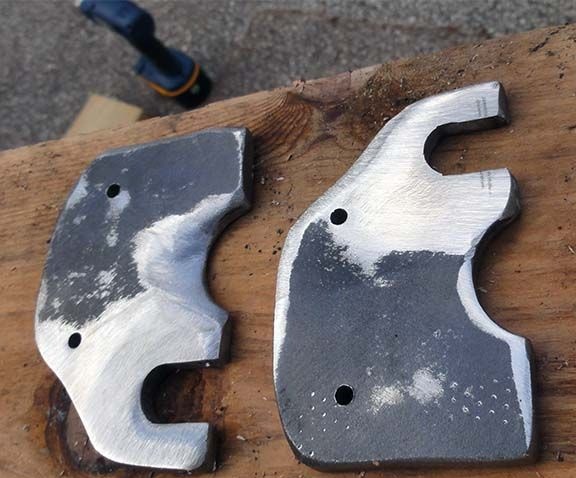
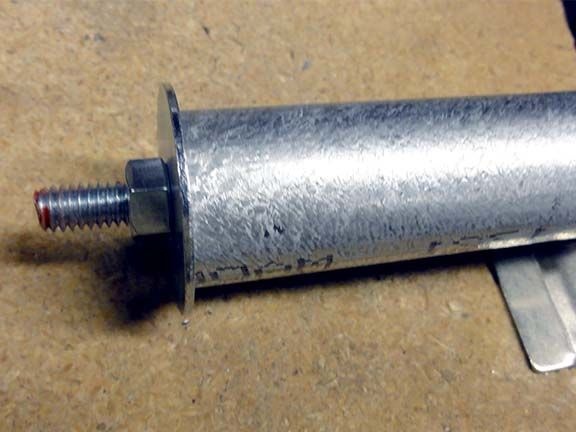
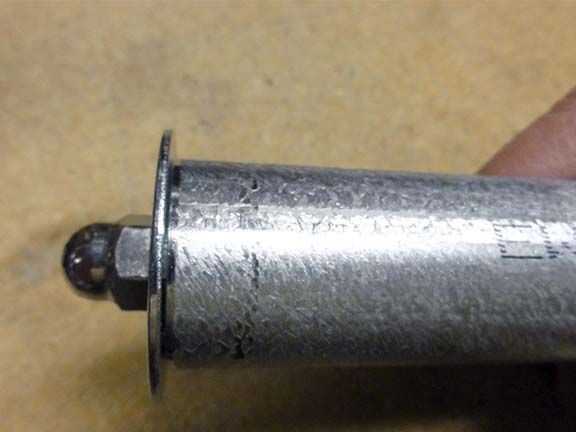
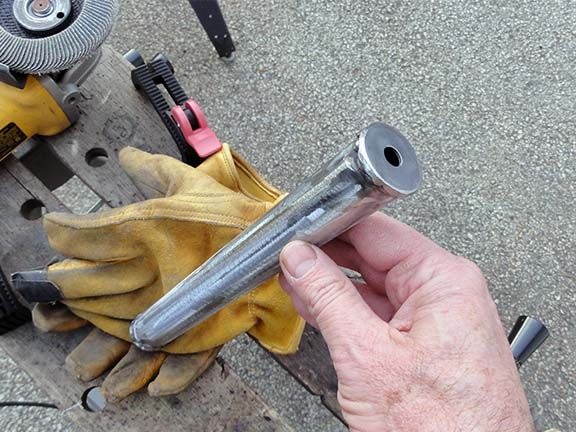
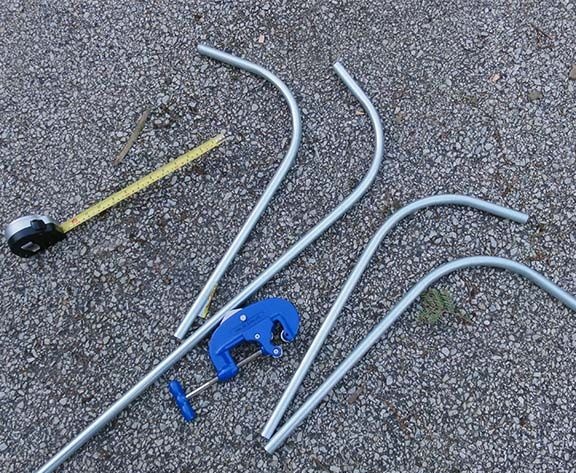
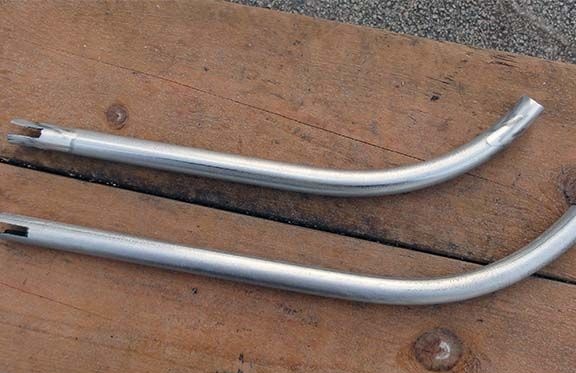
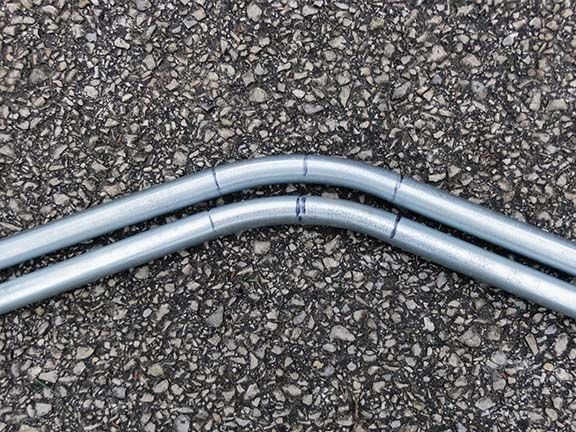
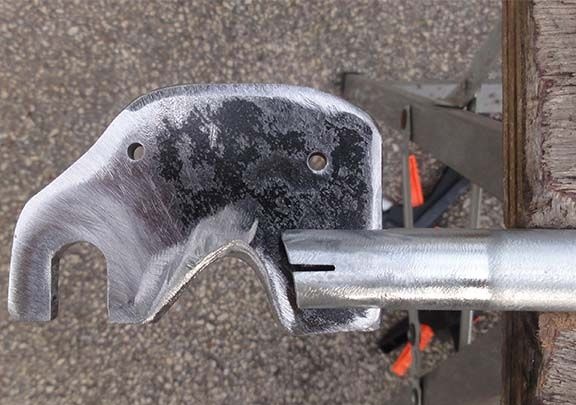
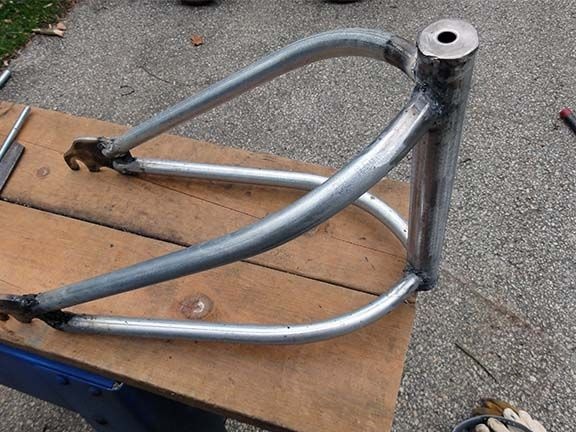
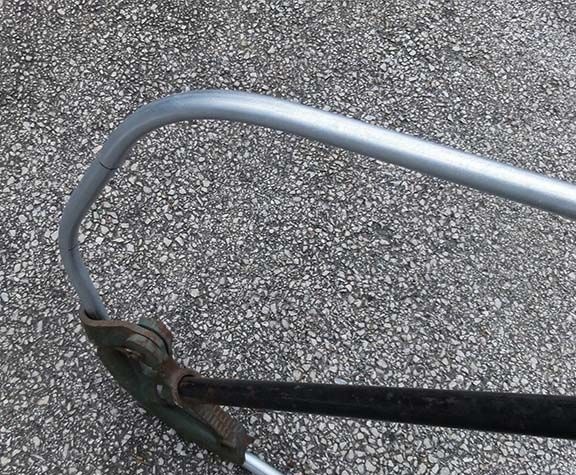
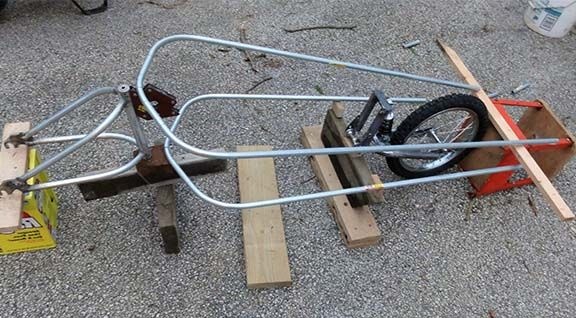
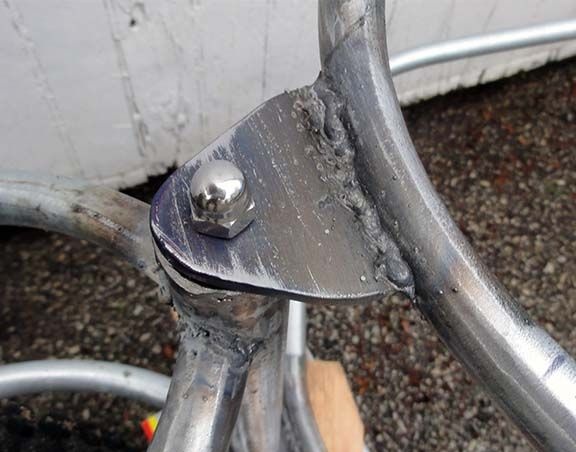
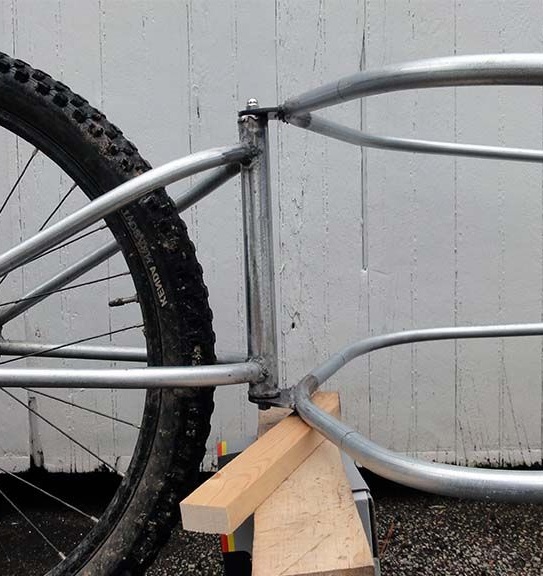
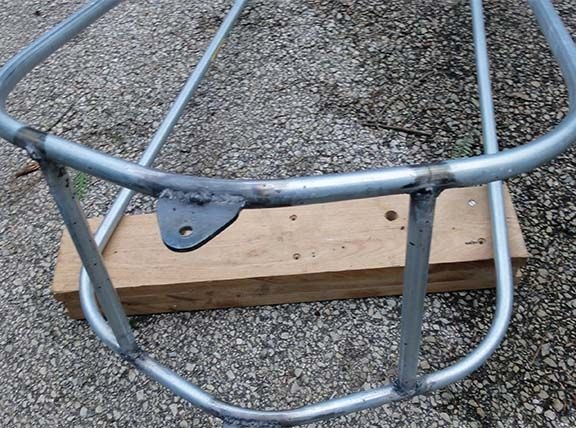
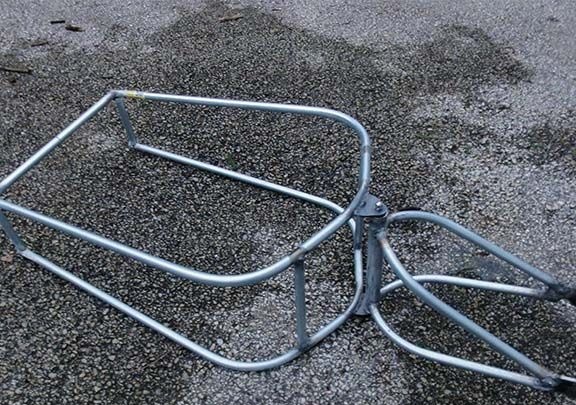
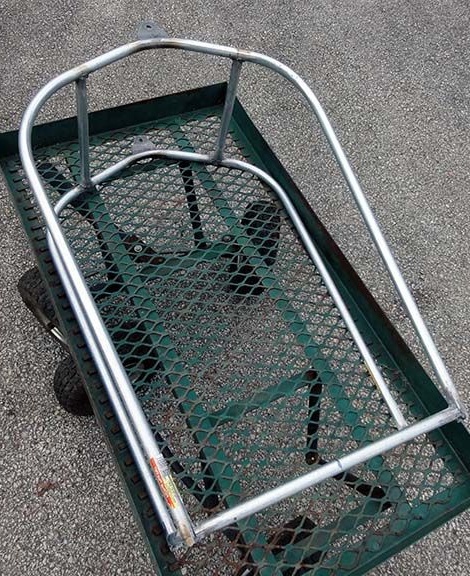
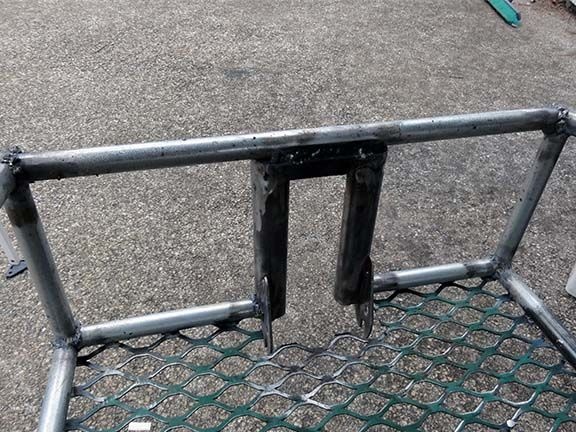
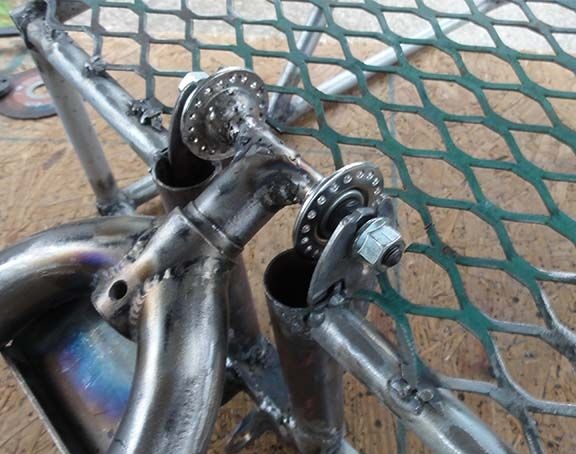
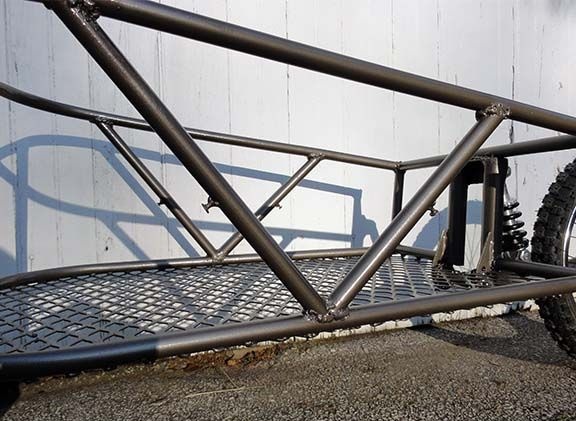
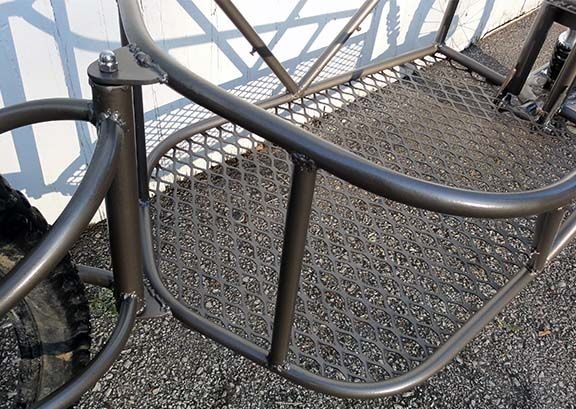
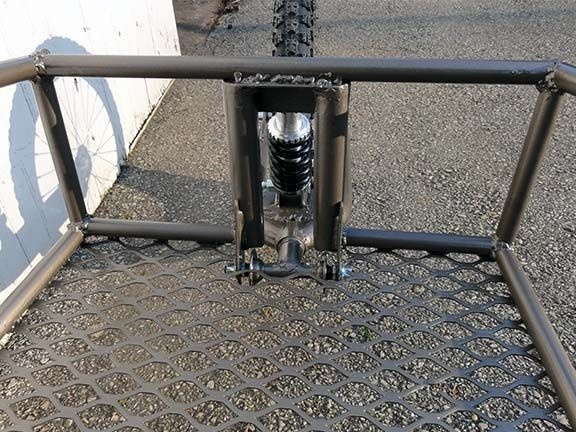
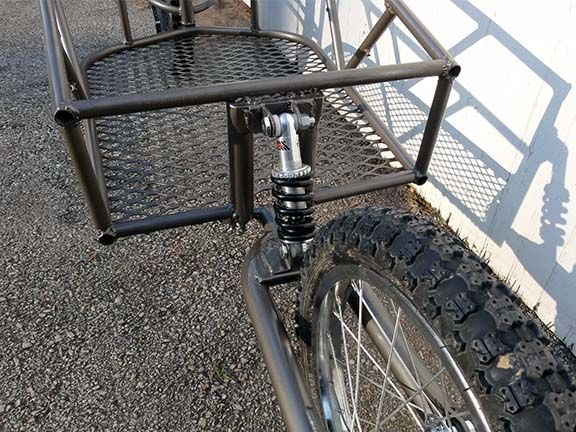
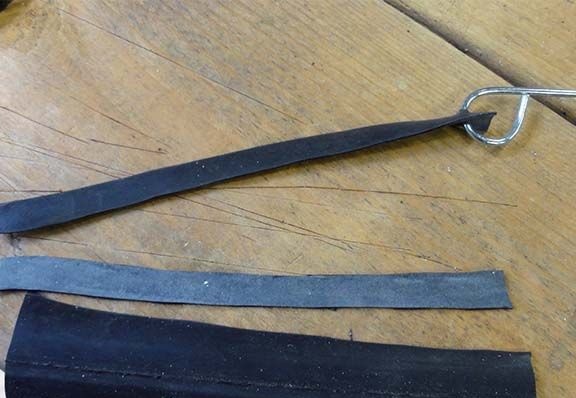
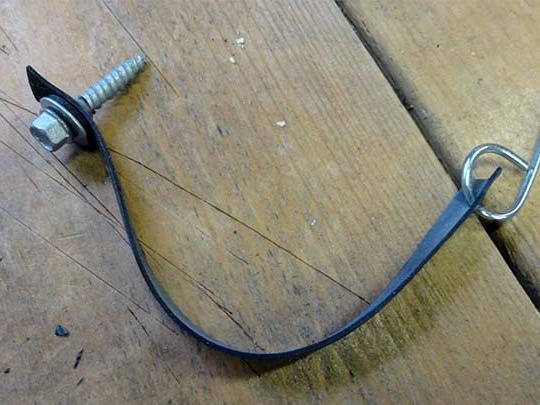
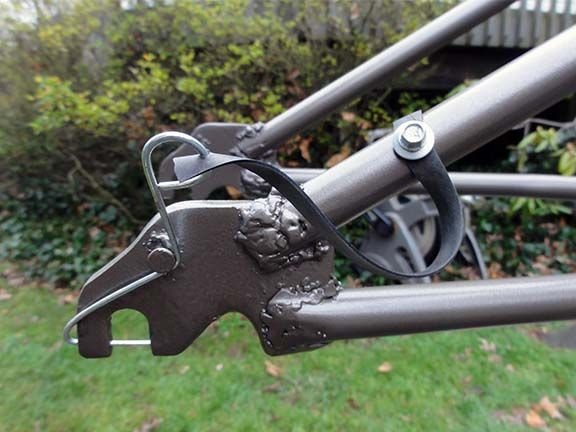
And so, in order to create a one-wheeled trailer, the author used a wheel from a children's bicycle, a tube, a shock absorber, and assembled everything into a single design, and as a master did this, you will learn later by looking at all the assembly photos, and you should also study the list of necessary materials and tools.
Materials
1) 16 inch wheel
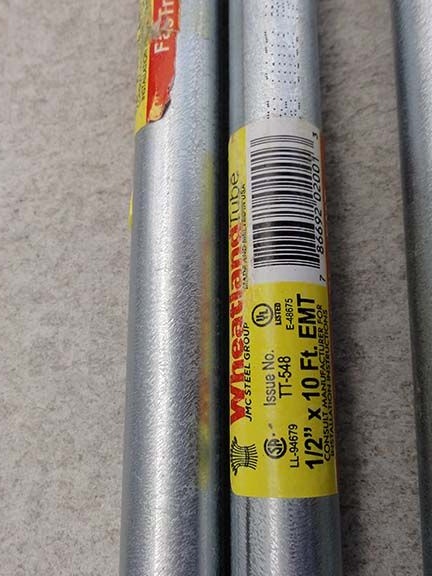
2) metal tube
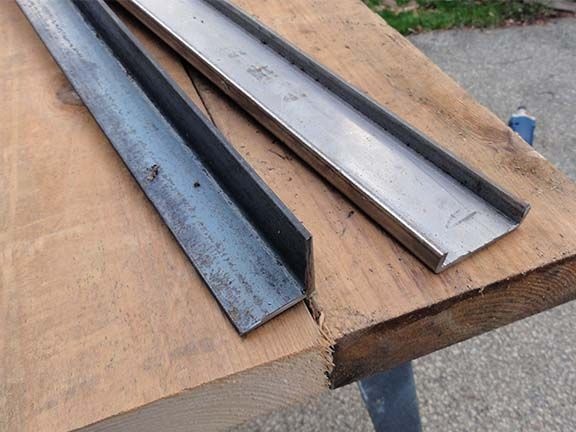
3) steel 4 mm
4) axis
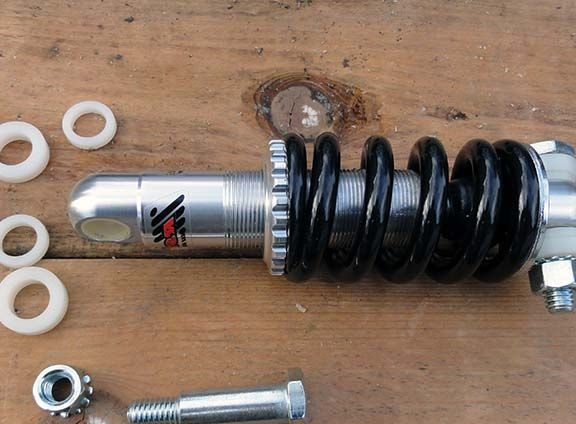
5) shock absorber
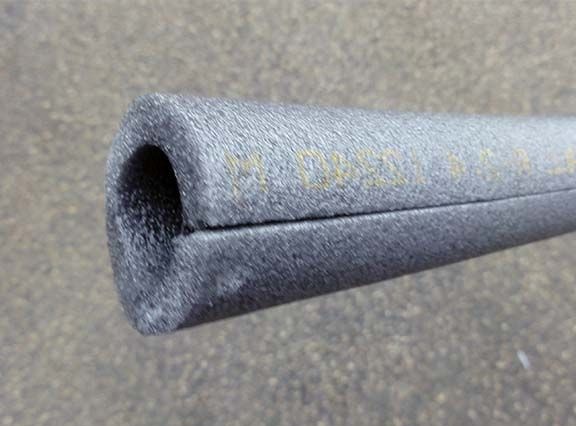
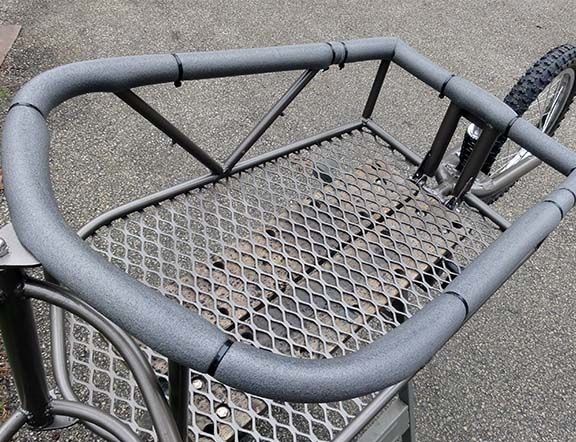
6) foam rubber
7) elastic
8) nuts
Instruments
1) grinder
2) welding machine
3) drill
4) jigsaw
5) metal sheet
6) file
7) hammer
8) set of wrenches
First, the author provides a photo of the original from which he performed his work.
