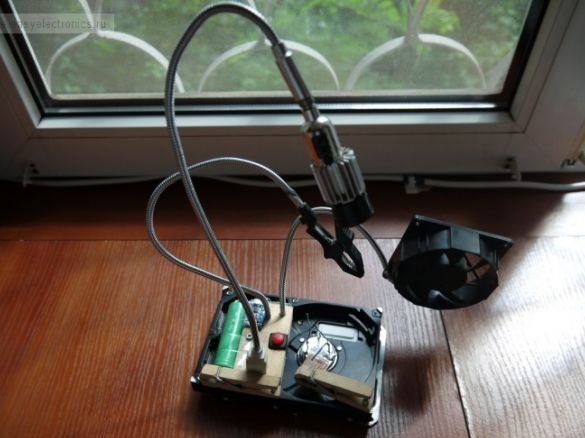
Soldering without a special holder sometimes becomes very problematic. Of course, you can buy a ready-made "third hand", but most of these devices are very primitive, but for better and more advanced ones they require a lot of money. In this regard, one auto decided to make unique device for soldering, the result was a whole soldering station. There are the necessary crocodiles, clips, lights, and even a hood, assembled from a computer cooler.
Materials and tools for homemade:
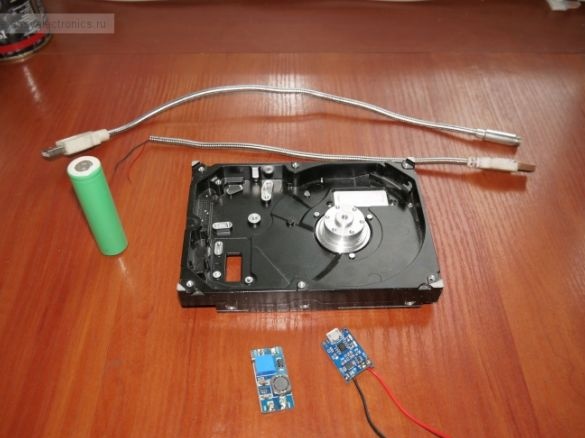
- a cooler from the computer;
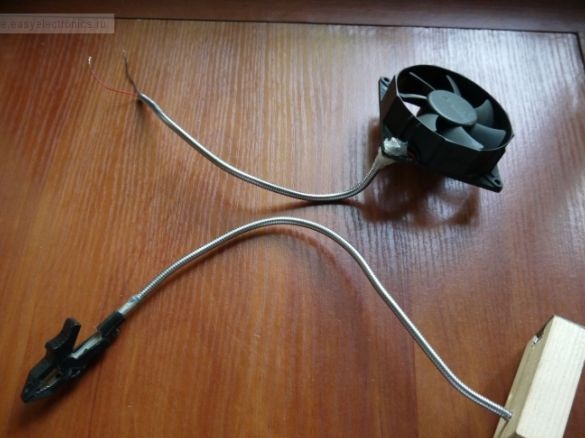
- flexible holder (from a computer flashlight or fan);
- lithium battery 18650;
- LED with a radiator and a 1 Watt lens (set $ 1);
- cold welding;
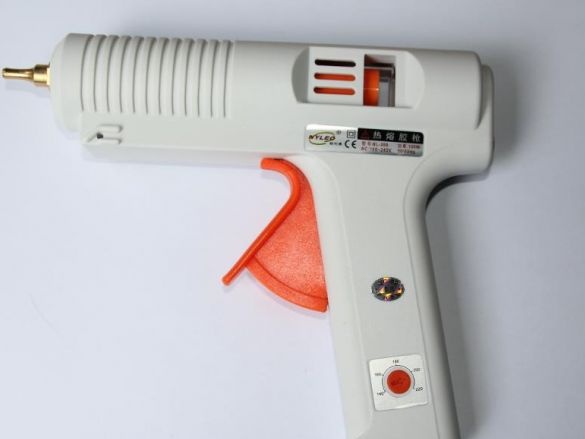
- hot glue;
- clothes pegs;
- a bottle and other little things.
Homemade assembly process:
Step one. Preparation of necessary parts
As a basis, the author decided to use an old hard drive. It is quite heavy and has optimal sizes. It needs to be disassembled, as a result, one case should remain. For homemade work, you will need a wooden block or a plank, the holders will not be attached with the help. It needs to be cut and adjusted so that it lies in the hard drive. Well, then fix it. It is also important to determine the place in the housing of the hard drive for the battery.
Step Two We install holders
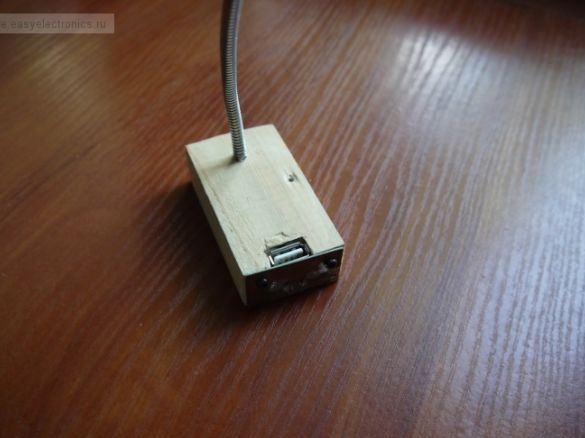
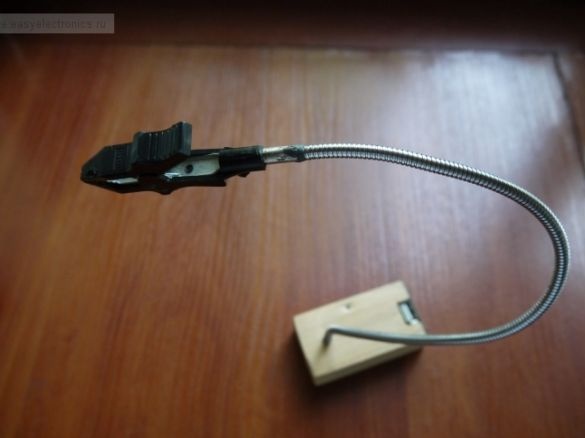
The holders are installed in a wooden block, for this you need to drill holes under them. For fixing, you can use hot glue. You can find such holders at a flea market, they are often used in various cheap table lamps, fans, and so on. They are good in that they are conveniently fixed in any position.
Step Three The final stage of assembly
Now you need to install the necessary devices on the holders. The author has a computer cooler here, he removes smoke, which is formed during soldering, which facilitates the work process.Also, an LED is installed on one holder, which allows you to highlight in the right place at the right angle. A crocodile is also installed on another holder, which allows you to fix the element for soldering.
The author used clothespins as additional holders. They need to be drilled in the holes, and then screwed to the base (the case of the hard drive). They are also convenient to fix various parts when soldering.
As for the power supply, it is important not to forget that the cooler needs 12V, while the diode may need a different voltage. However, everything can be powered either from the battery or from the mains via a power source. For these purposes, you can find chargers from an old mobile or the like. For ease of control, there is a switch on the homemade product that controls the cooler and LED.
In order to focus the air from the cooler, the author in the future made a special diffuser. It was made from the neck of a bottle. To fix the diffuser, the plastic was warmed in a circle with a burner, the bottle was squeezed and securely fixed on the cooler.
You can see in more detail how everything works on the video:

