
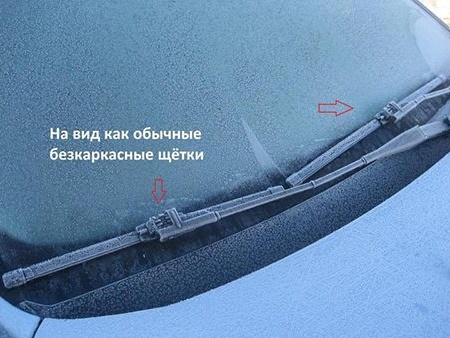
With the advent of cold weather, many motorists are faced with such a problem as icing of windows. Of course, when in the cabin auto it’s already warm enough, the ice on the glass begins to gradually melt, however, when driving in severe frost, an ice crust may appear on the glass even with a heated cabin. It can be difficult to remove it with the help of wipers, and sometimes the wipers freeze to the glass. What to do in this case? The way out of the situation will be the completion of the wipers, namely, equipping them with a heating system. Now, wipers in frost will always be warm enough not to freeze and effectively deal with snow and ice on the windshield.
The refinement is quite simple and cheap, but it is very effective. Everything works on the basis of a nichrome wire.
Materials and tools for homemade:
- nichrome wire f 0.3 mm;
- pin;
- wires for connecting the heating element;
- soldering iron with solder;
- connectors type "mother" for connecting wipers (optional);
- button for control.
The manufacturing process of heated wipers:
Step one. Prepare nichrome
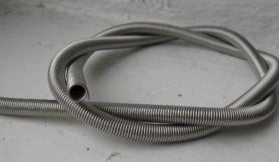
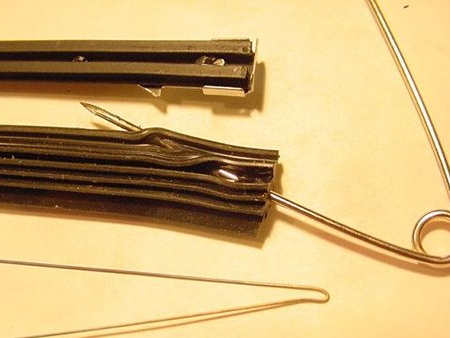
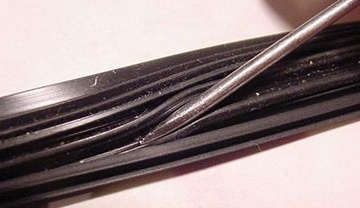
First of all, it is important to properly prepare the heating element, in our case it is a nichrome wire. Such a wire is often used in the manufacture of various spirals and other things; it can be bought without problems on the market or in a specialized store. For homemade work, the author chose a 0.3 mm nichrome wire F, it should be twice as long as the length of the wipers, and here you need to add 200 mm.
Now that the desired piece of wire is selected, it needs to be aligned. The fact is that the wire will run along the entire length of the wiper, so if it is crooked, the wipers may not fit snugly to the glass in some places. In total, it will be necessary to prepare a length of approximately 0.5 meters. The author puts a spiral on the awl, and then draws a piece of the desired length. Further, in order to align the wire, it can be tensioned and heated above the torch. After cooling, the adopted form will be fixed.
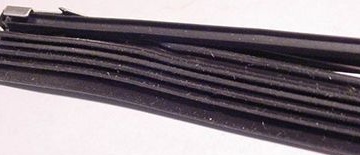
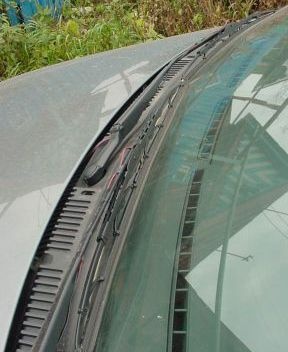
Step Two Installation of the heating element in the wipers
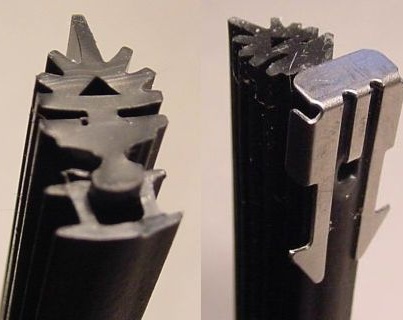
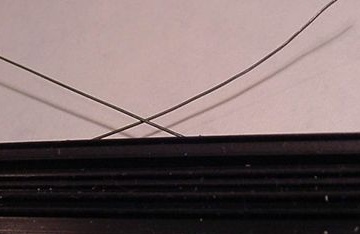
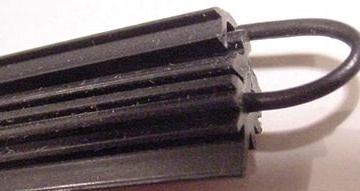
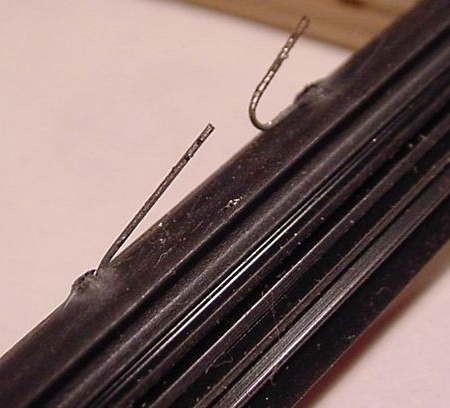
At this stage, you need to measure a piece of wire with a length equal to half the length of the janitor, adding 100 mm. The wire must be bent as seen in the photo. The long part of the end of the wire must be inserted into the hollow part of the rubber of the wiper, and the short end must be pierced with the rubber so that it does not short-circuit the adapter located on the profile. First, the hole can be pierced with a pin, as it is seen in the photo.
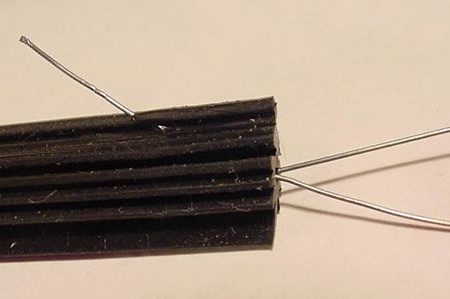
Now you need to slowly pull on both ends of the wire, while it is important to ensure that the wire does not twist, otherwise in these places it often burns out. As a result, the entire wire should hide in the rubber.
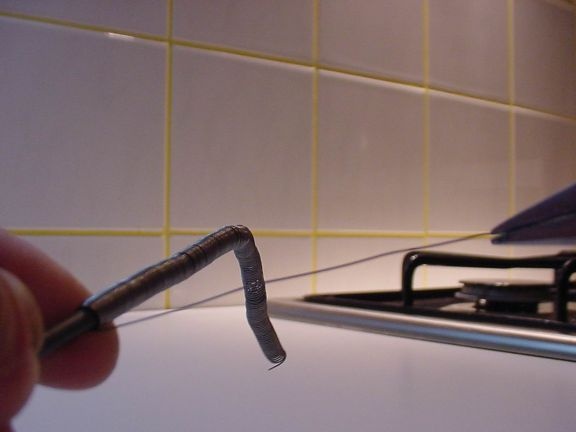
At the other end, you will need to make a loop, then a cambric is put on here. This loop is needed in order to compensate for a different degree of expansion when heating nichrome and rubber.
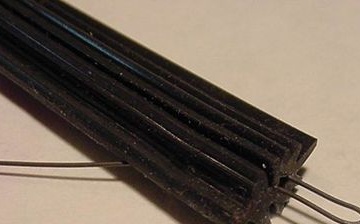
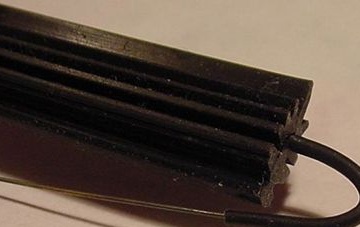
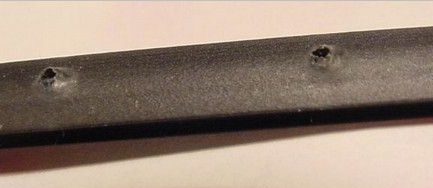
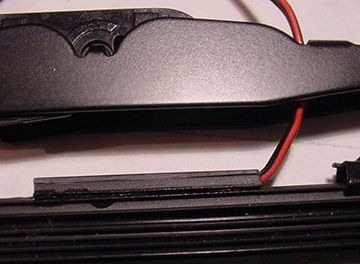
Step Three Display contacts
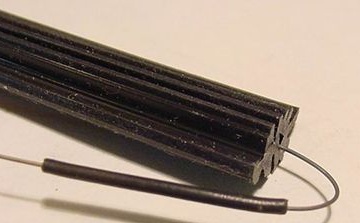
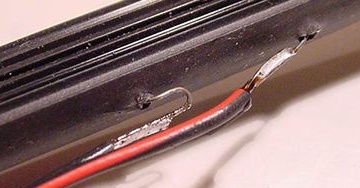
Two holes must be made in the plastic profile, then through them two contacts from the heating element must be brought out. After that, you can refuel the rubber band.
To connect the ends you need to bend and tin. Subsequently, wires are soldered to them.
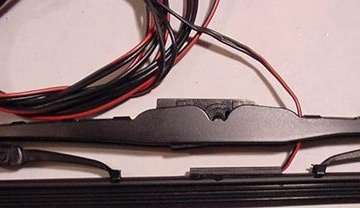
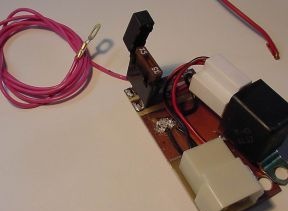
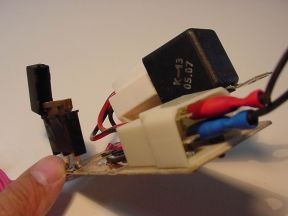
Step Four Connecting homework to the on-board network
To connect the heating element, you will need a wire with a section of 2x0.2 length of about 2 m. To protect the soldering place, the author glued a piece of profile to this place, dichloroethane was used as glue.
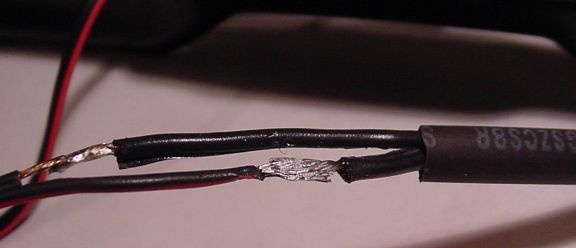
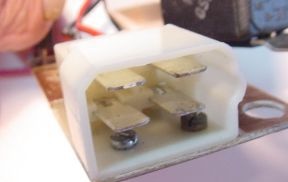
Next, to a 2x0.2 wire, you will need to solder a 2x0.35 wire 1.5 meters long, the solder points are insulated with heat shrink. On the other side of the wire, the author installed a female connector for easy connection.
If we talk about numbers, then the resistance of the heating element for the janitor 45 cm long should be approximately 8.8 Ohms. For a janitor 60 cm long, the resistance is 11 ohms. Below is a diagram of how to arrange the elements.
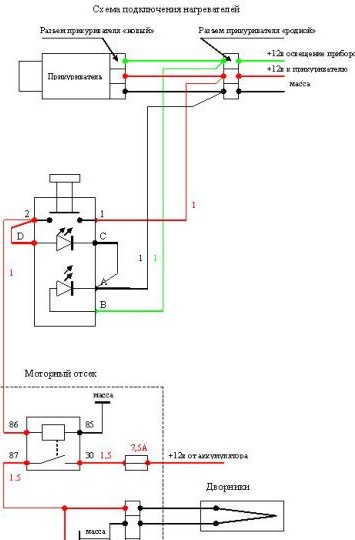

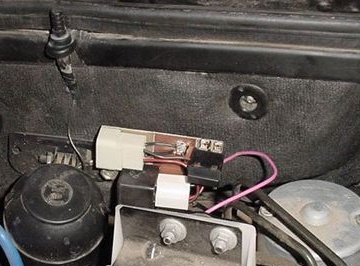
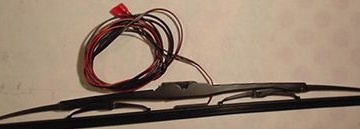
The button is easiest to connect to the cigarette lighter, it is desirable to hide all other elements in the engine compartment, securely locking. That's all, after that you can experience homemade work. Of course, when assembling, you will have to tinker a bit, but homemade work will cost much cheaper than purchased heated brushes.