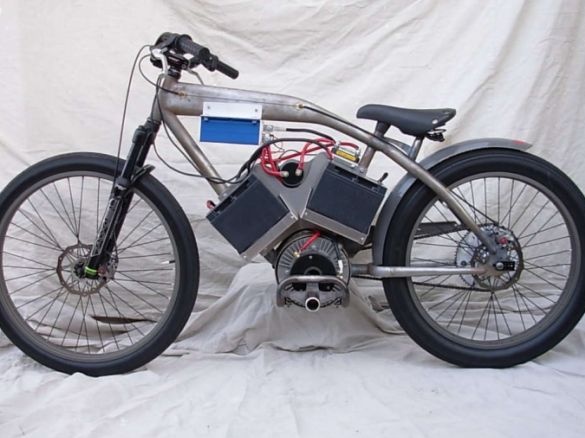
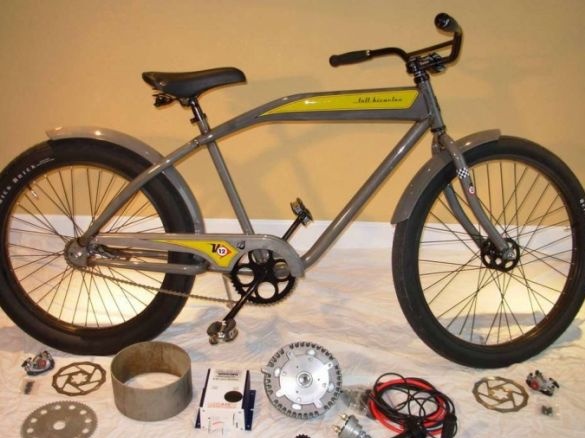
The article describes an example of creating a powerful electric-powered motorbike. As an engine, a power unit with a capacity of 15 horsepower and an operating voltage of 48V is used here. The beach cruiser Felt was taken as the basis. This model was chosen because for homemade strong bike with the correct forms, on which it would be possible to place all the necessary elements. You can use another bike, the main thing is that the frame has the desired strength and bending.
The primary goal was to place the center of gravity as low as possible to the level of the road.
Materials and tools for homemade:
- electric motor Briggs and Stratton;
- as a controller for the Alltrax AX 300A engine;
- gas handle (Magura 0-5K Ohm);
- rechargeable batteries 4x12V, 21A / h (acid-lead, sealed);
- chain for moped # 35;
- disc brake type Avid Bb7 160 mm;
- a leading asterisk on 13 teeth;
- driven sprocket for 66 teeth;
- large switch;
- fuse for 300A;
- engine mount (stainless steel with a diameter of 21 cm, installed instead of the carriage).
And of course, wrenches, welding, cutting tools and so on will be needed.
Bicycle Upgrade Process:
Step one. Plug replacement
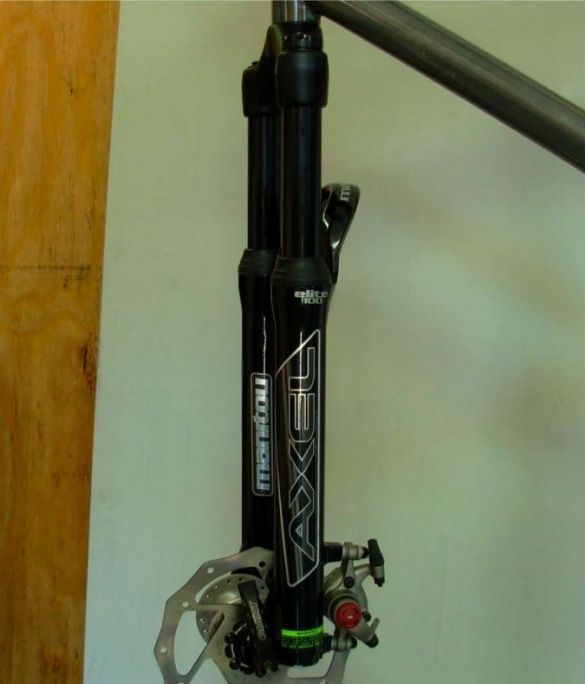
The native rigid fork was removed from the bike. Instead, a fork with a Manitou shock absorber is installed.
Step Two Disc brakes
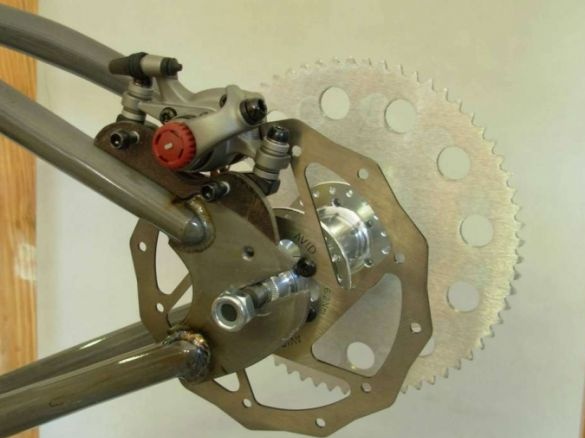
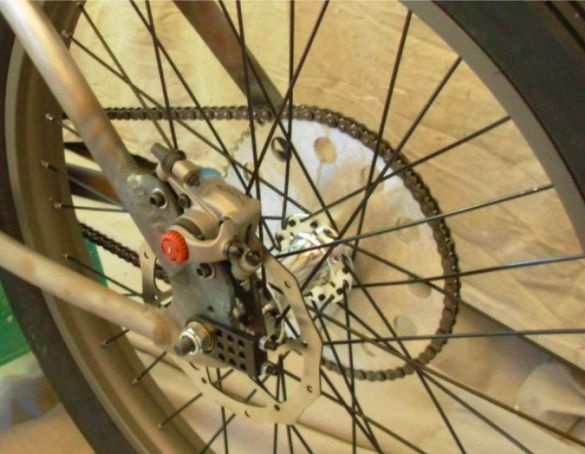
The disc brake was bolted. It was decided to abandon hydraulics, since the mechanics are simpler and cheaper. The uniqueness of the Avid BB7 model, that it is fully adjustable, this will allow you to configure each of them individually.
As the foot brake was installed in the original version of the bike (it turns on if pedaled backwards), in the area of the dropouts it was necessary to make a special mount for installing the disc brake. To cut the necessary piece of steel, a hacksaw was used. Next, a drilling machine was needed to drill the necessary holes for mounting the brake system.
Step Three Rear hub
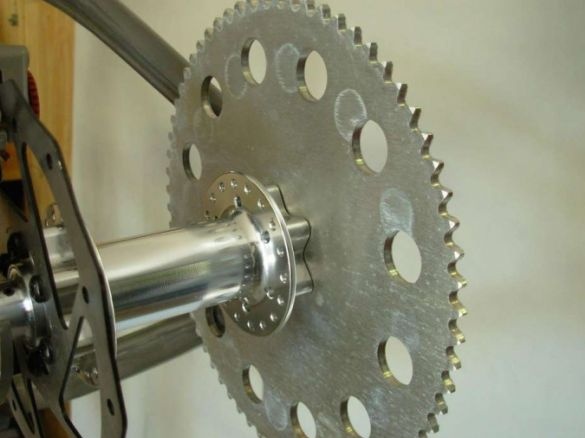
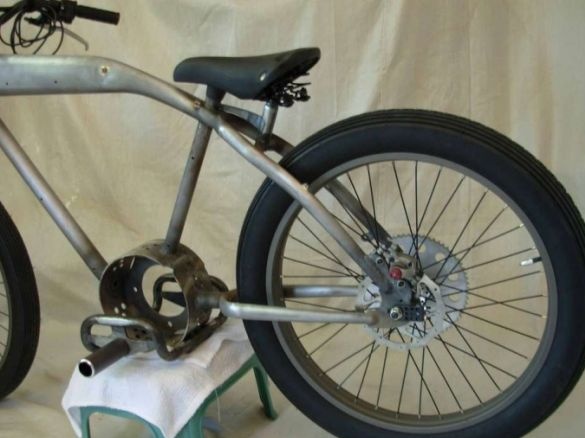
As the rear hub used double front. It had standard mountain bike mounts for 6 bolts. As a result, 6 holes were drilled in the sprocket precisely so that it fit under these 6 bolts.It is very important to precisely position the hub, brake rotor and sprocket on the same axis.
The brake mount is welded, the wheels are screwed to the hubs. The upper feather of the frame needed to be bent so that the driven sprocket and chain did not cling to it.
Step Four Engine mount
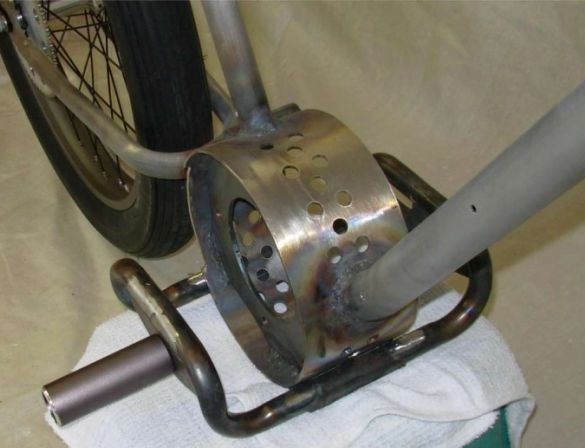
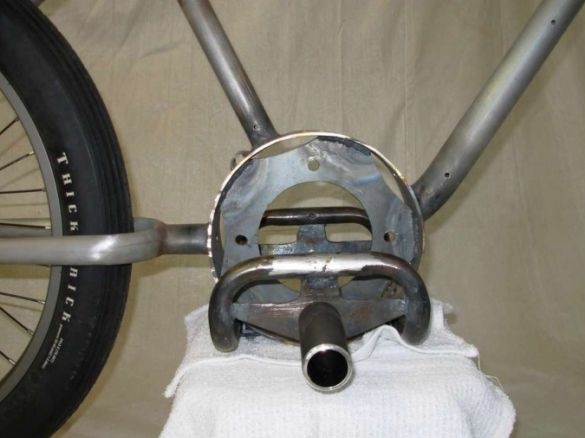
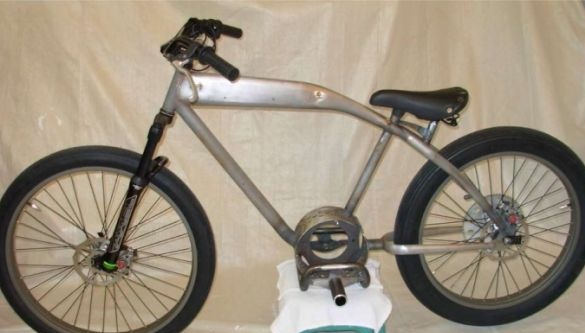
The engine mount is welded from stainless steel sheets. It is welded onto the carriage. The mount itself is located in a ring, this ring was made of a piece of a lamppost. The width of the ring is 11 cm and the diameter is 21 cm. Given the size of the engine, the gap is only 3 mm. So that the air flow could cool the engine, the ring was drilled on a drilling machine. Accuracy is important here, as the chain will fly off during skew.
At this stage, the steps are installed. The footrest mounts are made of a pair of lighting posts that the author has welded together. As for the footboards themselves, aluminum pegs for BMX came up here.
Step Five Frame refinement
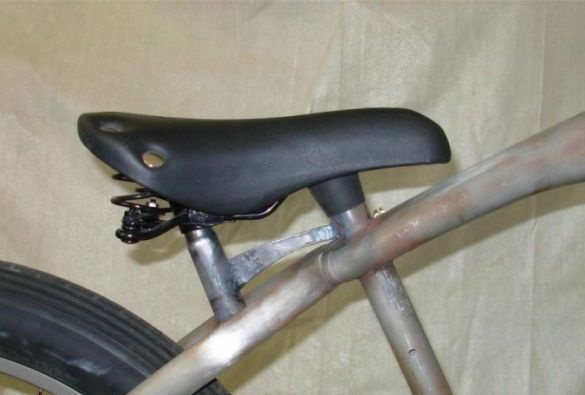
The author removed the factory saddle holder from the bicycle. Then it was shortened and welded to the upper feathers of the frame above the rear wheel. To increase the structural strength, an amplification insert was installed.
A rubber cap is put on the seatpost, and the saddle clamp unfolds.
Final steps
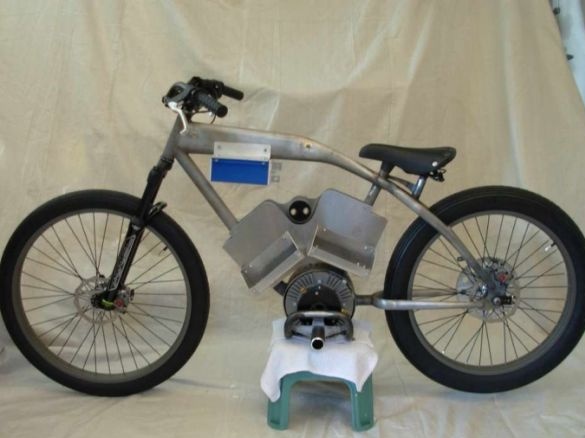
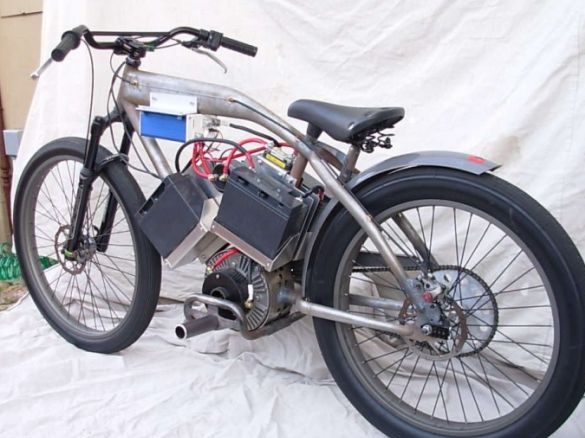
In the photo you can see what the frame of the bike looks like, on which it is already possible to mount the engine and batteries. Thanks to the powerful wheels and low saddle position, the bike resembles a retromotorcycle.
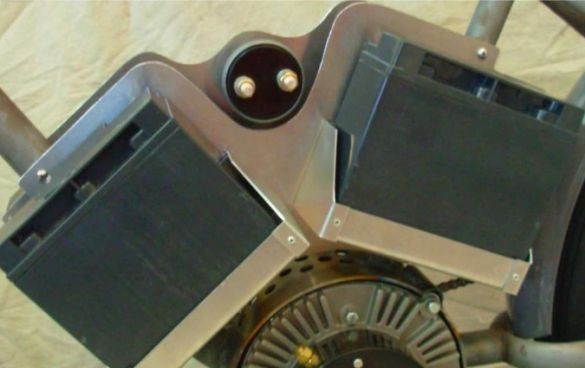
Batteries are held by special trays made of aluminum. The trays are riveted to each other, and then fixed with bolts to the right and left panels. In the center you can see the power switch. So that the switch contacts can be easily reached, the author made the panels asymmetric.
The controller is located under the upper pipe and is installed upside down, while its contacts are turned back.
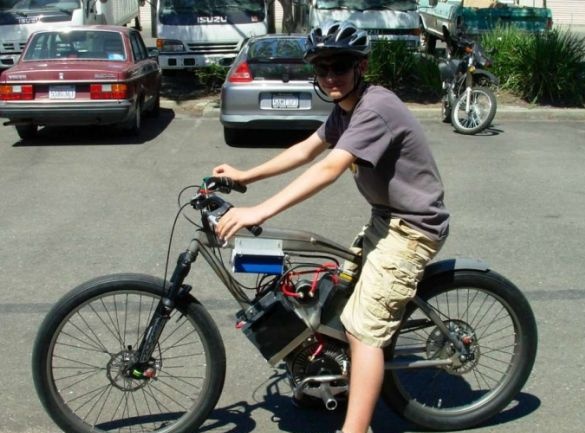
After installing all the necessary elements and connecting the wires, the bike was tested. According to the author, he accelerated quite intensively, while no one measured his maximum speed. According to estimates, he should drive at a speed of about 80 km / h.
The installed controller has quite flexible settings, it can be connected to a computer using RS-232 and adjust the dynamics of acceleration, as well as the ability to monitor statistics.
In the video you can see how such a bicycle works. He drives very quietly, quickly and well balanced. At the end of the tests, it was decided to name the device EV-12. Of course, if you assemble such a bike yourself, you can name it as you like.

