
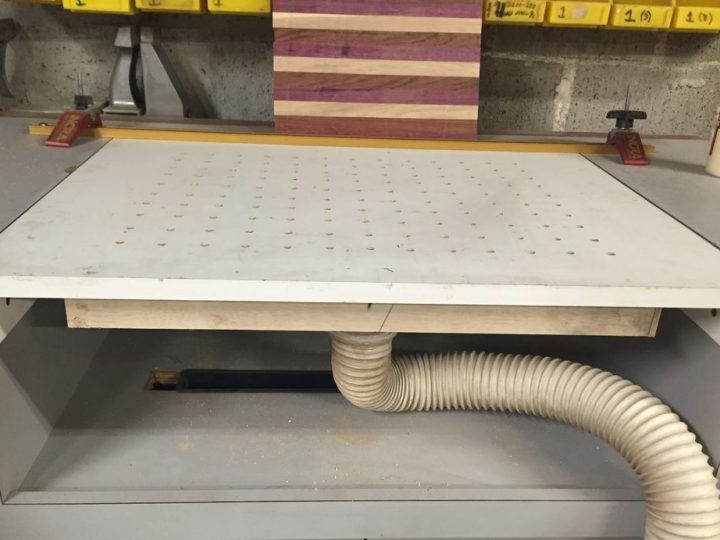
During the work on sanding boards, a large amount of wood dust occurs, which breathing is not particularly good for health. Therefore, this article will describe in detail how to make a simple exhaust table. Also, according to the author, the drawing force of a construction vacuum cleaner to which a table of this design will be connected will additionally fix the board on the table. Thus, the creation of such a table can solve the problem of dust, but also helps with fixing the boards during grinding.
Tools and materials used to create the fume table:
- circular saw or circular table,
jigsaw (manual or electric),
-gon
-clips
-pencil,
-punch,
Drill and drill
- MDF 2cm thick,
- plywood 6 mm thick,
-glue,
adapter for the vacuum cleaner hose.
Description of creating a joiner table with hood:
Step one: Marking and drilling holes.
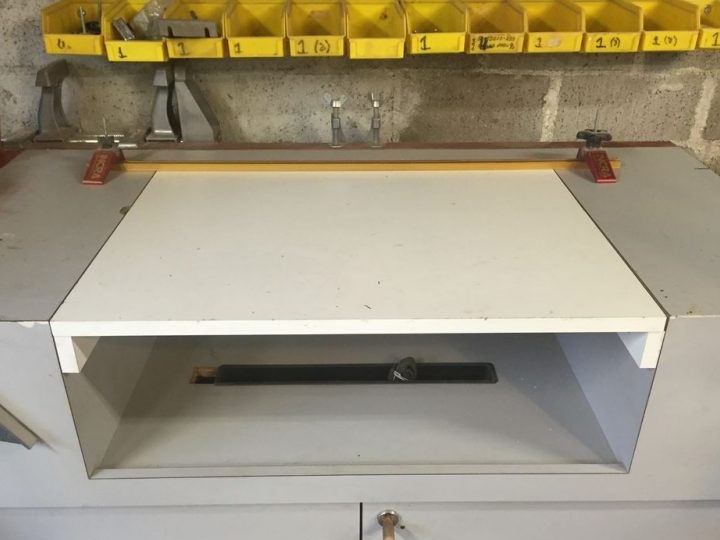
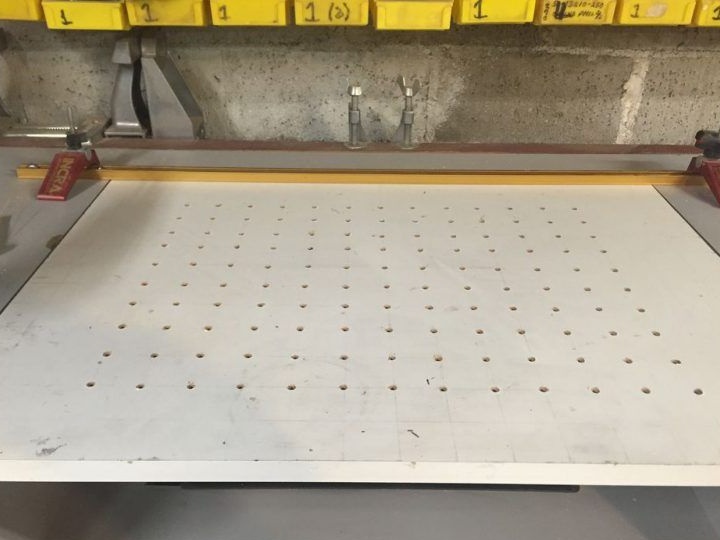
Due to the basis, in order not to make a table from scratch, I used a cabinet-secretary with a special compartment, a cavity for the printer. Since the hose going to the construction vacuum cleaner and the vacuum chamber will have to be attached from below to the exhaust table, this arrangement is very suitable for remodeling the cabinet into a carpentry exhaust table. Although you can make the table yourself, it just takes a little longer. Focusing on the pictures, the next steps, and your personal preferences, you can understand which table to personally assemble you.
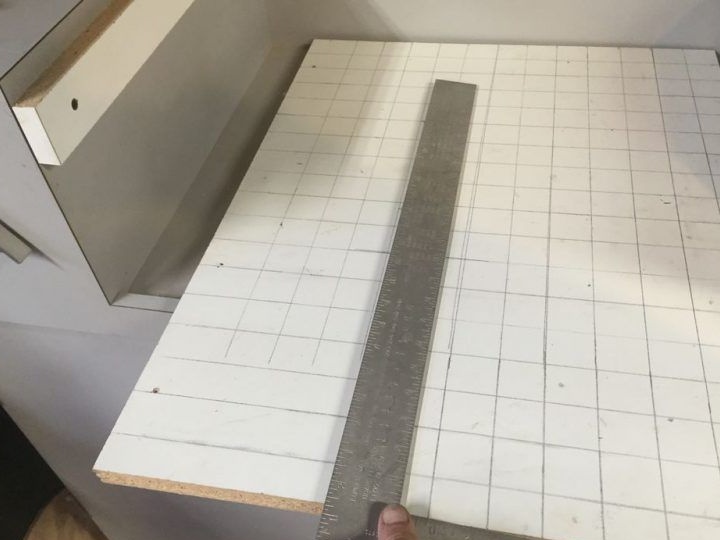
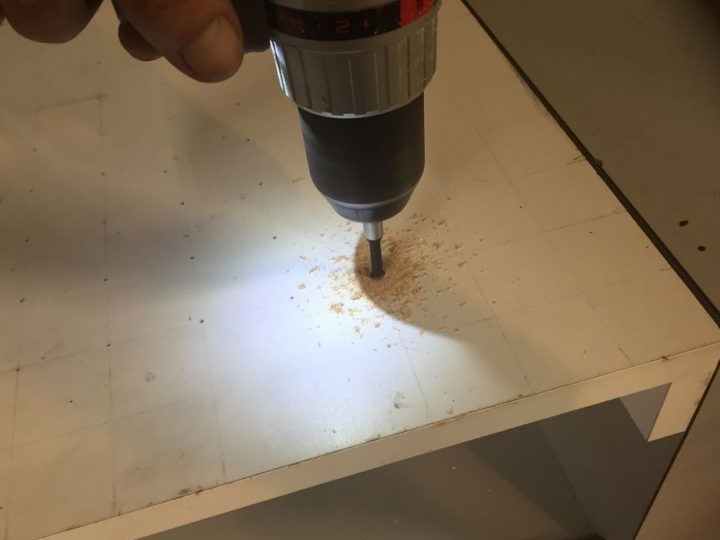
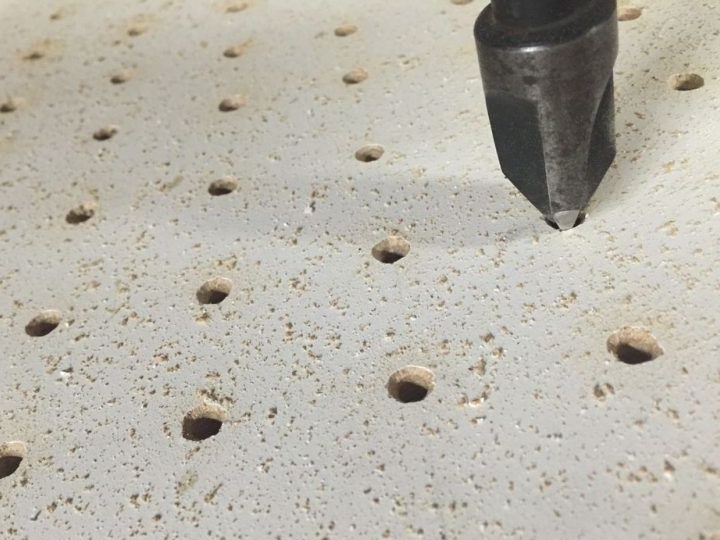
First, MDF was taken for marking on it a grid of 10 by 13 cells. Then, holes 6 mm in diameter were drilled at the resulting cell intersections. After which the holes were countersinked.
Step two: create a vacuum chamber.
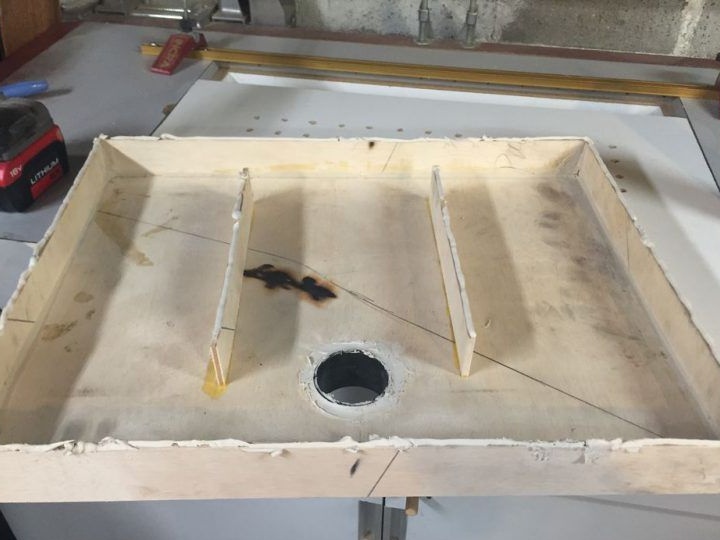
To create a vacuum chamber, it is necessary to cut the workpiece from plywood so large that it overlaps all the holes drilled in the MDF in the previous step. This plywood blank will serve as the basis for creating a vacuum chamber. Then, strips of sufficient width are cut out of the same plywood to mount the adapter to the vacuum cleaner hose, and the length of the strips of plywood should correspond to the perimeter of the base of the vacuum chamber. The author used the butt joint to assemble the vacuum chamber, so the length of the side strips was taken with a margin of 6 mm from the length of the base, since 6 mm is the thickness of the used plywood sheet. So if you will also use a butt joint, then you should not forget to take into account the width of the plywood sheet.
It can be seen from the pictures that the height of the resulting vacuum chamber is not very large, since the author decided to connect the vacuum cleaner hose through the base of the chamber.
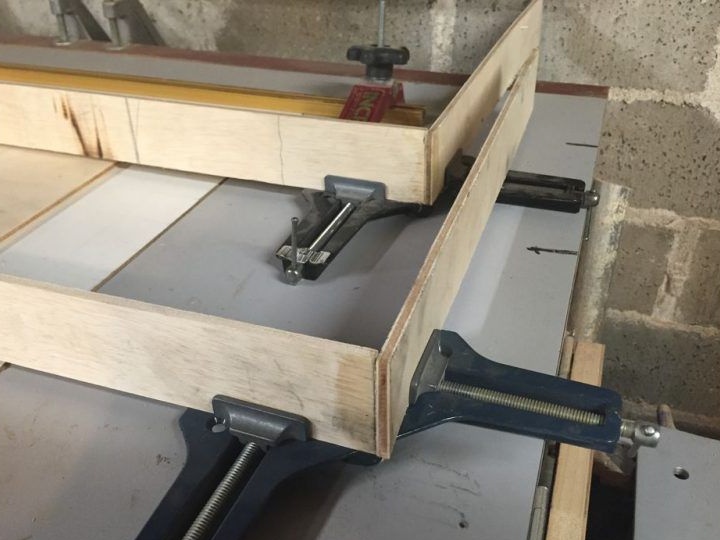
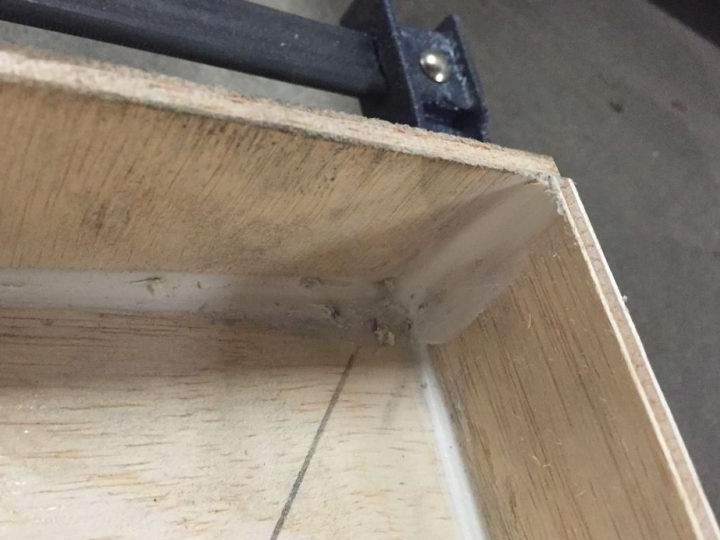
Using two corner clamps, respectively, two corner joints were glued simultaneously. Having glued two opposite corners, it is necessary to allow them to dry well, after which you can use them as stops when gluing the base and the walls of the chamber.
For this, the perimeter of the base was smeared with glue, after which corners-walls were added and the structure was clamped with clamps. To ensure the tightness of the chamber, its internal seams were coated with sealant.
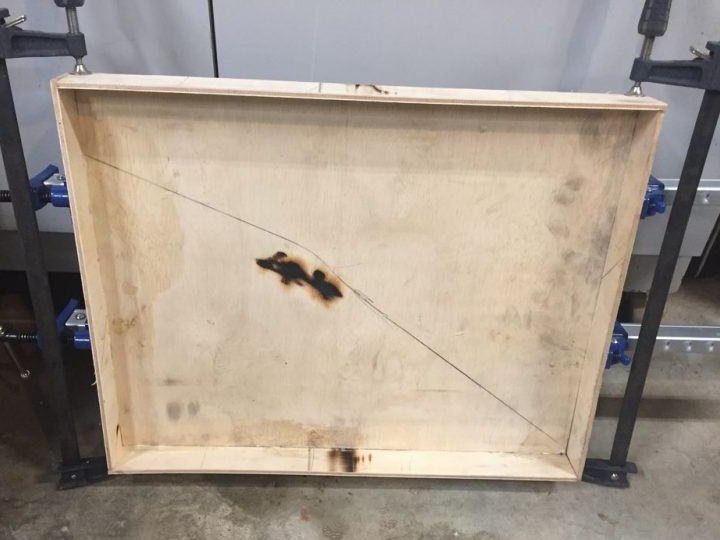
Since the author used not very thick plywood 6 mm, and the construction vacuum cleaner still gives good power, in order to avoid bending inside the base of the camera, supports were glued to its center. When using thicker plywood, props may not be required.
Step Three: Create a hole for the adapter.
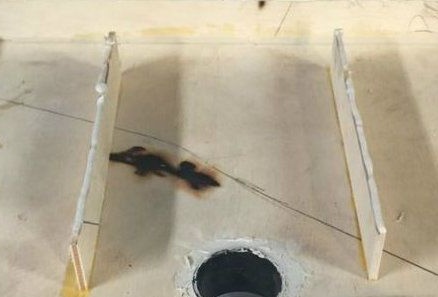
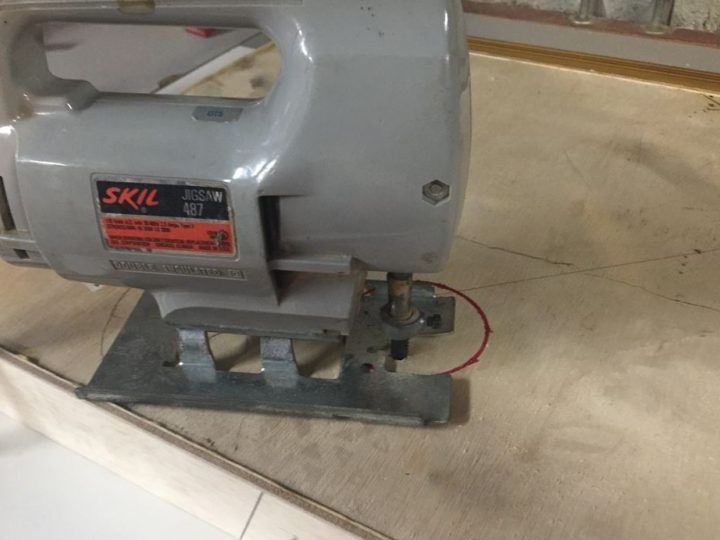
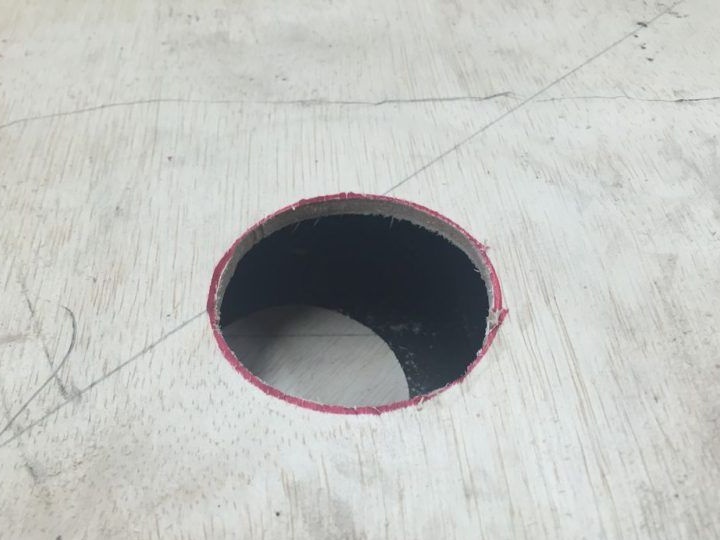
A hole should be drilled in the center of the lower base of the vacuum chamber, which in size should correspond to the adapter for the hose of the vacuum cleaner used. Then the adapter is glued into the hole and smeared with sealant at the edges.
Step Five: Final Assembly and Use.
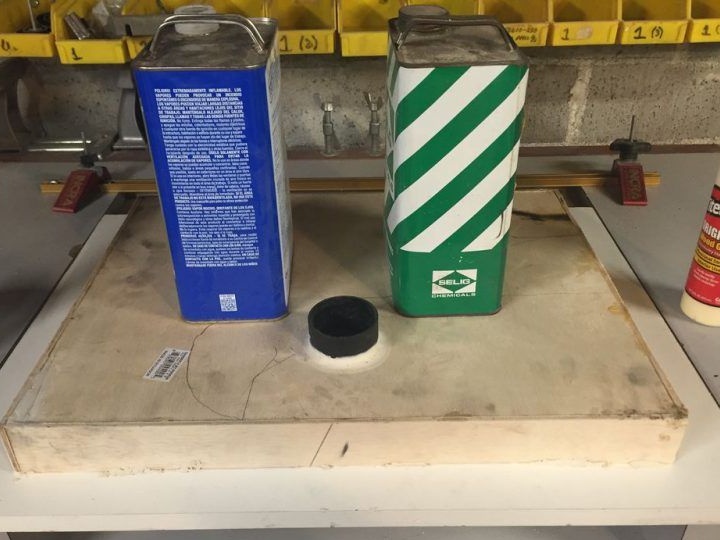

Do not spare the glue, you need to smear every surface of the camera, which will come in contact with the MDF panel with drilled holes. Thus, we securely attach the vacuum chamber to the panel. Then the panel is firmly pressed against the camera, something heavy and large to close the holes. The hose of the vacuum cleaner is connected to the adapter. The vacuum cleaner turns on and the camera must not let air in. If slots are found through which air enters the chamber, they are lubricated with sealant.
When the structure is completely dry, you can safely get to work without breathing dust. At the same time, due to the pulling force, the workpiece is additionally fixed on the table, which provides more convenient processing of parts.