
It is difficult to imagine a carpentry workshop without such things as a workbench, a lathe, various saws, planers and other tools. This is natural, because with the help of these tools the main work is done in the workshop, but few people think that both during work and after work there is a lot of garbage in the form of chips. Therefore, a vacuum cleaner for collecting chips is also one of the most important attributes of a carpentry workshop. Thanks to the use of a vacuum cleaner, the workshop room will not only look cleaner and acquire order, but also protect the lungs from harmful wood dust that can be in the air.
The heterogeneity of the amount of wood debris varies greatly from fine dust to large shavings, so the filter of the vacuum cleaner used in the carpentry workshop is often clogged and reduces its efficiency. Instead of constantly cleaning or changing filters, you can assemble a kind of intermediate screen that will separate large chips and other debris from fine dust, thereby allowing the filter to serve longer without cleaning, helping it to effectively clean the air through for much longer.
Materials:
- two sheets of MDF with a thickness of 12.5 mm
- sandpaper
- vacuum cleaner
- plastic barrels
- OSB with a thickness of 15 mm
A detailed description of the independent creation of a chip separator for a vacuum cleaner in a carpentry workshop.
Step One: Dust Collector
So, at the disposal of the author was a vacuum cleaner with a rated power of 2 l / s. In the kit for this vacuum cleaner was a filter from the manufacturer, which is able to filter particles up to 5 microns. In order to collect the smallest particles of wood dust, which in turn is harmful to human lungs, such filtering ability is not enough. This meant that either you need to buy special non-original filters for this vacuum cleaner and figure out how to connect them, or bring the entire filtering system out and improve it to the necessary parameters. The author chose the second option, followed by a complete reassembly of the vacuum cleaner.
Step 2: Receiver

To create a dust collector, the author decided to use plastic barrels. The reason for this choice was the fact that plastic barrels can be of different sizes, quite light and durable. In order to less often free them from garbage and save their time, large 60 gallon barrels were taken. Due to the fact that the barrels are white and translucent, it is easy to monitor how it filled up without the need to disconnect the deflector to look inside. Accordingly, before using such barrels, it is necessary to verify the safety of the plastic used to create these barrels. In this case, barrels that were previously used for transportation and storage of food products were used, and they were thoroughly washed before use in the design of the assembled vacuum cleaner.
Step Three: Dismantling the Vacuum Cleaner.
In fact, the entire structure is reassembled, so the existing vacuum cleaner was disassembled in order to get the parts necessary for use: the engine, the central ring, hoses with fittings and a fan, and to get rid of unnecessary parts.
Step Four: Partition Concept
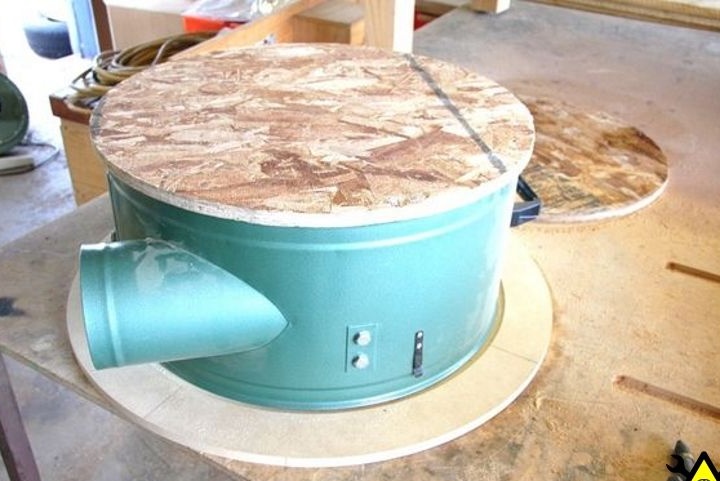
Initially, the author planned to make a partition under the lid and fix it in the tank itself, which seemed rather complicated. Therefore, it was decided to use the central ring of the dust collector as a housing for the deflector; it ideally fits the parameters and already has a side entrance. Then, a cone was installed inside to hold the chips at the bottom of the bag. In addition, the cone will help maintain a cyclonic effect. Thus, it turns out to use the full potential of the garbage can.
The next idea was to create a disk and place it on top of the tank, and place the central ring on top. A channel is cut out in this disk, the length of which is 2 \ 3 of the circle. The author decided to install the second disk on the top of the central ring, and still place a fan on top.
The next idea was to make a disk that would be on top of the trash can, and the center ring would be on top. A disc will cut a channel about 2/3 of the circumference. The second drive will be mounted on top of the center ring, and the fan will be mounted on top.
In general, when designing the partition, the author tried to find the maximum efficiency for the best operation of the vacuum cleaner.
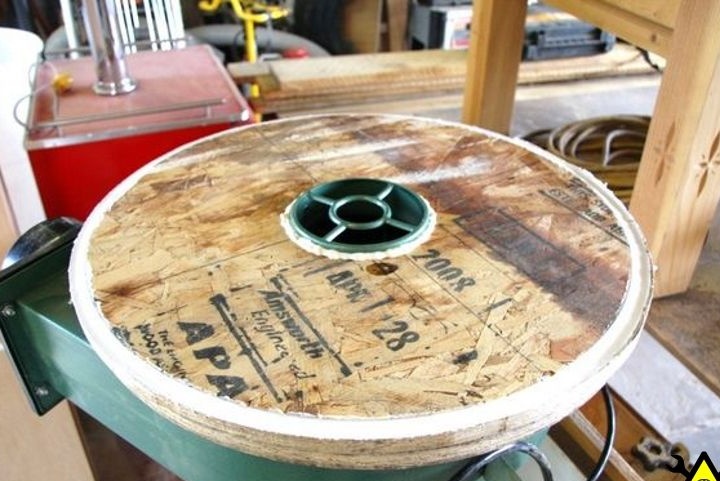
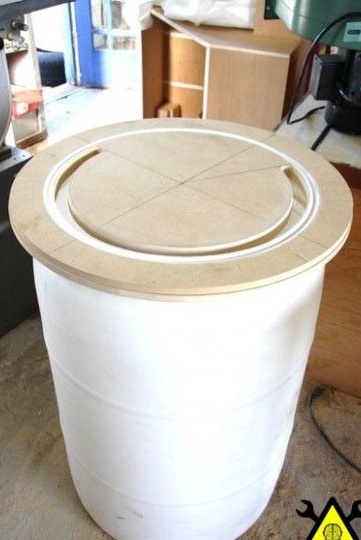
Step Five: Making the Lower Disc
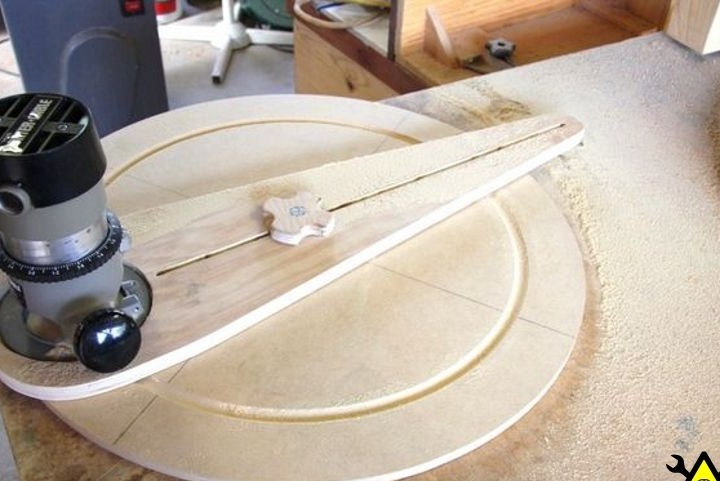

For the manufacture of the base were taken sheets of MDF with a thickness of 12.5 mm in the amount of two pieces. Having fastened them together I received one sheet 25 mm thick. Then, with the help of a milling cutter, a groove for the deflector was made.
Then 2/3 of the disk circumference were measured and 31 mm diameter holes were drilled at the ends of the deflector channel. Then, guides were cut using a jigsaw.
So that those dust particles that fell into the barrel do not come back, the author rounded the upper edges of the channel manually using ordinary sandpaper.
Step Six: Making the Upper Disc
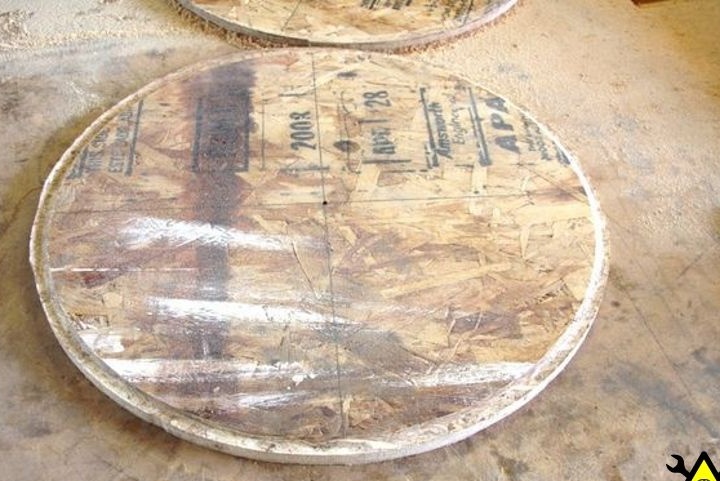
The upper disk was made of OSB sheet with a thickness of 15 mm. It also consists of two parts glued together to give greater strength to the product, that is, the total thickness is 30 mm. In the same way as in the manufacture of the first disk, a groove was made using the cutter, where the upper part of the central ring will be located. In order to fix the nozzle more tightly to the fan, part of the lower disk was incised. Then, the upper part of the disk was tightly attached to the fan using building glue, thus obtaining a tight seal.
Seventh step: Sealing gasket
It is important to understand that the plastic barrel, like the central ring, are not ideal circles, so there will be gaps. But for the design to work effectively, this element must be airtight, so all targets were abundantly coated with silicone sealant.
It took 24 hours for the sealant to cool completely.
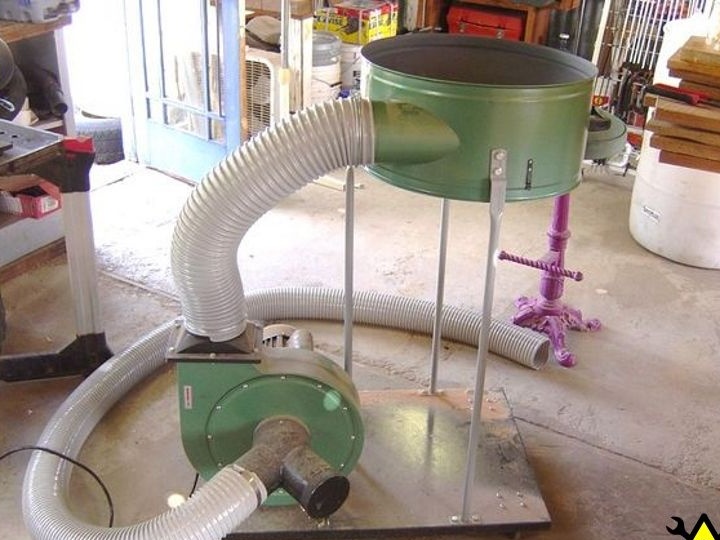
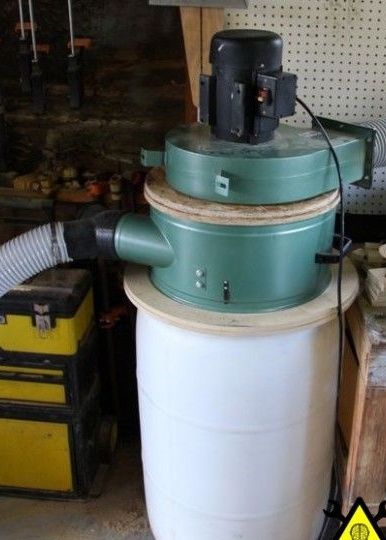
Step Eight: Build.
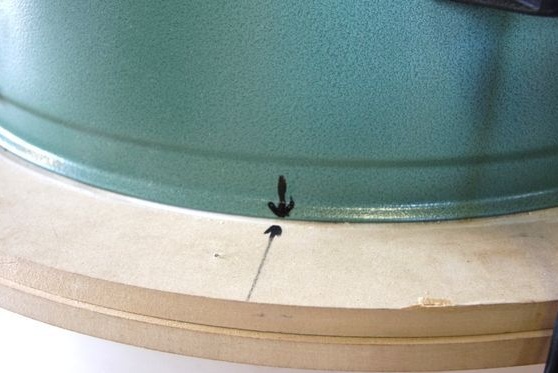
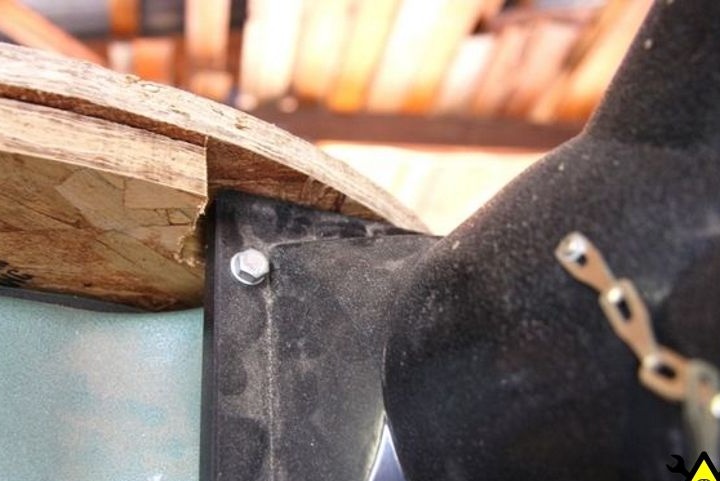
After creating the basic elements of a new filter, the author proceeded to assemble a vacuum cleaner. In the previous paragraph, a silicone gasket was made, but the central ring was not fixed to the main disk. This was necessary in order to level it first. Having placed the lower disk on the barrel, the author mounted a central ring on top of it. Next, temporary control marks were made on the outer sides of the ring and disk, thereby obtaining starting points from which it would be possible to repel when adjusting and leveling in any direction in order to obtain better device performance. When all elements are configured, it will be possible to fix these support elements for real.
Then the upper disk with a fan was installed, and the author proceeded to mount the engine of the vacuum cleaner. At the same stage, a short piece of flexible hose was secured to the dust collector from the fan.
Step Nine: Turn the switch on
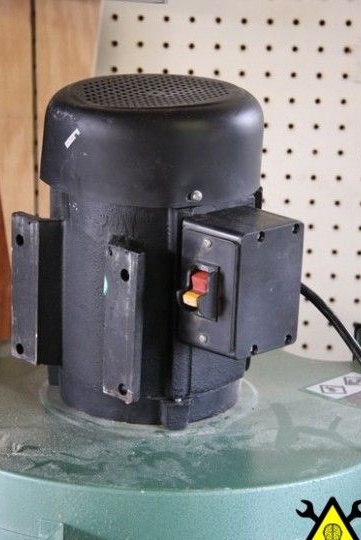
To turn the switch over, it was necessary to remove the junction box, and then turn the switch back 180 degrees. Since the wires will go to the switch, and the new location does not have the corresponding technological holes for them, the author had to make them himself. Therefore, new holes for the wires were made in the mounting plate, which will go from the engine to the switch.
Step Ten: Test Your Device
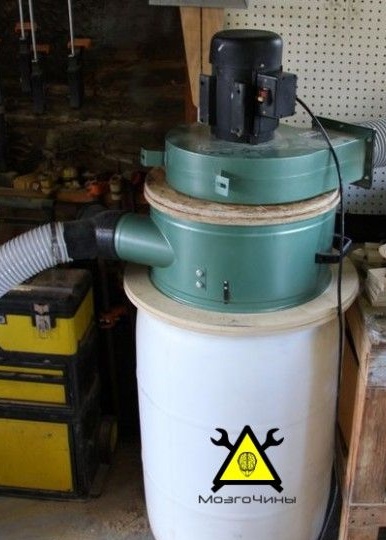
After the assembly of the vacuum cleaner was completed, the author proceeded to test this device in practice. After turning on the system, the suction hose was directed into a large pile of sawdust. While observing the operation of the vacuum cleaner, the author noticed a noticeable decrease in the yield of fine dust in the exhaust compared to the standard version of the vacuum cleaner, but still the vacuum cleaner still does not retain all the particles of wood dust. Although the overwhelming majority of sawdust and dust after filtration remains in the barrel, a small amount will still fall back into the air of the workshop, therefore this model the vacuum cleaner can be upgraded for even better and more efficient filtration.