» Fixtures »Do-it-yourself continuous ink supply system

DIY Continuous Ink Supply System


Many lucky owners of printers have already installed a continuous ink supply system. The advantages of such an improvement in the printer are obvious: you do not need to buy expensive cartridges, you can always see how much ink is left in the tank, with a decrease in ink level it is enough to add the right amount, the price of one printed copy is reduced several times and finally you can make such a system do it yourself. Auto RU homemade also tired of constantly changing cartridges and he decided to make a CISS on his own.
Tools and materials:
-Scissors;
-Duct tape;
- Instant glue;
-Medical gloves;
-Screwdriver;
Syringes
-Cartridge;
-Printer ink;
-Thin transparent tube;


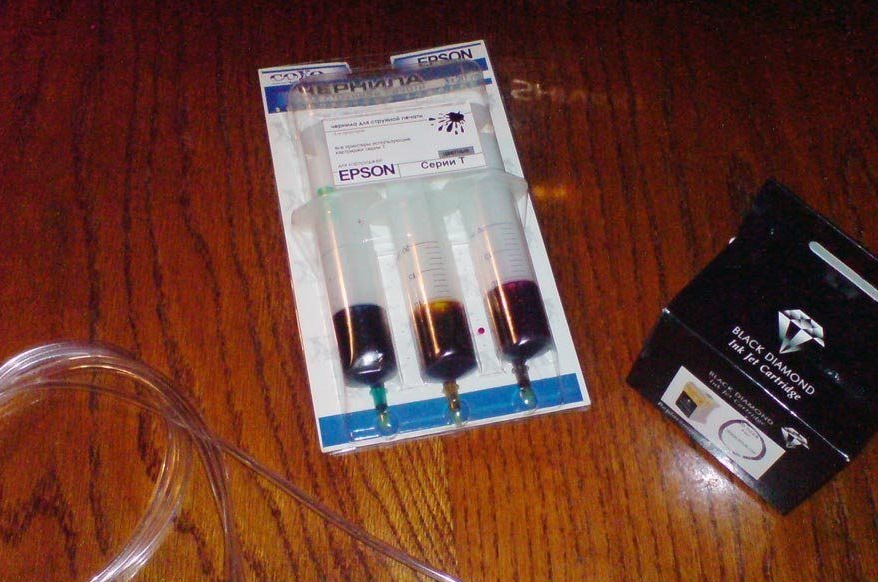
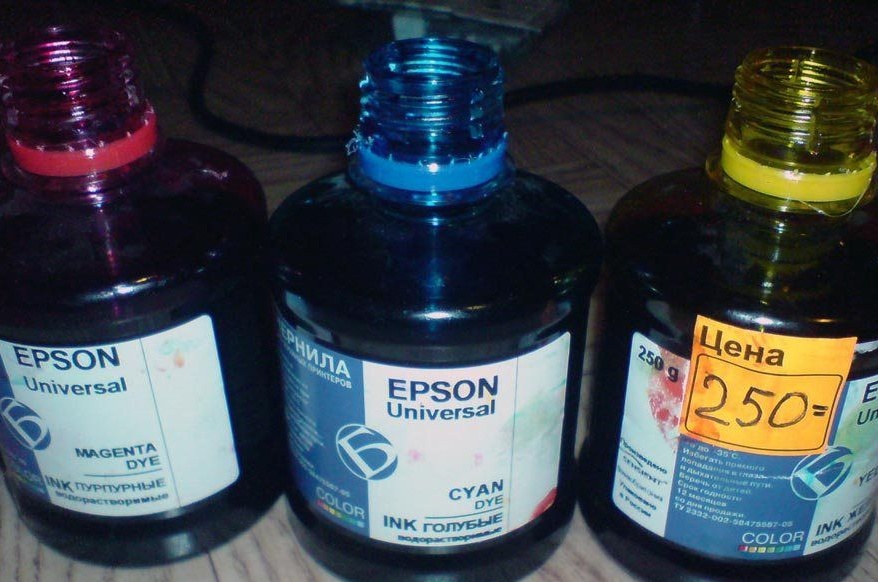
The author purchased the handset in a radio store, paint in a store. Moreover, the paint is needed in jars, if the paint in syringes will need to be poured into a suitable container.
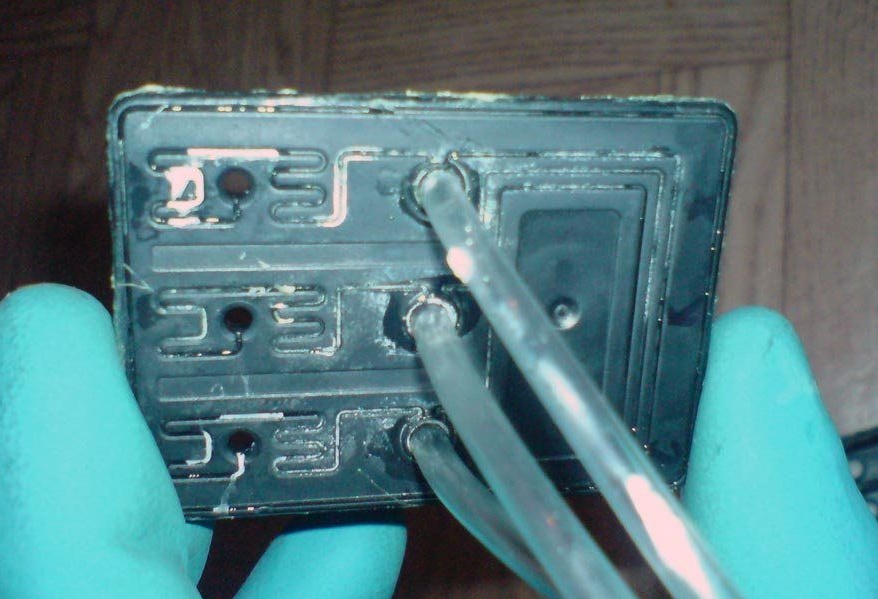
Step 1: cartridge preparation
First, the author washed the detergent tubes and dried them. Then he scored water in the syringe, inserted the needle into the hole in the upper part of the cartridge (under the sticker) and washed each chamber. He carefully removed the top cover of the cartridge. Flushed the inside of the cartridge. All is well dried.

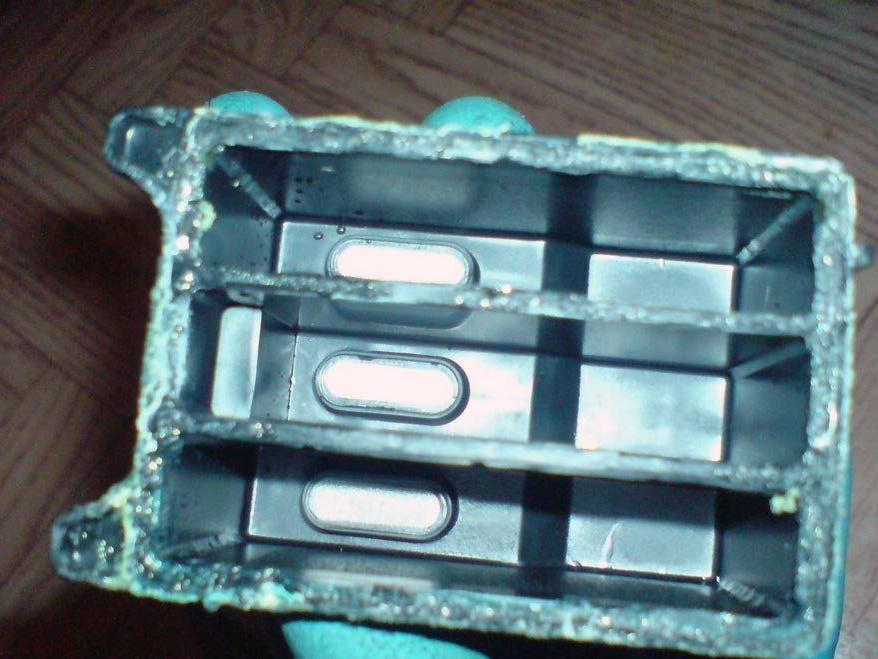
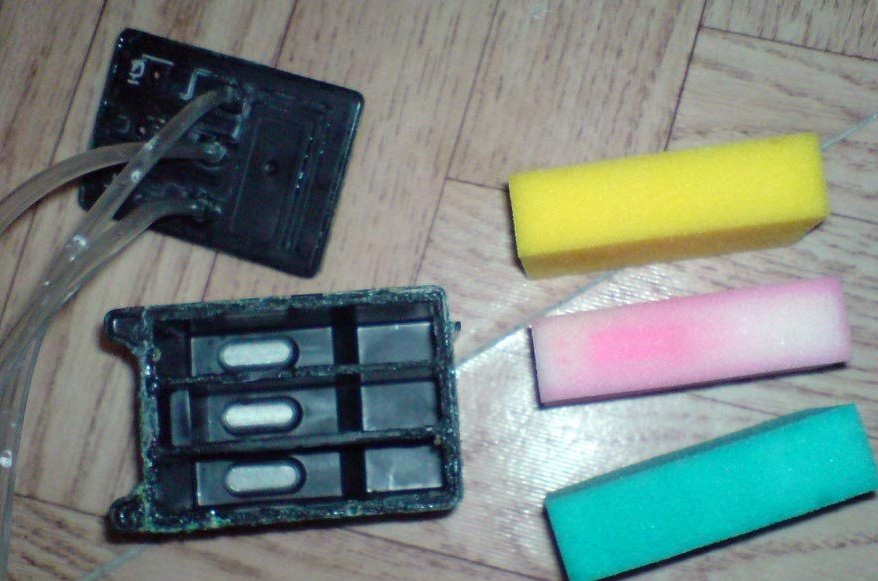
Step 2: reassemble the cartridge
Replaces the sponge. Installs tubes in the hole on the cartridge cover. Each color has its own tube. If necessary, the holes should be expanded, but the tubes should be inserted tightly. Then glue seals the junction. Glue the top cover to the cartridge. Glues are necessary so that the cartridge compartments are also isolated from each other. There should not be a single non-glued area both around the perimeter and between the cartridge compartments.


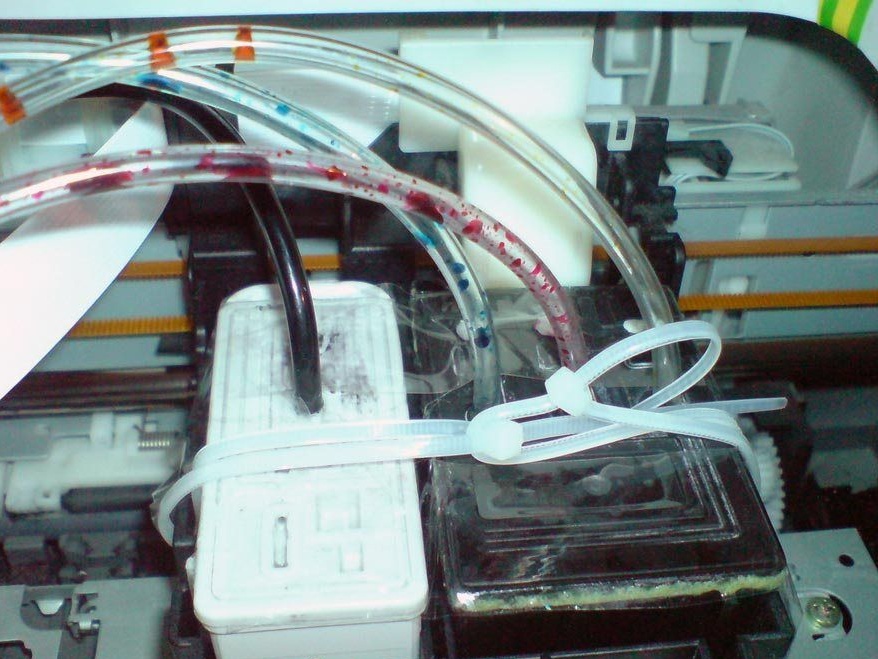
Step 3: Install the CISS on the printer
Opening the printer cover puts the cartridge in its place, the tube leads out. The cartridge is fixed in the carriage with a collar and tape.

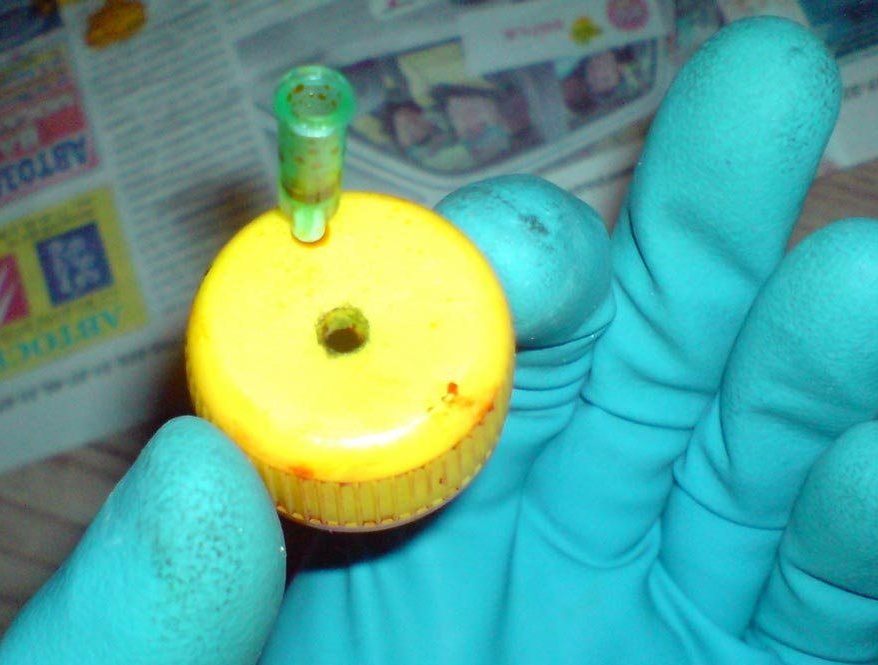
Step 4: refill CISS ink
Typically, there are two openings for each color on the cartridge cover. In one, the author inserted a tube, the second should remain open until the end of the refueling. Then the master draws ink into the syringe and slowly fills the cartridge compartment through the tube with ink. It is important not to mix the colors and refill the ink of the color that was originally there in each compartment. By filling the compartment and the tube, the author closed the hole in the tube with chewing gum. Thus fills all the compartments of the cartridge. When filled, seals the remaining holes in the cartridge cover.Each ink bottle lid makes two holes. One in the center of the tube cover. The second author did as follows: he made a hole with a syringe needle on the side of the lid, inserted a needle into the hole, and inserted a piece of foam in the upper part of the needle. The result is an air duct with a filter. By removing the chewing gum from the tubes, it inserts them into the holes in the covers by color. Tubes lowers to the bottom of the tank, but not all the way.

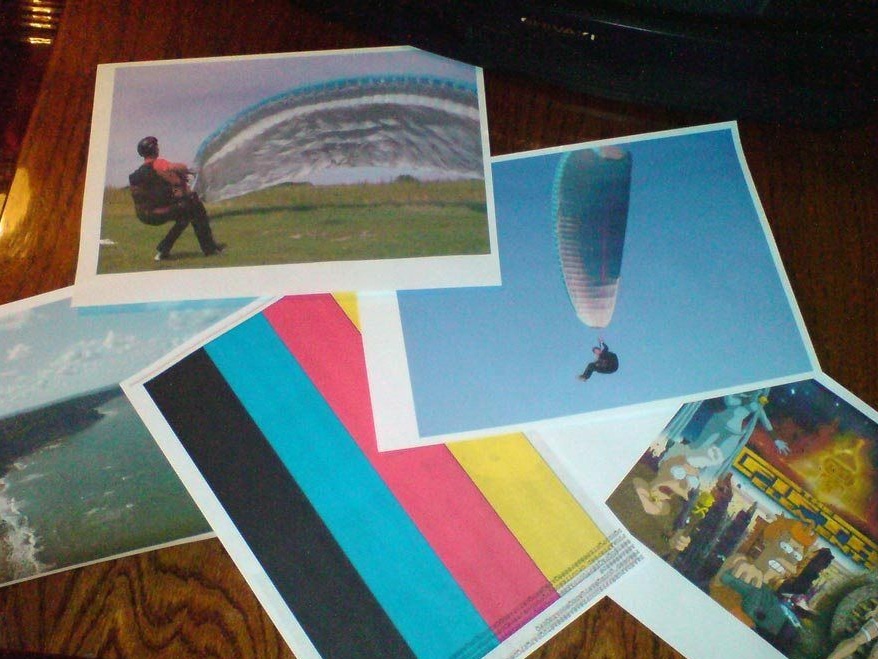
Step 5: Zero and Run Ink
In most printers, the software does not allow reuse of the cartridge. In order that the printer does not "swear" it is necessary to reset the cartridge chip. For his printer, the author downloaded a special utility. Installed it, selected the counter reset function (with the printer turned on) and confirmed the action. Turned the printer off and on again. After the zeroing operation, it is necessary to drive out the ink by turning on the nozzle cleaning mode.


A little from myself.
1. For washing, it is advisable to use not water, but a special washing liquid sold in the same place as the ink for the printer.
2. When installing the cartridge in the carriage, the tubes must be routed correctly. The carriage moves and it is necessary that the tubes do not catch anywhere.
3. It may be necessary to make holes for the tubes in the housing or cover of the printer.
4. It is better not to disassemble the cartridge (as the author mentioned at the end).
5. The utility that the author installed works with old OSs, so I don’t provide a link to it. The network is full of instructions on how to reset your cartridges.
6. This manual is more suitable for printers with 2 cartridges (one black, one color) because for such printers CISS is almost never found on sale. For printers where several color cartridges are better to buy a ready-made CISS (although you can do it).
7. Ink is better to use branded.
8. The ink level in the container should not drop more than half.
10
10
10

Add a comment

    • smilesmilesxaxaokdontknowyahoonea
      bossscratchfoolyesyes-yesaggressivesecret
      sorrydancedance2dance3pardonhelpdrinks
      stopfriendsgoodgoodgoodwhistleswoontongue
      smokeclappingcraydeclarederisivedon-t_mentiondownload
      heatirefullaugh1mdameetingmoskingnegative
      not_ipopcornpunishreadscarescaressearch
      tauntthank_youthisto_clueumnikacuteagree
      badbeeeblack_eyeblum3blushboastboredom
      censoredpleasantrysecret2threatenvictoryyusun_bespectacled
      shokrespektlolprevedwelcomekrutoyya_za
      ya_dobryihelperne_huliganne_othodifludbanclose
7 comments
To the author - respect and respect. I have THREE (!) Of the exact same printer, and I installed purchased CISS on all of them. Ah, if only I knew ...
Author
Yes, I agree with you.
In HP, the cartridges are reset to zero .. But if you get a lot of print, as I said, the head on the cartridge quickly starts to “strip” ..
If you haven’t printed photos yet, it makes sense. When printing on plain paper, small defects in the print nozzles are not noticeable. And for the photo it won’t work - there’s a big load on the head, and all the defects are immediately noticeable ..
Author
HP has ink cartridges with a head on the cartridge and it has a printer, the same price. I know because I took it at the same time as my relative. The difference in the model is one figure, but I was tormented decently with him. But this hour everything works. I have a home-made CISS, he has a purchase. So there’s a reason. Than throw away, you can try to make a CISS.
They are all with a chip. Only at Canon, as I wrote, they are not blocked, but burn out. You can’t lift them up already ...
I once examined the L200, but I was told that it is better not to feed it than horrible. And the T-50 eats everything, if only not with garbage)))). So I use Korean and Chinese inks - they are cheap (100 gr. About 2 dollars) And the colors are no worse. One drawback is that you need to print at least once a week. They dry quickly ...
And I have already finished, bought for the same occasion, I print a lot. Epson L210, 70 ml ink Set and forget. Before that, there was a CANNON, five cartridges, each costing from 700 to 900 r. Easier to buy a new printer. And they end with a “run” and are blocked (with a chip).
My wife is obsessed with paper photos, and therefore I have experience in this area)))).Therefore, I will describe the "pitfalls" to those who want to repeat this ....
Inkjet printers come in two designs:
1type With own separate printhead (more expensive). In them, cartridges are, by and large, just ink tanks ... As a rule, they use cheaper water-soluble inks. They are fed into the print head by pump ...
2type. The printheads are located on the cartridges. These are usually cheap printers. They provide a method of "thermal printing" (I am not an expert. I simply understood the principle based on my own experience. Therefore, do not judge strictly for "self-made terminology))))). Ink, they leak directly into the print head, where current is passed through them, they occur boiling and dropping a drop through a nozzle: Such ink is expensive, and the printer itself, as I said, is a penny.
.... So, the photo shows just such a cartridge.
My advice: DO NOT BROKE ... Not everything is as smooth as described - you need to very thoroughly seal the cartridge, because the ink is sucked from the "donors" only due to their (cartridges) emptying. Since this effort is very small, such a system will be very sensitive to the position of the "donors" vertically and to the ink level in them. In addition, after each refilling of ink you will have a “smut” with pumping-flushing ....
In addition, not all cartridges are easily reset ... For example, KENON-Pixma does not just block the cartridge if it sees that it is being reused, but simply burns it by applying increased voltage to the nozzles, and then displays the message “Replace cartridge"...
And the most important point - the printheads that are installed directly on the removable cartridge have a very limited resource - they are, in fact, disposable ... The cartridge, for example, at Canon, is also designed to print about 50 photographs. With the CISS I "squeezed" out of it (maximum!) About 300 tons - 400 tons, and after falling in love, he began to "strip" ....
Then I bought EPSON - TX650. This is an MFP based on their "Kalashnikov assault rifle" EPSON T-50. This is a completely different matter !!! There is a large stationary print head, which has an almost unlimited resource. Therefore, any ink can be poured, because they are pumped. (I pour “dropsy” “Inc-Tech”, or “Inc-mat”). I have survived for about seven years already about 10 refuelings of 100 grams of each of 6 colors !!! (One refueling, if you print only 10 by 15 photos, is enough for about one and a half thousand copies). In real life, less, of course, because this is a parameter for continuous printing, and each time it is turned on, it cleans the nozzles, driving out the ink.) ...
But the print quality is excellent, since this model is issued for those consumers who are not satisfied with the print quality in specialized ateliers, and it has a smaller drop size compared to professional ones, respectively, the best quality ...
Questions arose, but rarely enough ... And with those - more questions than savings ....

We advise you to read:

Hand it for the smartphone ...