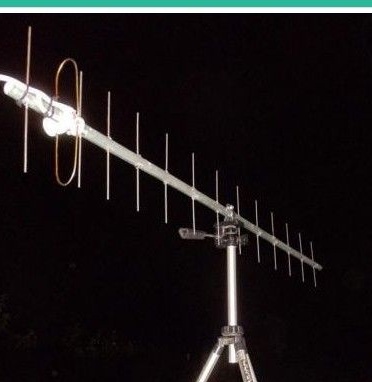
In this article, we will look at how you can assemble an outdoor antenna for 3G Internet. There is little such information on the Internet, and all that I managed to find worthwhile is an antenna with a gain of up to 16.3 dB. Perhaps one of the readers will have an idea how to assemble an antenna with a gain of up to 24 dB or more by this principle.
As for materials, often such antennas are assembled from aluminum, but here the author did not bother and assembled all of steel. According to him, everything works fine. All nodes are assembled by welding. The main thing is to maintain accuracy, the quality of the antenna’s work depends on this.
The antenna has the following parameters:
Rod Diameter 18 mm
The diameter of the loop virbator is 4 mm
The diameter of the reflector / deflector is 4 mm
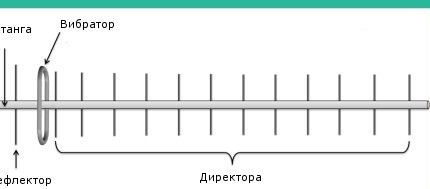
The reflector is located at a distance of 30 mm from the beginning of the rod and has a length of 81 mm
Wavelength = MHz 139 mm
Design Frequency = Yagi 2150.00
Materials and tools for assembling a 3G antenna:
- welding;
- welding electrodes (to create elements);
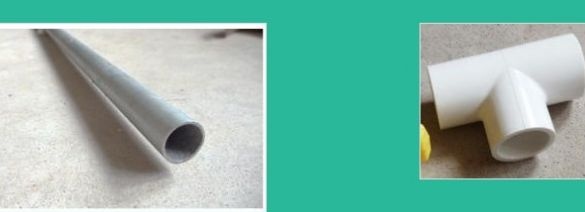
- a steel pipe with a diameter of 18 mm (this will be the supporting bar);
- PVC pipe connector (will act as a holder for the vibrator);
- drill;
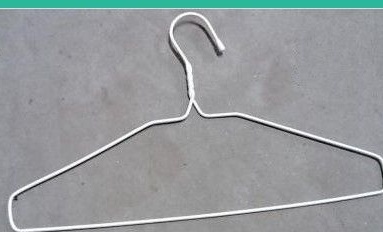
- coat hanger;
- self-tapping screws;
- marker;
- markup tool.
Getting to the manufacture of the antenna:
Step one. Production and installation of a vibrator
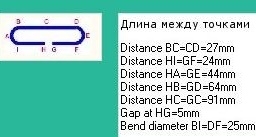
The vibrator is made on the basis of the specified circuit. You need to install it at a distance of 58 mm from the beginning of the rod and 28 mm from the reflector.

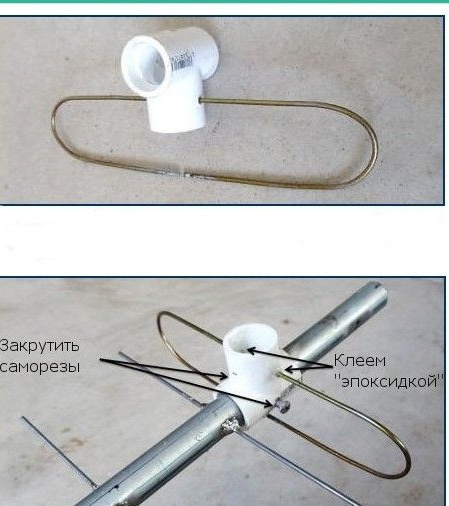
To mount the vibrator, you need a PVC pipe connector, it is attached to the rod using self-tapping screws. As for the fixation of the vibrator, a through hole is drilled for it in PVC, and then it is glued using epoxy.
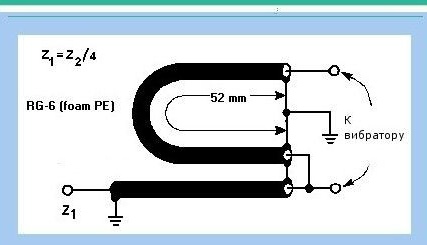
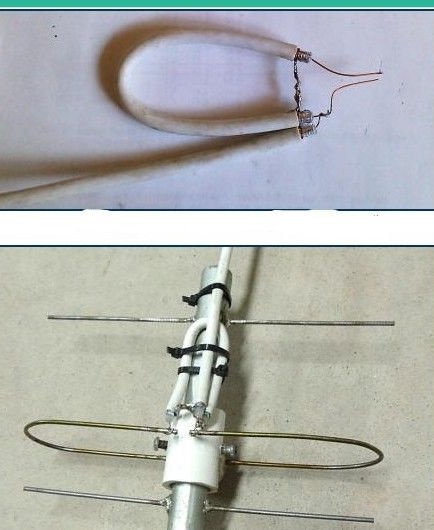
Step Two Boom marking
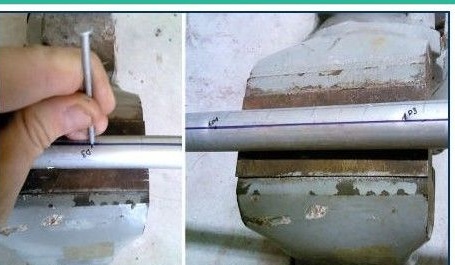
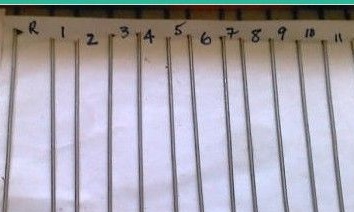
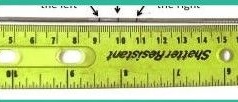
Now you need to mark the bar for the installation of elements. To do this, you need to draw a line on the pipe, and then mark the places for drilling in accordance with the scheme. The distance between the elements affects the antenna power, here you already need to select the parameters in accordance with the table.
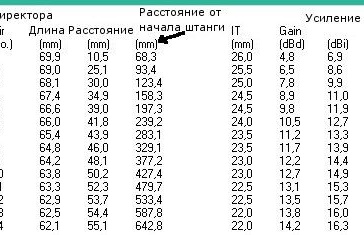
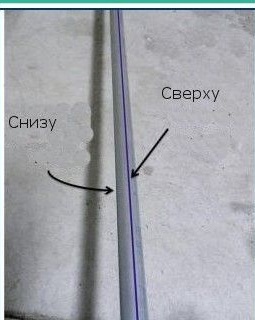
Step ThreeSetting items. Final stage
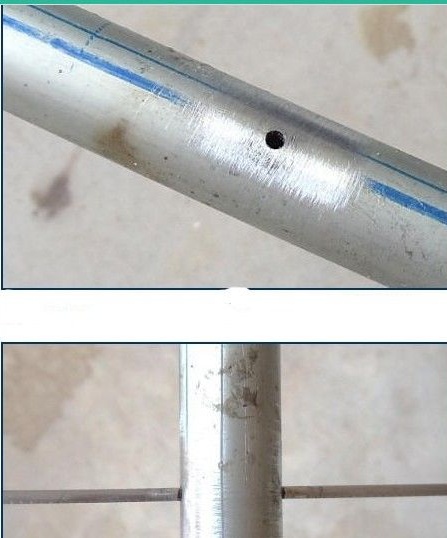
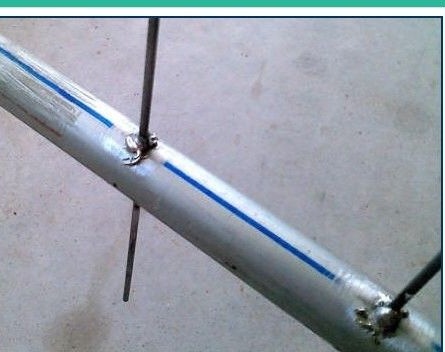
Now in the rod you can drill holes for installing transverse elements. The holes must be drilled very accurately, without tilt or bias. Well, then you can prepare and install the elements, they are made of electrodes. The length is also selected in accordance with the table. To evenly install the elements, you need to find the middle, and then add half the diameter of the pipe to each side. Then marks are made in these places. According to this mark, after installing the element, it is easy to determine whether it stands clearly in the center of the pipe. Well, when the element is installed, you can safely weld the electrodes to the pipe.
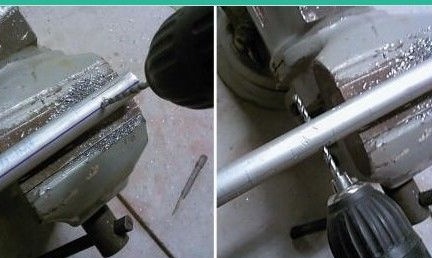
That's all, the 3G antenna YAGI is ready, you can proceed to the tests. As you can see in the picture, the author’s speed increased from 0.11 Mbit / s to 3.21 Mbit / s, that is, before connecting the antenna, there was practically no speed, not counting 10 Kbit / s.
Before
After

