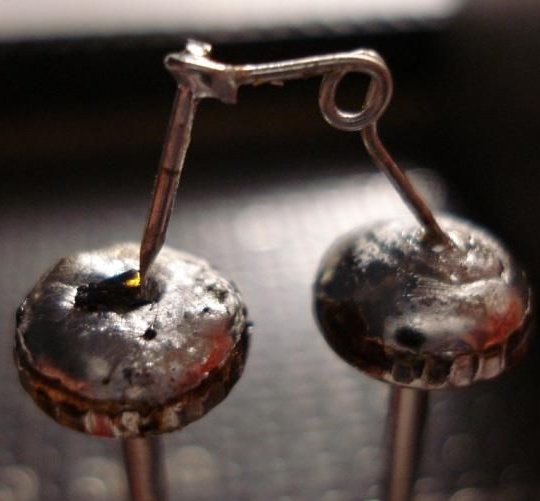
This article will consider an example of creating an LED do it yourself. Firstly, this is a very interesting activity and phenomenon, and secondly, such homemade will definitely attract the attention of guests. After all, not every day you can see such an unusual design and a strange glowing pebble.
The main element of homemade work is silicon carbide (SiC), this is perhaps the only component that you have to buy. You can order it online, for example, through the eBay auction. It is necessary a little, one piece is enough for a dozen LEDs. All other components can be found by everyone at home or even on the street.
Materials and tools for homemade:
- soldering iron with solder;
- silicon carbide;
- pins;
- wire;
- power supply (about 9V);
- tweezers;
- nails with a wide hat, wires and other little things.
LED manufacturing process:
Step one. Crystal preparation
First of all, you need to take silicon carbide and break it, while many small crystals are formed. In size, the necessary pieces should be such that they can be taken only with tweezers. Then the selected pieces should be placed on a metal surface. Metal must be connected to a positive power source, the voltage should be within 10-15V. The needle acts as the second contact, it needs to be given a minus.
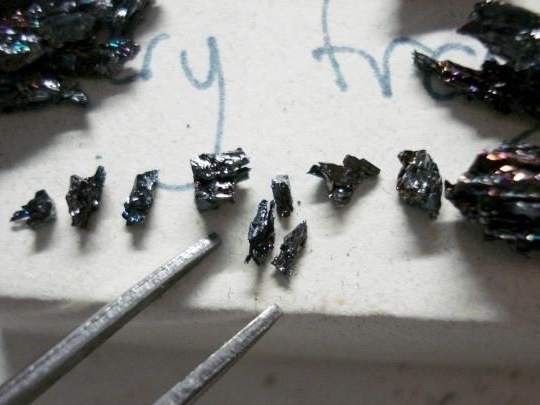
Then you need to fix the crystal with tweezers and a needle with a negative voltage to touch the crystal, while it should begin to glow. All that is required at this stage is to find a point on the crystal so that it glows brightly. When this is achieved, you can proceed to the next step.
Step Two Crystal setting
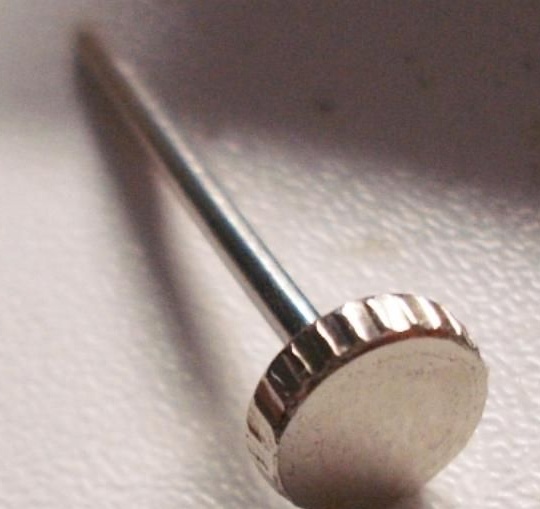
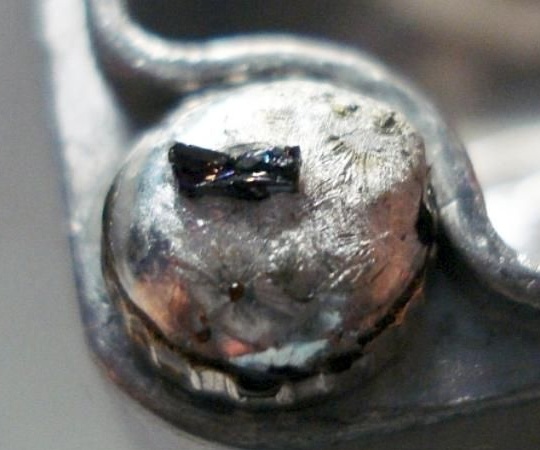
As a product for installing a crystal, the author decided to use a nail with a wide hat. A hat is needed here in order to remove heat from the crystal. To fix the crystal, you need to apply solder to the hat and warm it thoroughly with a soldering iron. Then the soldering iron can be removed and while the solder is liquid, a crystal is placed on top.It is important to make sure that the desired part is on top. You can also slightly drown the crystal in a liquid metal so that it is securely fixed.
If it so happened that the crystal could not be installed the first time, you do not need to be upset, because the solder does not adhere to the crystal.
Step Three The final stage. Making a second contact
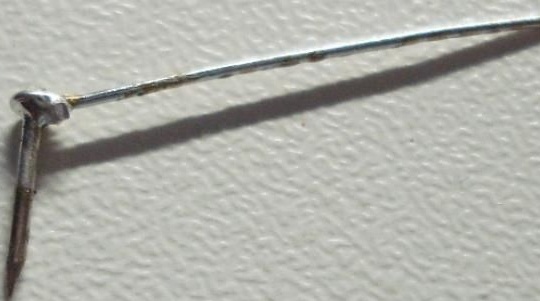
At the next stage, it is necessary to make a point contact, it is made of a regular pin and wire. You need to take a pin and wrap a wire around it, instead of a wire, the author used the foot from the transistor at 0.25 watts. Next, the wire is soldered to the pin, as seen in the photo. Extra need to bite off with pliers.
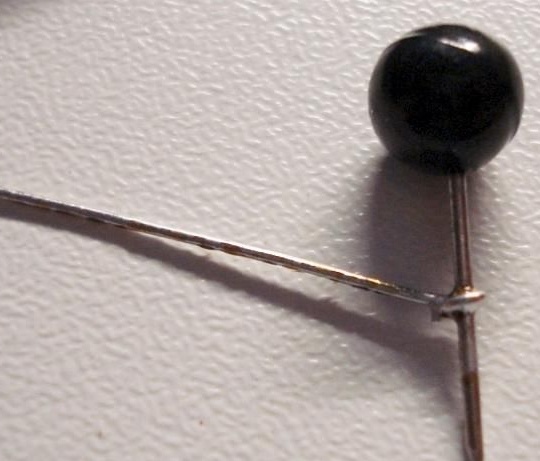
In order for the wire to spring and the contact to be pressed against the crystal, it is necessary to make a loop on it. The second end of the wire is soldered to the second nail, which is located next to the one to which the crystal is soldered. Well, now the design can be assembled. It should be as shown in the photo. That is, the needle should touch the crystal. To install the nails, the author used a breadboard, they were soldered to it. For additional fixation, it is recommended to use two more pieces of metal.
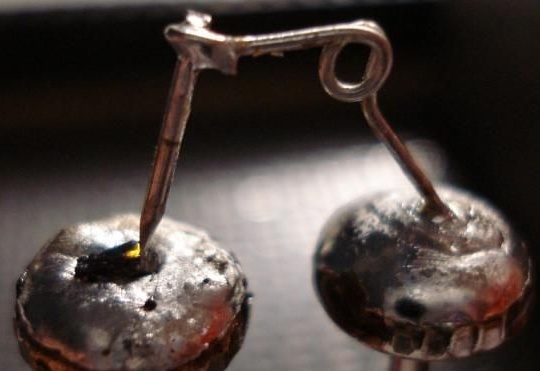
That's all, the homemade product is ready. Experience has shown that crystals shine best at voltages of the order of 9V, while the LED consumes approximately 25 mA. With such a power source, the light turns out to be quite bright, and the diode does not overheat.
To make sure that the home-made product is just a diode, you can invert the polarity, while the stone glows, stops.
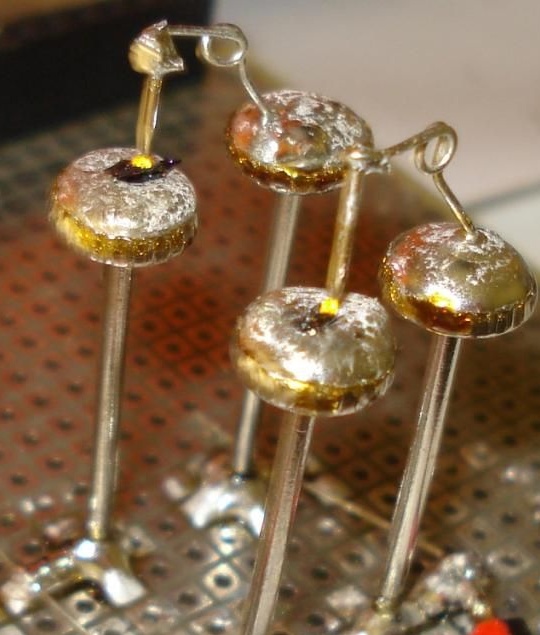


In total, the author collected two diodes, the second was assembled in just 10 minutes. In such a simple way, you can make cheap and interesting LEDs with your own hands.

