The author decided to make such a lantern specifically for games in the Encounter genre. For those who don’t know, this includes games in which you have to climb various rather gloomy places in the darkness of the night, such as drainpipes, basements, abandoned factories, and so on. Also, with such active games, you often have to knee-deep in the water, get over various obstacles and so on. It goes without saying that the flashlight in such cases is almost the most important thing, in connection with this it must be very strong and waterproof.
Such a lantern should freely withstand falls on a solid surface, for example, concrete. It should also work when it enters water, withstand temperature extremes, and so on. You can’t buy such a flashlight for 300-400 rubles, so if there is no larger amount in the budget, then it’s best to assemble such a miracle of technology yourself. This is even more interesting.
Materials tools for homemade:
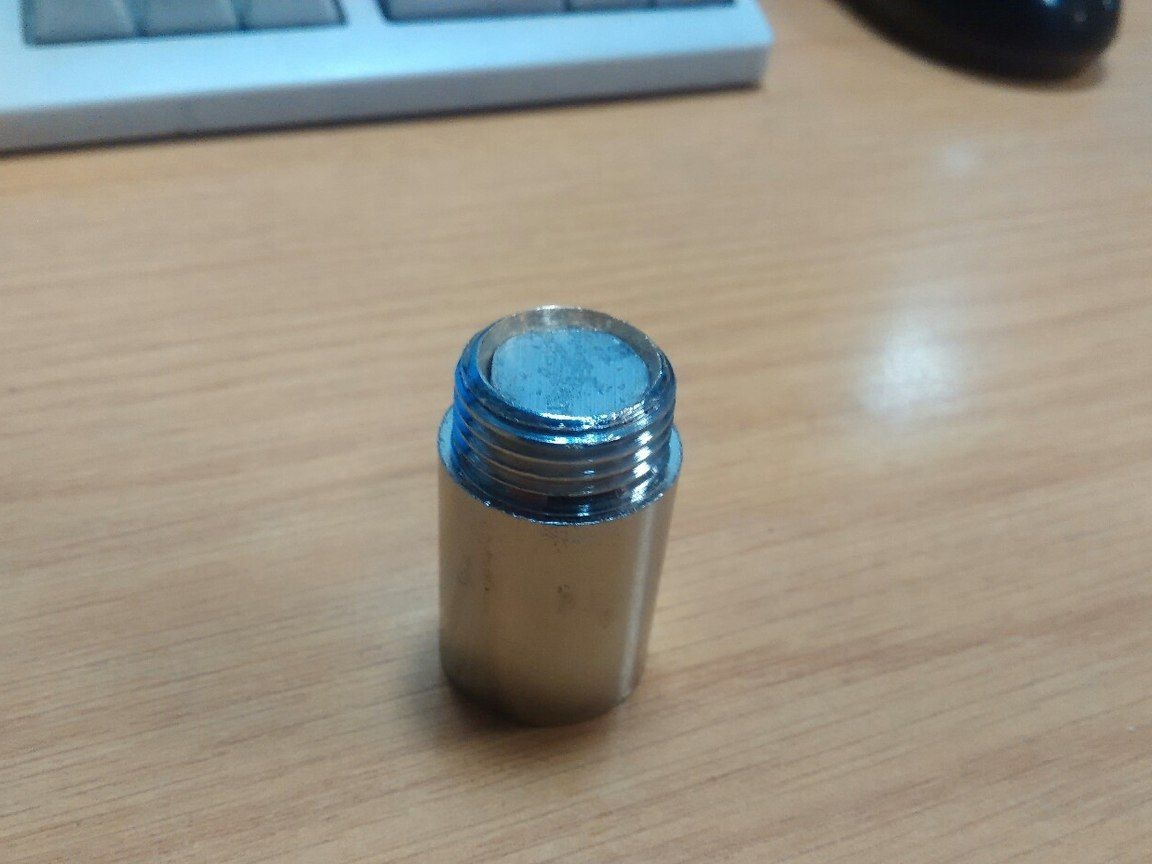
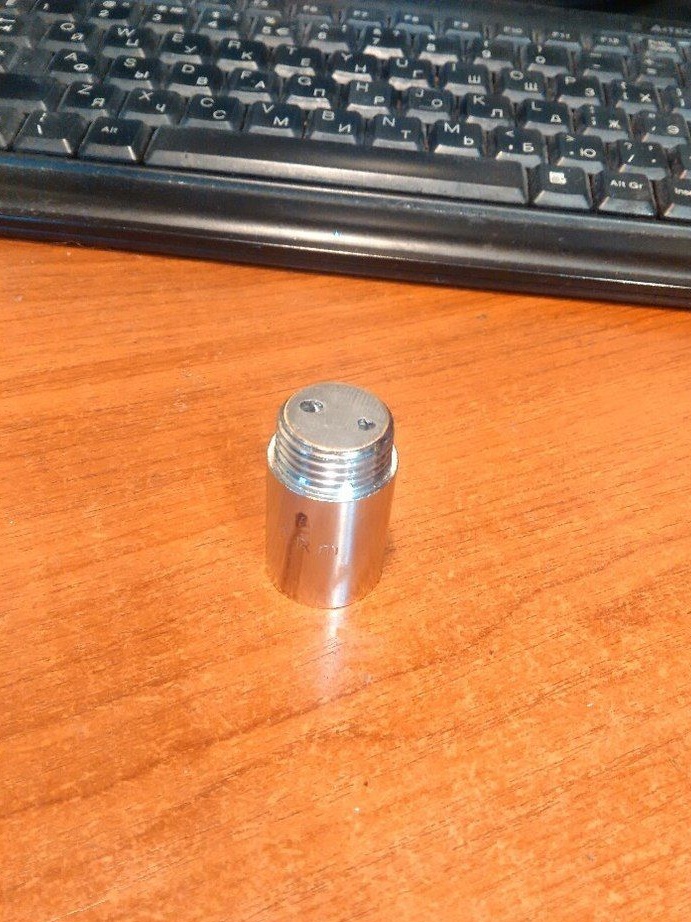
- chrome extension cord (runaway) 1/2 80 mm and one 1/2 1/2 mm;
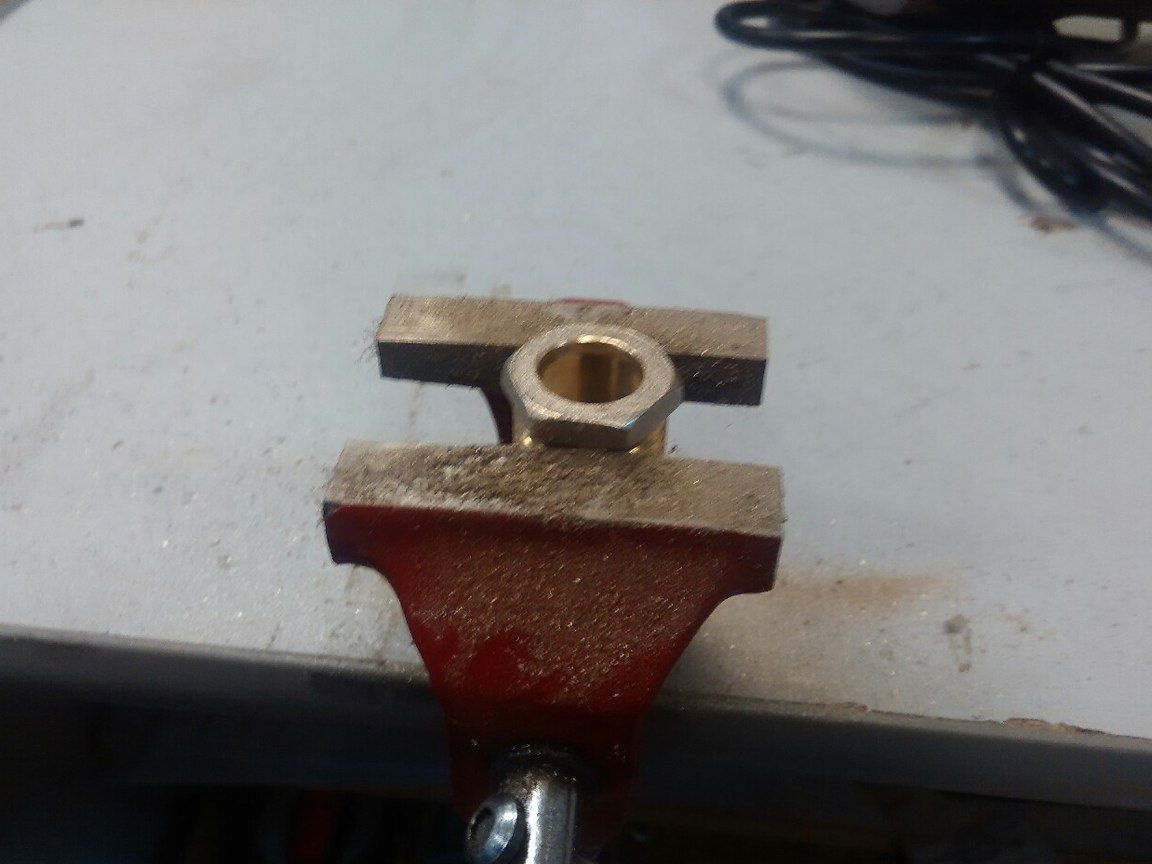
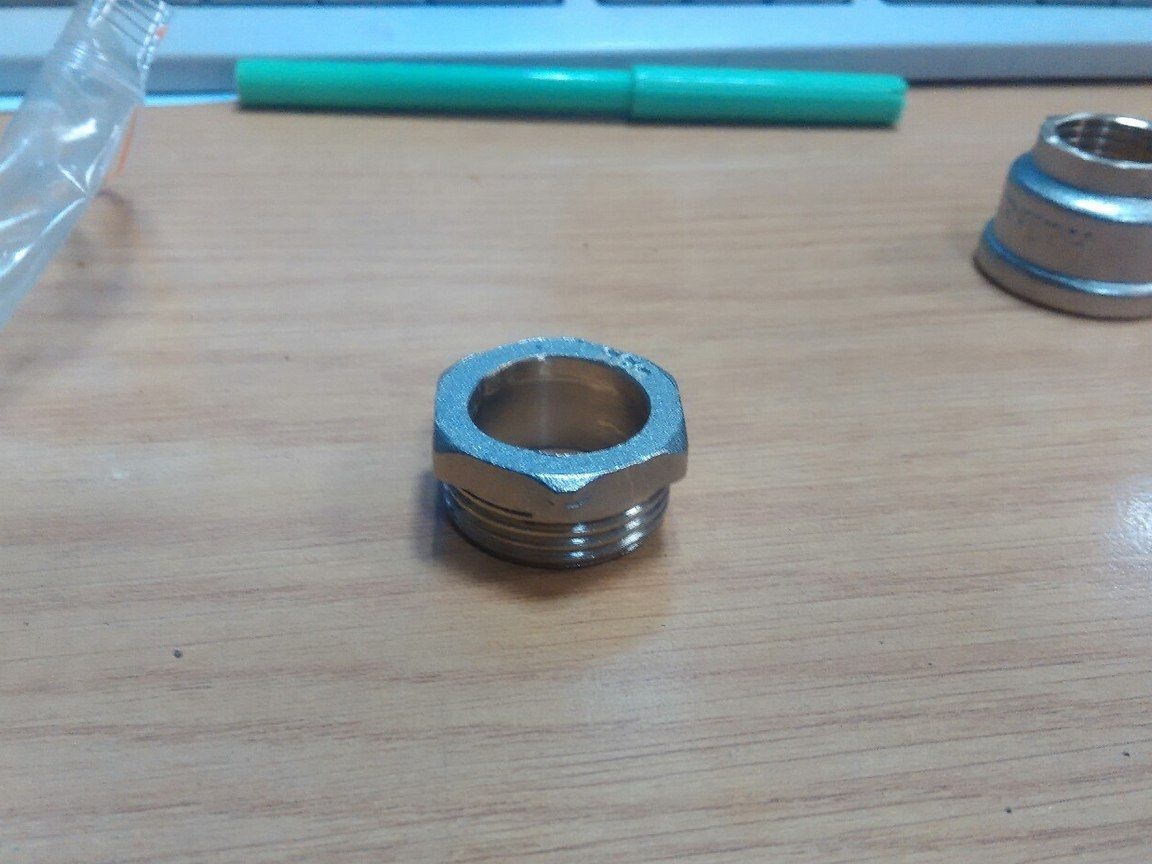
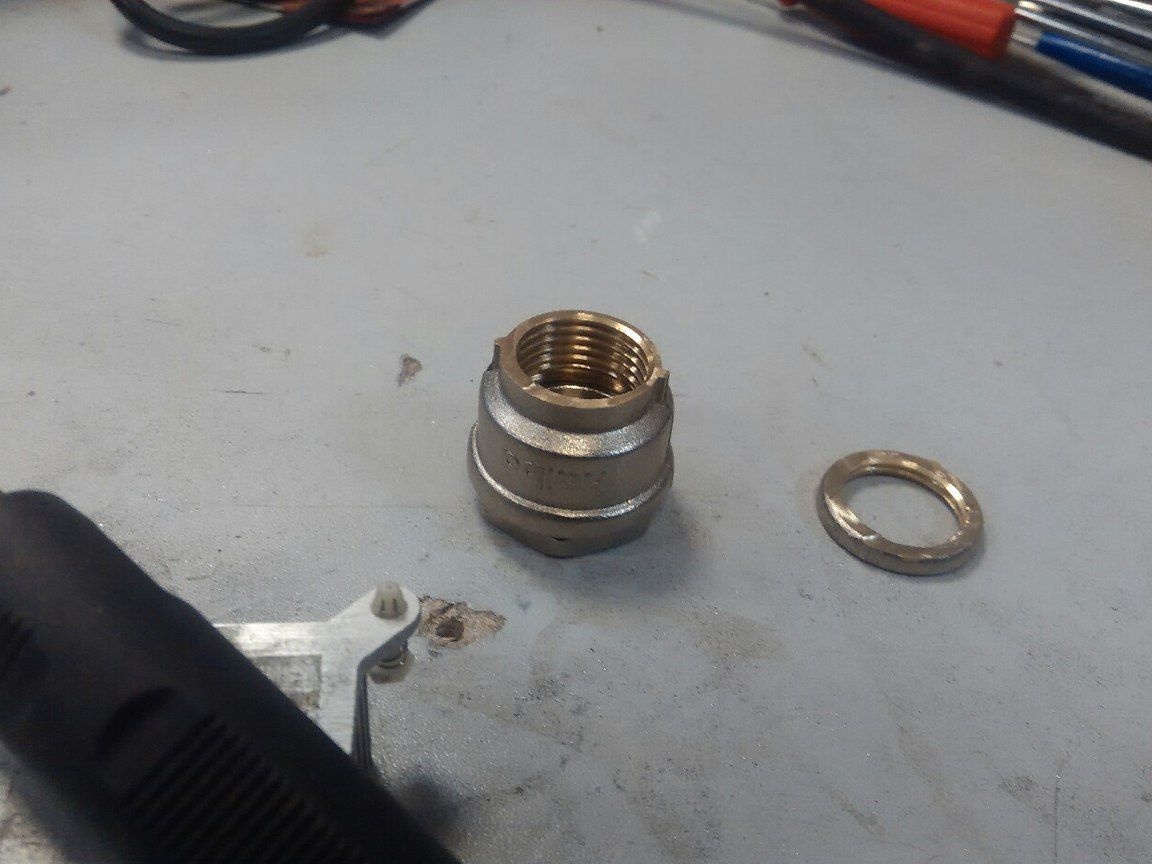
- one adapter from 1/2 to 3/4;
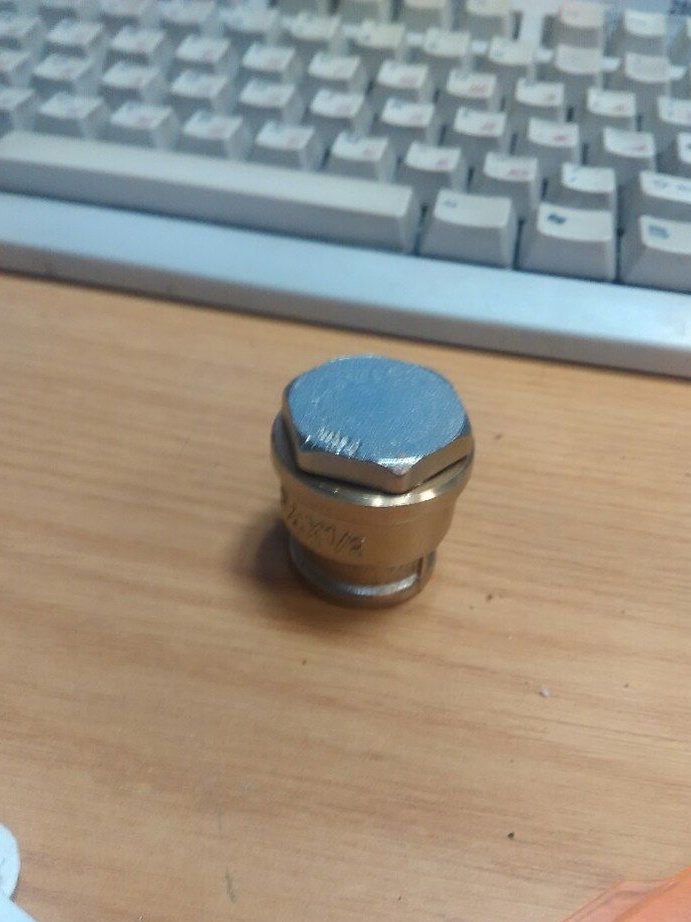
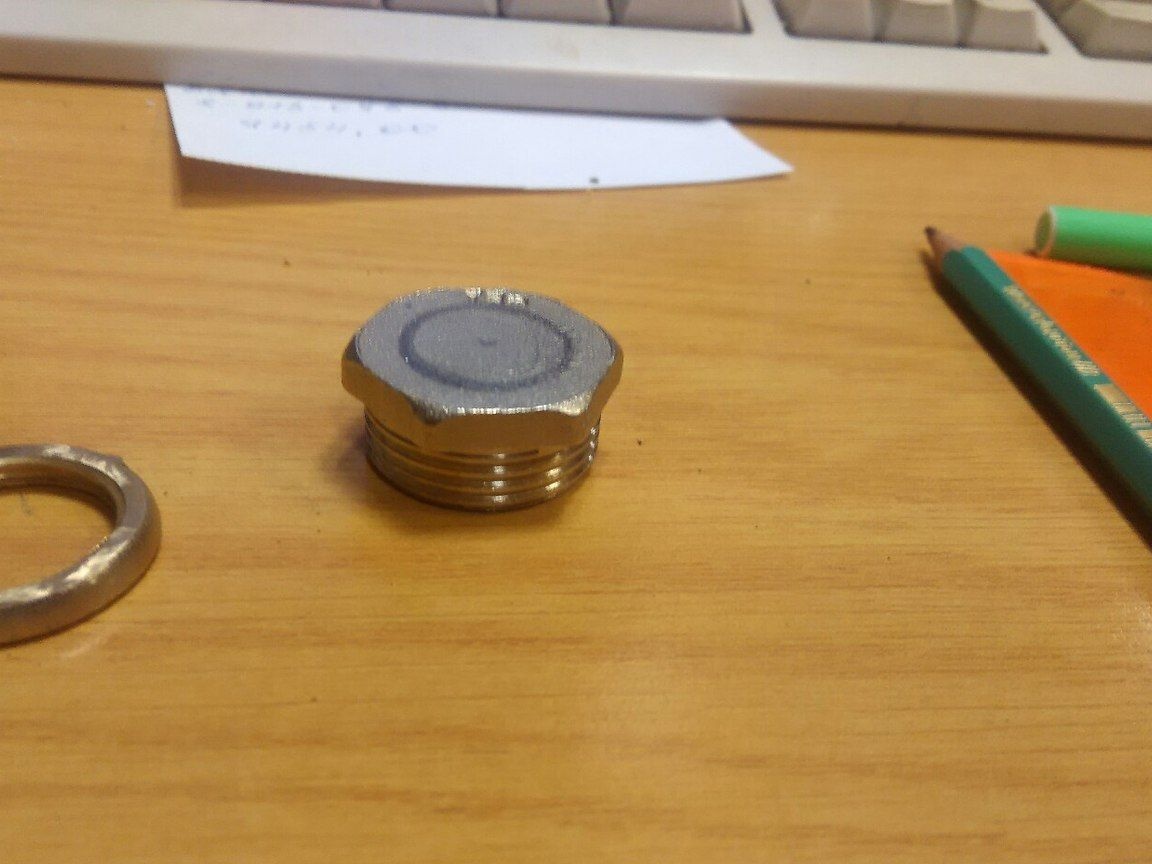
- one stub for 1/2 and one for 3/4;
- 3-5 Watt LED (produces 500 Lm of warm light);
- driver for the LED (with the ability to indicate the charge level and a minimum set of modes);
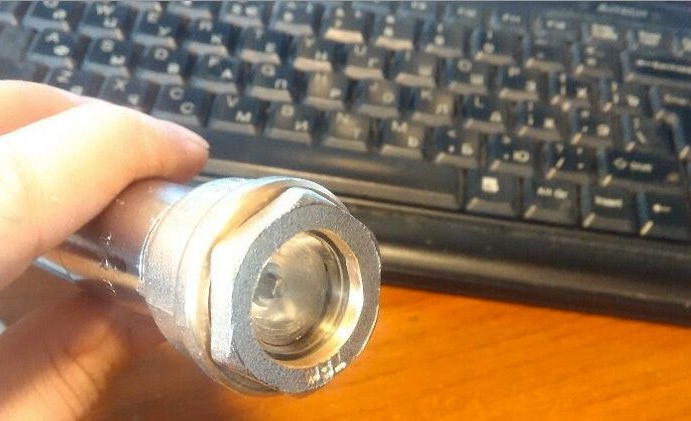
- a reflector or lens at 10-40 degrees;
- glass, wires, button;
- soldering iron with solder;
- drill with drills and cones for metal and more.
You can also say a few words about the driver. The author has 5 modes, this includes the SOS signal and the strobe. Due to the fact that such signals are not used in games, you can get rid of them by closing some contacts. How can this be done, indicated
Flashlight manufacturing process:
Step one. Body manufacture
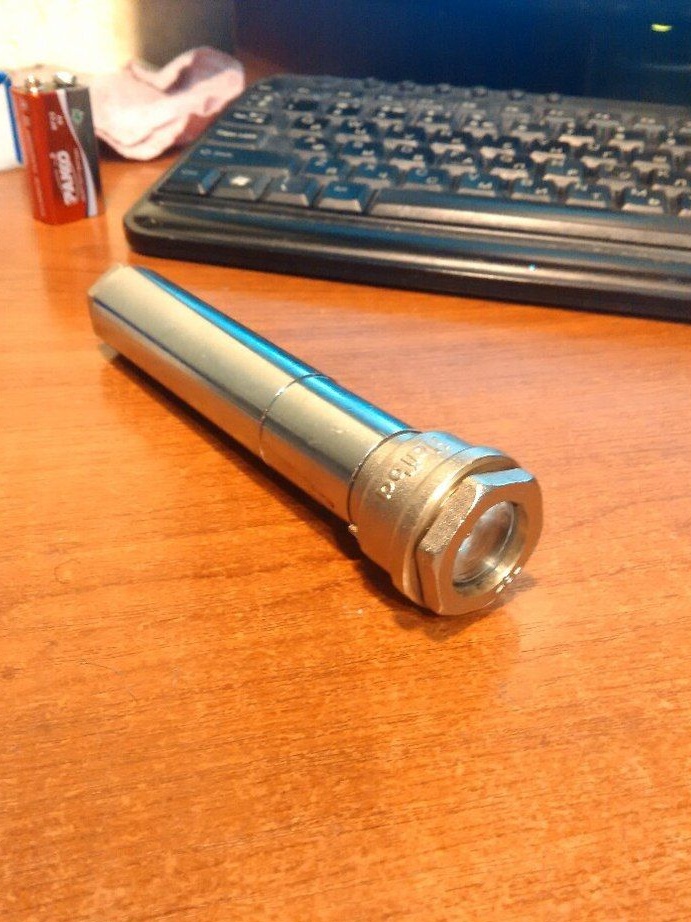
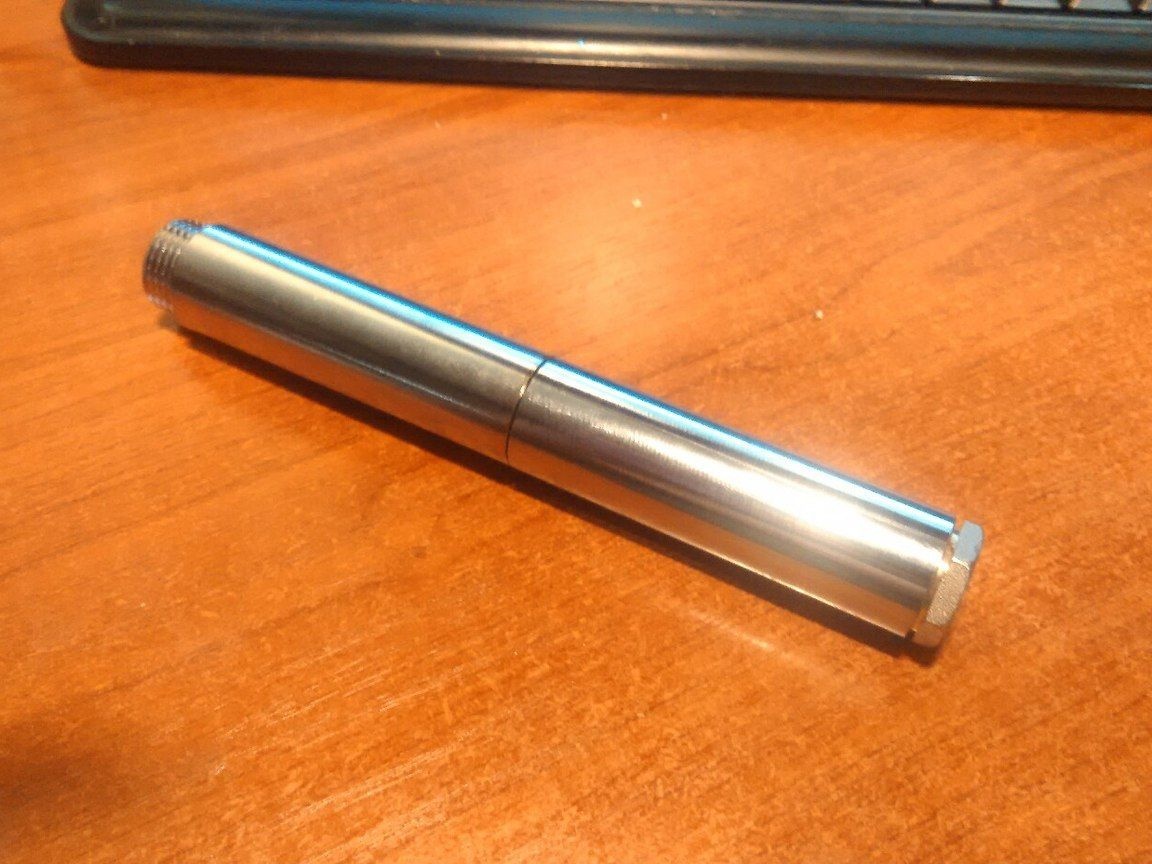
The main characteristics that a flashlight should have should be strength, tightness, resistance to temperature changes, as well as resistance to shock. Another flashlight should be comfortable in your hand. As a result, the case was made of metal, what happened at first, can be seen in the photo.
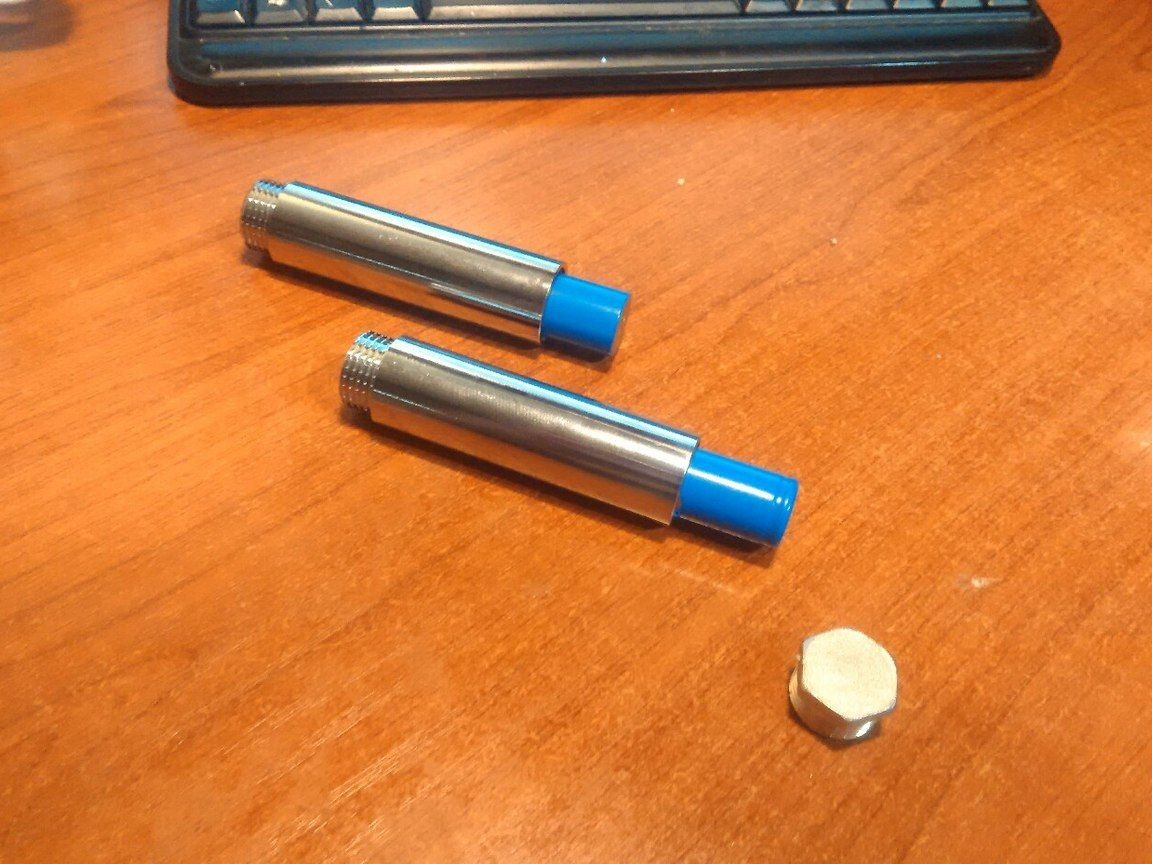
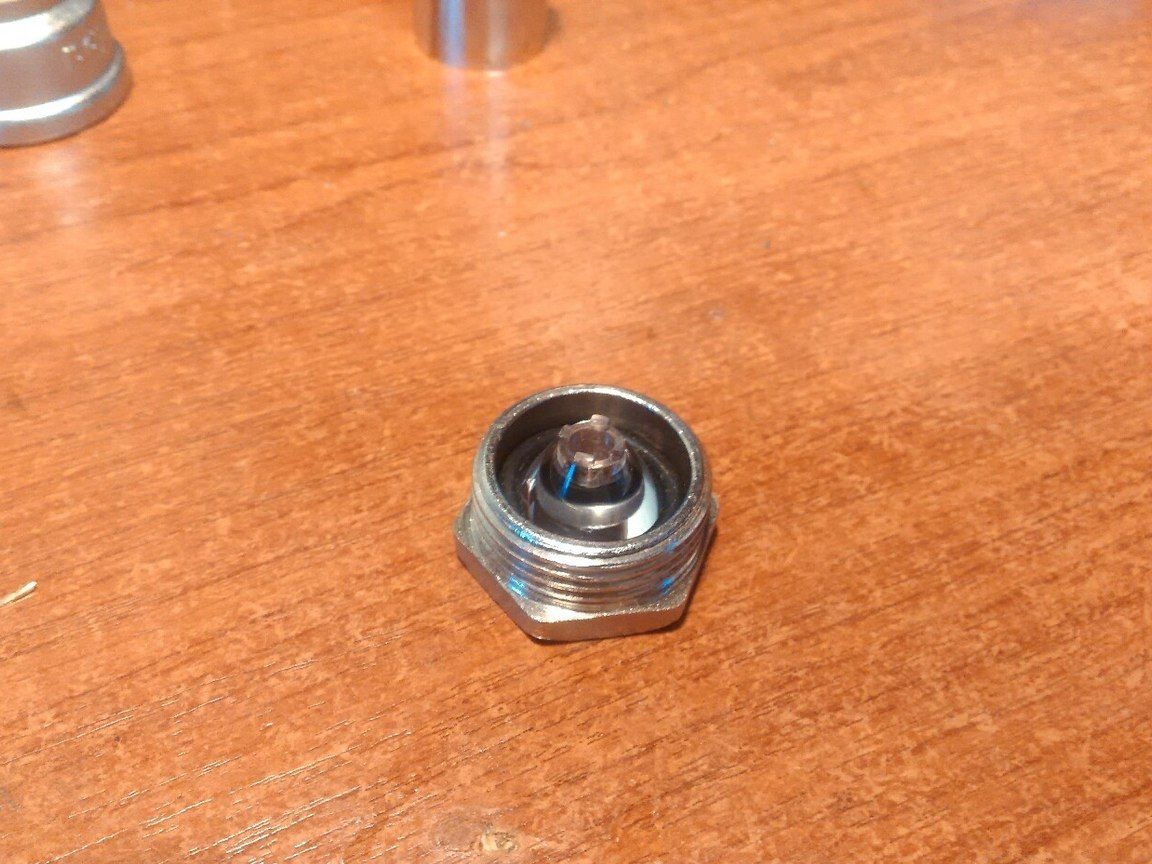
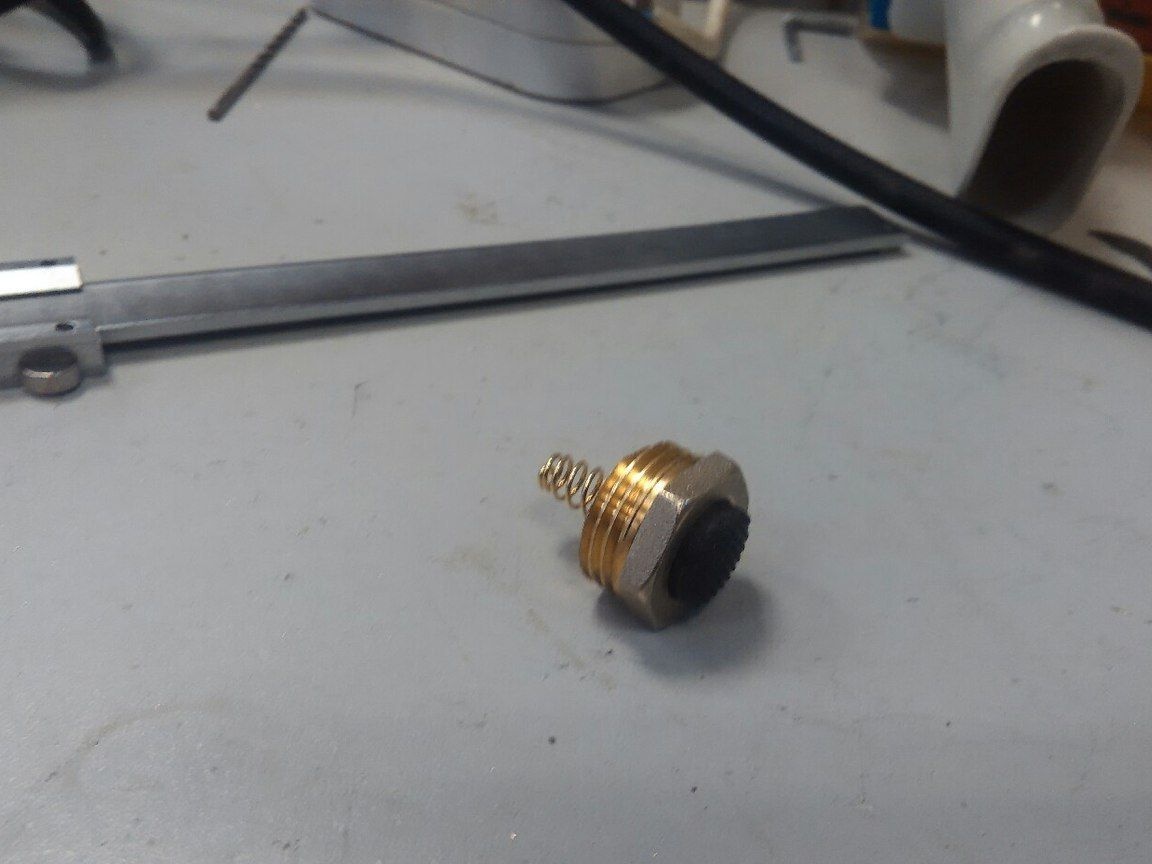
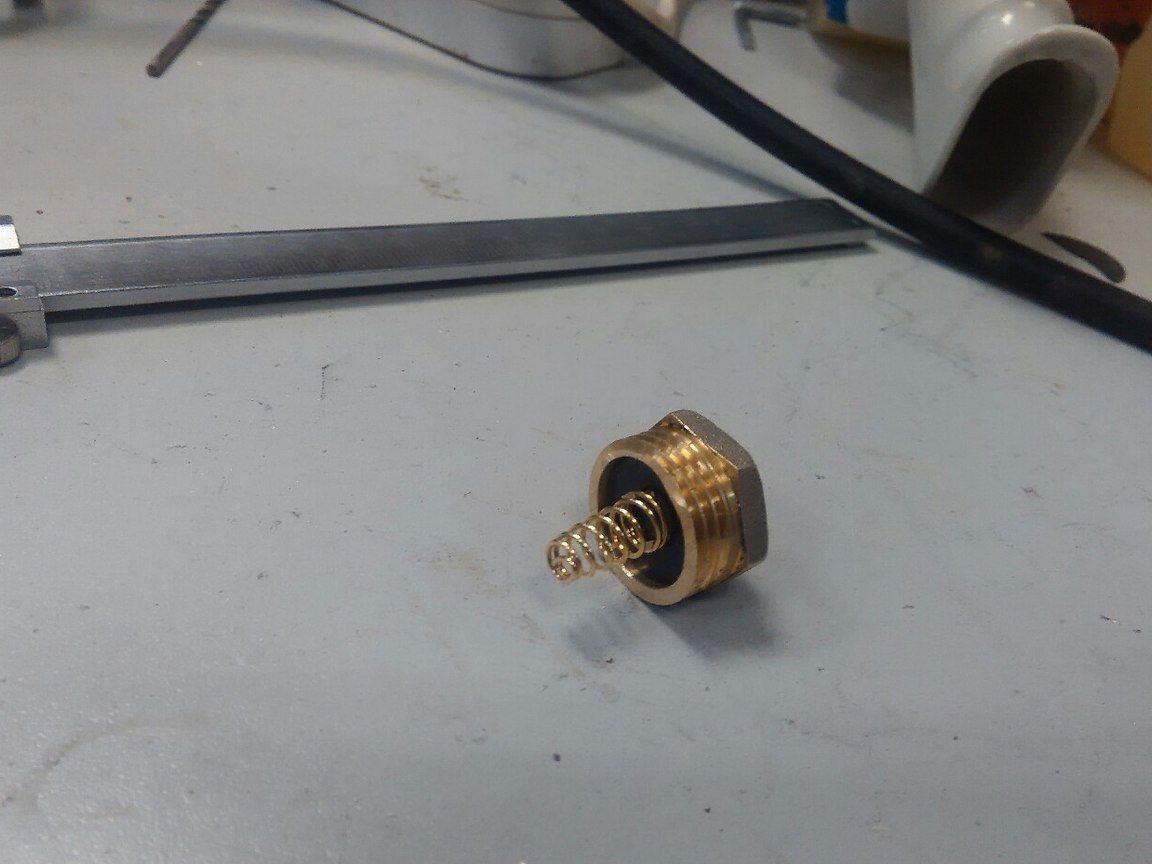
Next, you need to drill holes in the plugs, a button will be installed in one, and a lens in the other. For such purposes, the author used drills and cones for metal.
Step Two We carry a plus inside the case
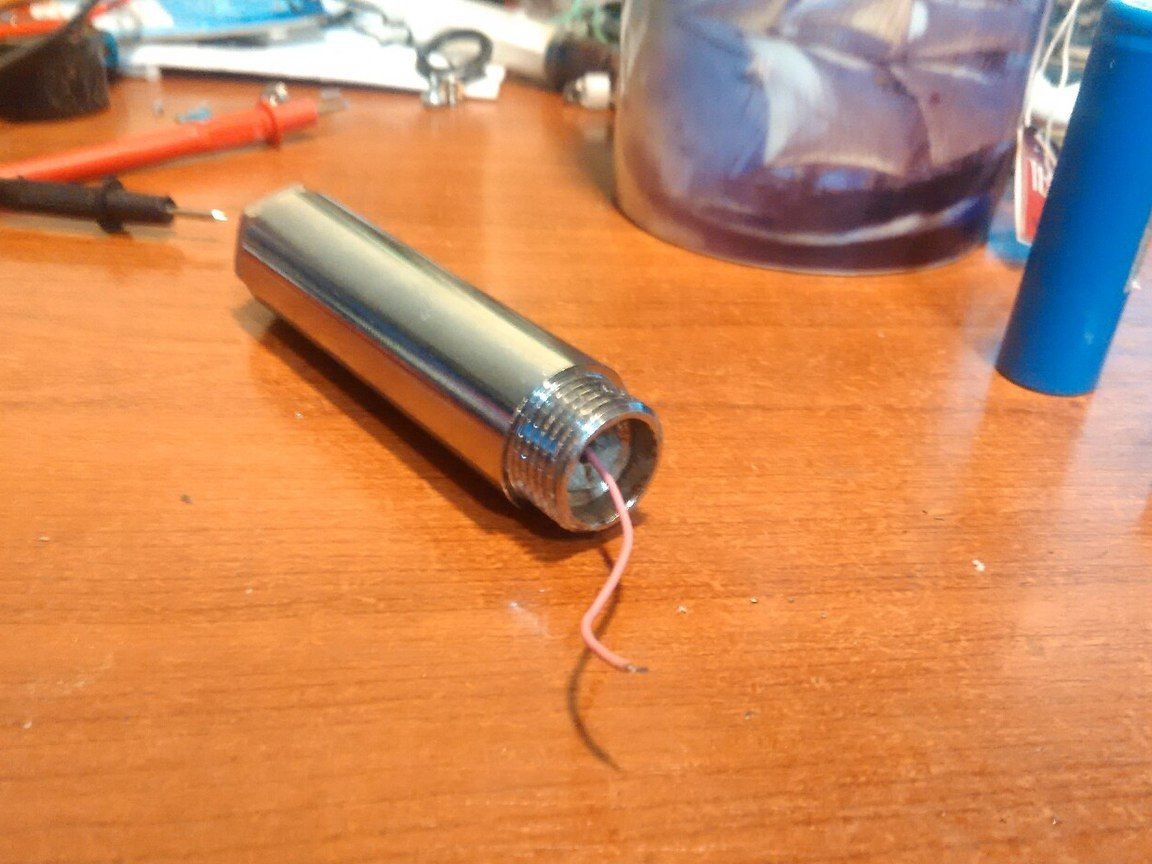
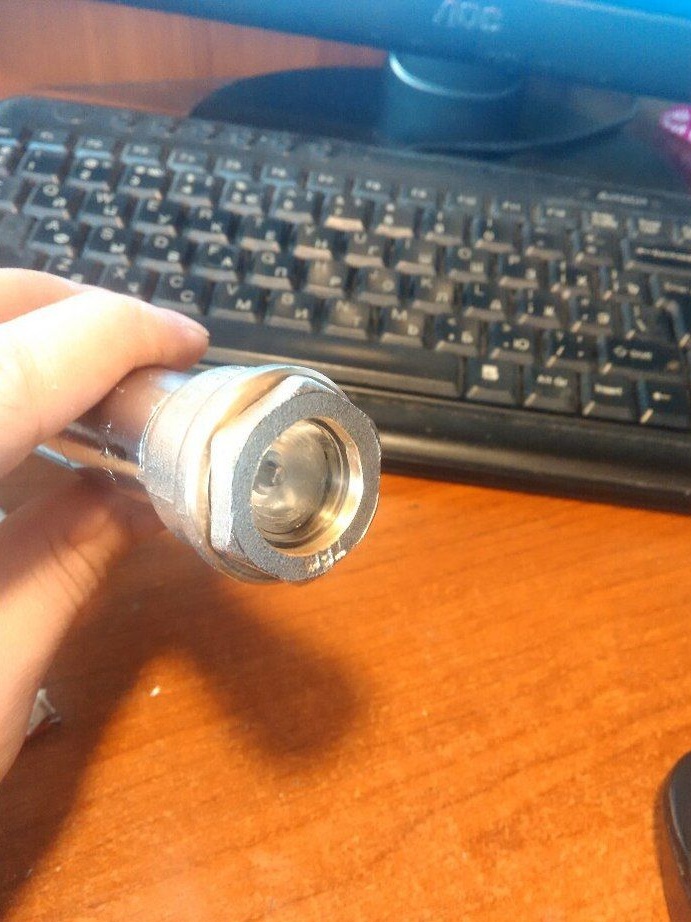
In most such flashlights, minus is supplied directly to the housing, and plus is passed through the housing of the flashlight. In this homemade work, the author decided to do exactly that.In order to realize this, a plug made of EPOXYLIN (two-component adhesive) was made in a 80 mm run. Then a hole is drilled in it and a wire is passed.

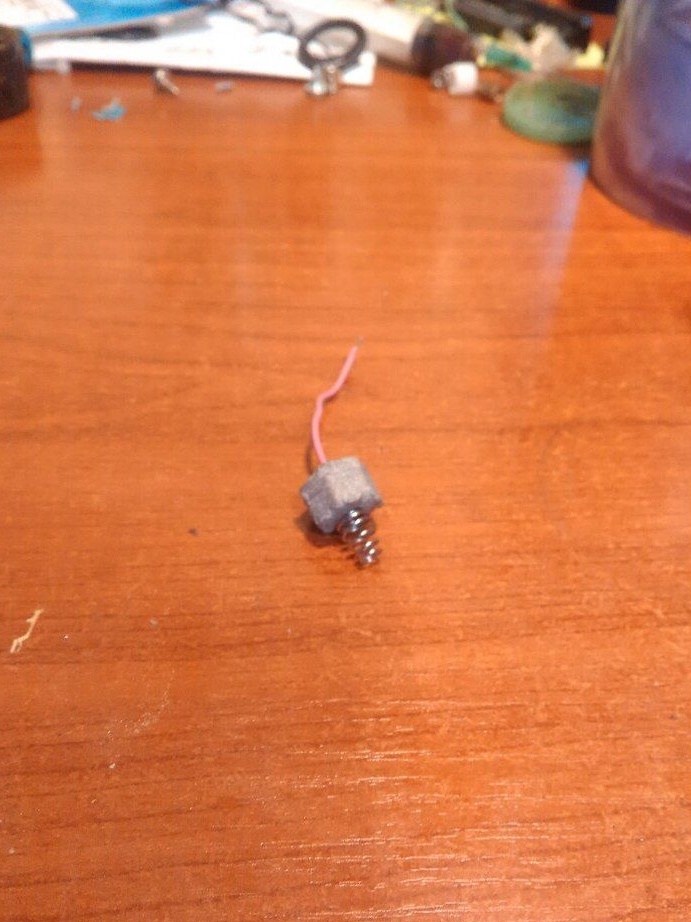
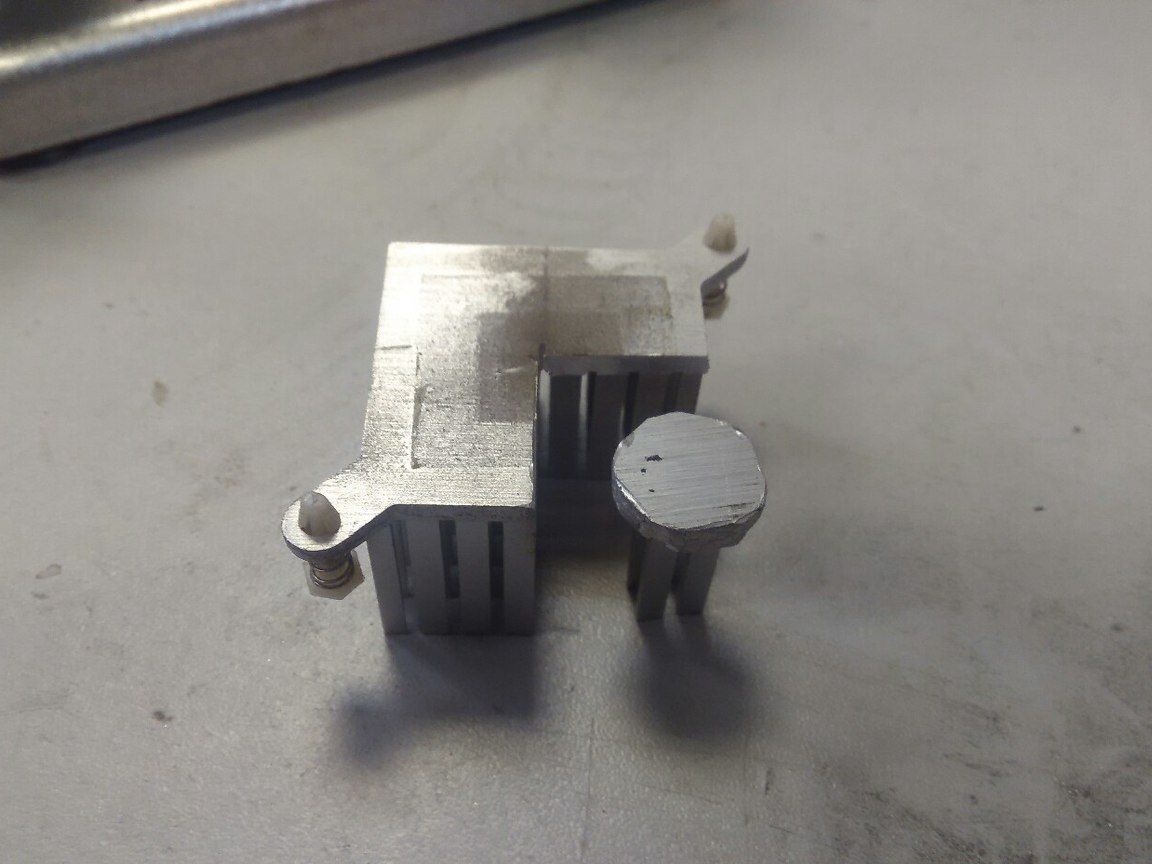
Step Three We make a heat dissipation system
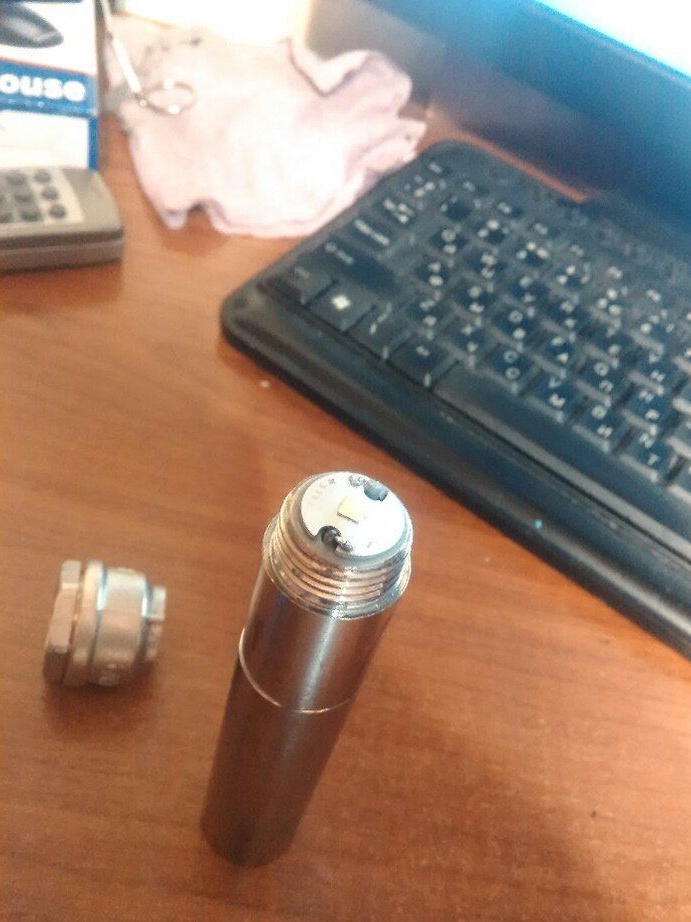
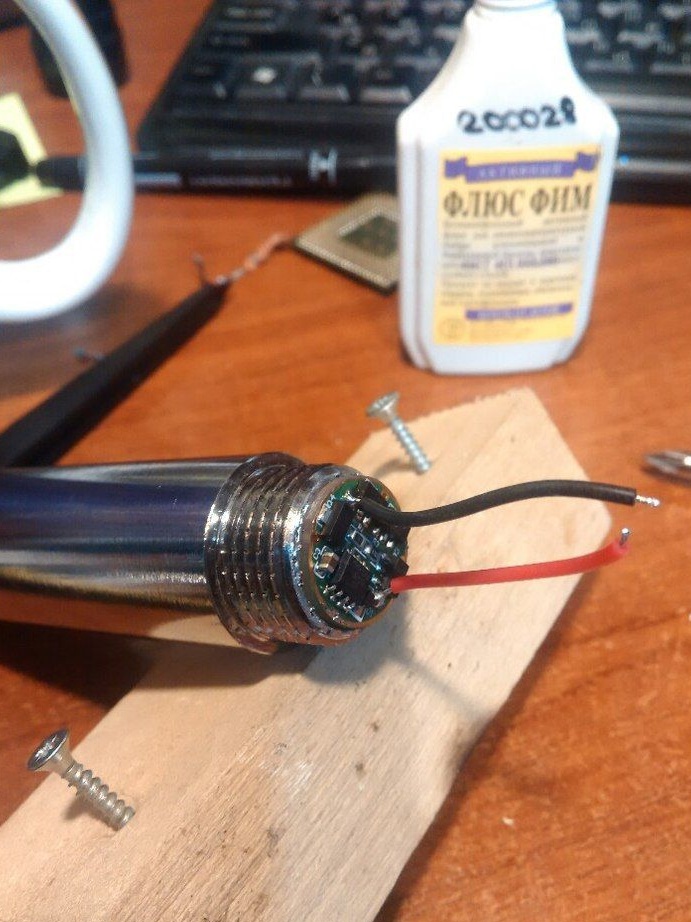
If heat is not removed from the diode, it will soon burn out. For such purposes, the author makes a special radiator. The radiator from the motherboard (aluminum) was taken as the basis. After the radiator is turned, two holes must be drilled in it to bring out the wires and connect the LED to the driver. A radiator is installed by pouring liquid tin in the drive (40 mm).

Step Four The final stage. Assembly
Now you can start assembling the lamp, all the elements (head and button) sit on the glue to ensure good waterproofing. At this stage, the LED and driver are installed. The driver itself was soldered to 80 mm by the driver. The LED must be installed on thermal grease to effectively remove heat.
Now. When all the components are assembled, it remains only to combine them together and get a finished homemade product. The driver and LED are connected with a soldering iron. To ensure waterproofing, FUM tape is wound on threaded joints.
Some improvements
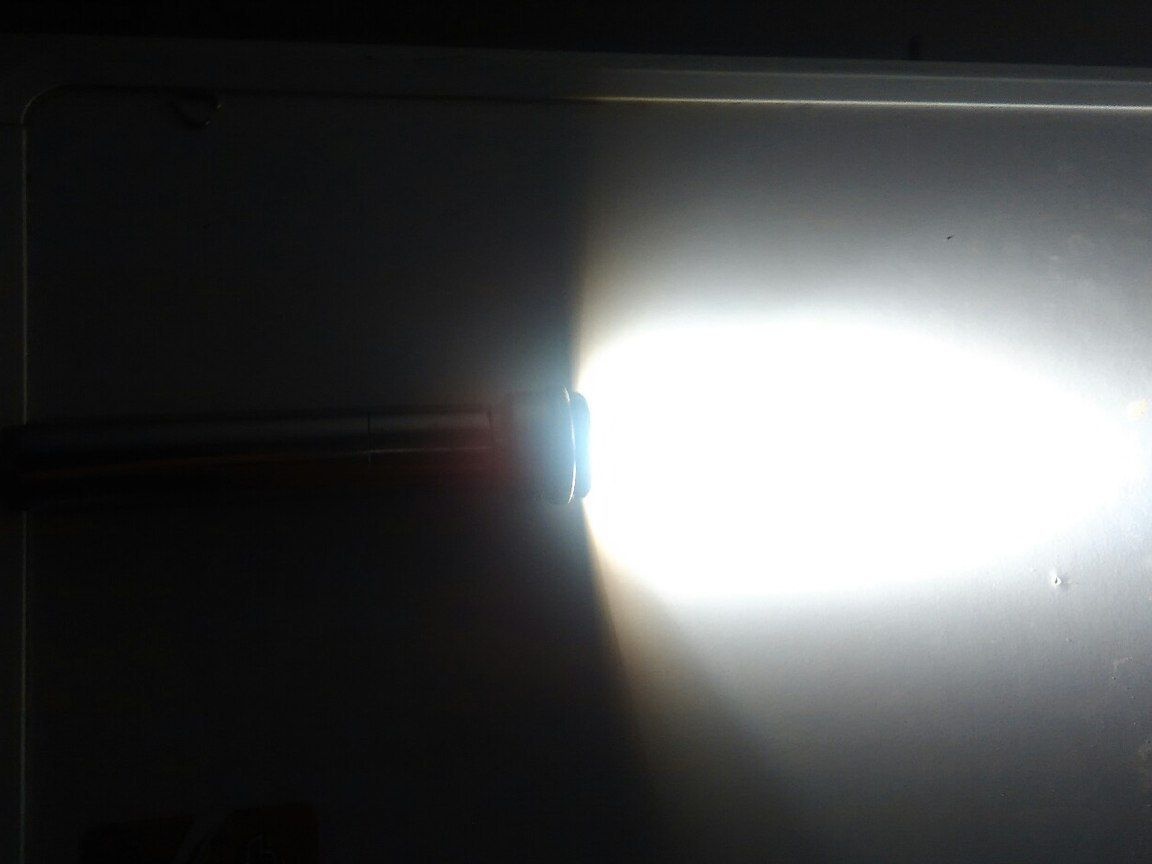
During assembly, the author didn’t have the same sizes of components, namely, the lens was incorrectly positioned. It so happened that it was located too far from the LED and the lantern shone weakly. As a result, the head was shortened with the help of cutting discs and an engraver, in conclusion it was fitted on a grinder. What eventually happened can be seen in the photo.
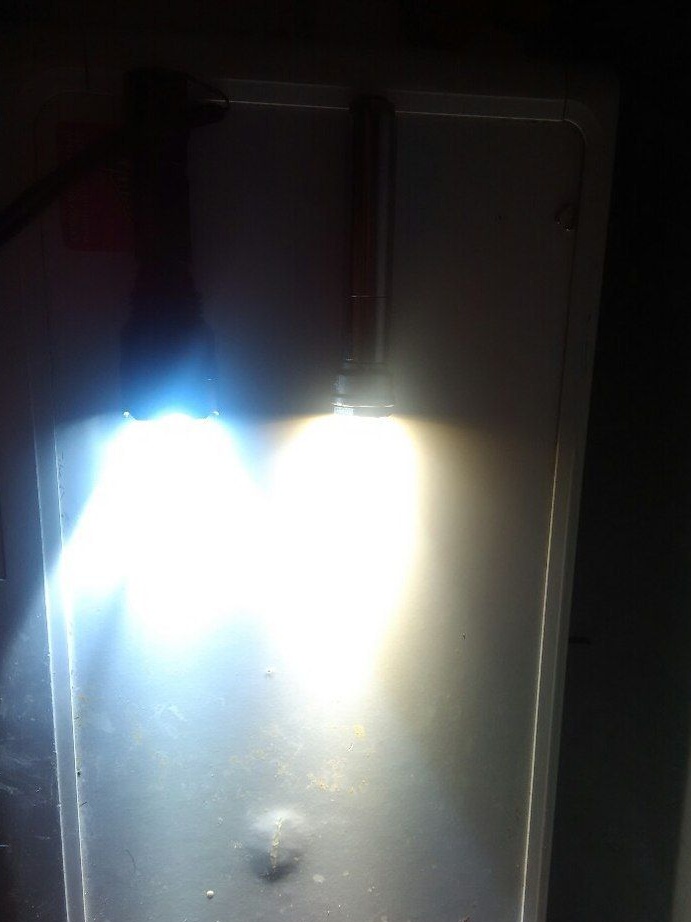
That's all, the lantern is ready, according to the author, he managed to get what he wanted. As a comparison, the photo shows how the homemade product and the Chinese lantern, which shines with a cold light, work.
As for the problem of excess heat, a homemade radiator copes with it perfectly, when the lamp was operating at full power for 15 minutes, the LED substrate was heated to a slightly warm state.